Time: 2 to 3 days - there’s a lot to enjoy so I suggest 3 days.
Distance: 34 km
Elevation Gain: 2200 metres approx - lots of ups and downs
Access: This trail is a loop and starts/ends at either Upper Kananaskis Lake day use area or North Interlakes parking lot. Both are just shy of two hours from either Banff or Calgary. Simply follow Highway 1 until you reach the Kananaskis turning and follow highway 40 south until you see signs for the lakes.
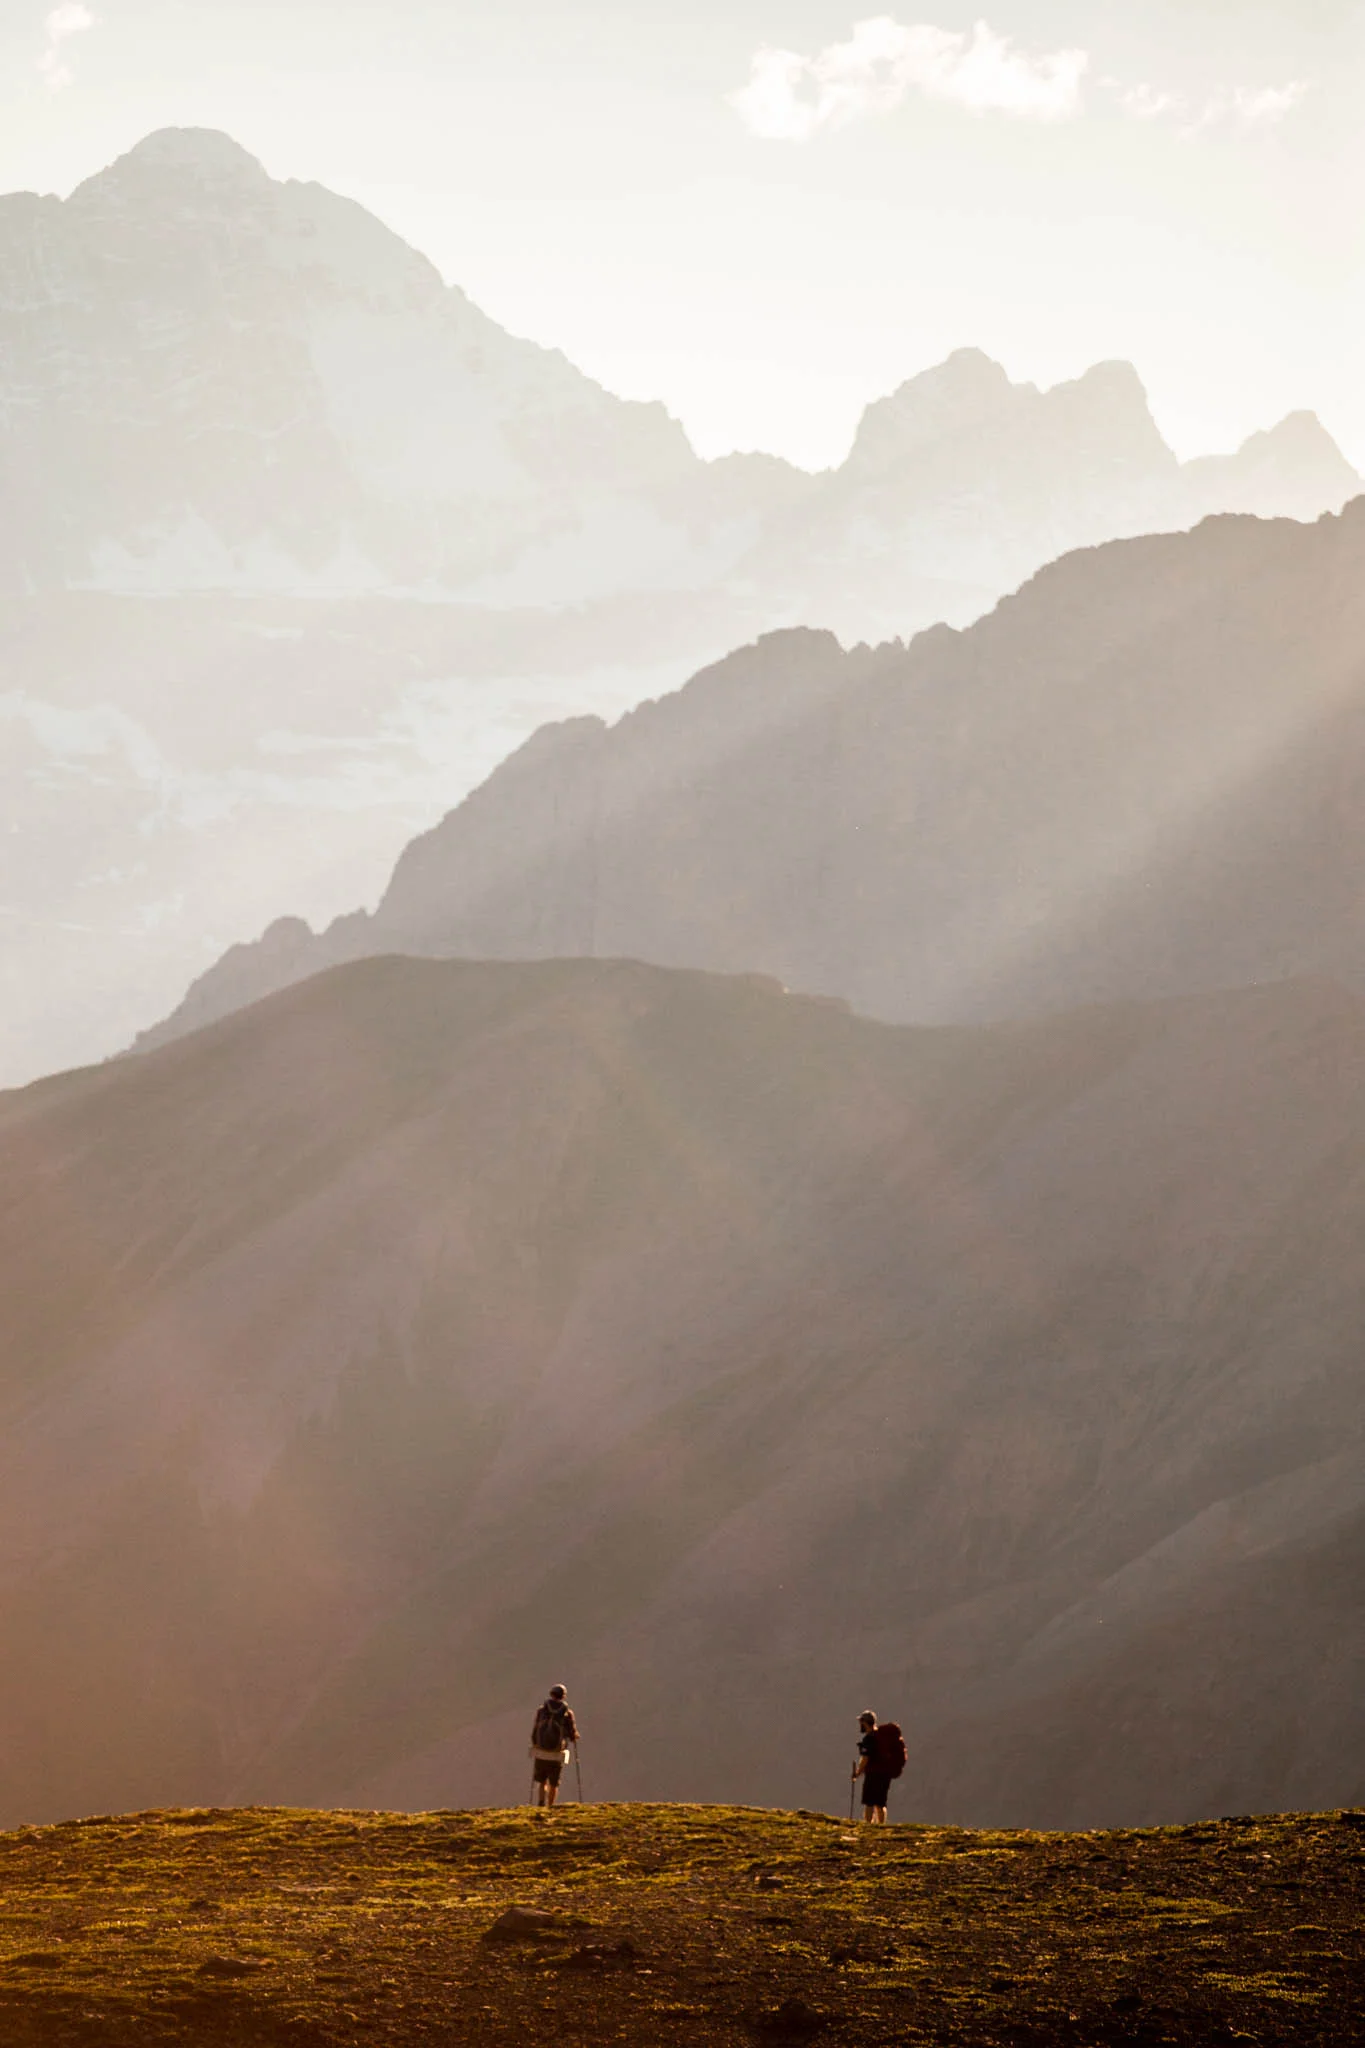
Northover Ridge is a fantastic but challenging multi-day hike through widely varied terrain across the border of Alberta and BC. You’ll hike over ridge lines, through alpine meadows and past perfect lakes. It’s certainly a tougher hike than some with lots of elevation gain and loss throughout your trip, you are however rewarded with stunning views across Kananaskis in all directions.
Conditions
You’ll need to use your judgement on this hike, the elevation increase is extensive and you’ll hike close to 3000 metres at certain points. You’ll be hiking on snow during certain sections and weather in the mountains can change in a split second so you’ll need to be prepared. Bring warm, waterproof and windproof layers, depending on the time of year micro spikes and other equipment may be necessary to make it over the ridge. We took on this hike in late July and only had to navigate short snowy sections, I heard of several groups turning back just the week before as weather made the ridge line impassable, you need to be an experienced hiker to tackle this loop. Due to the elevation I would leave this route for later in the summer months.
Which Way Round?
This is a big question with this hike being a loop, we spoke to multiple people on the trail to get their opinion. We completed the hike clockwise, starting at Upper Kananaskis Lakes day use area and ending at Interlakes Parking lot. Several people told us that the opposite direction was the best way due to easier route finding however having completed the trail I believe clockwise has the more pleasant elevation gain and route finding wasn’t really problematic. Hiking clockwise there are multiple steep scree slopes you descend which would be incredibly unpleasant on the way up, it also means your last day is almost completely down hill on easy, wide trails. I’ll go more into the differences throughout the post. Which ever way you choose to go I would highly recommend leaving a car at each end, we didn’t, and an extra few kms with a heavy pack after a long hike to get back to your car isn’t what you want! No matter which direction you go there is still some route finding involved so take a map, not just on your phone but a paper copy too, we had both and had to refer to them several times to make sure we were on the right route.
Camping Options
Even though this hike is achievable in 2 days, 1 night I would recommend taking a little longer. Some of the elevation gain is pretty draining and if you’re like me and take a heavy pack full of camera gear you’ll be grateful for the shorter days. We chose to do the loop over 3 days and 2 nights, there are multiple camping options along the way.
Aster Lake is 10.8 km from Upper Kananaskis day use area with approximately 550 metres of elevation gain. This campsite only has 5 sites so booking here is very difficult, it does however have bear lockers and a drop toilet. Open from 24th of June to November 30th and can be booked here.
Three Isle Lake is 12.5 km from Aster Lake campground if going clockwise and 10.3 km from North Interlakes Parking lot if completing the loop anti-clockwise. This campsite has 16 sites, bear lockers, picnic benches and a drop toilet. It books up fast so it’s worth planning early, bookings are available from the 24th of June to the 30th of November and can be made here.
Northover Tarns Wild Camping. This spot is approximately 2 to 3 km further on from Aster Lake. Once at the tarns you have left Alberta and entered British Columbia, in BC wild camping is permitted. If you are camping here you will need to be well equipped and take the necessary precautions in regards to food storage, cooking and wildlife. Wherever you are camping you should leave no trace, pack out what you pack in and be considerate to the environment you are in.
Due to availability we chose to camp at the Northover Tarns the first night and Three Isle Lake the second.
Upper Kananaskis Day Use to Northover Tarns
We started the loop at the Upper Kananaskis day use area, the trail starts off wide and simple. You’ll be following the Upper Kananaskis Lake trail around the left hand side of the lake, this is the same trail you use to get to Rawson Lake and Sarrail Ridge. Rather than forking off to Rawson Lake you’ll need to follow the trail round until the next left turn, approximately 4 km from the trail head, this is the trail to Hidden Lake. Follow the Hidden Lake trail up to the lake where the trees will open up and you’ll be rewarded with a nice open area, perfect for taking a rest before the elevation hits. From this open area you’ll be able to see the ascent you’re in store for up the scree in the valley. Once you’re fully rested there are two trail options, both to the left of Hidden Lake. You can either choose to follow the very edge of the lake, which is probably a little more scenic, or head through the shaded woods. Either option is easy to follow, especially later in the season when it’s already well trodden, the woods can be a harder trail to find during early season. We opted for the forest trail to stay in the shade as we had an uphill, exposed slog ahead of us.
Once out of the woods you’ll need to keep a closer eye on the trail as it winds over scree and small boulders with a small river/snow crossing depending on the time of year. On your right hand side you’ll see the impressive Fossil Falls bellowing in the distance however keep left aiming for the ridge line to the far left of the falls. As you ascend you will need to do some small, basic scrambling to get over some of the steeper sections. Once you’ve reached the top of this ridge line you’ll see the Aster Lake campground on your right, head up a littler further and you’ll see Aster Lake itself.
This is where things can get a little confusing and where we ended up doing an extra hour of detour! There are two trails, one each side of Aster Lake, we decided to take the left hand side. Once past the lake the trail disappears and there are rock cairns scattered across the hill side in front of you. This isn’t where you want to go! The real trail is just on the left hand side of the furthest right inflow to Aster Lake, the best way to approach this section may be to follow the trail on the right hand side of the lake as this will most likely better match up with the upward ascent towards the tarns. This small section will most likely be a mixture of scree and snow, once on top of the pass you’ll see the trail running along the right hand side before it makes it’s way up an intimidatingly steep ascent up on to Northover Ridge as well as the tarns lower down to the left. Luckily the tarns are a great place to wild camp and spend the night allowing you to rest up before tackling the uphill in the morning. If you choose to wild camp here please be respectful and pack all your waste out and store your food sensibly as there are a lot of marmots and small rodents in the area. We decided to bag up our food in dry sacks and throw it out onto a floating ice shelf, you can however purchase smell proof sacks and bags to store food, if you’re worried these may be a worthy investment.

Here you can see the first tarn towards the centre of the image. If you look closely you can see the trail continuing along the right hand side. The ascent to the ridge can be seen just to the left of Mount Northover, a mixture of snow and scree.
Approaching our campsite for the night.
Views from camp as the sun sets.
Northover Tarns to Three Isle Lake
After spending a beautiful night under the stars surrounded by towering peaks, endless views and curious marmots it’s time to tackle your steepest ascent!

The sun coming up over the ridge lines means it’s time to tackle the ascent! Best done in the morning before it gets too hot.

However always time for a bit of breakfast!
From the tarns to the top of Northover Ridge can be a pretty grueling mixture of sliding scree and slippery snow, this section certainly reminded me I’m now in my 30’s! We managed this part of the trail with decent boots and poles but at certain times of year I could see how cleats or micro spikes could be useful. Also don’t forget to look back and enjoy the view every once in a while!

Starting the ascent, as you can see the most direct route was covered in snow!

The route is steep and relentless with difficult terrain.
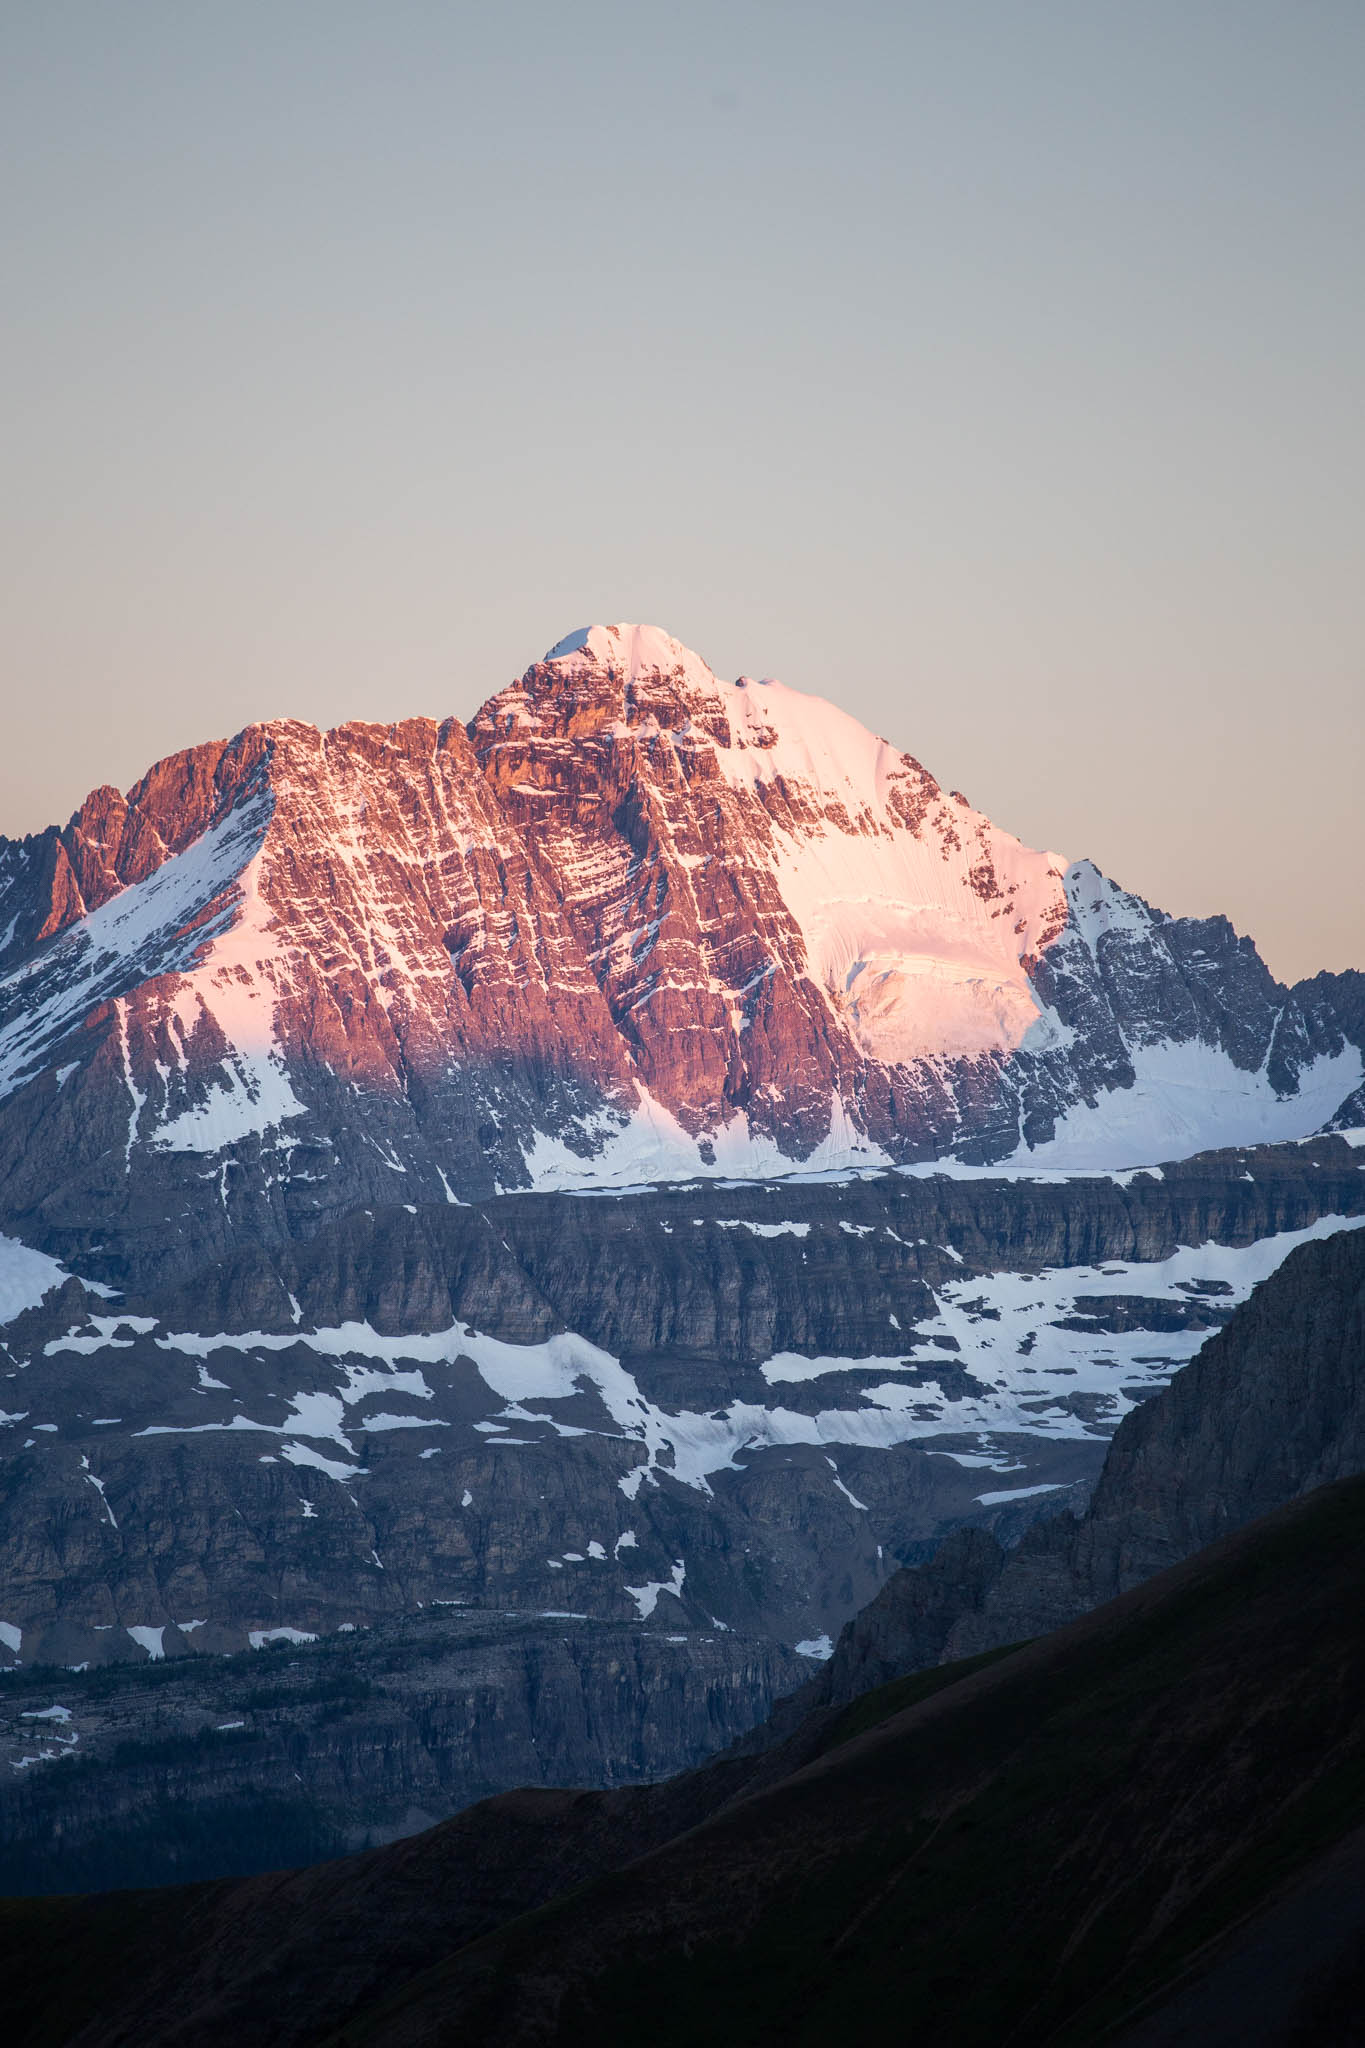
Once you reach the top you’ll be stunned by views across glaciers, mountains and ridges, at this point on our hike the route looked almost impassable with snow covering the vast majority of the mountains in sight. Once you ascend a little higher you’ll be able to see the ridge line trail you’ll be following for the next few kms, thankfully for us there was very little snow on the sections we actually needed to use.

Views from the top of the ridge line.

Some of the narrower more exposed sections you’ll need to navigate.
As you follow the ridge line trail there are some very narrow sections to negotiate; confidence, balance and the use of your hands is key at certain points. The ridge can be exposed so if you have a fear of heights you may want to avoid this hike. Soon enough you’ll be able to see a lake in the valley below, this is where you’re heading! Stick to the ridge line until you see the trail descending through steep scree, going down hill in terrain like this is always good fun as you run and ski to the bottom, up hill I imagine this section to be pretty brutal. Once in the valley you’ll be able to follow the river bed to the lake shore line, head right until you come to the campsite. Be prepared for mosquitoes, we were heavily harassed from the moment we set up our tents and whenever there wasn’t a breeze, pack bug spray and use it generously!

The view from the ridge line of Three Isle Lake.

Three Isle Lake from the shorefront.
Three Isle Lake to Interlakes Parking Lot
Now you’re on the home straight! The best part about doing the trip this way around is the trip out on your last day. There is no difficult terrain,very little up hill and good shade from the sun or rain in forests throughout large sections. After leaving camp you’ll have to complete a small up hill section climaxing with views over the valley ahead, after this point it’s pretty much all down hill to the valley floor. Follow the easy, flat, wide trail through the woods to Forks Campground - this is a great place to grab some water and a snack before continuing on. From this point you’ll just need to follow the Three Isle Lake trail down stream until you can see Upper Kananaskis Lake here you can decide to stay high or take a short descending switch back to take the lake side trail. There is a small amount of up and down but not enough to make you work too hard! Due to the easy trail and lack of elevation gain you can make your exit from Three Isle Lake relatively quickly, we took 3 hours from campsite to the parking lot. If, like us, you haven’t pre-planned and left a car here you’ll need to walk the extra 2.5 km back to your car. You can choose to take the trail along the lake side but along the road is shorter and faster which is my preferred method after 3 days of hiking!
This trail although challenging is very rewarding and I would highly recommend giving it a go if you’re an experienced hiker. It’s always best to be prepared so if you have any other questions please don’t hesitate to leave a comment below!