Canyon Creek Ice Cave - Surprisngly Good!
I’d heard of Canyon Creek ice cave for years but hadn’t yet made the trip out to visit despite it being so close to Calgary. My initial thought was that it would be overcrowded and over hyped and not worth the long, flat and uninteresting hike in.
However it turns out I was very wrong! This actually ended up being one of the most fun little spots I’ve come across in quite a while in the Canadian Rockies.
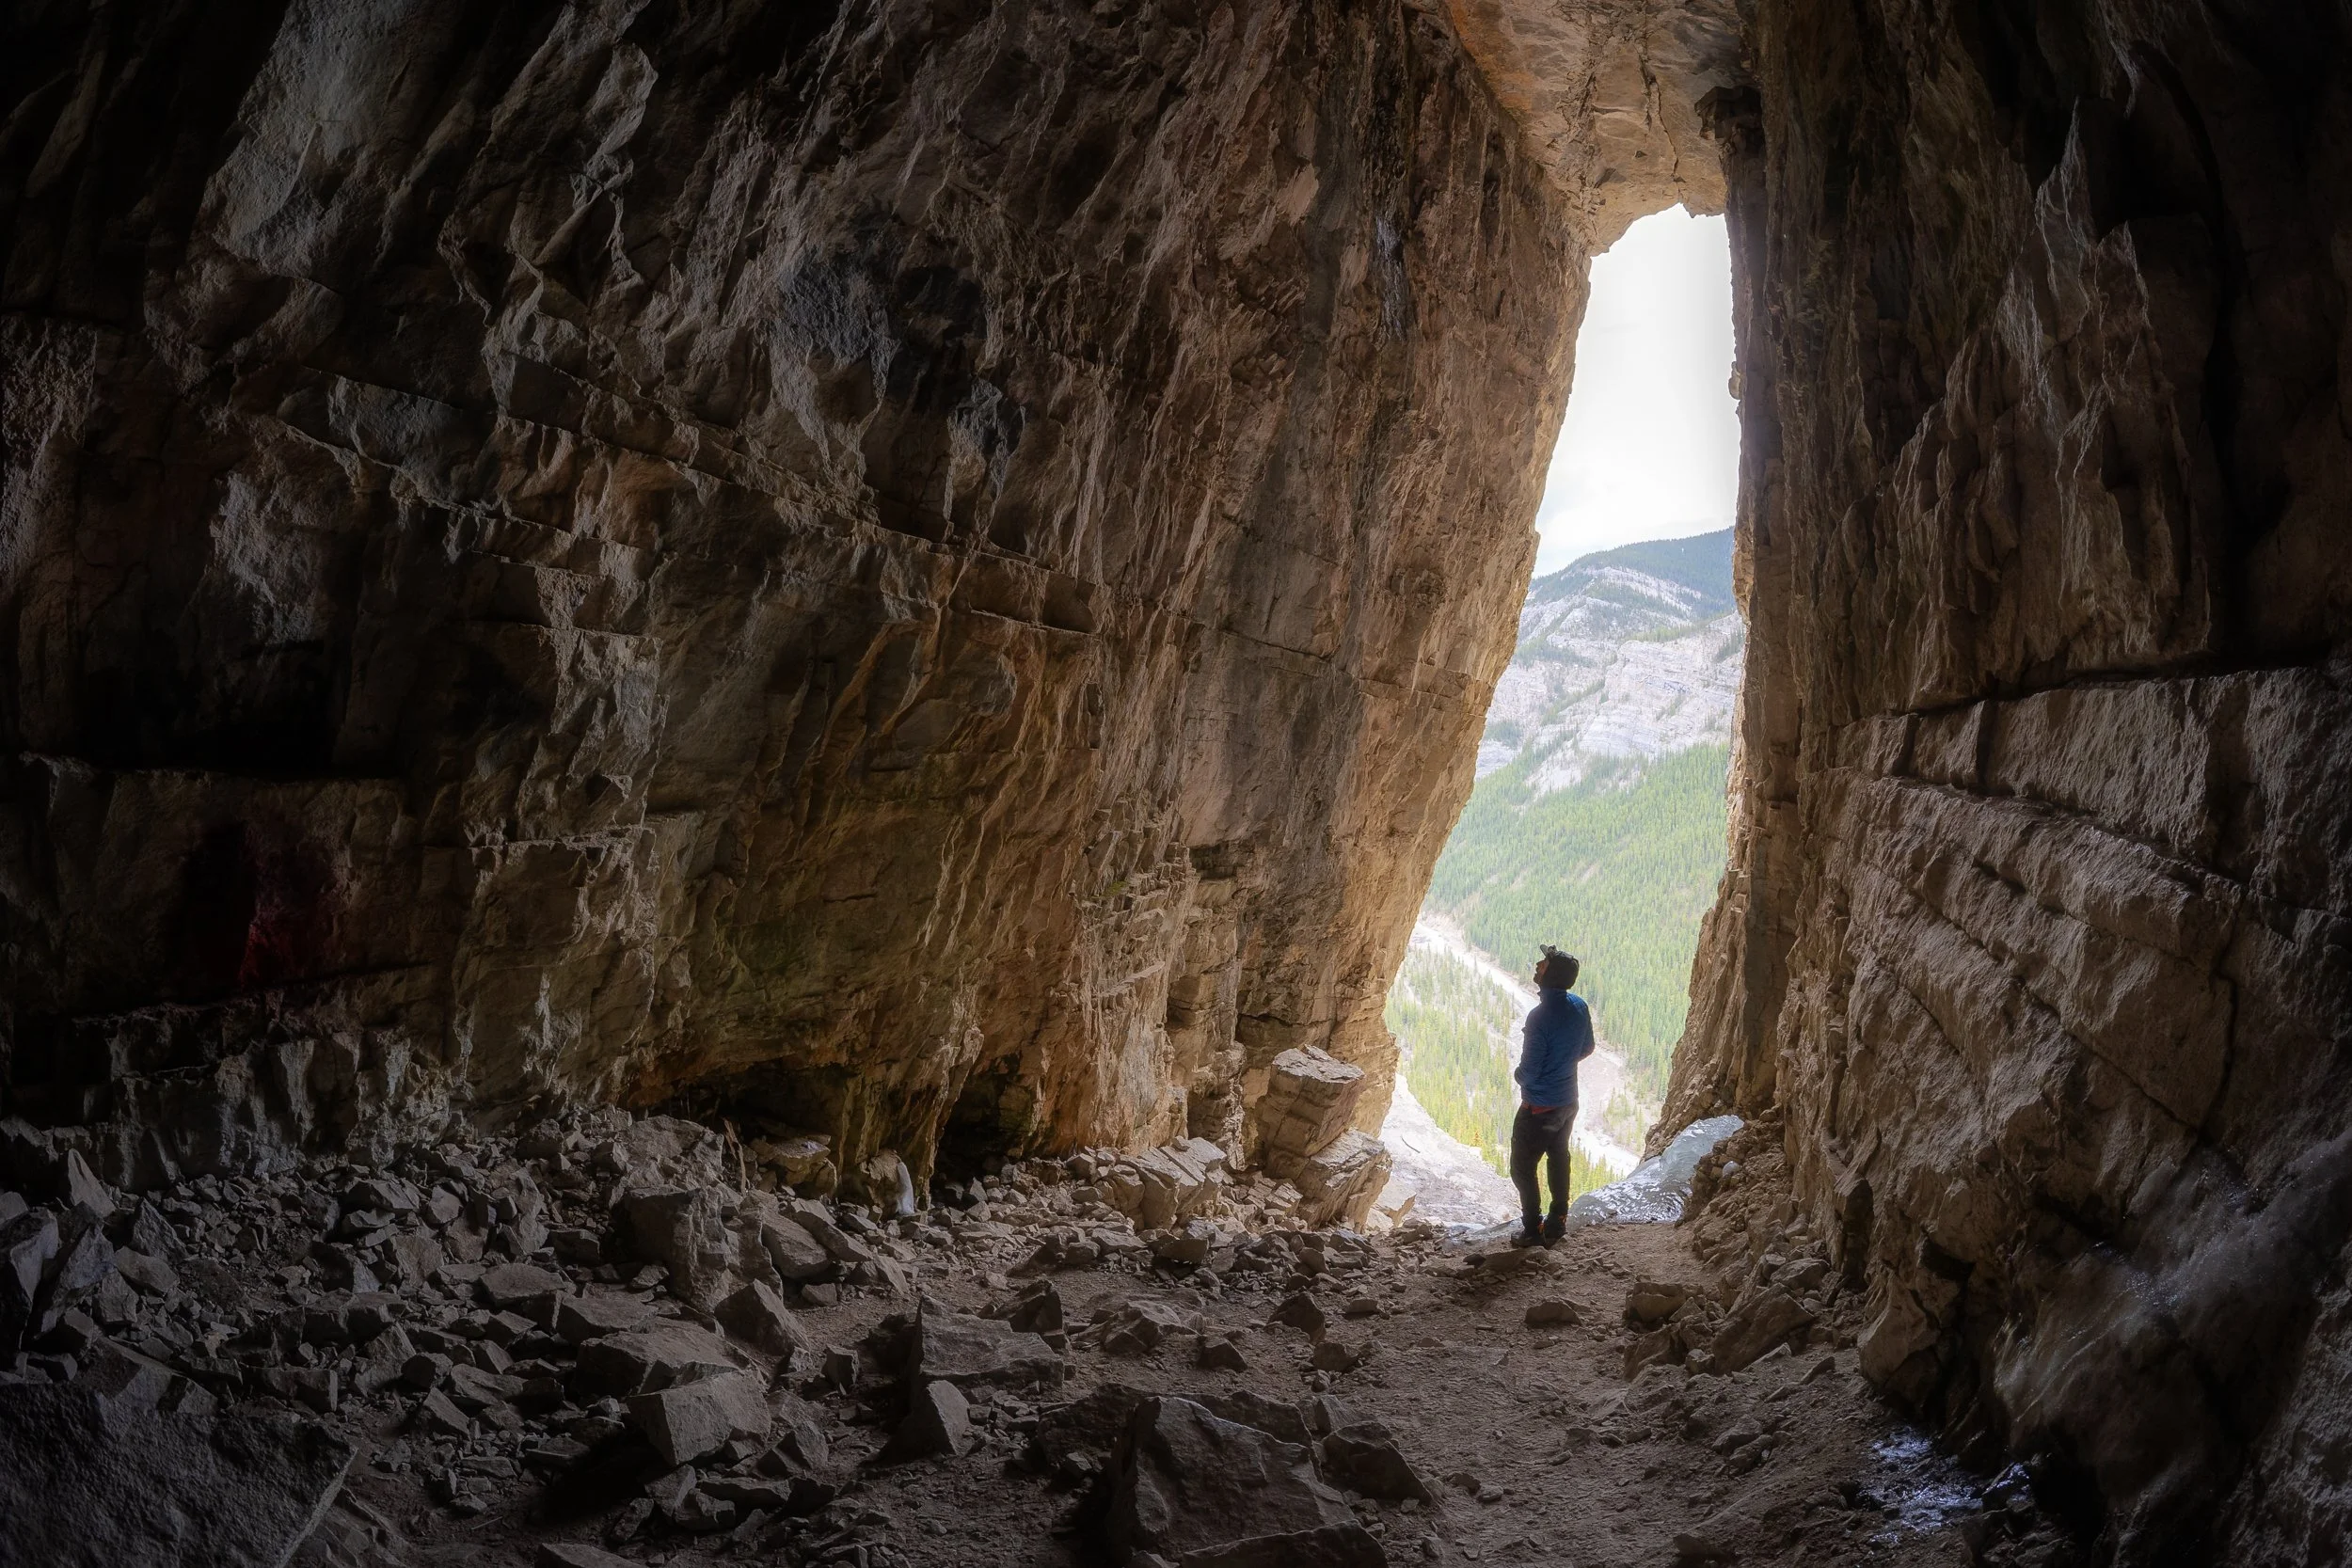
Standing in the mouth of Canyon Creek ice cave.
The Stats
Time: Around 4 hours if on foot the whole way.
Distance: 13.5 km out and back
Elevation Gain: 350 m
Difficulty: Easy to Moderate
How To Get To The Canyon Creek Ice Cave Trailhead?
The trailhead for this hike is a decent sized car park on it’s namesake road, Canyon Creek Road.
Head south from the town of Bragg Creek (about 45 minutes south west of Calgary) and take a right on to the 66. From there it’s about a 16 km drive until the right turn on to Canyon Creek Road.
The car park will come up in google if you search ‘Canyon Creek Parking’ or ‘Ing’s Mine’ the latter being what it’s signposted as too.
What’s the Best Time of Year to Visit Canyon Creek Ice Cave?
Spring, summer and fall make for the easiest access to the cave however people do visit this location throughout the winter too. Sections of this trail are steep and with a good snow fall could be pretty traitorous, at a very minimum in winter you’d need micro spikes and poles whilst also being aware of any avalanche risks.
Without the right equipment the hike in would also be a bit of a slog in deep snow.
The ice inside the cave is obviously ever changing with freeze thaw cycles. We visited in mid May and I was surprised by how many ice formations there were.
The Hike
Now I’d use the term ‘hike’ relatively loosely when it comes to this trail and if you can I would highly recommend doing the majority of the trail by pedal power!
The first 5.5 km of this trail is along a wide, flat, gravel access road that leads to some kind of oil and gas pump station. This section is incredibly fast by bike and not the most interesting trail on foot.
Even though the valley the road runs through is beautiful, in comparison to the rest of the Rockies it isn’t overly inspiring. It’s also incredibly satisfying jumping back on your bike and flying through the last 5.5 km of trail back to the car in just a matter of minutes as you pass tired looking hikers on their way in.
I couldn’t recommend taking a bike enough!
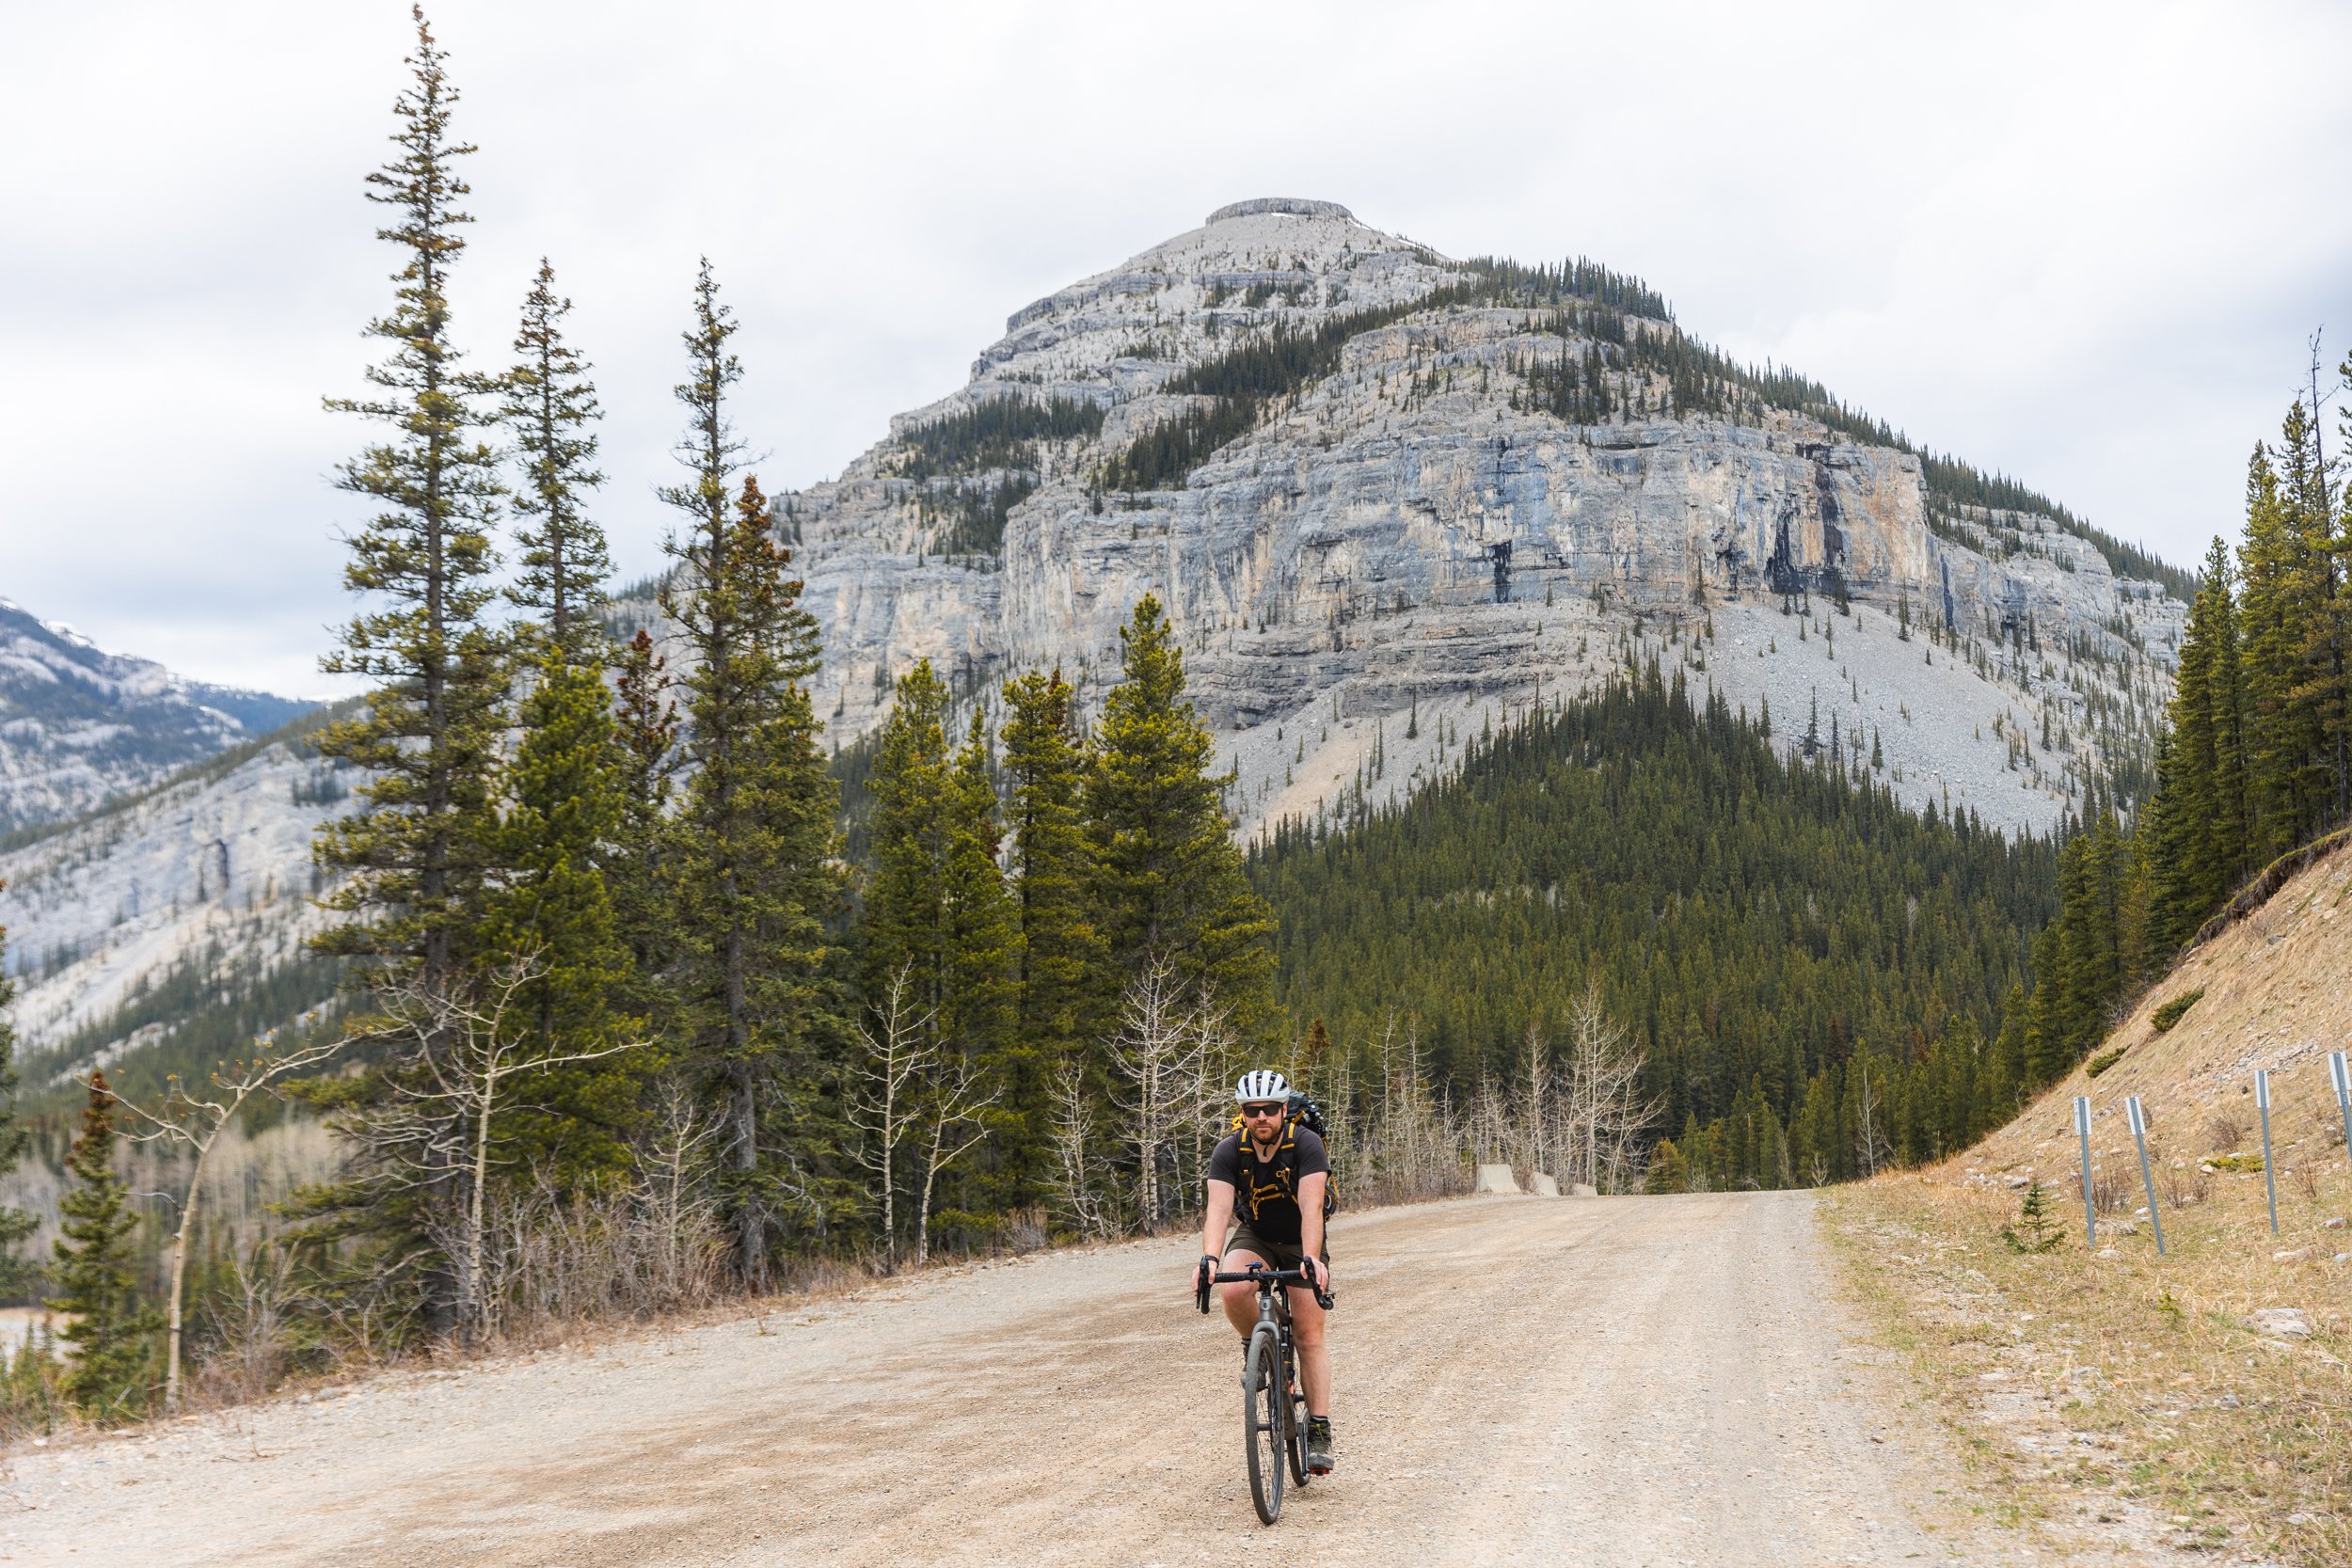
Cycling back down the road after visiting the cave
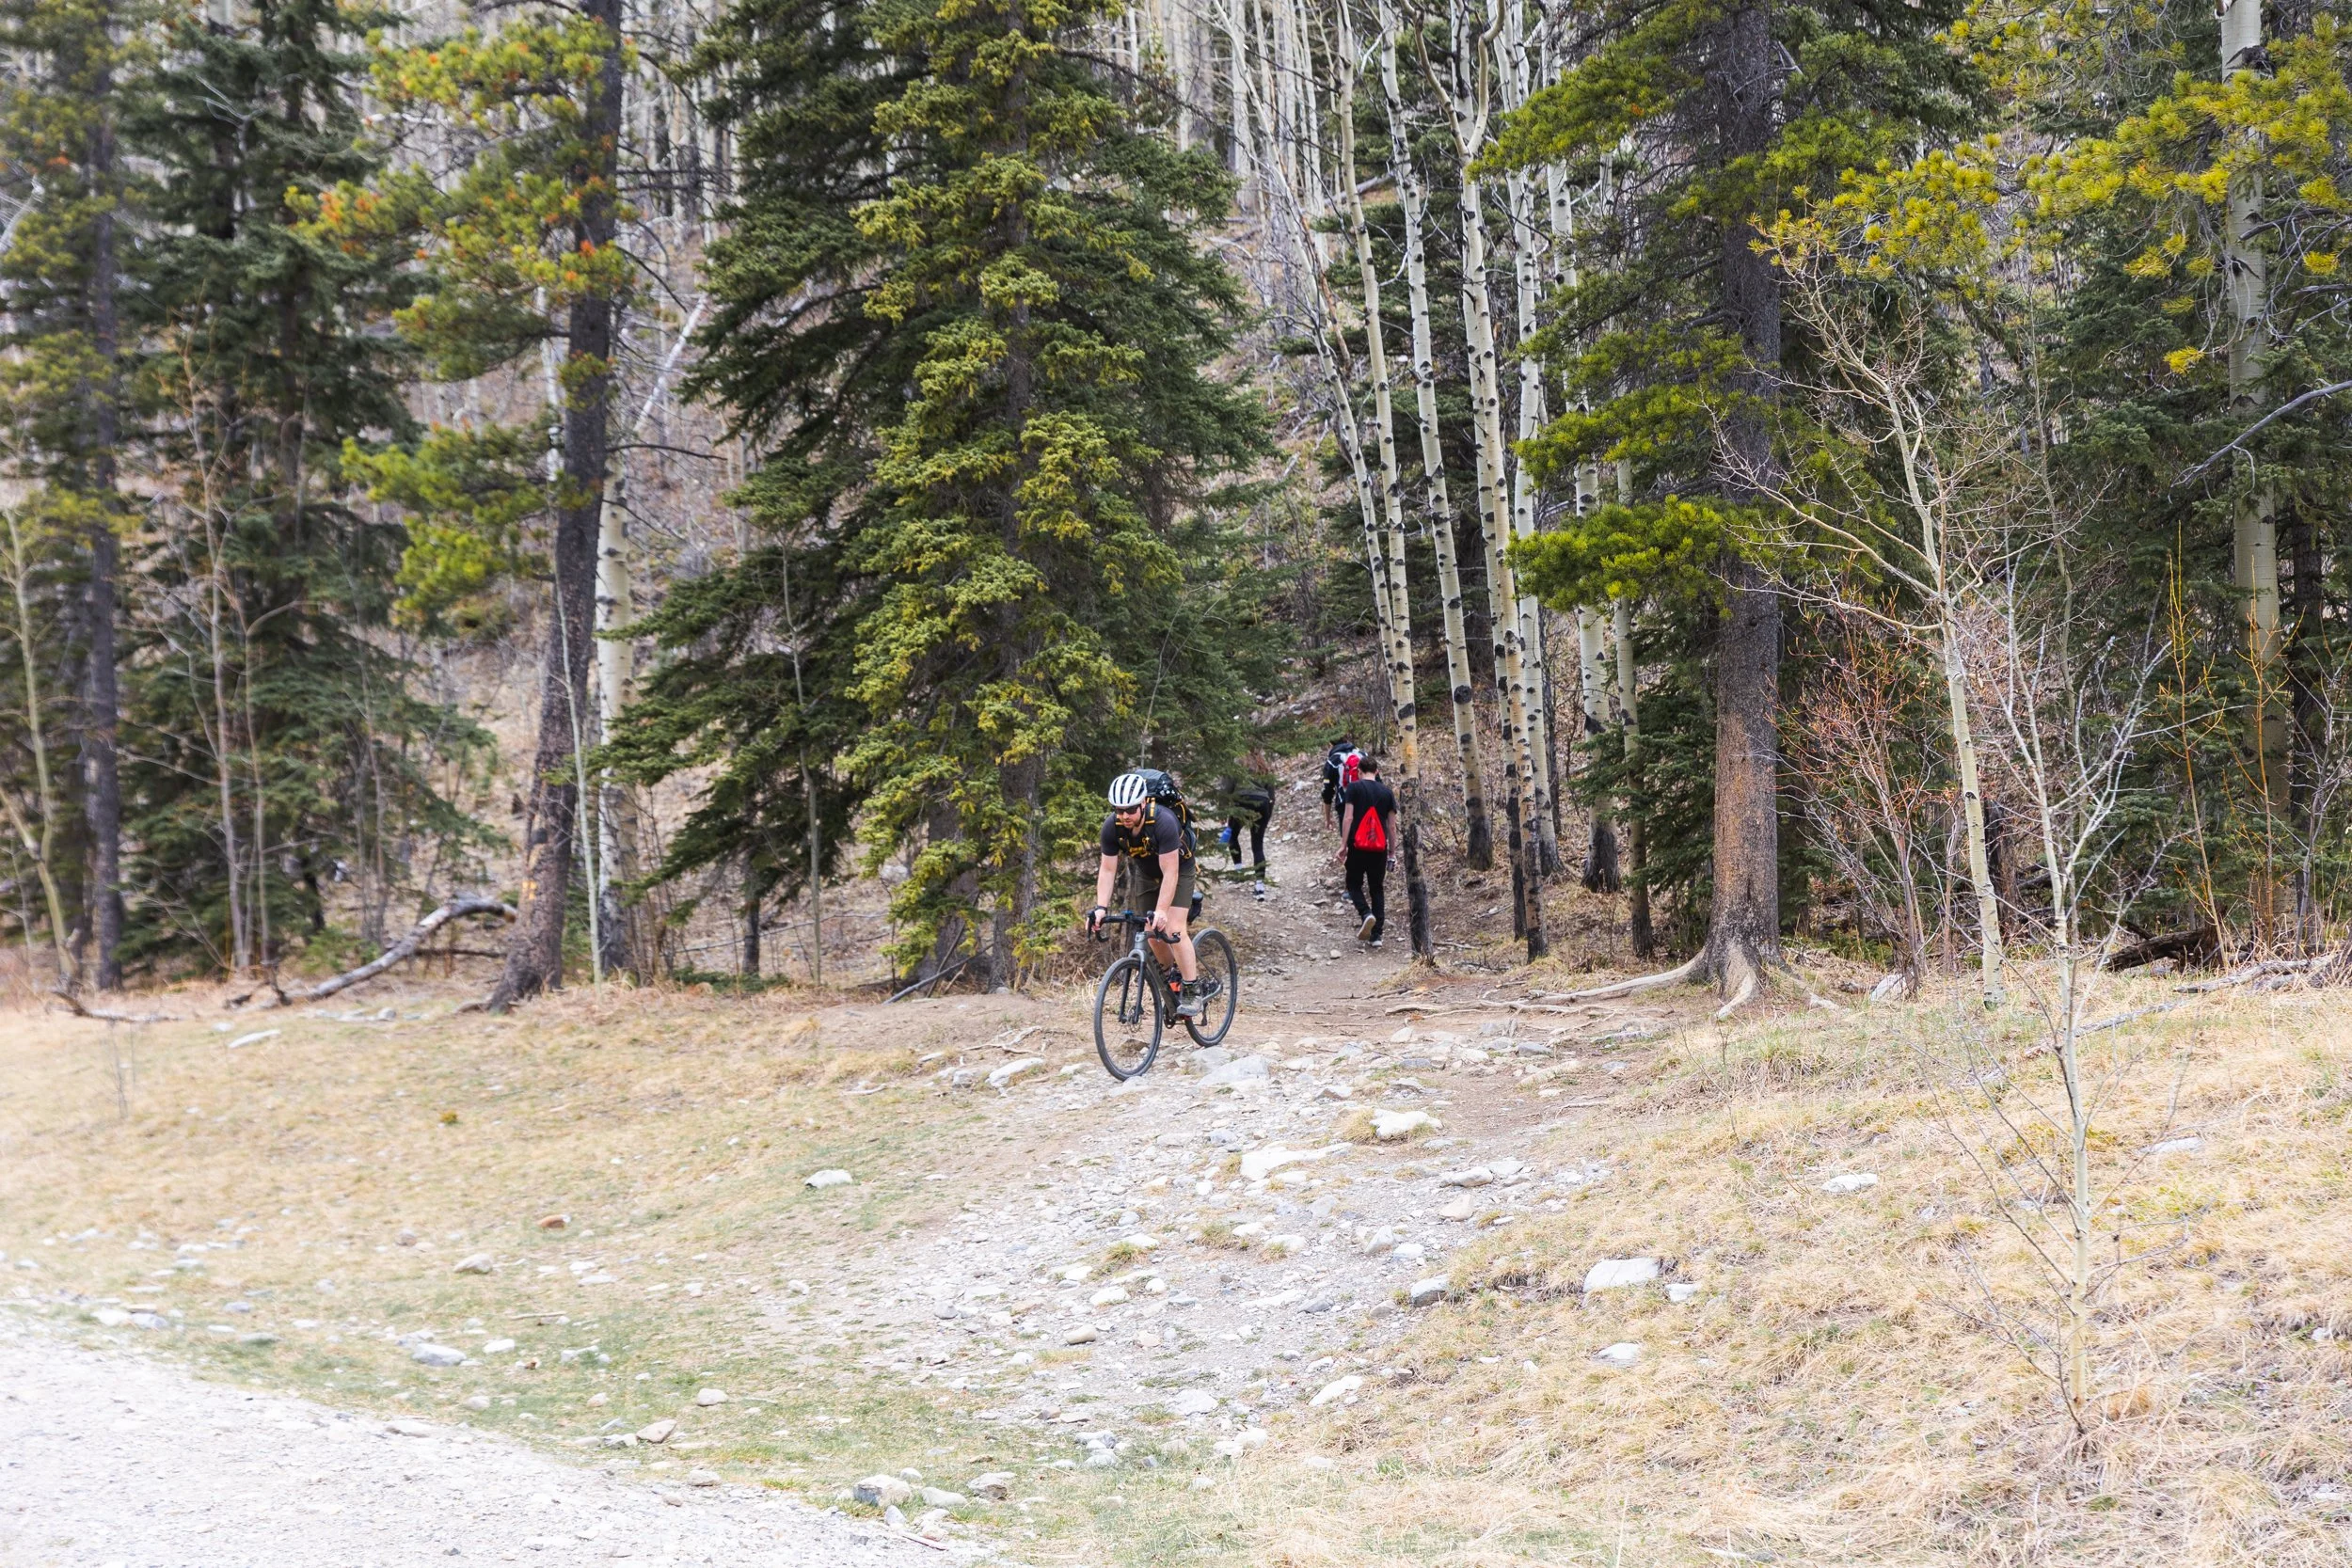
Cycling out of the woods on the access trail
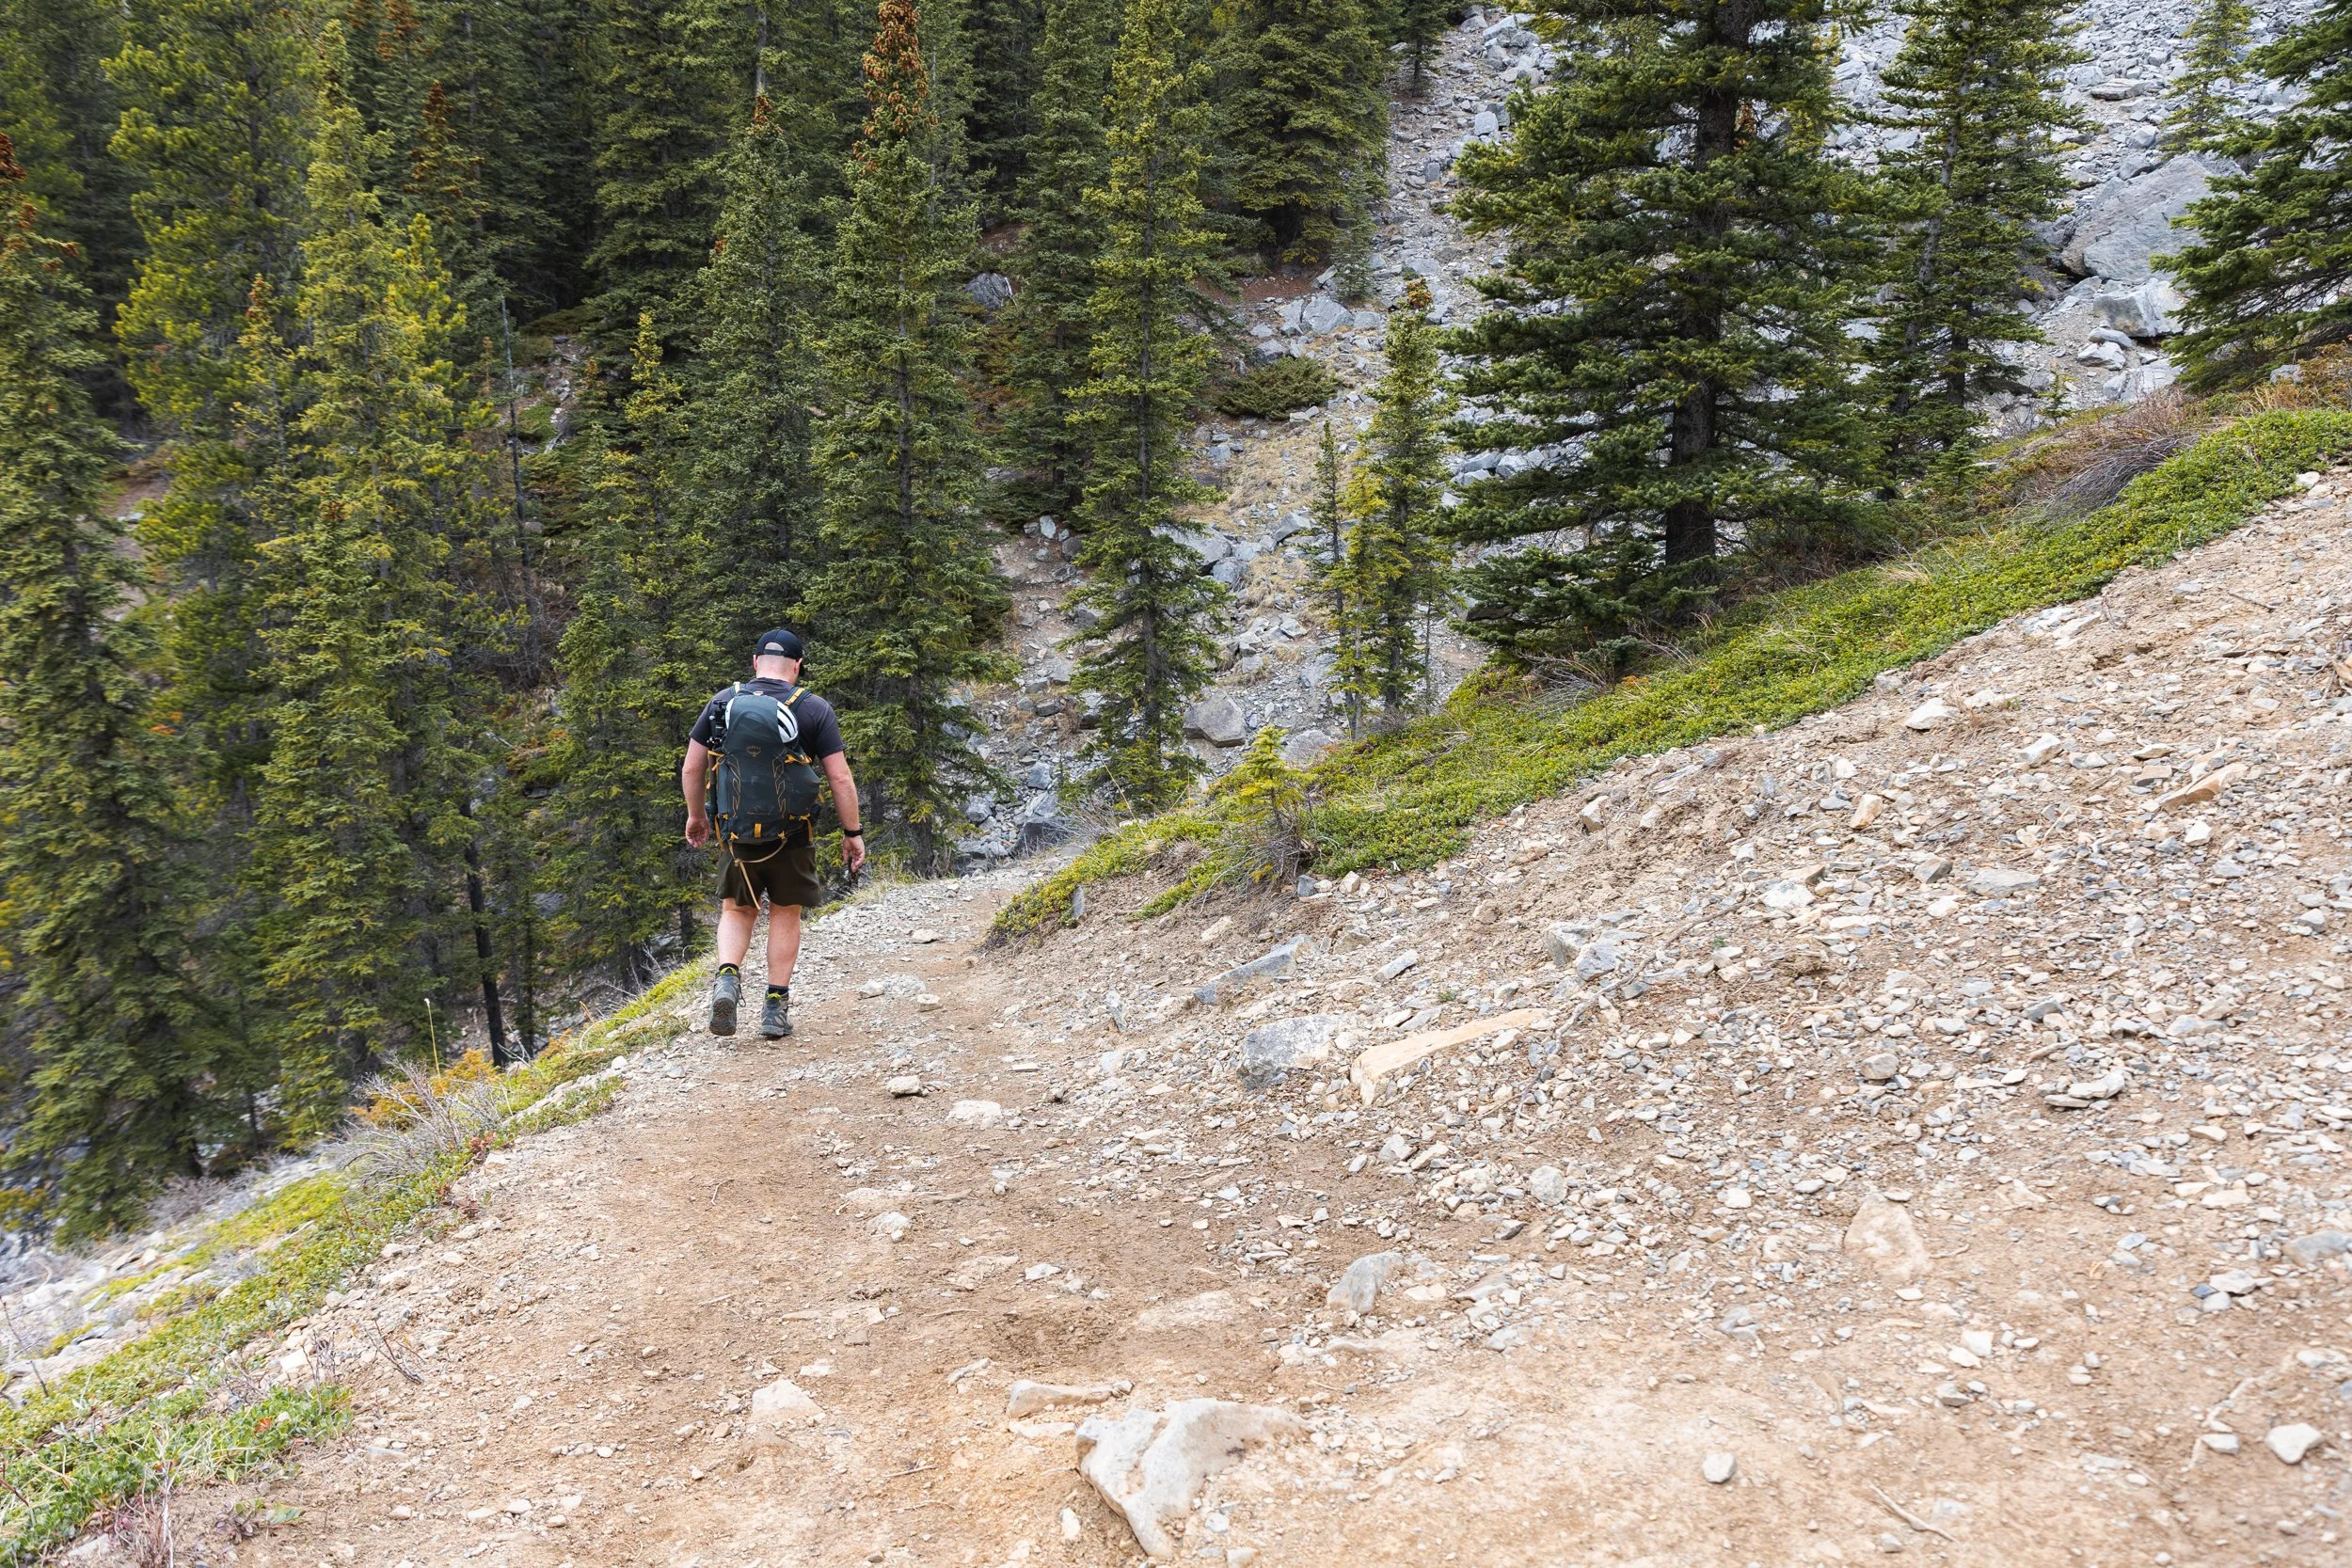
At the 5.5 km mark just before the plant you’ll see a trail that leads in to the woods. This is where we locked our bikes up to a nearby tree and continued the rest of the trail on foot.
From here there’s approximately 1.5 km to cover with 250 m of elevation gain.
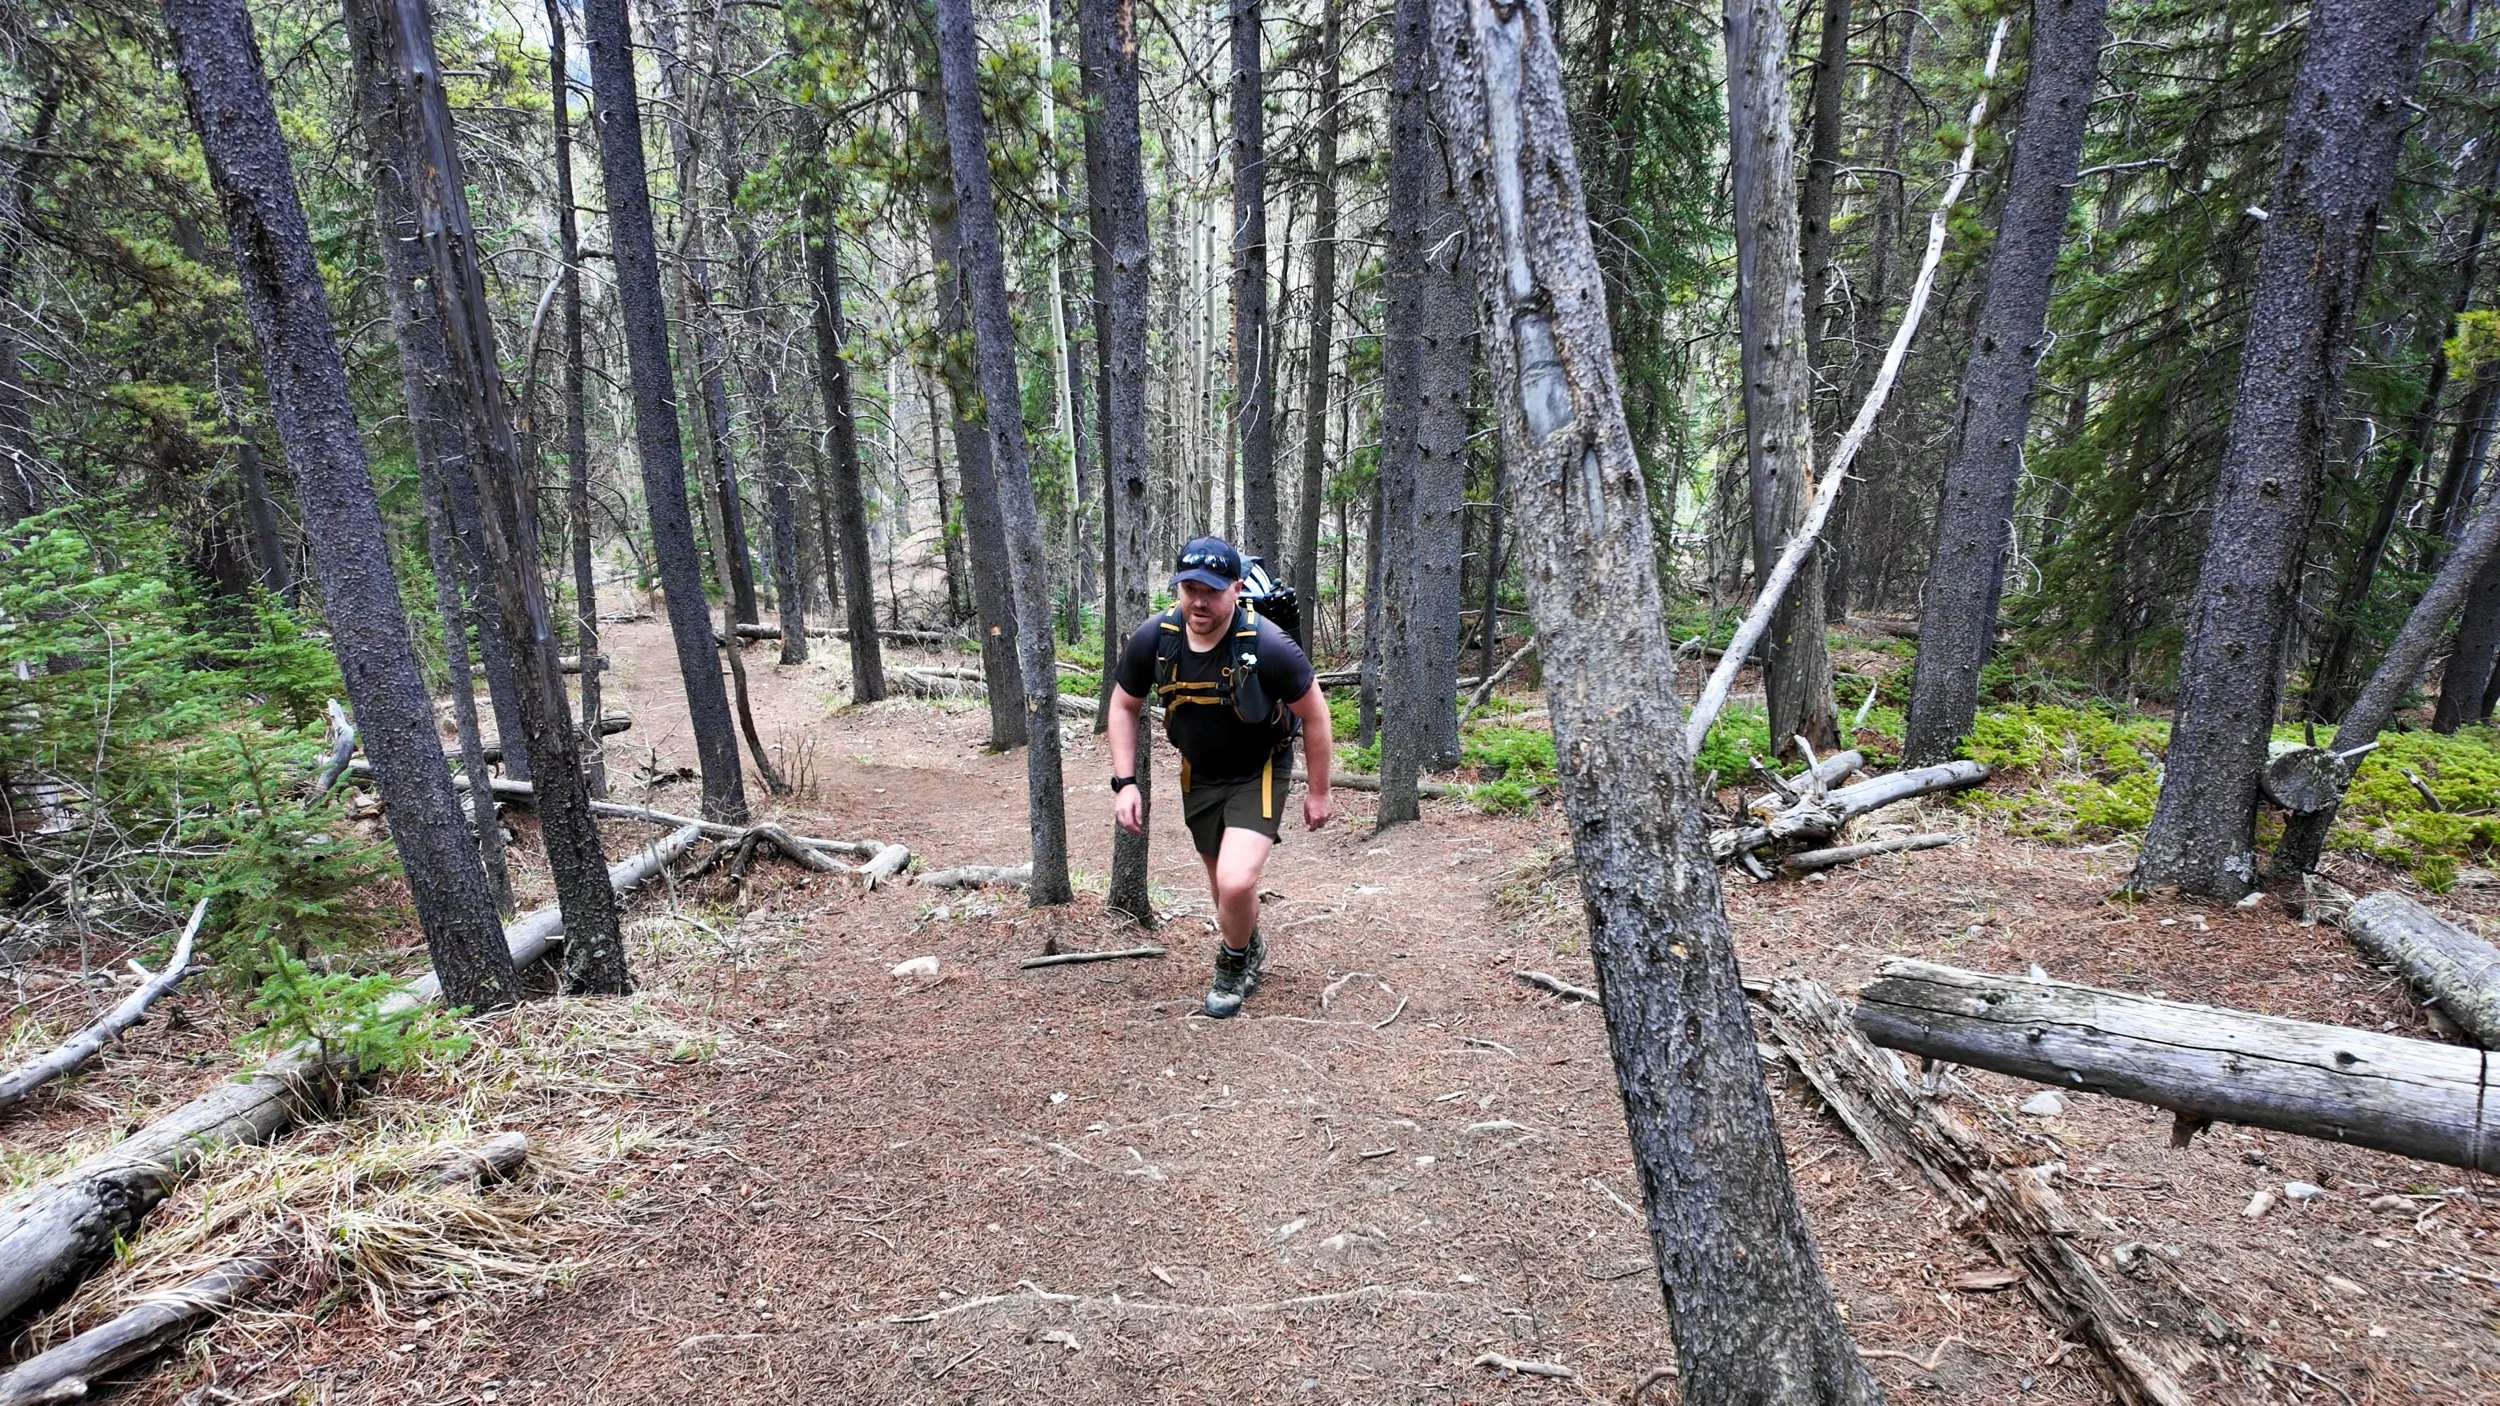
The first section of trail is through the woods and easy to follow. However once you break out of the trees the gradient steepens and there is a little opportunity to go wrong!
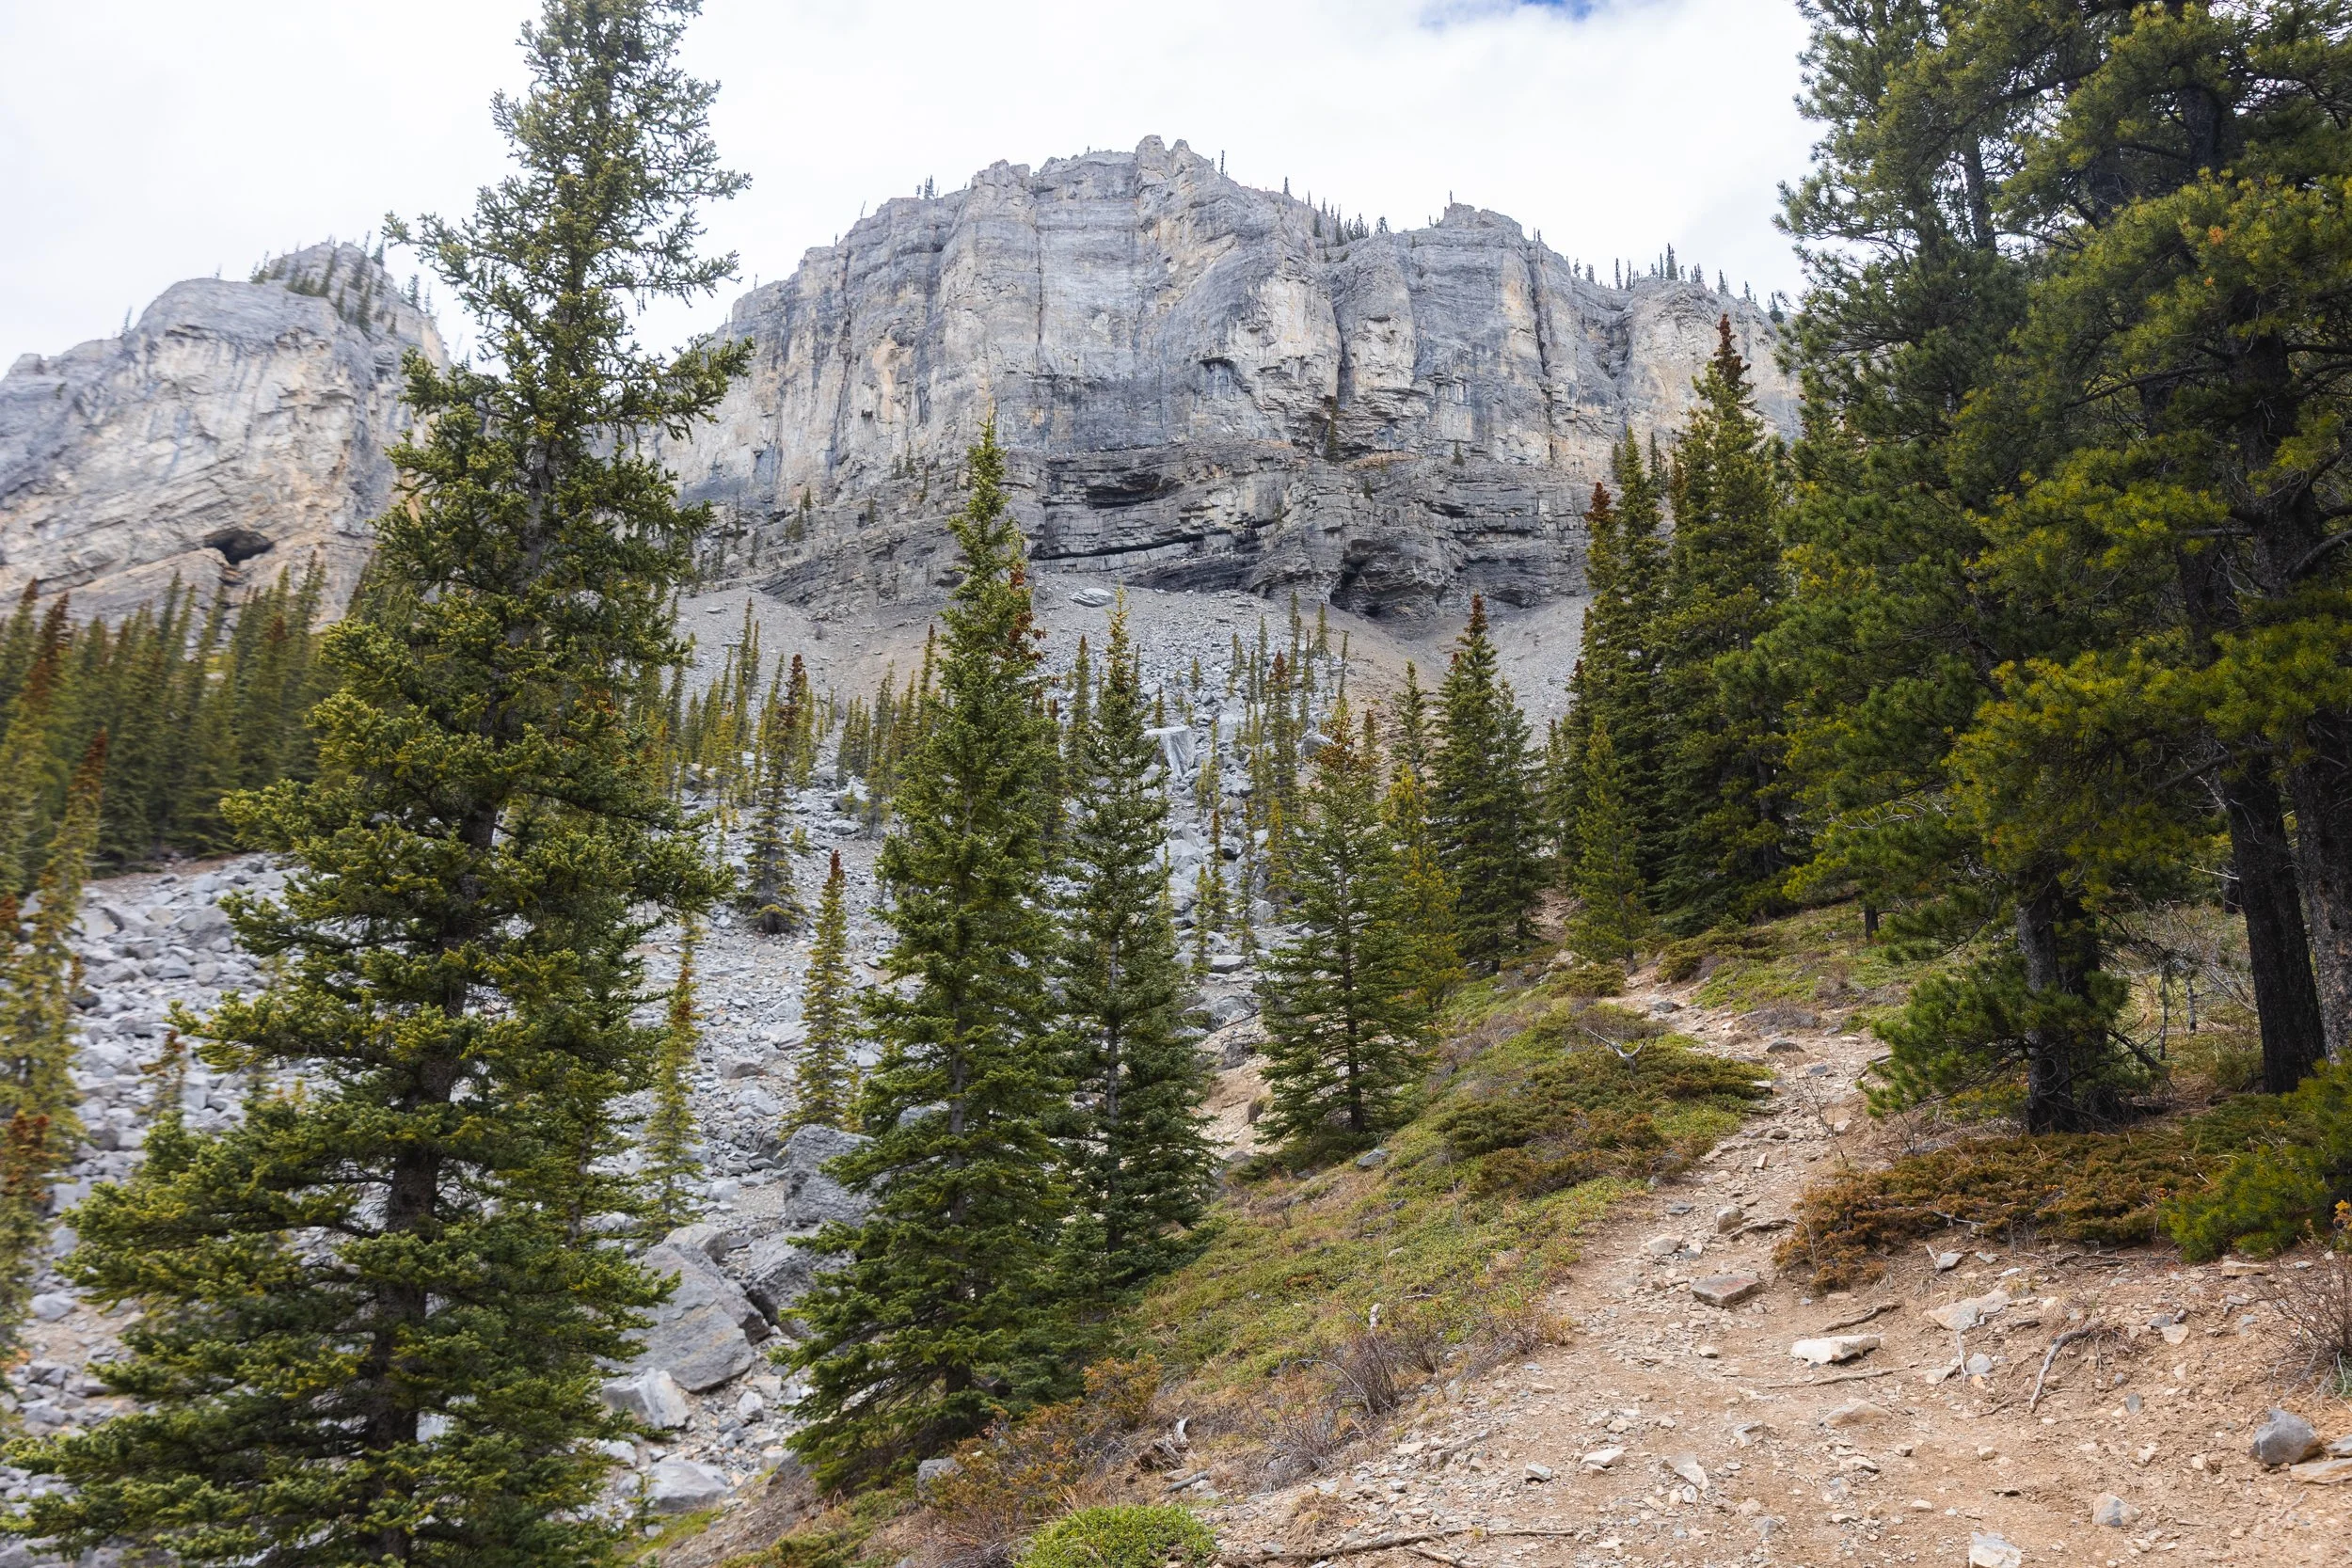
The above upward trail looks tempting and you can get to the cave eventually this way but it involves some steeper more technical terrain. At this point rather than going right take the dip down in to the gulley and back up the other side for an easier approach.
Callum heading the right way!
After the dip the trail becomes steeper and filled with scree. It isn’t super easy going and some hiking poles and good boots are definitely helpful. Although steep it’s relatively short and manageable by most hikers.
Before long you’ll see the mouth of the cave, a towering, black, wide crack in the rock face. The cave was larger than I expected!
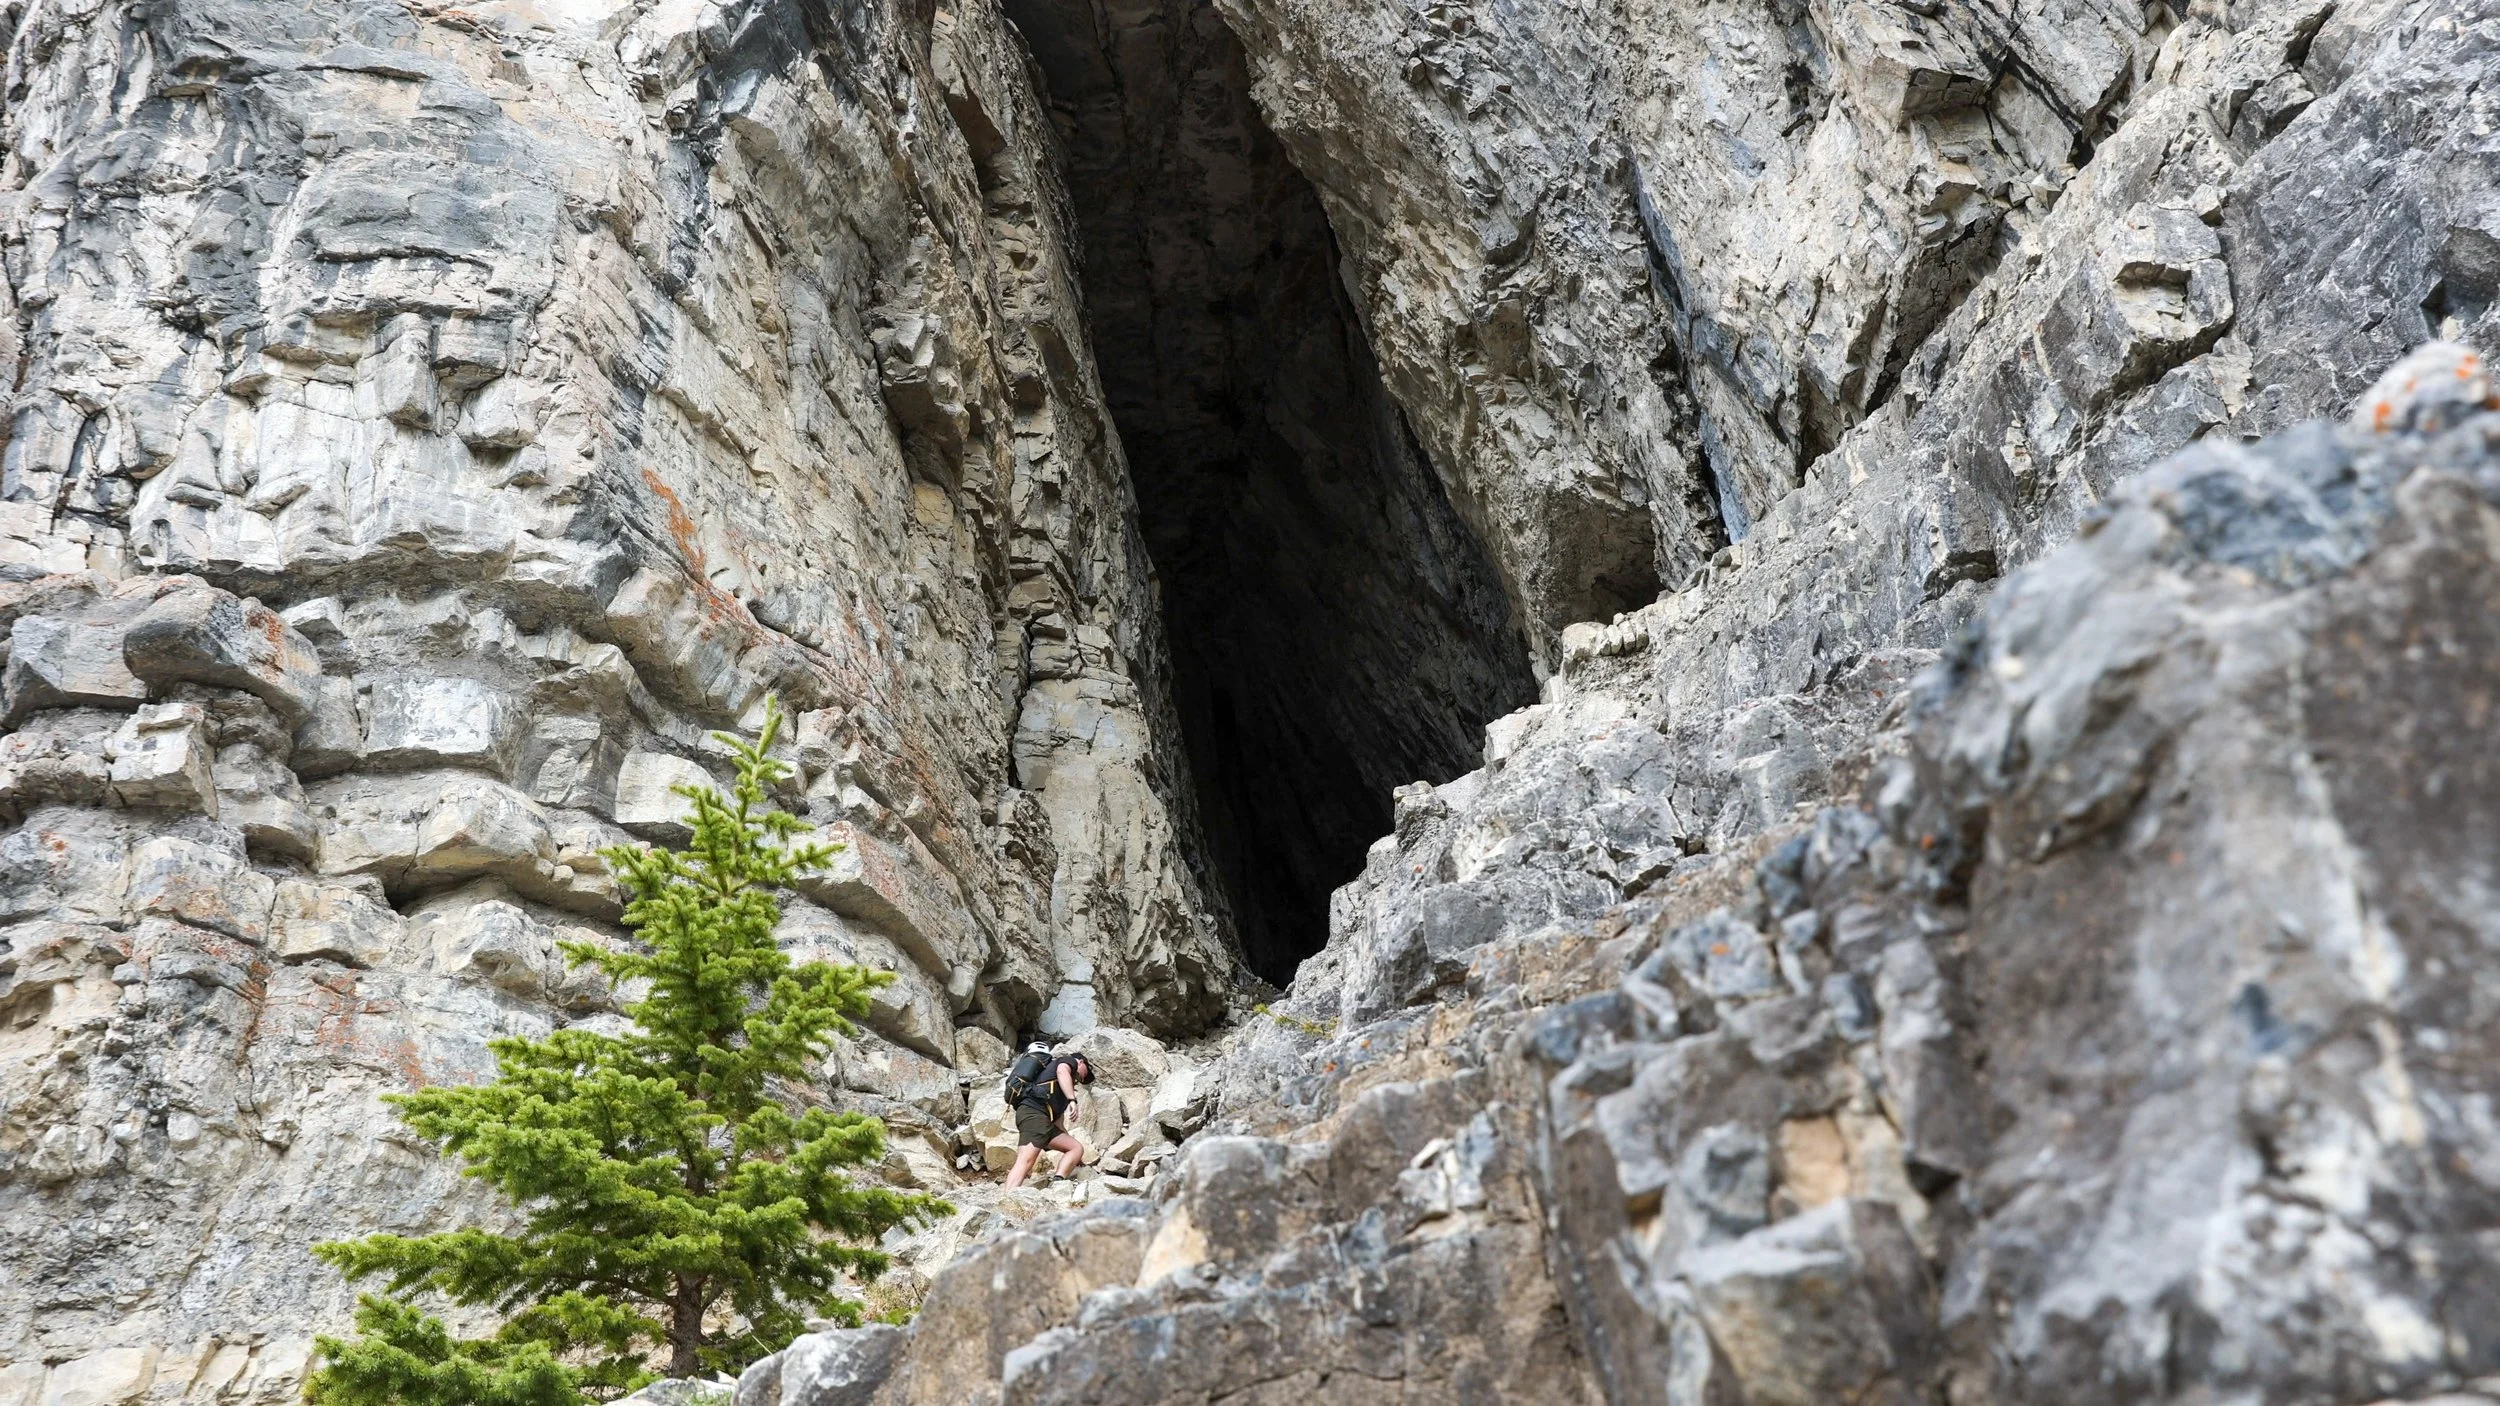
Approaching the mouth of the cave.
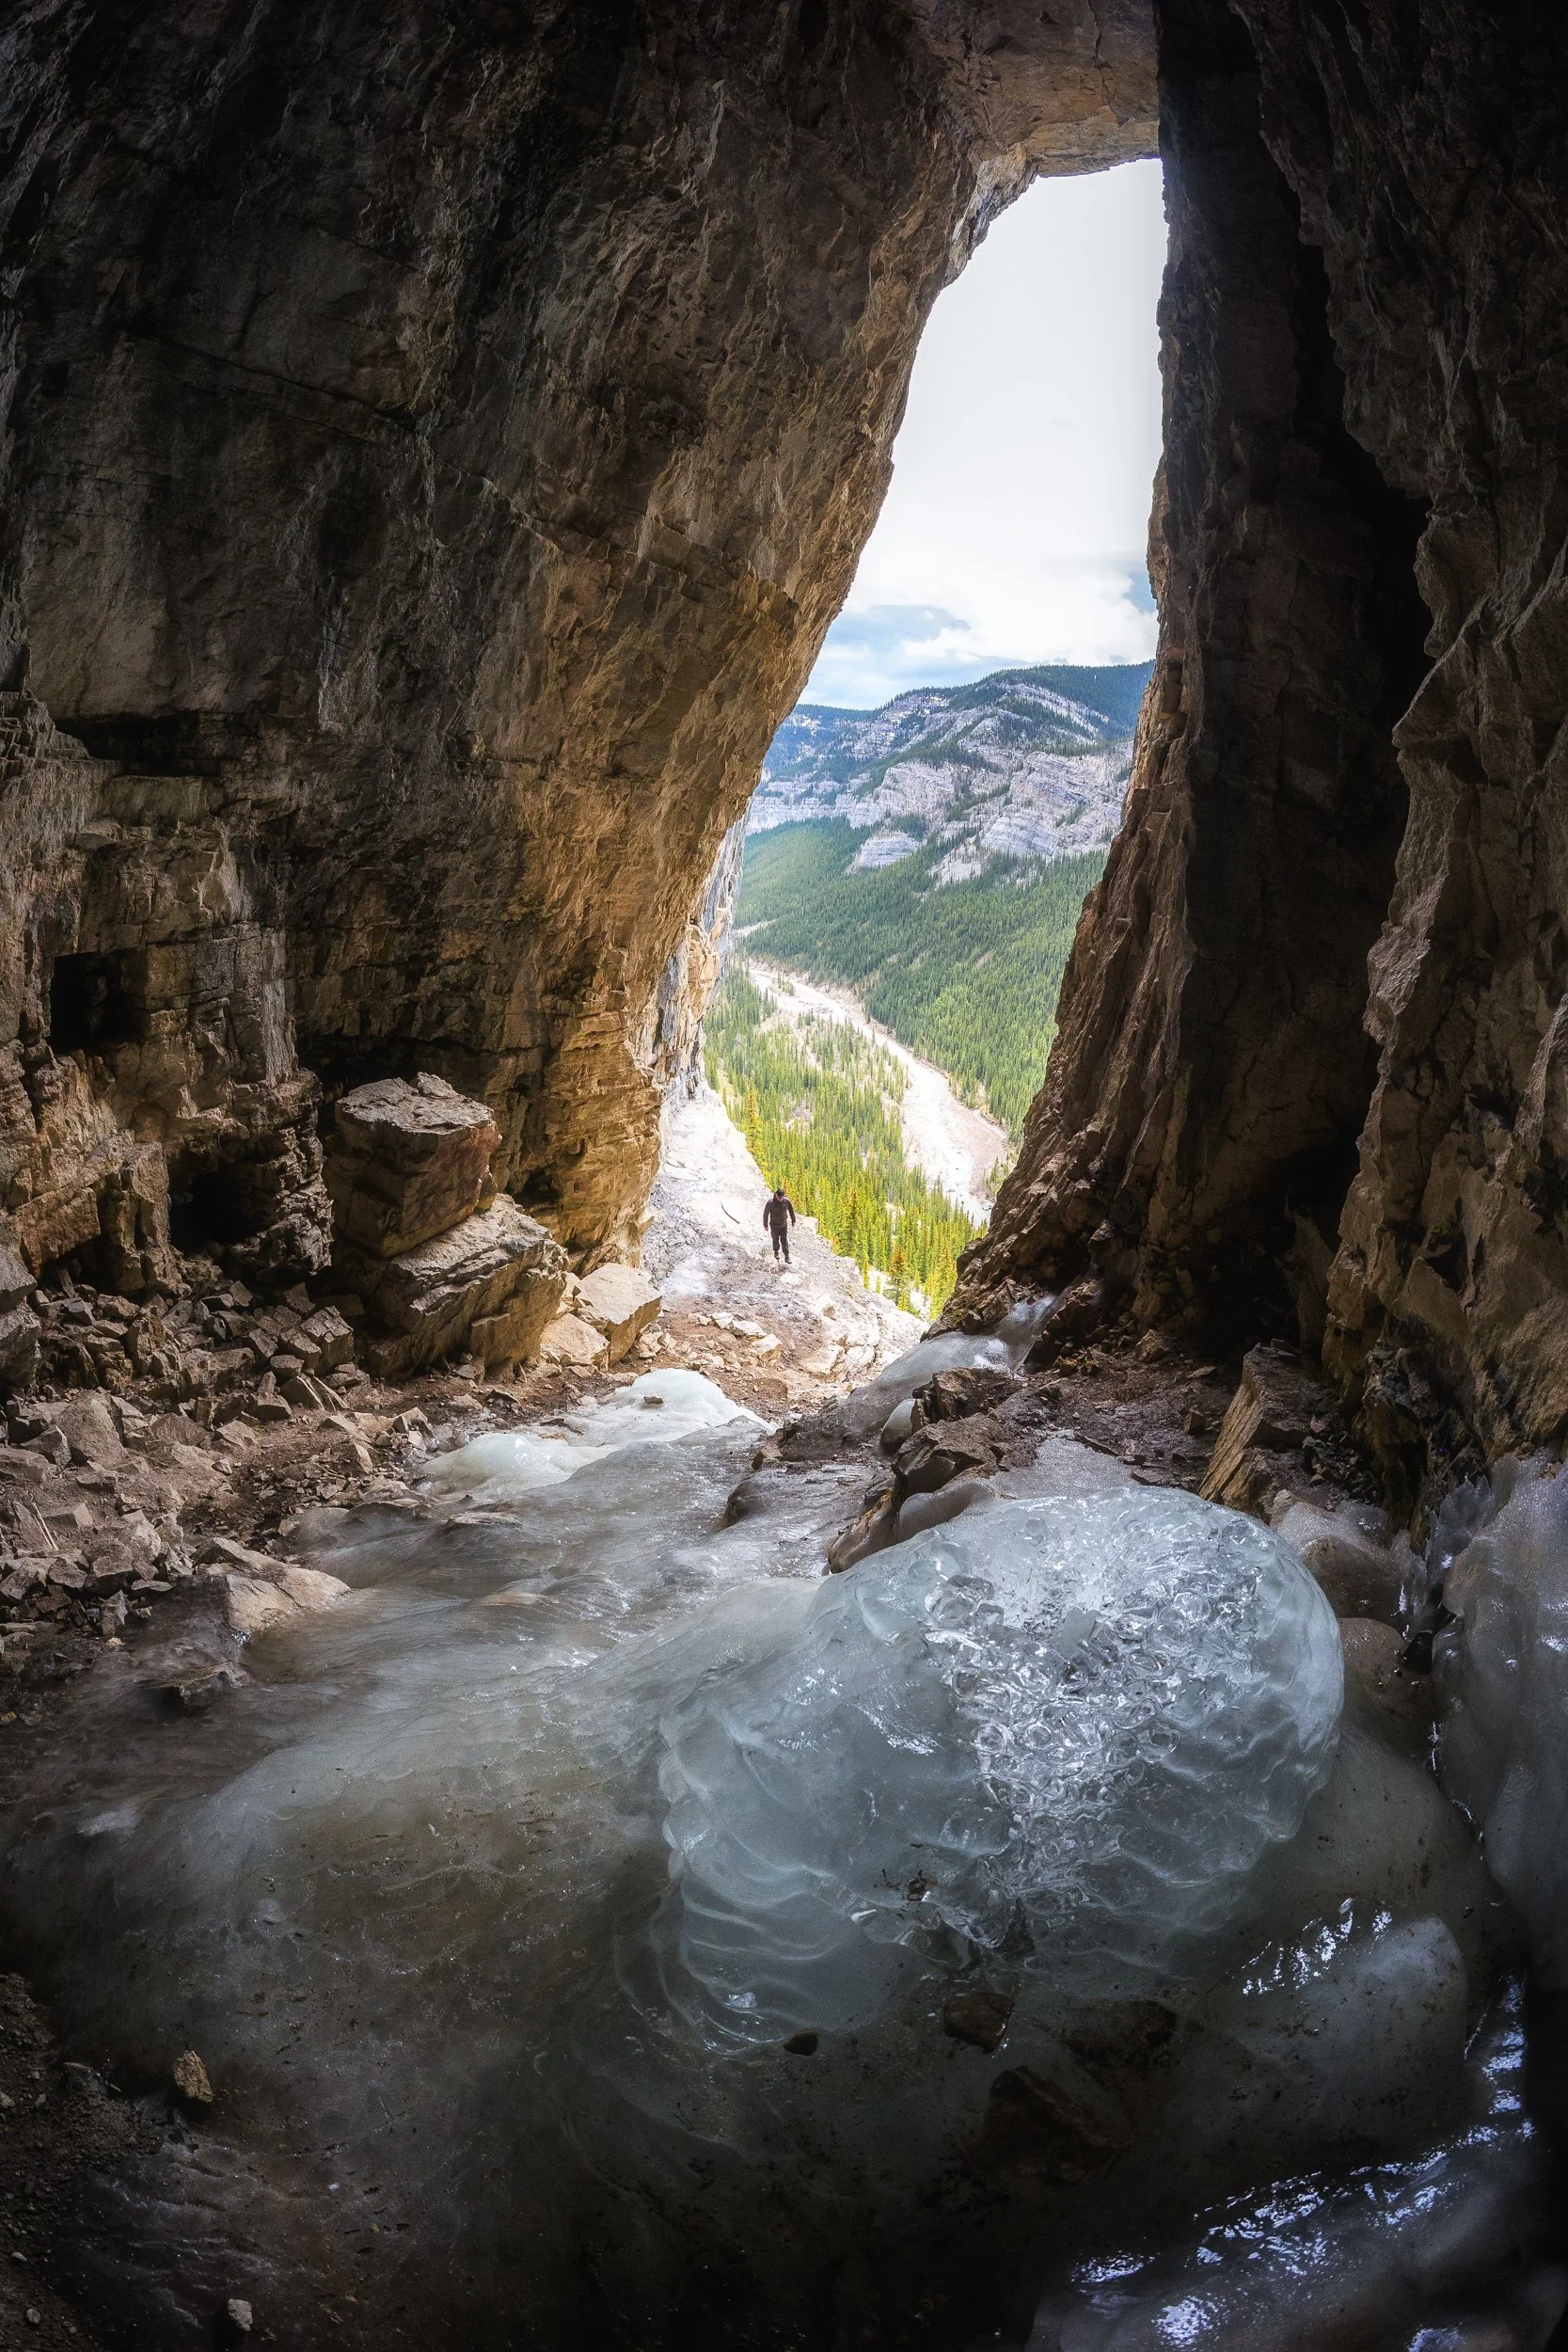
Ice formations as you look out to the valley from within the cave.
Inside the cave, if you catch it at the right time, are icicles drip from the ceiling causing what look like ice stalagmites to form on the cave floor. The temperature drops considerably when venturing even just a few meters back in to the cave. You’ll want to take an extra layer with you on this one even on a sunny summers day!
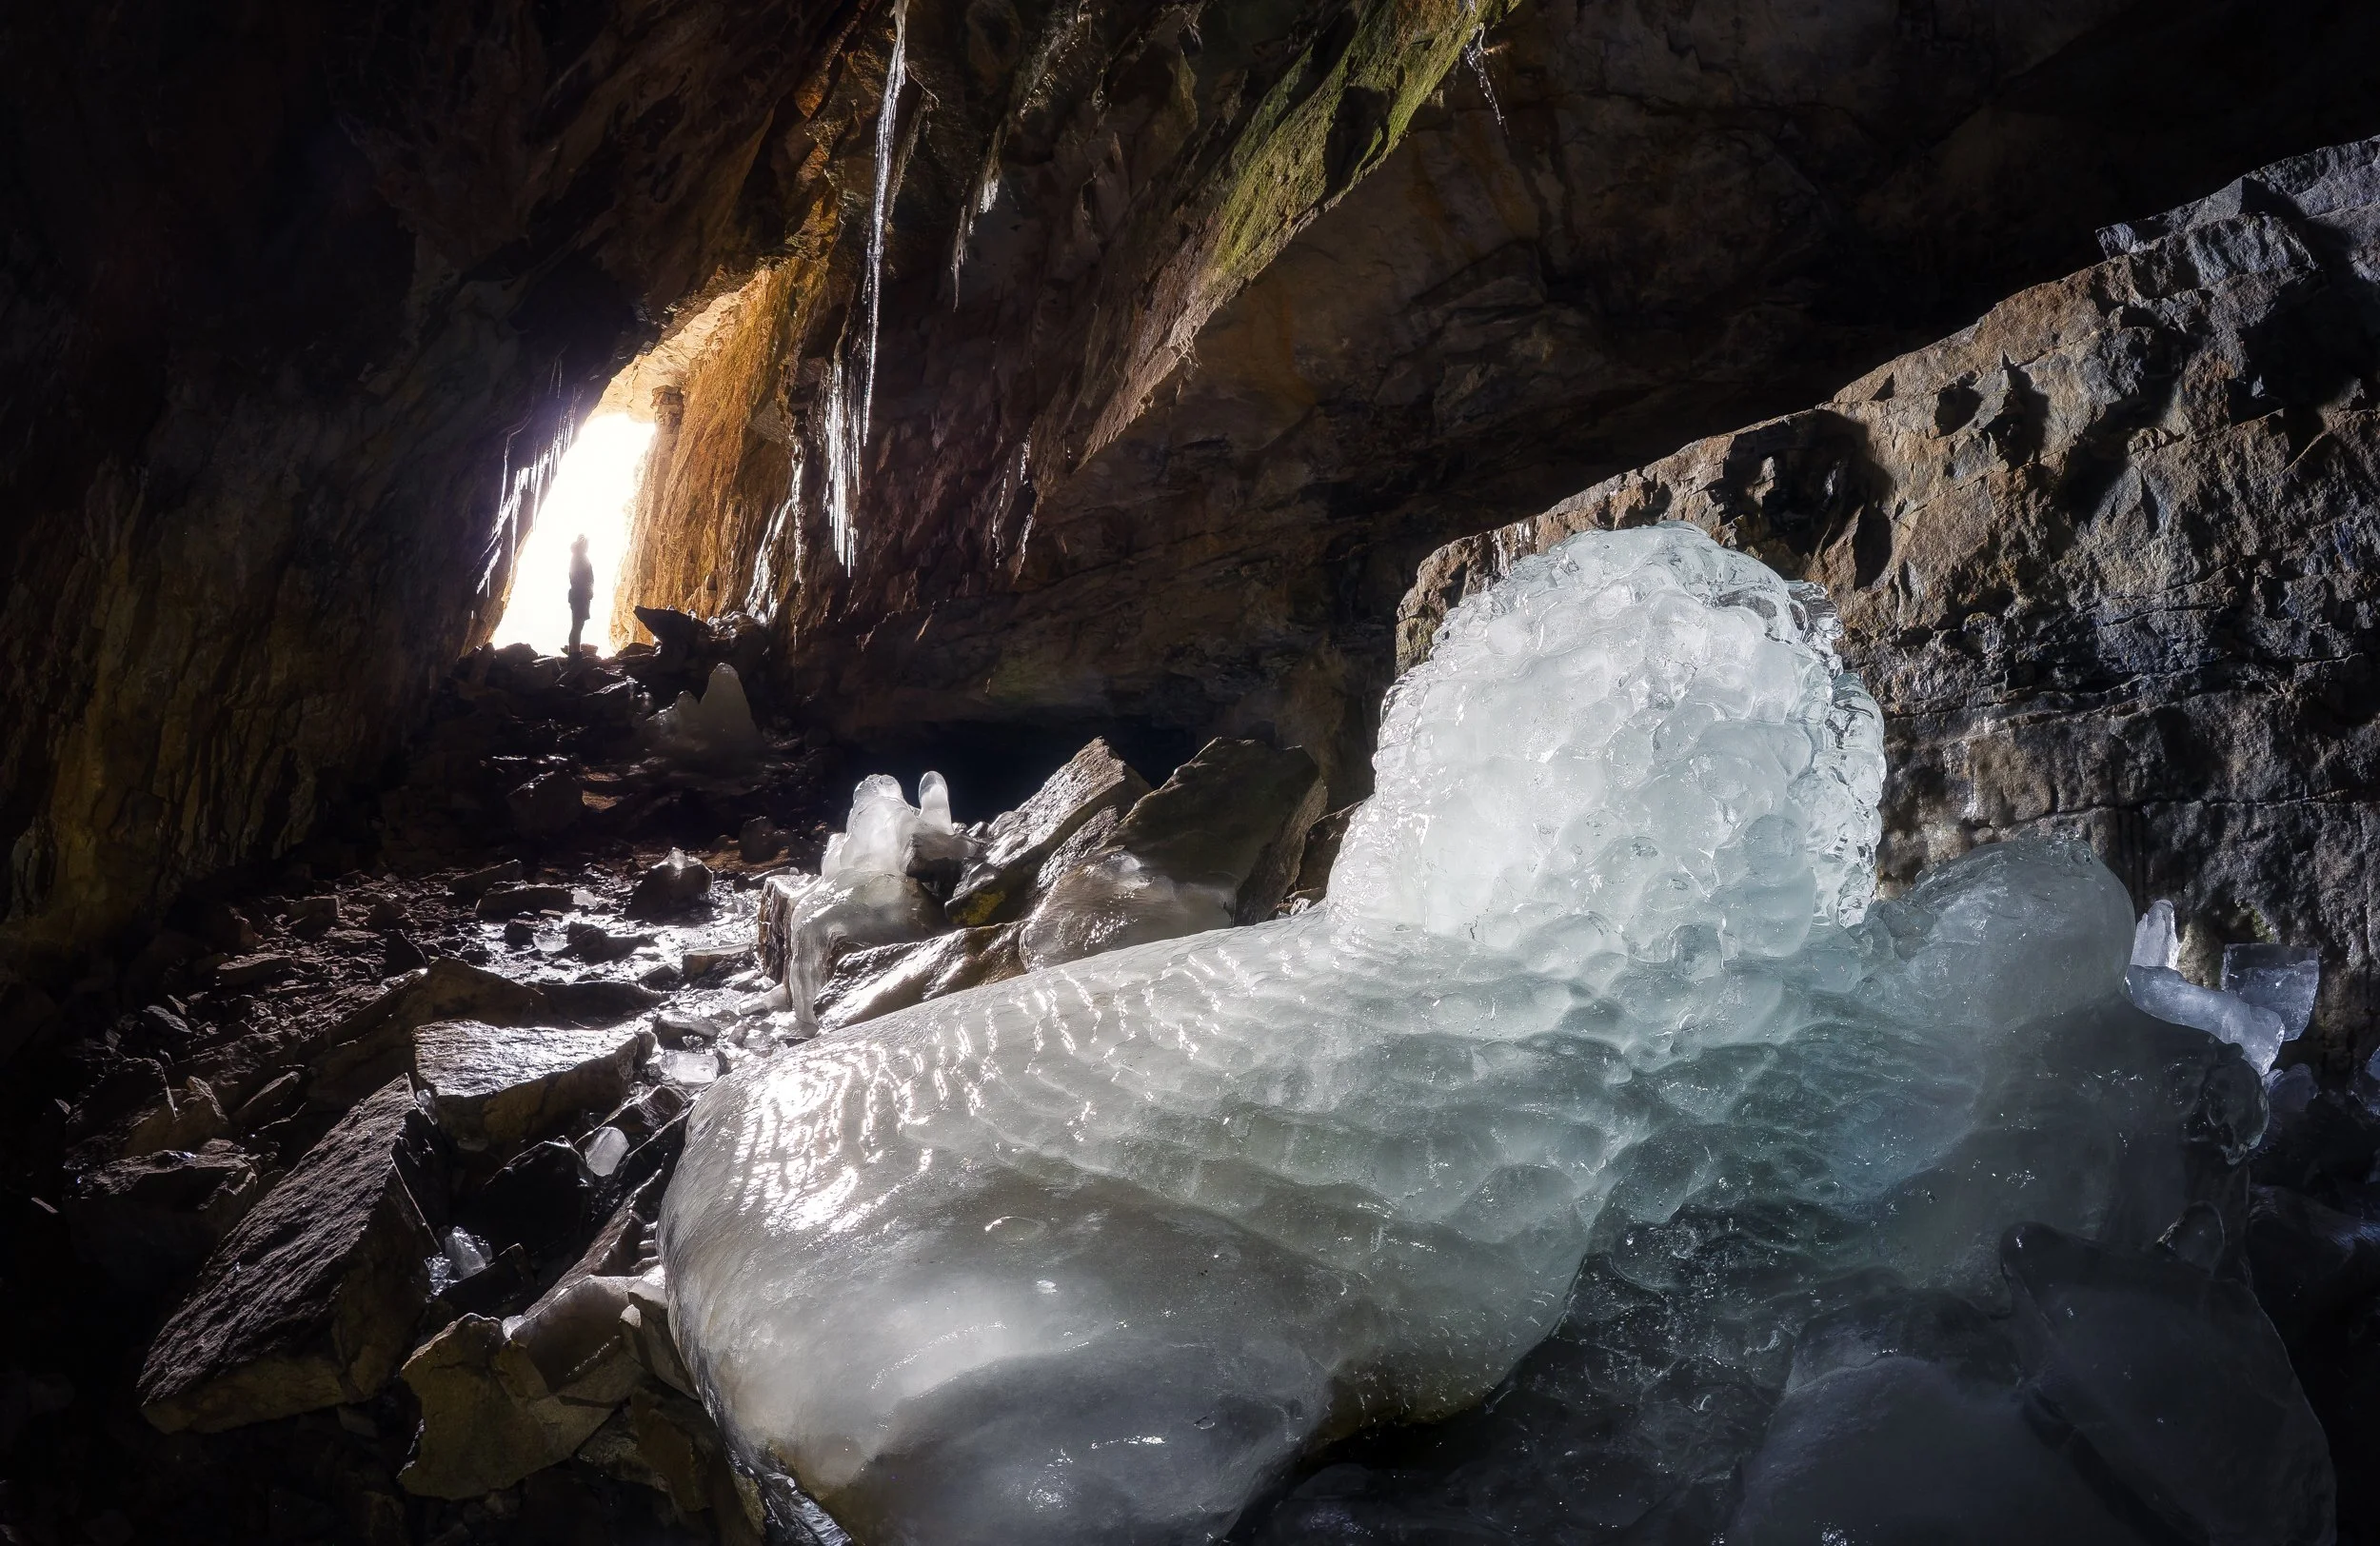
Sunlight illuminates the first section of the cave due to the caves generous opening. However once you venture just a little further back in to the mountain the light quickly vanishes.
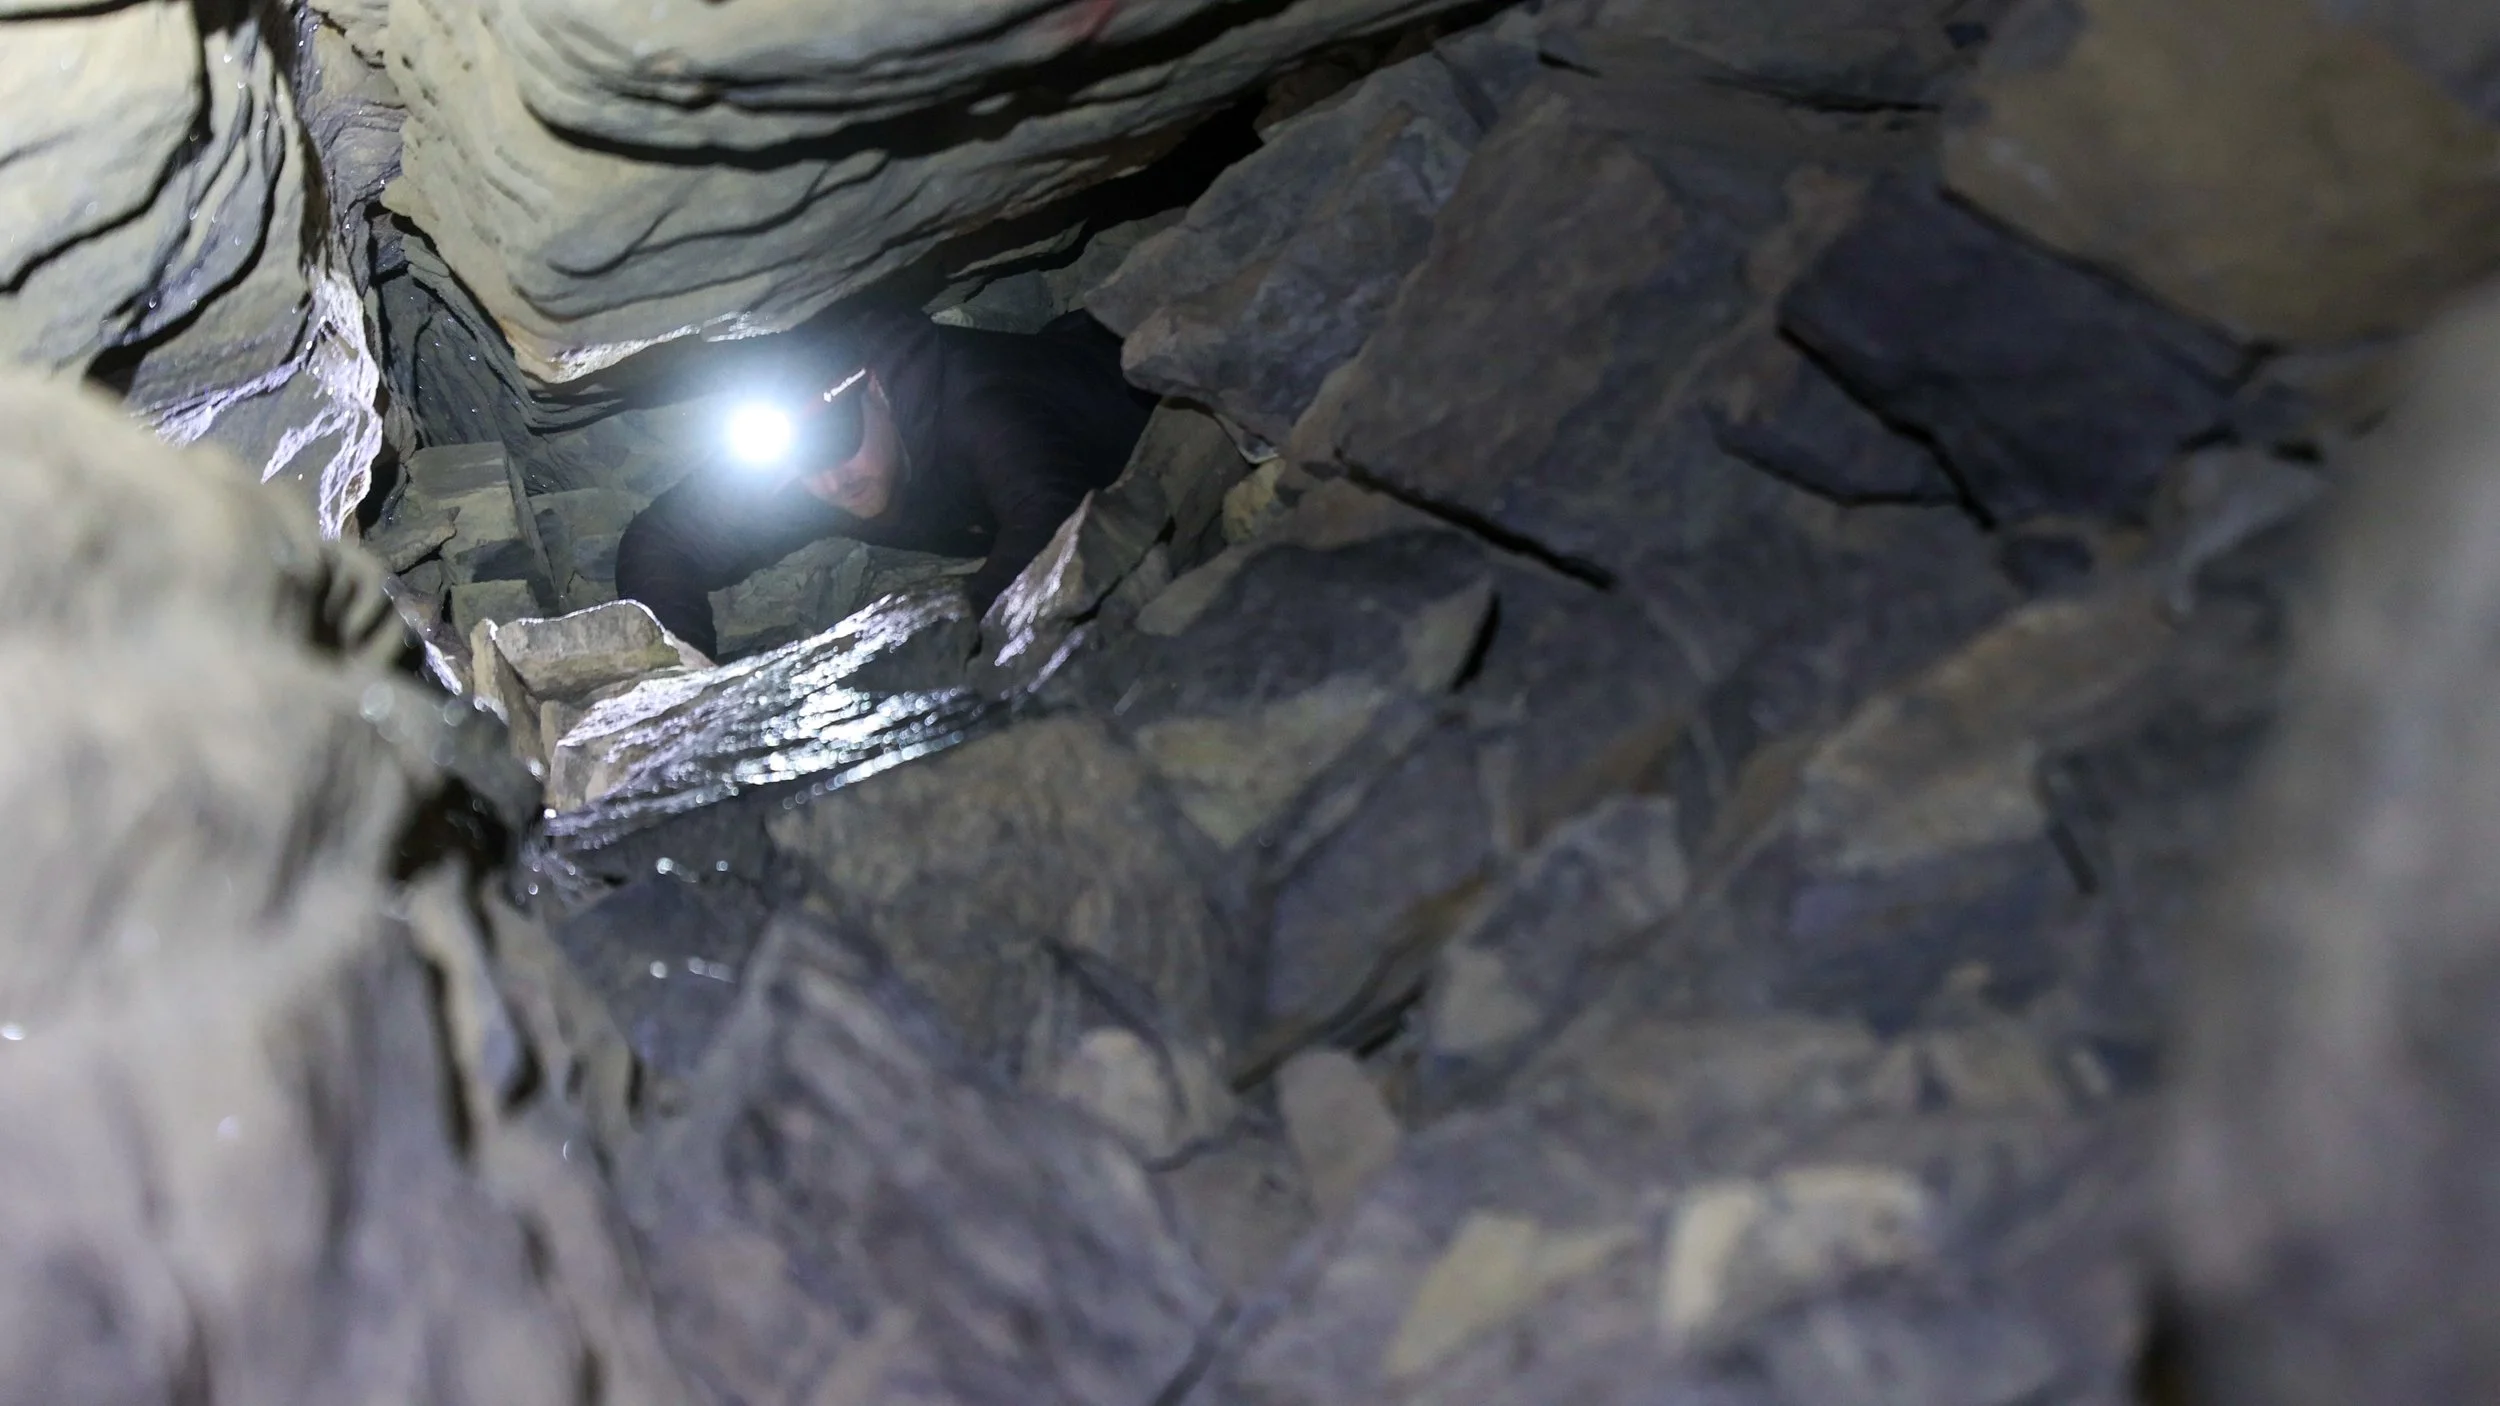
If heading back this way I’d highly recommend bringing a long a head torch to help you navigate and if venturing even further a helmet is recommended.
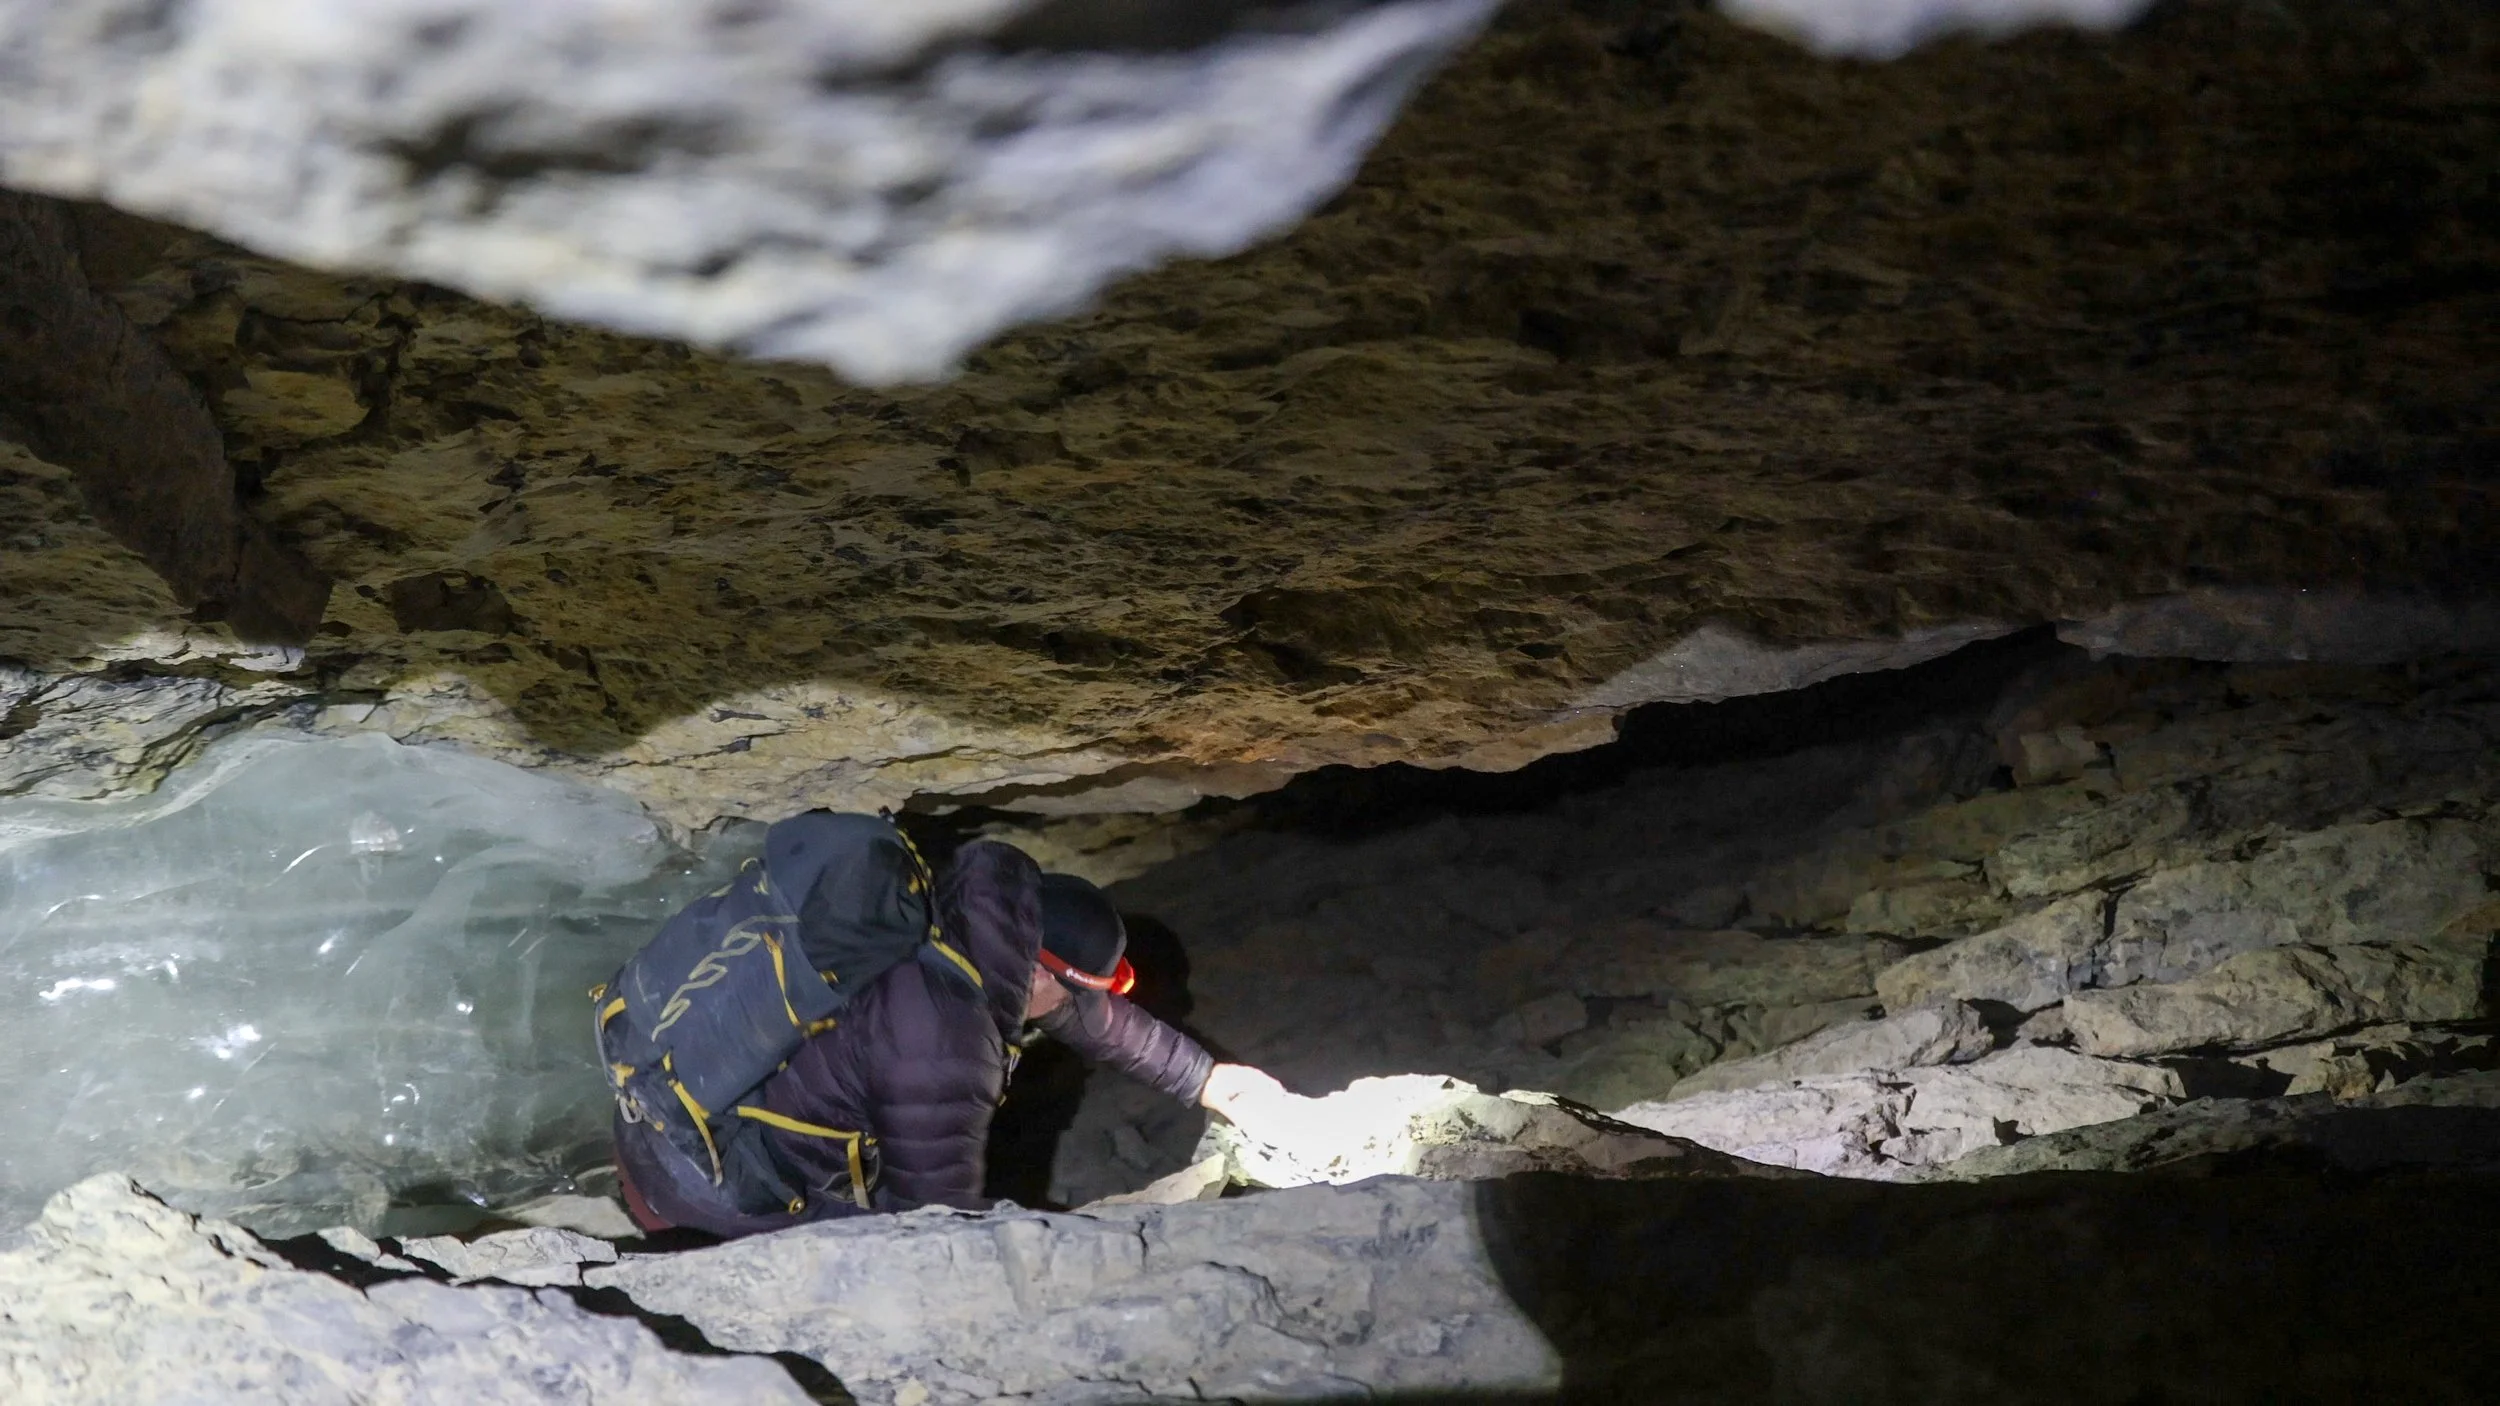
Tight squeezes further back in the cave.
I thought Canyon Creek ice cave would be a bit of a tourist trap, an easy adventure and a little over crowded, however we went early, traveled by bike and beat the crowd.
It might have just been good timing but I was really impressed with the quantity of ice formations in the cave. I’d highly recommend checking this place out!
Things to know Before You Go
Parks and Conservation Passes: Whether you’re hiking in a national park in Canada or certain provincial parks you’ll most likely need some kind of conservation pass. A Discovery Pass will cover you for the year for all national parks in Canada whilst the Kananaskis Conservation Pass covers the provincial and wildland parks in the Kananaskis region.
Check Trail Conditions Before You Go: Trail conditions in the Rockies can change month to month and year to year. Trails close for wildlife, weather and avalanche hazards. Be sure to double check trail conditions before heading out to avoid any disappointment. You can do so here!
Leave No Trace: When hiking anywhere in the world it’s important that you practice a leave no trace philosophy. This means whatever you hike in to a trail or campground you have to be able to hike out too. There won’t be trash cans or waste disposal in the backcountry and you should never throw trash in any out houses or pit toilets. In recent years, as trails and parks become busier, litter is becoming more of a problem. Don’t add to that problem!
Bears and Wildlife! Wild life is everywhere in the Canadian Rockies, even on trails that are close to town. People and animals have been attacked by bears and other wild life on popular trails in the past so don’t take it for granted.
Most wildlife is looking to avoid human contact so no matter what type of wildlife you see be sure to keep your distance. 30 metres is the minimum recommendation for most species but under any circumstance don’t approach wildlife. Even the cuddliest of critters can be dangerous!
So as always be bear aware, make noise, hike in groups, carry bear spray and, if they’re allowed on trail, keep your dog on a leash!
Offline maps knowing where you’re going is super important as to not get lost. I recommend All Trails Plusfor finding routes and offline mapping allowing you to safely find your way home.
Interested in other multi-day hikesin the Canadian Rockies or maybe day hikes?
Gear Recommendations
After 10 years living in the Canadian Rockies, years working in retail and years reviewing outdoor gear I’ve dialled in my backcountry kit! And on all day hikes there are definitely a few things I always take with me to make my trip safer, easier and more enjoyable.

Merino Socks
Merino socks are a must for any hike. They keep you dryer, warmer and smelling better!
Once you go merino you never go back!
My socks are now 100% Smartwool!
Get them at Smartwool.com
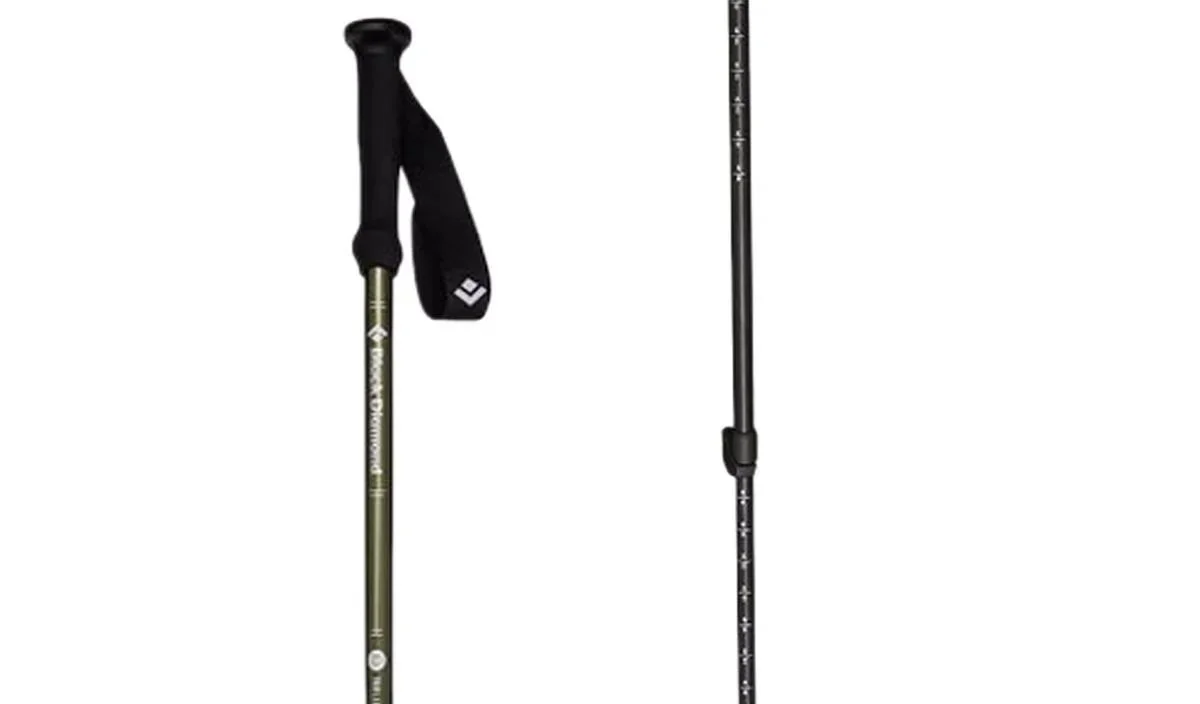
Hiking Poles
Poles are often overlooked by new hikers and seen as unnecessary. However once you use them you’ll never go back! They make you more efficient and take the weight of your knees!
Get it on Backcountry.com

Down Jacket
No matter what the weather I carry a lightweight down jacket. The Arcteryx Cerium is light and very warm! Perfect for keeping you toasty when you take a break or if you were injured and awaiting help.
Get it on REI.com
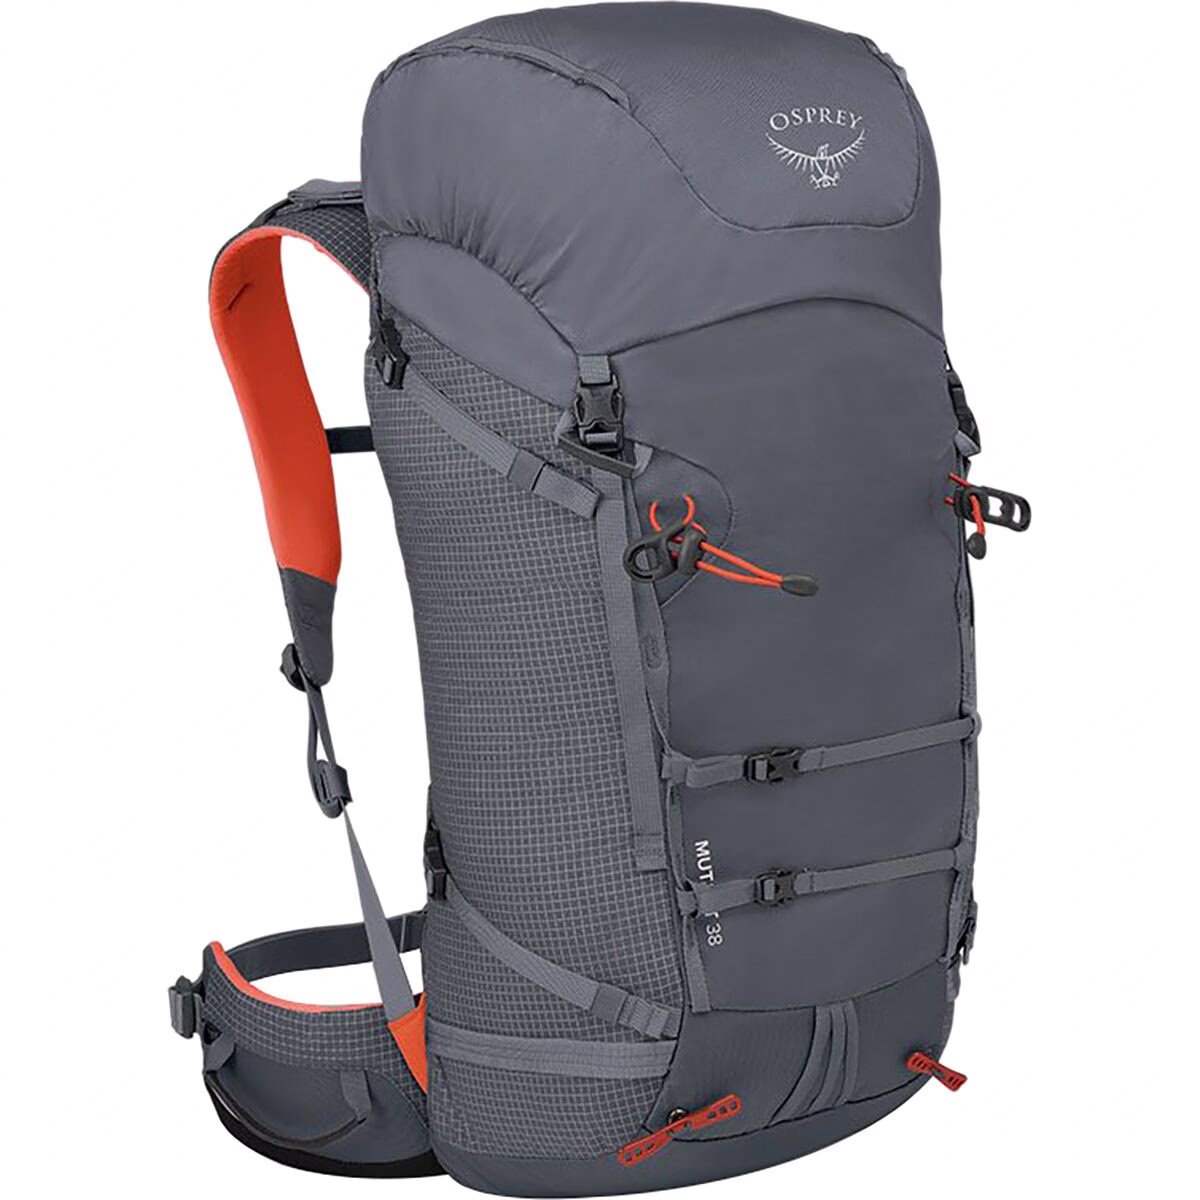
Comfortable Day Pack
The Osprey Mutant is my favourite day bag. Even though it’s designed more for scrambling or mountaineering this bag is one of the most comfortable bags I own and has enough space for everything I need.
Get it on Backcountry.com
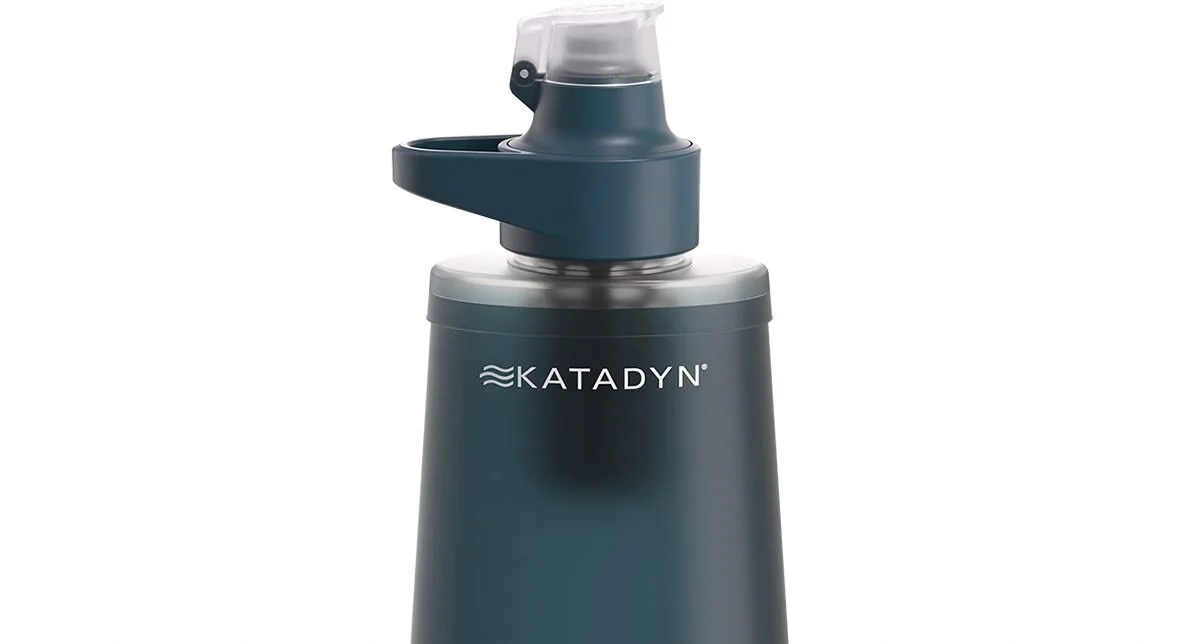
Water Filter
A Katadyn BeFree has to be the easiest filtration system to use. When out on the backcountry you want to be able to filter and refill your water along the way.
This filter packs down small and filters fast. It’s in my bag on every hike!
Get it on Backcountry.com

Capture Clip
Another item that comes on every hike with me and a must own for every photographer.
Keeps your camera close at hand making capturing moments much faster!
Get it on Peakdesign.com