Hiking Wasootch Ridge - A Scramble or a Hike?
Wasootch ridge in Kananaskis, Alberta is one of those trails I’ve always considered as an obvious option in the Canadian Rockies. It’s a trail frequented by many a hiker and normally close to the top of people’s must do lists even for beginners. However depending on how much of the trail you complete and how you choose to do it it can become a much bigger adventure!
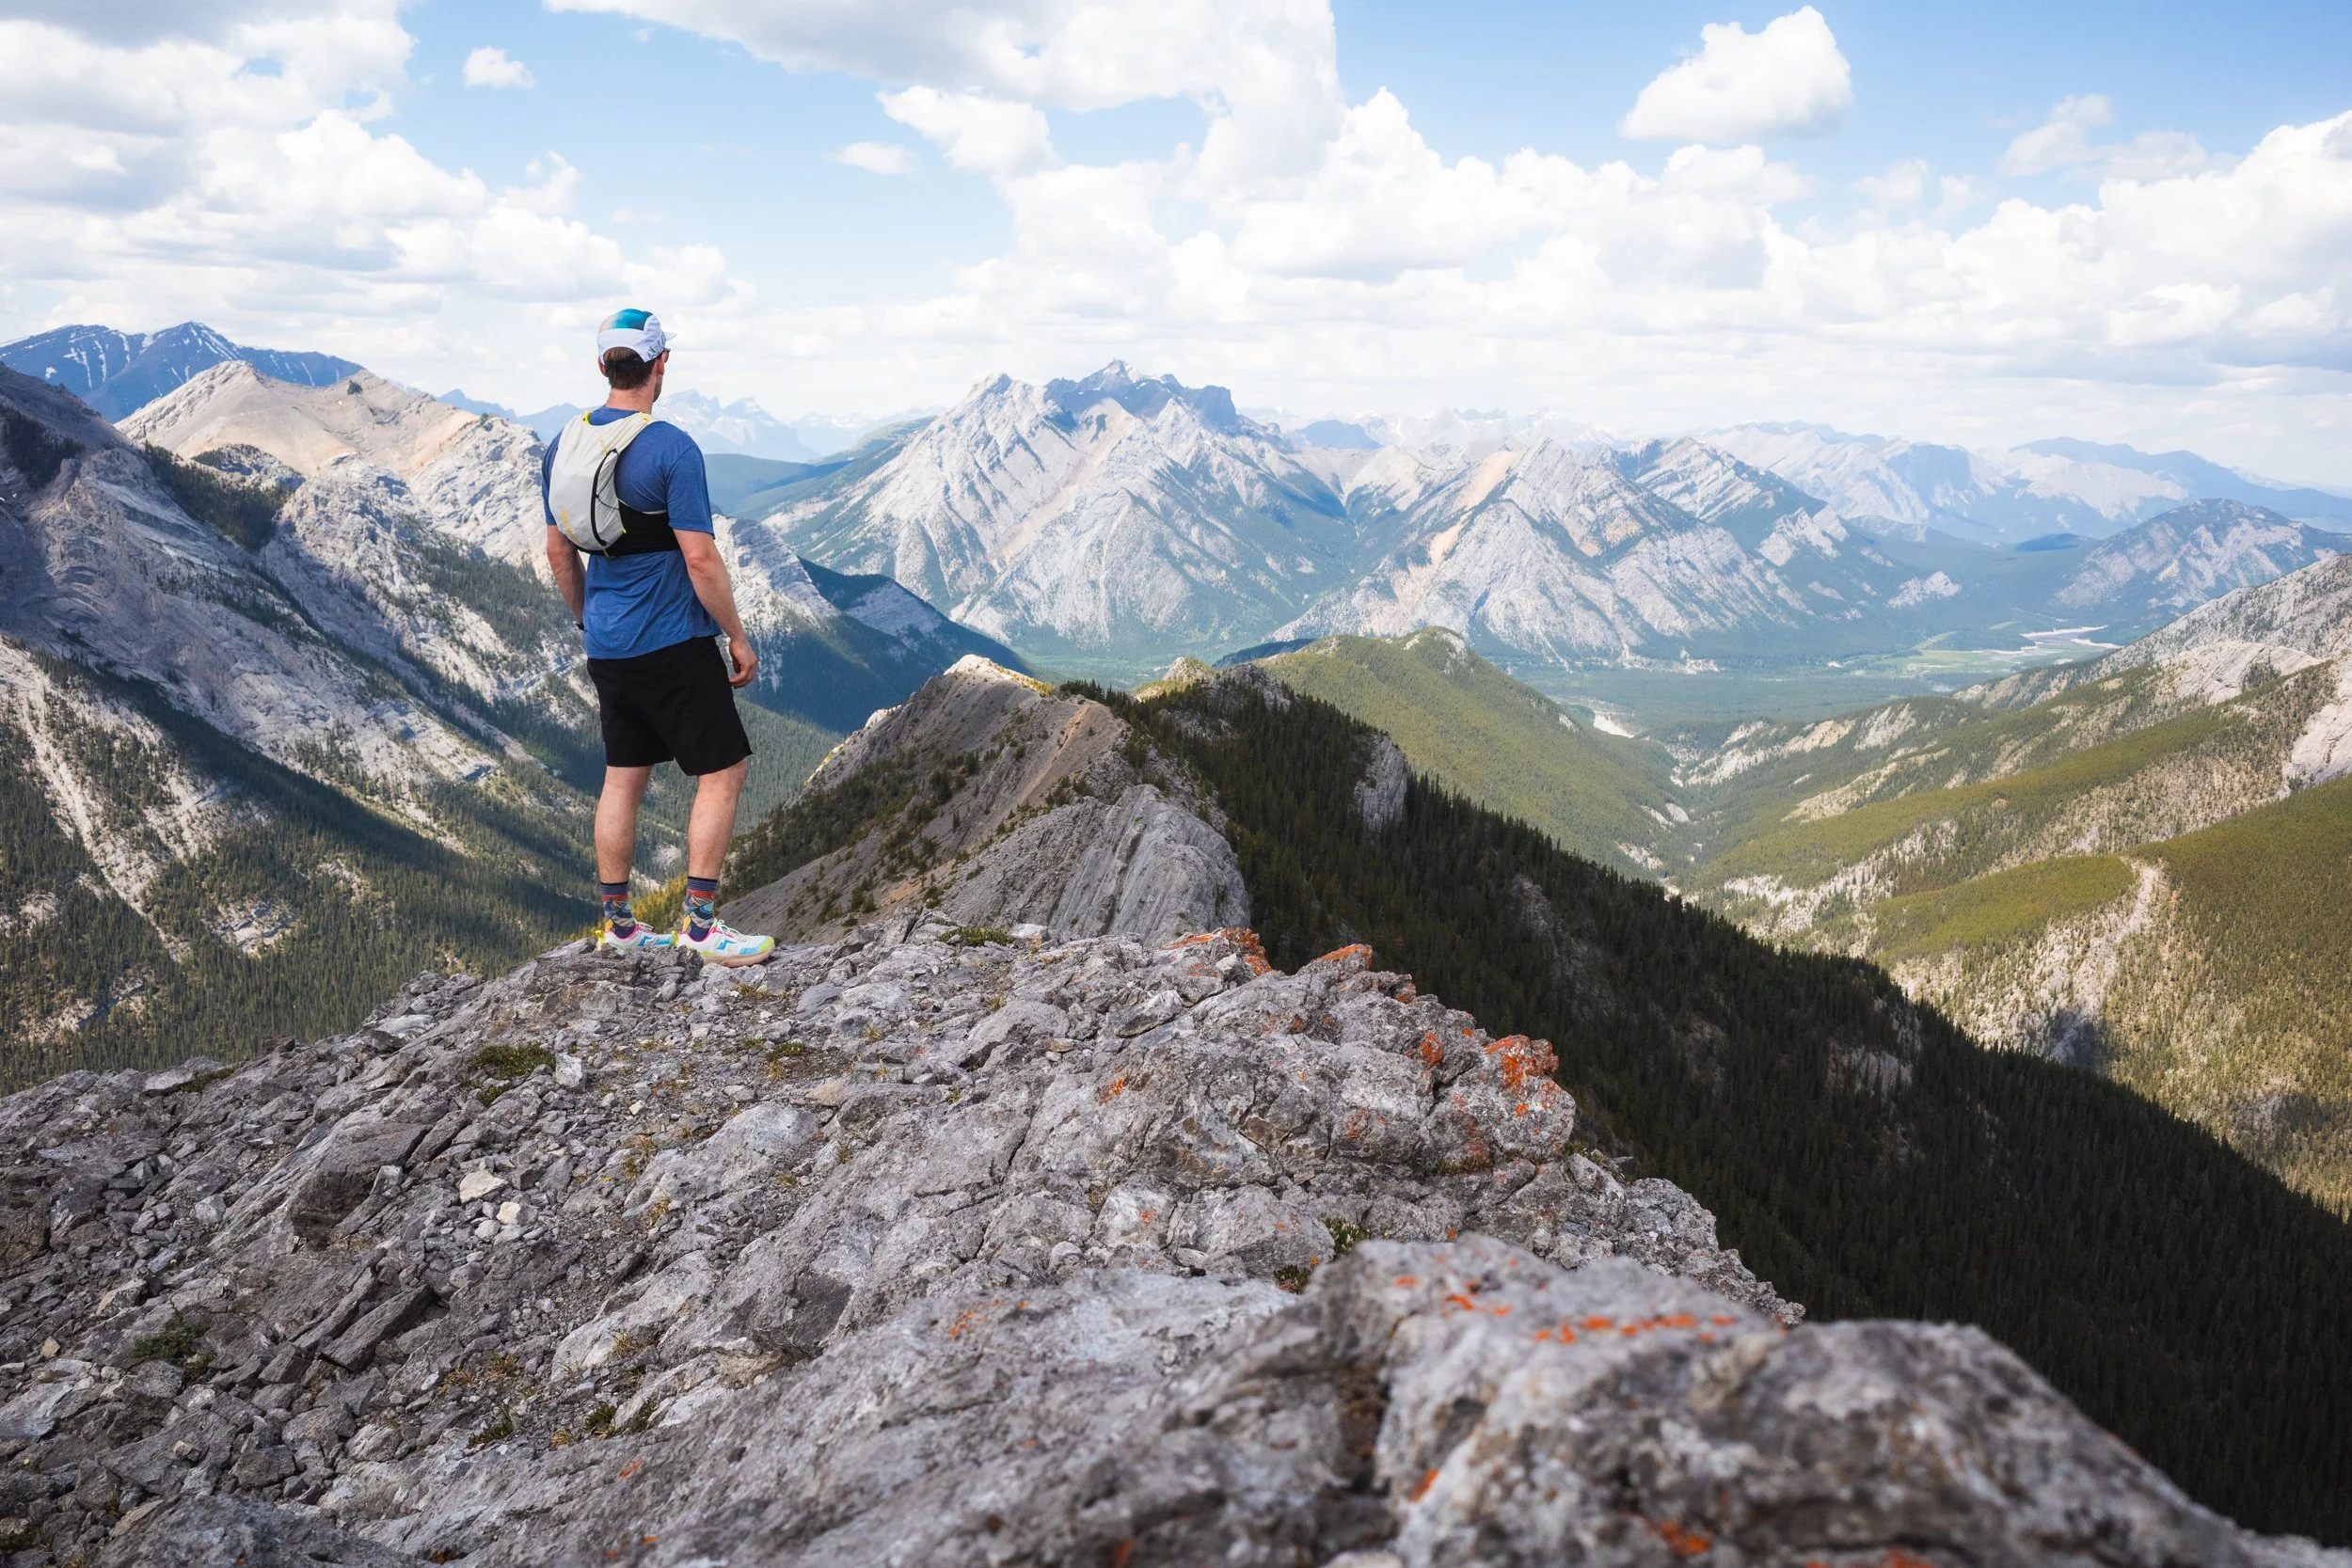
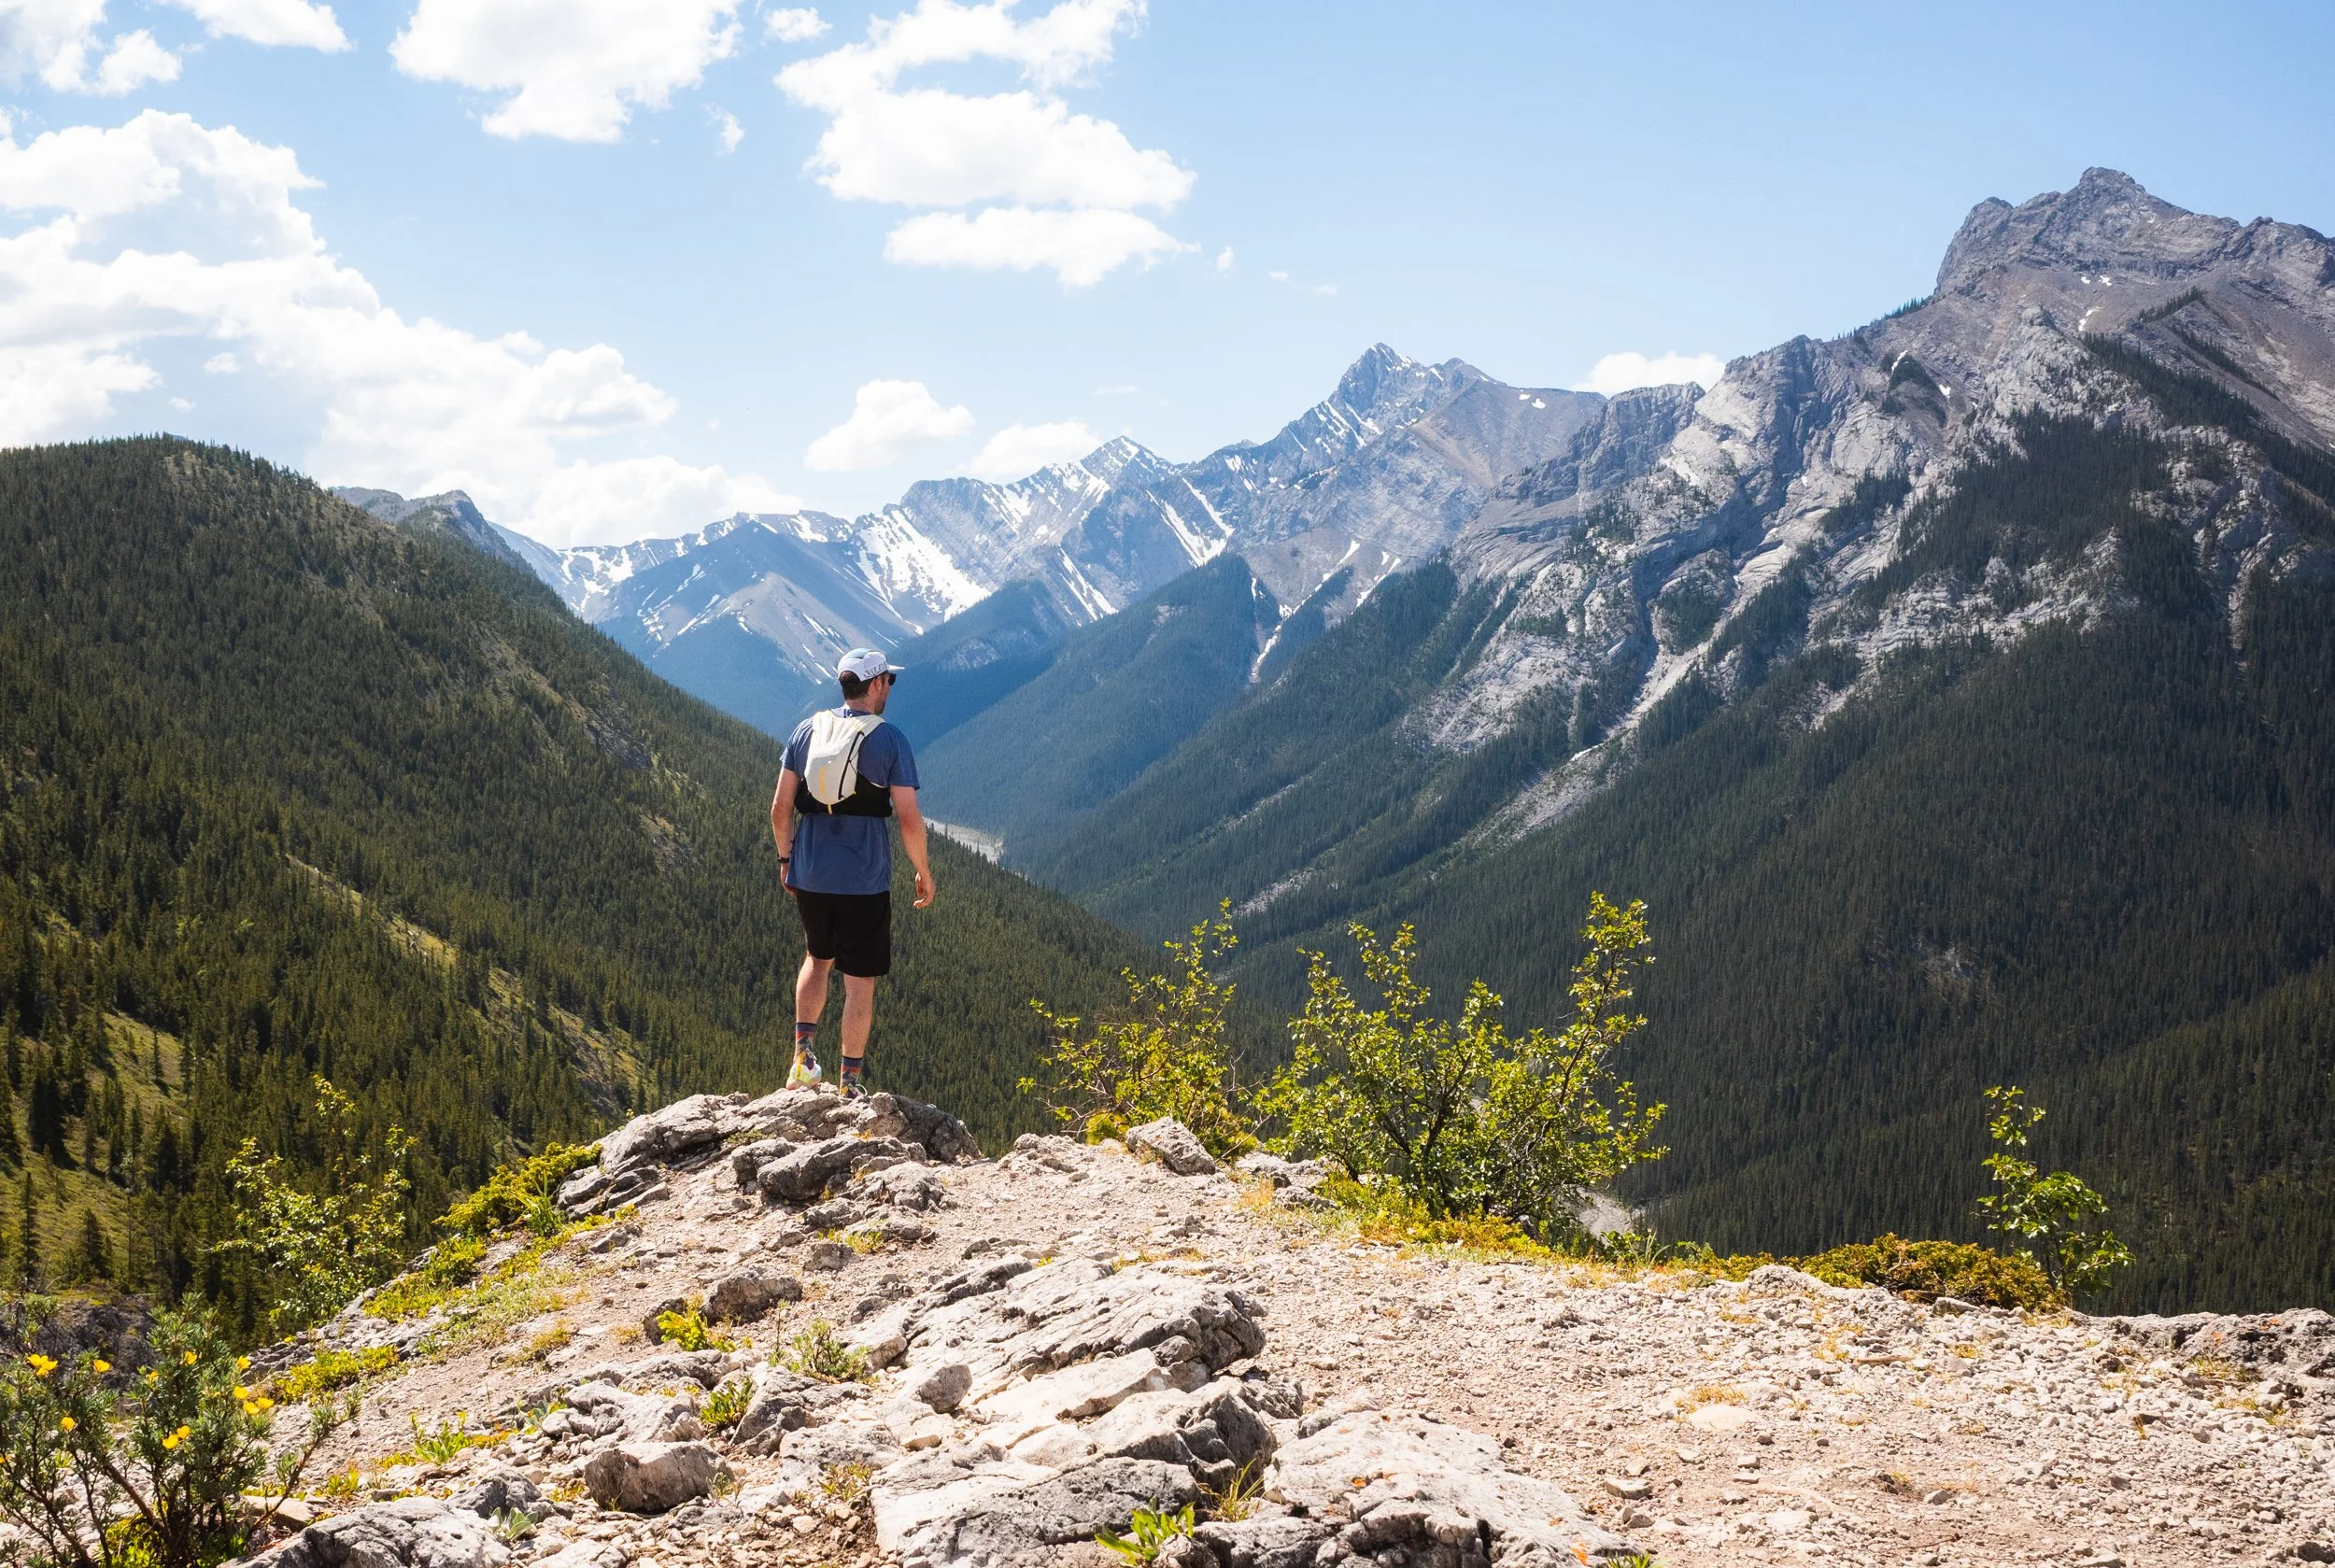
Enjoying the views just before the summit of Wasootch ridge.
The Stats
Time: 4 - 7 hours depending on how far along the ridge you make it!
Distance: 14 km out and back to the true summit, shorter to some of the earlier view points.
Elevation Gain: 1000 m (I recorded about 1130 m)
Difficulty: Hard but can be made a little easier dependent on route choice.
How to get to Wasootch Ridge Trailhead
Wasootch Ridge is one of the first main trails on highway 40 in Kananaskis. From the Trans Canada (Highway 1) take the Kananaskis junction and head south for about 12 minutes then take a left turn off the main road and down to the car park.
The Wasootch Creek car park is spacious and offers basic facilities like a toilet block, picnic benches and randomly a pay phone! Even though there is a good amount of parking, like everything in the Rockies nowadays, it can get busy - especially on weekends. Get there early to avoid dissapointment!
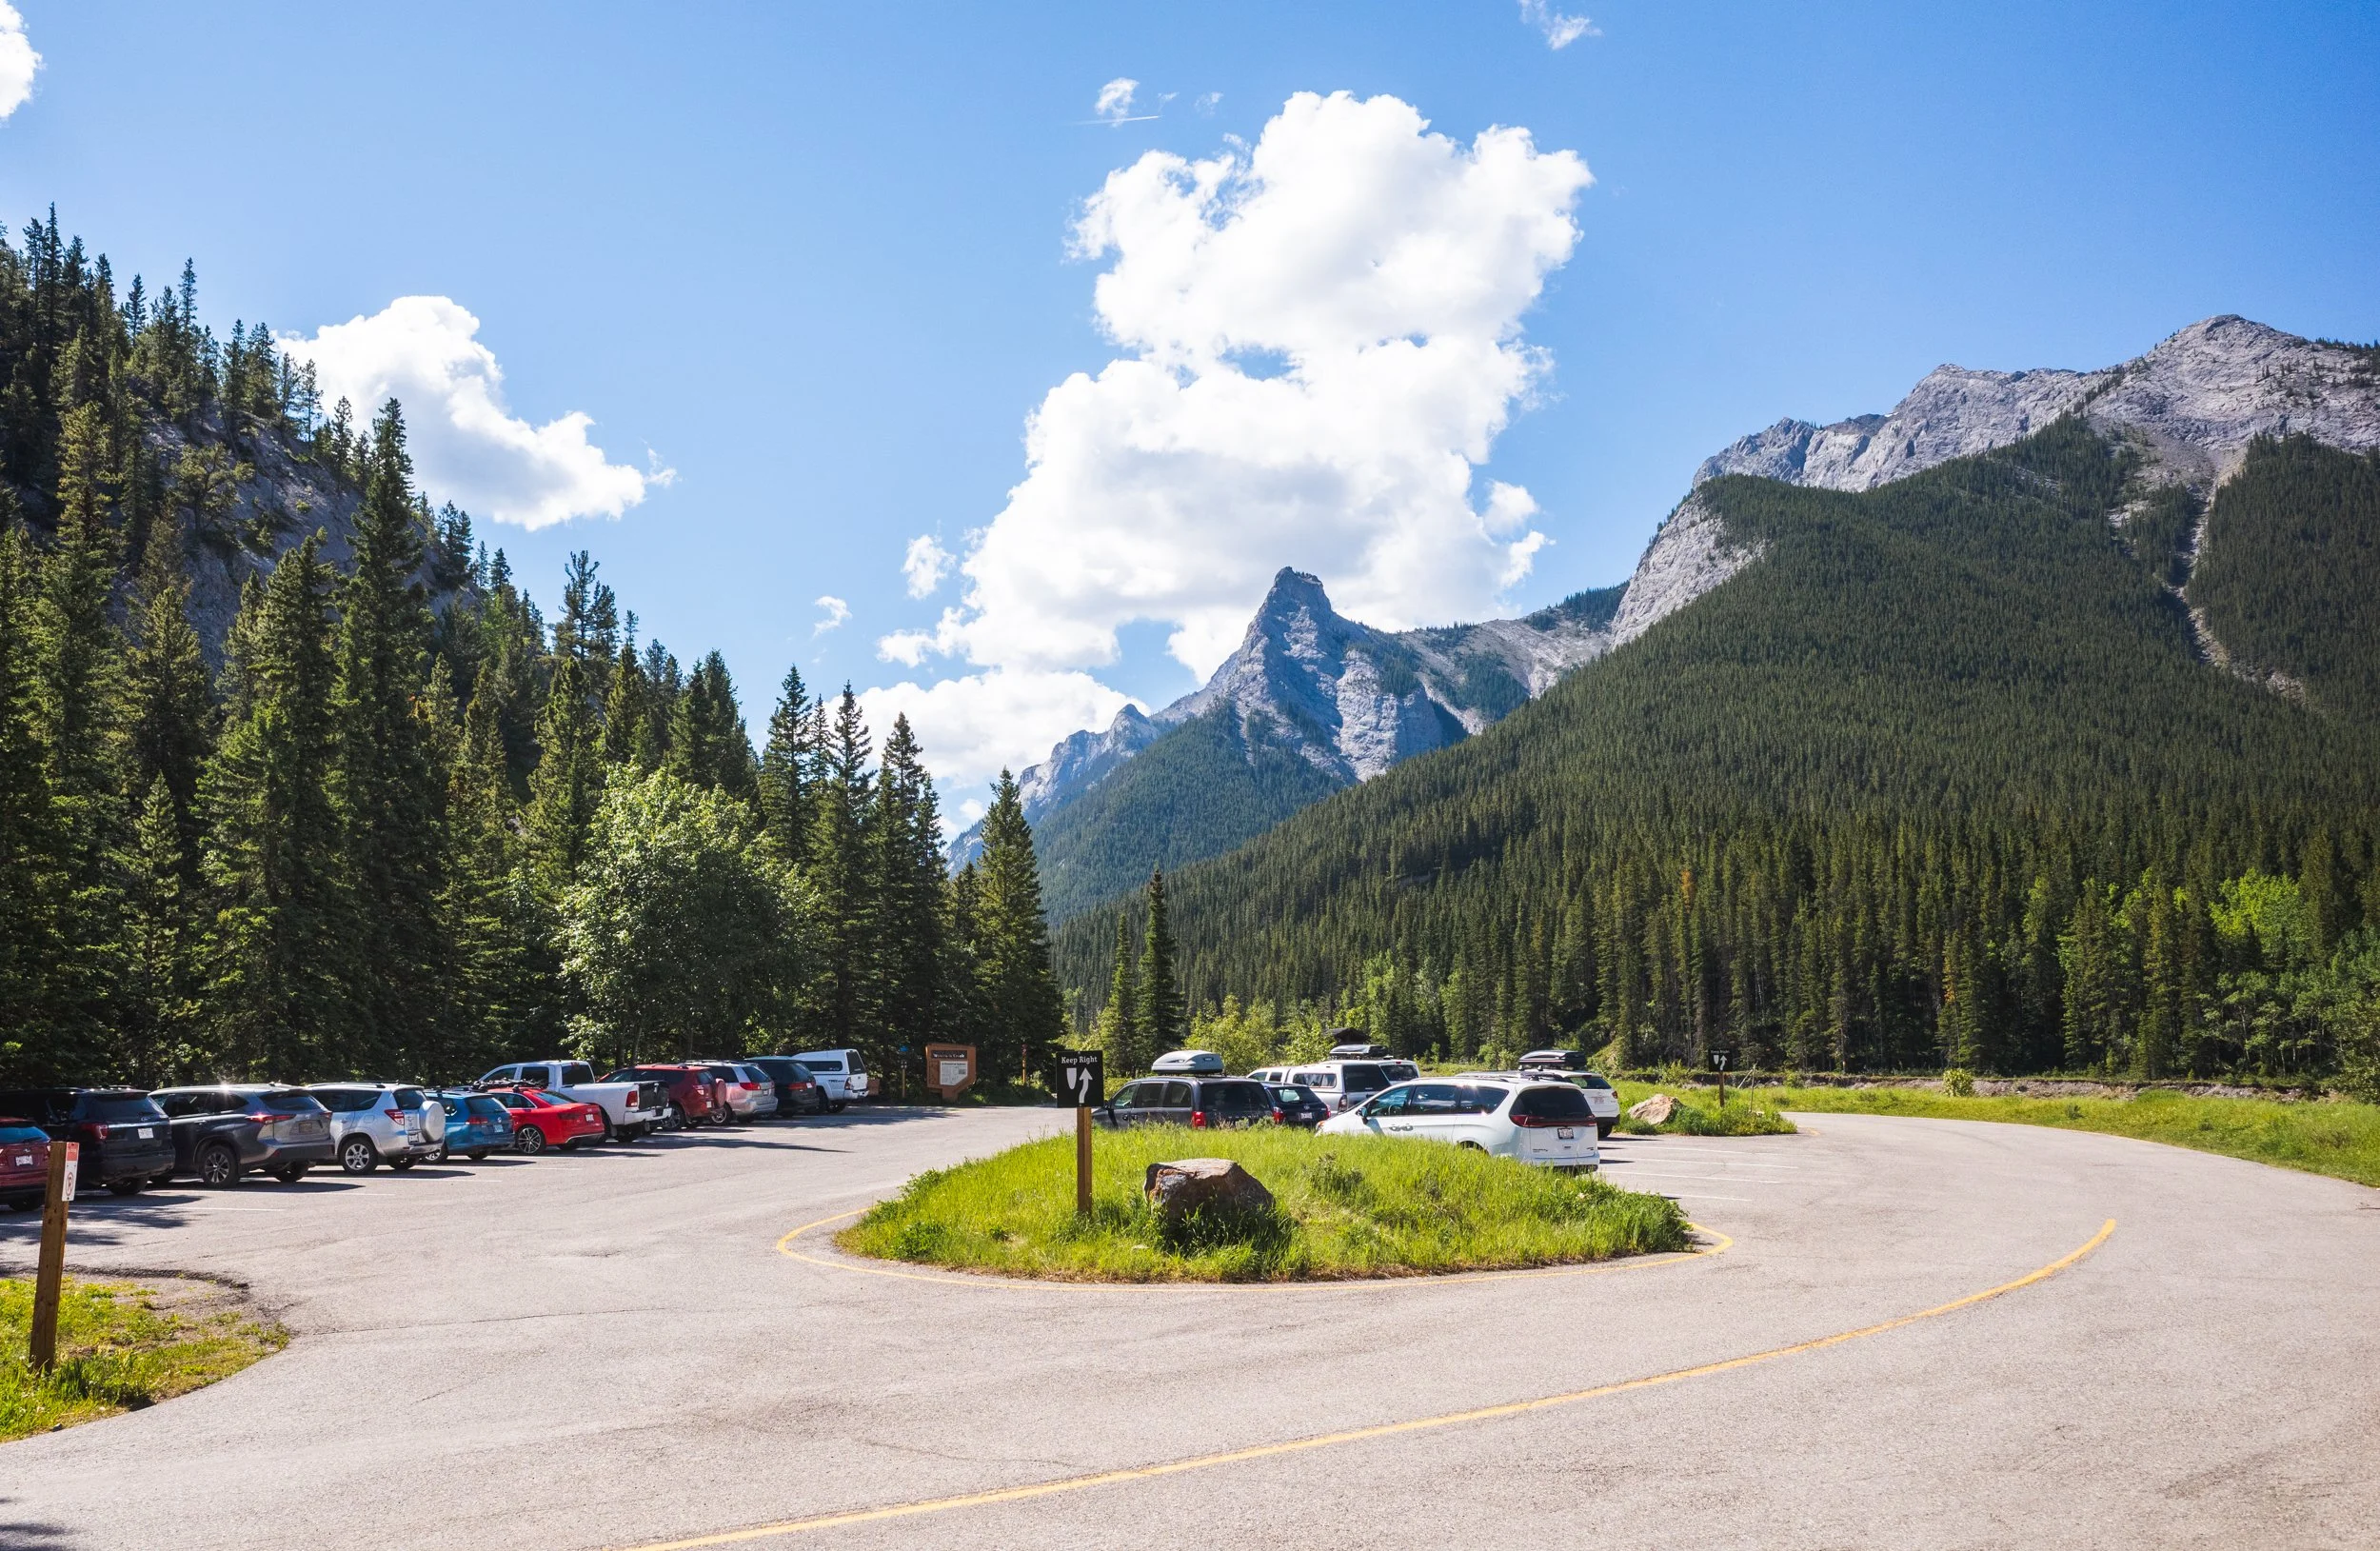
Wasootch Creek Car park
Note: There is nowhere to resupply water on this trail and a lot of it is fully exposed to the sun. Bring plenty of water with you!
The Hike
I originally hiked Wasootch ridge approximately 10 years ago and since then there have been trail and signage improvements throughout Kananaskis and the Rockies before I’m pretty sure there were none!
When we first hiked this trail I don’t think we made it to the true summit. Sections of the trail are technical, hands on scrambling and seem to go on forever! This time however I made a point of making it all the way to the final, true end!
It’s a little gruelling but the trail offers plenty of alternative turn around points where the majority of hikers would be more than happy with the views and wouldn’t be dissappointed if they wanted to cut the hike short.
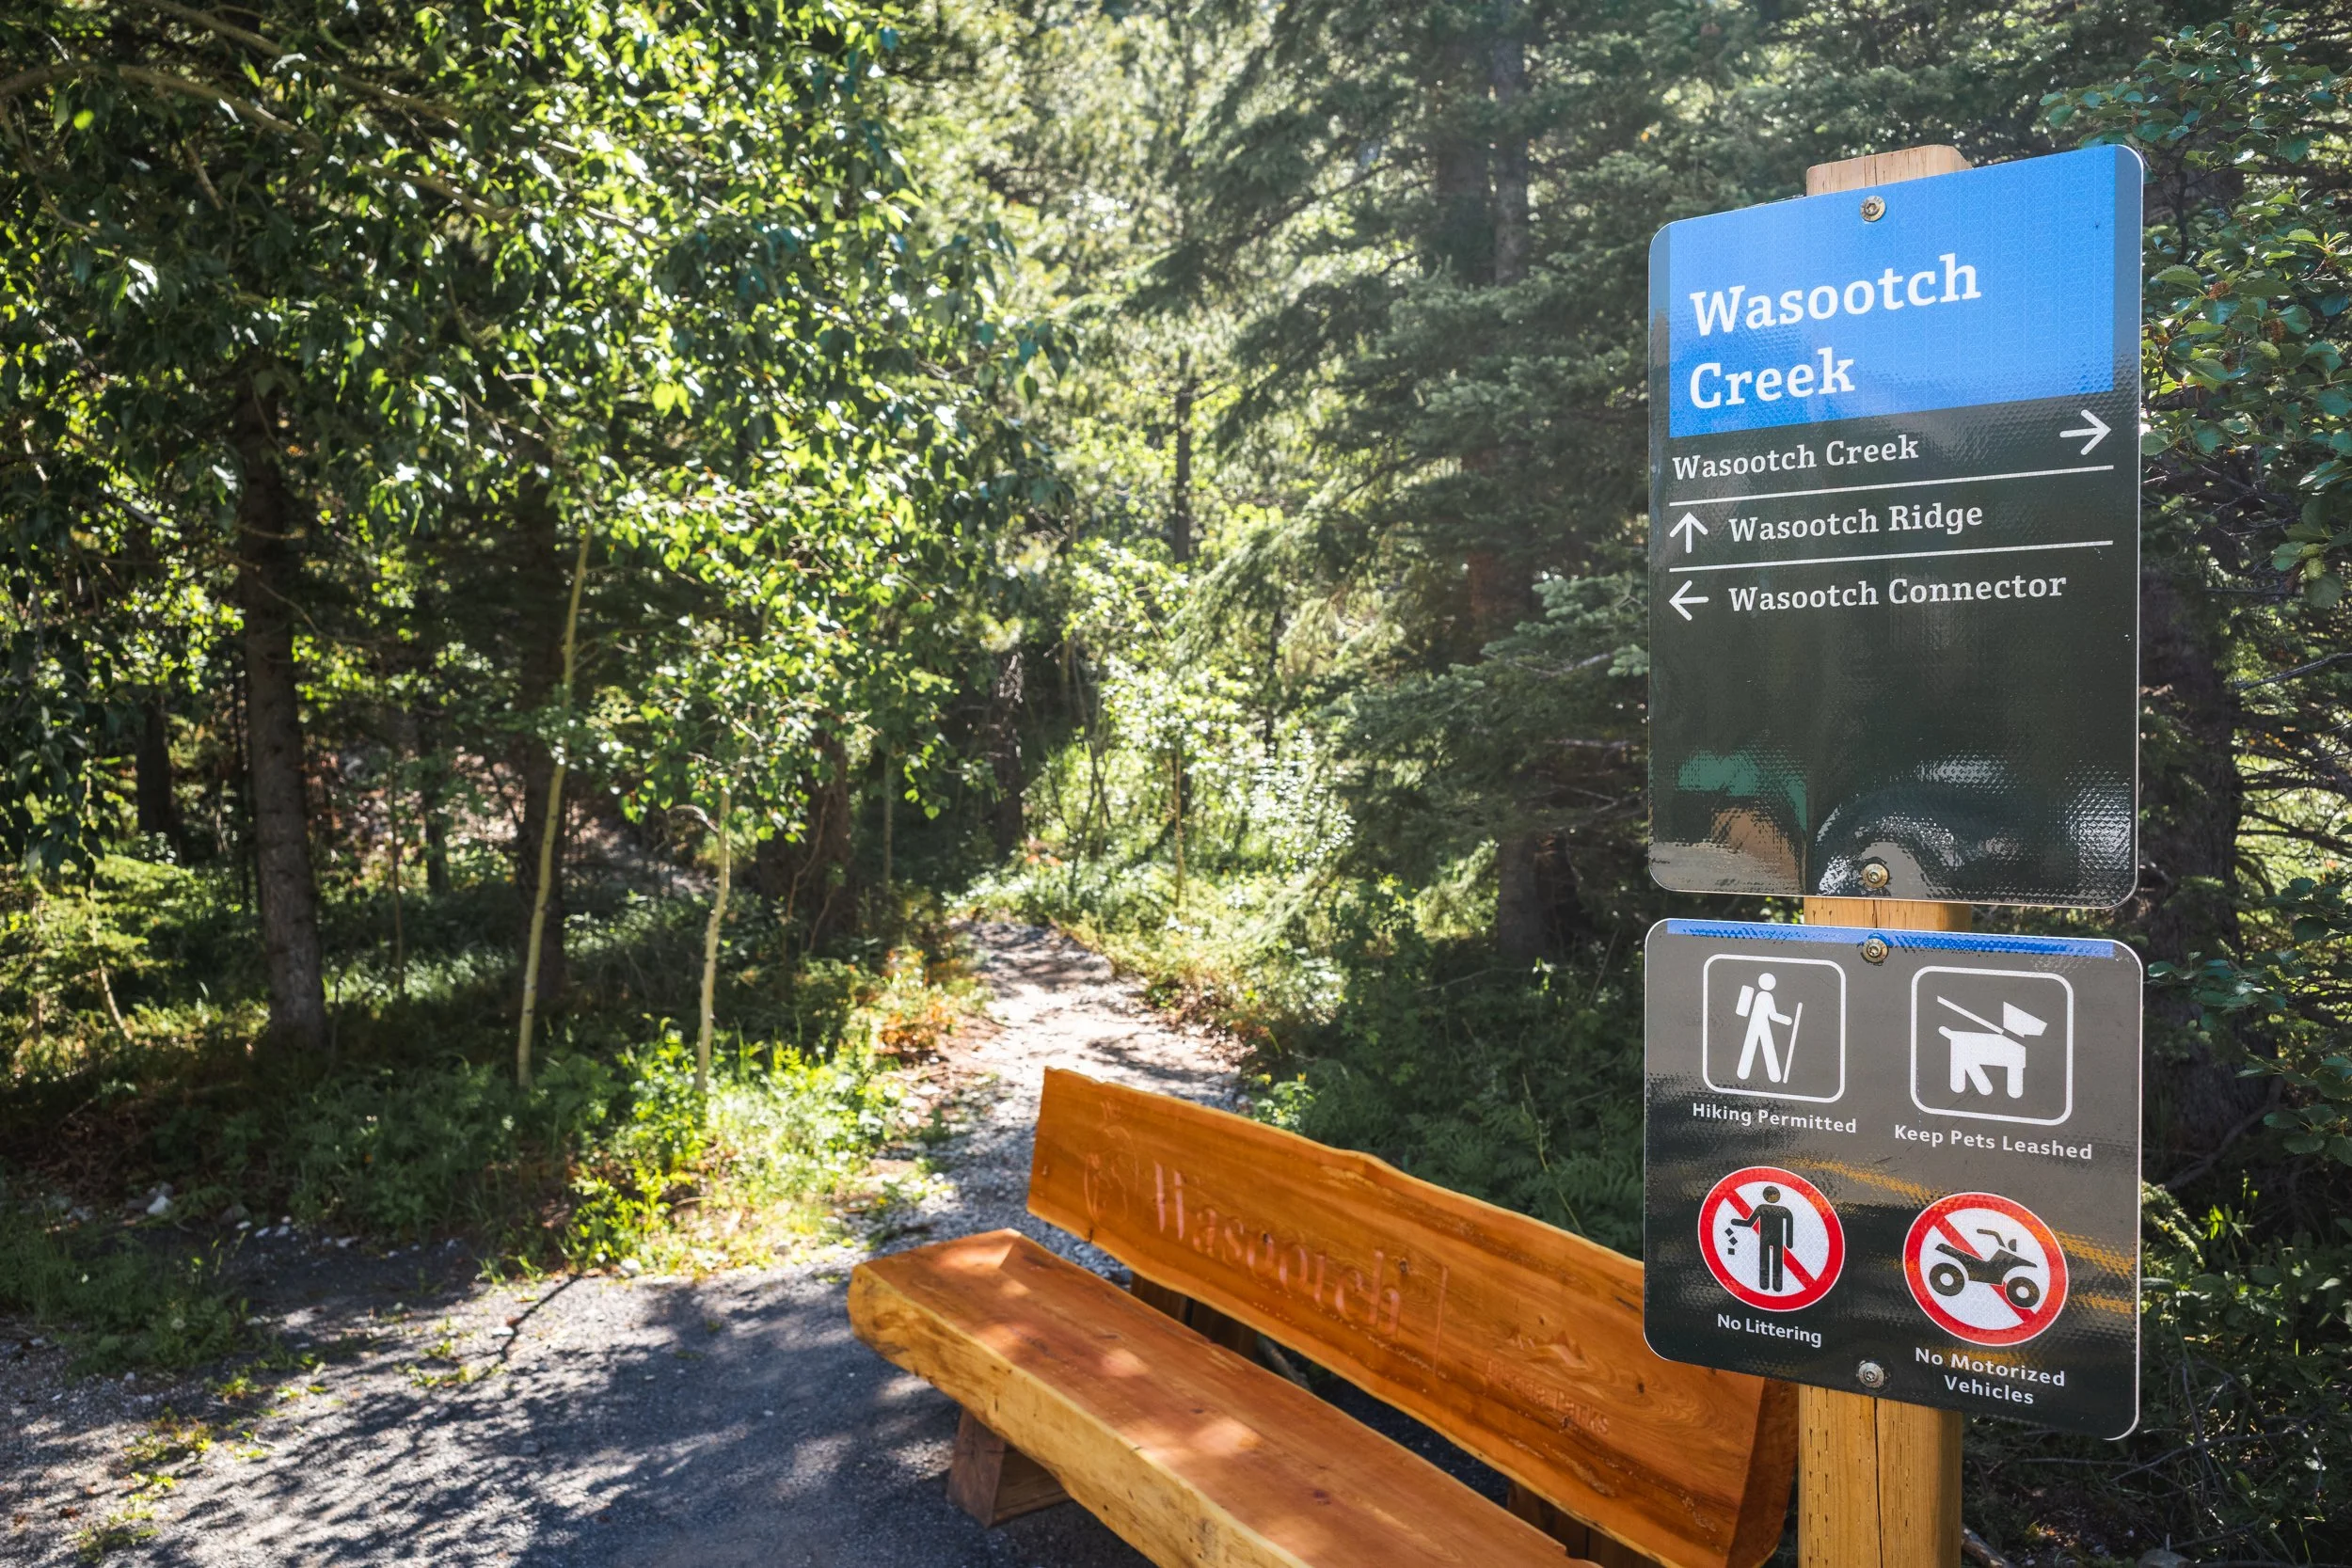
From the car park there are several trails which are now well sign posted. To head up the ridge you’ll be taking the trail immediately left of the wooden bench. Don’t follow the tempting trail along the creek unless you’re after a flatter walk!
The new seasons from the 2025 renovation help point you in the right direction and a couple of switch backs have been added improving the trail and making the very first section a little more manageable.

New switch backs on the initial section of trail.
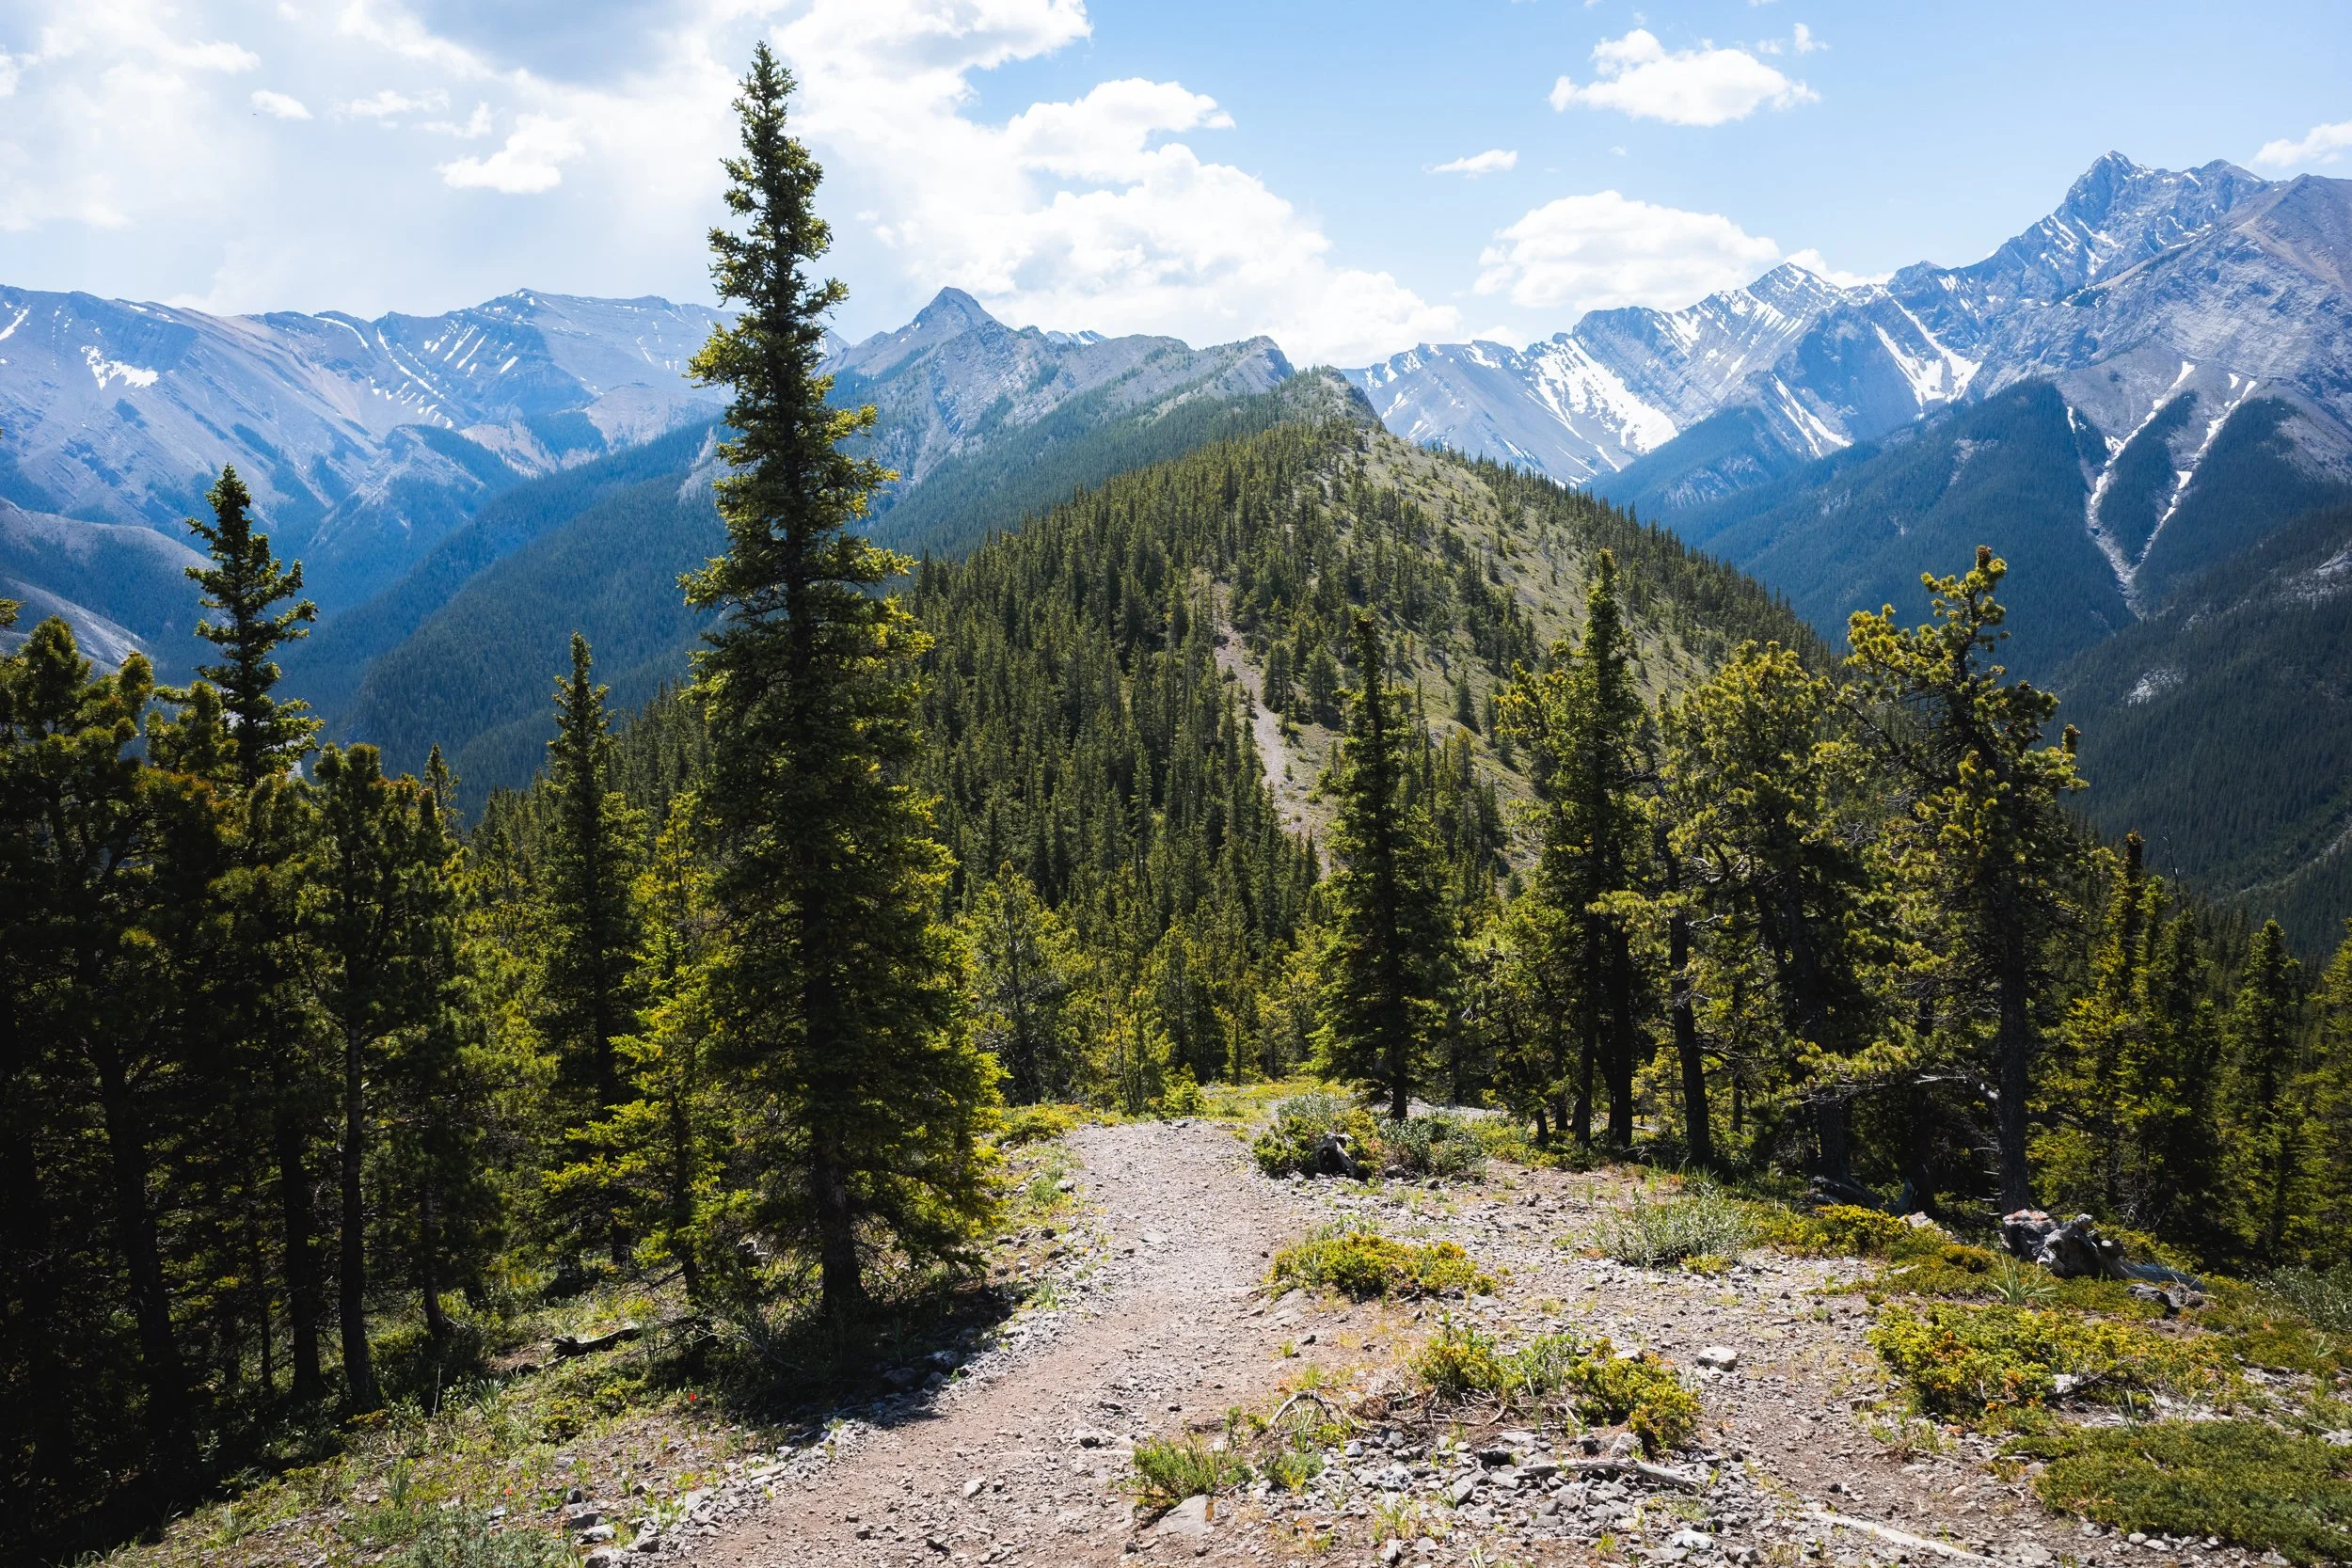
Even though the switch backs are an improvement the trail is still steep from the get go and in all honesty it’s pretty unforgiving! You’ll be climbing for the majority of the trail on mixed terrain of loose rock, roots and scree.
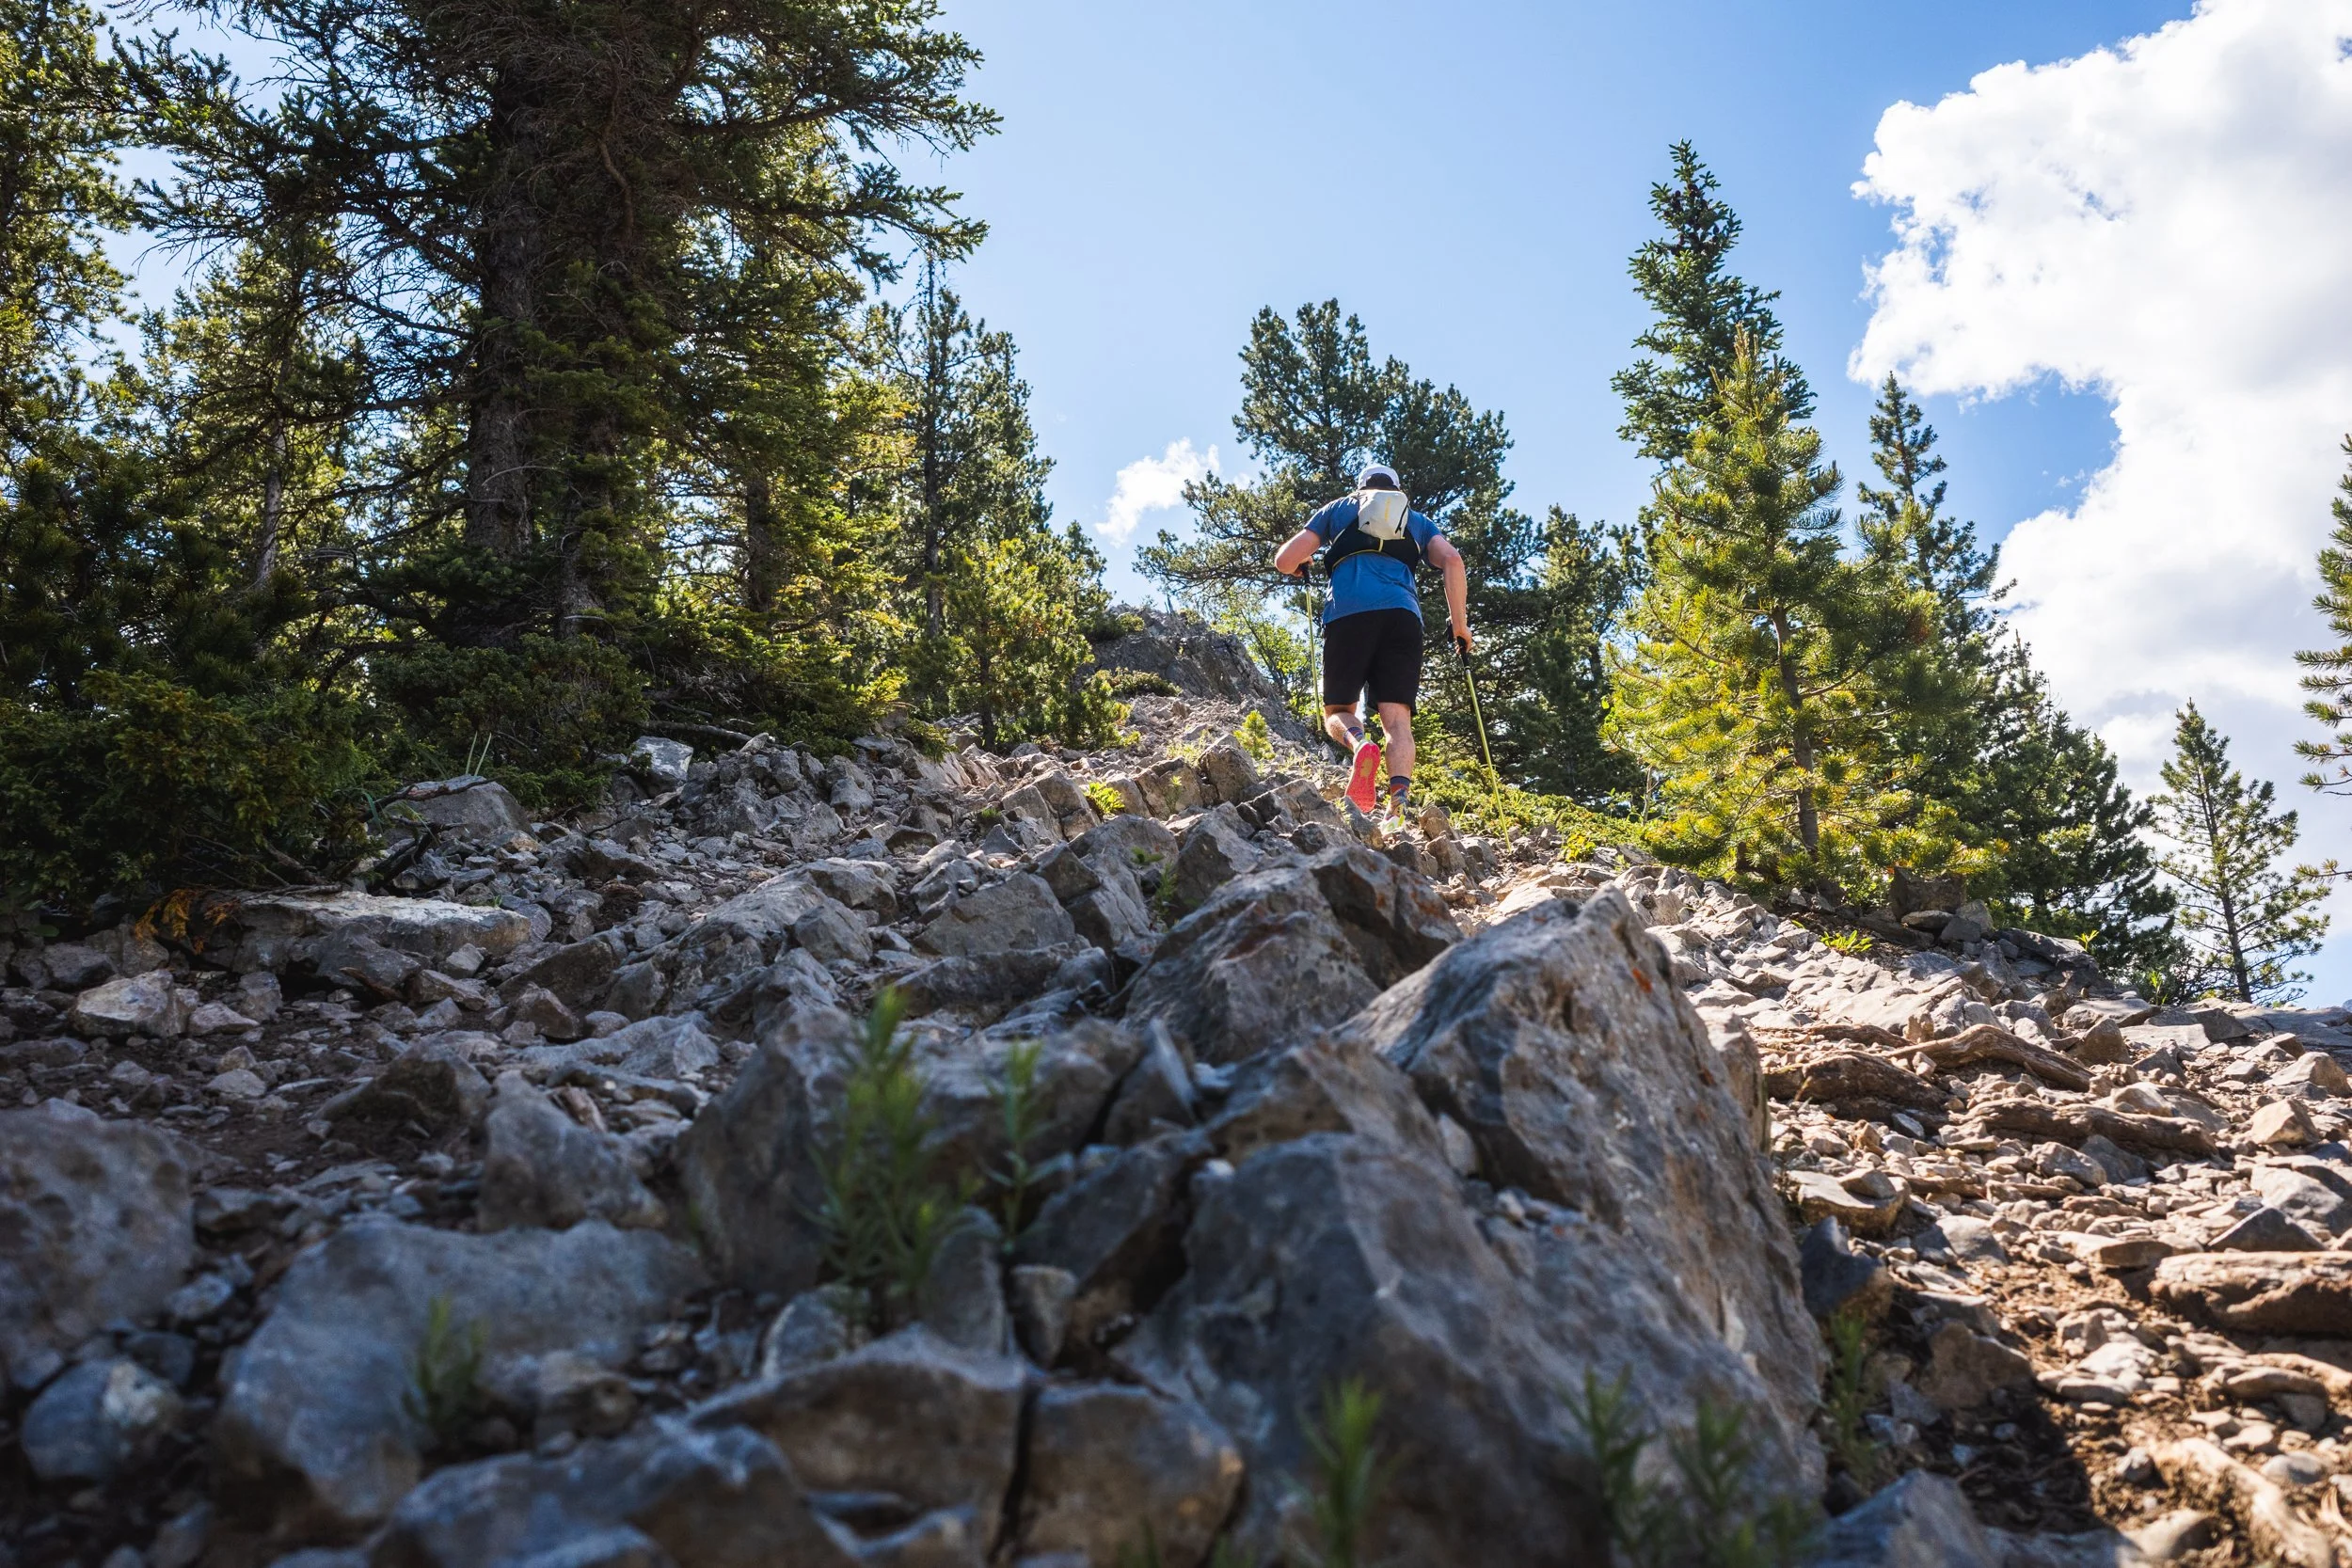
The trail is definitely tiring but you gain elevation quickly and quickly begin to feel like you’re up high and surrounded by grand peaks. The views make the ascent worthwhile!
Just before the 2 km mark the maintained trail ends. Now this often sounds a little scary but some context is important. The majority of trails in provincial and national parks are ‘unofficial routes’ as apposed to ‘official trails’. All this really means is that Parks Canada, nor the provincial government, take any part in signing or maintaining the trail.
The majority of ‘unofficial routes’ in the area though are maintained and obvious due to the thousands of boots that tread the trail every year. So even though the sign seems a little daunting don’t let it deter you too much, the trail is still easy to follow for the most part!
As on any hike it’s always important to have a decent offline mapping option with you no matter what. I always recommend AllTrails as you can either sign up for a free trial or one of their plans to use offline mapping along the way.
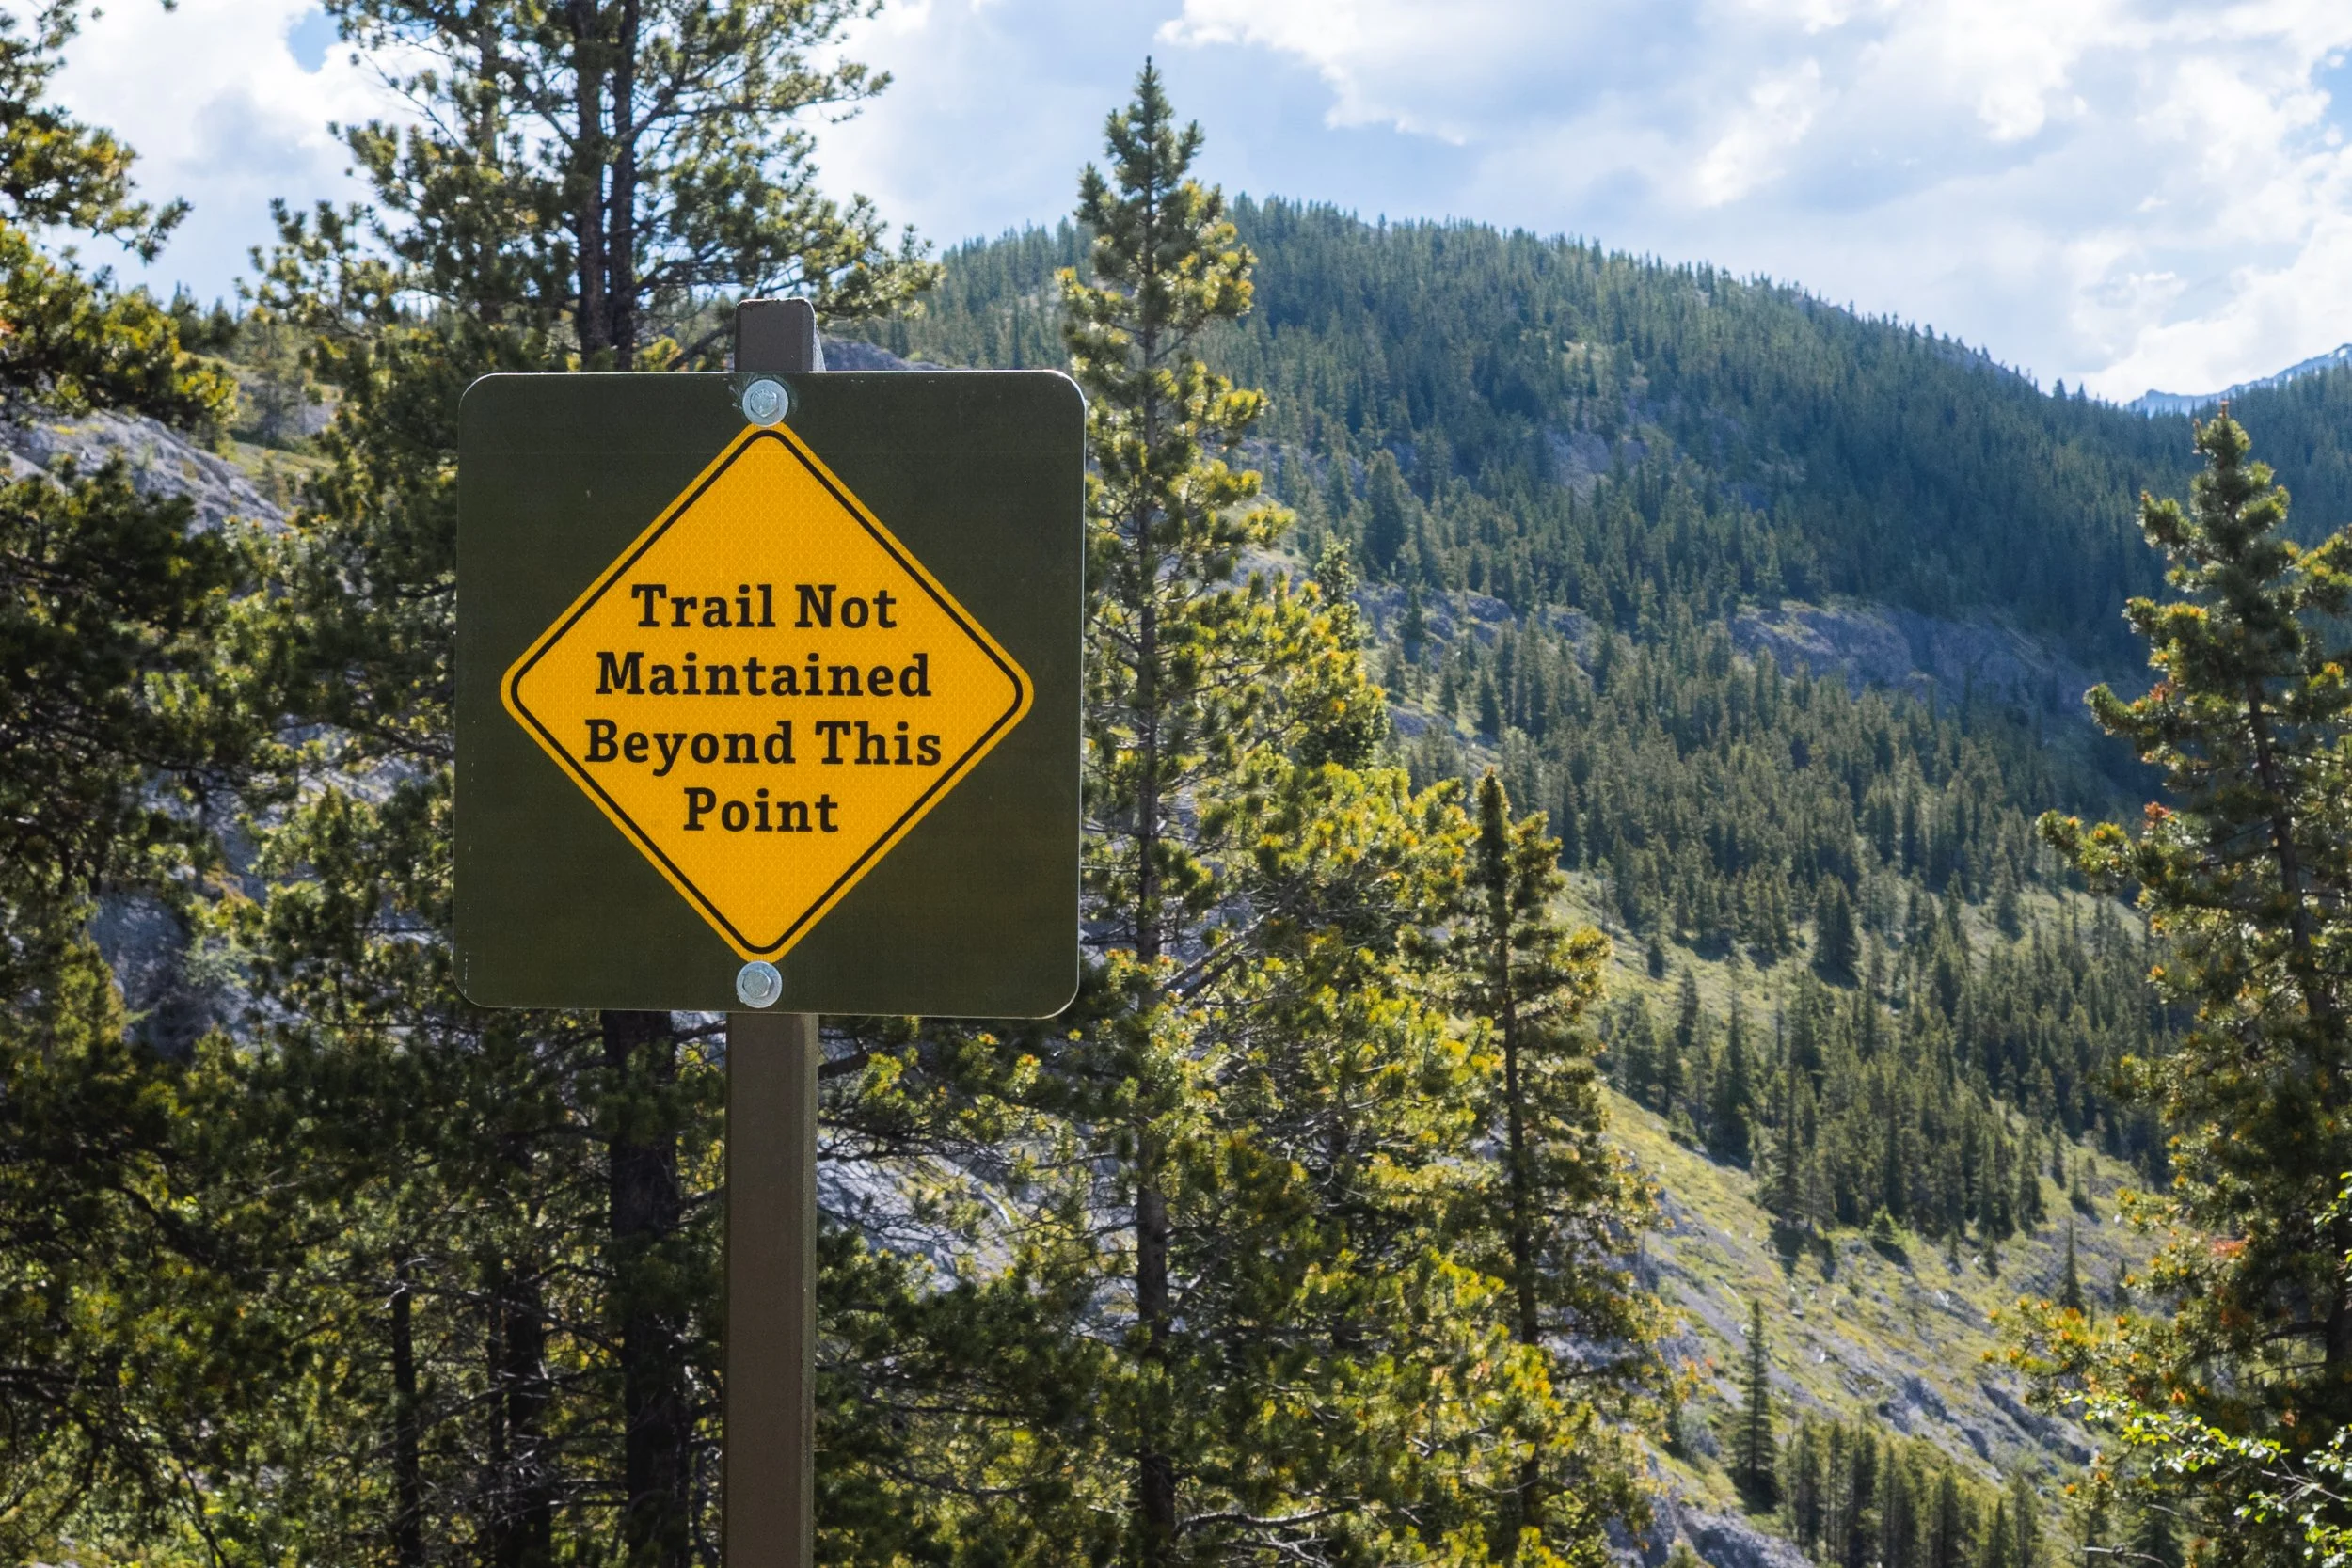
Unmaintained trail ahead!
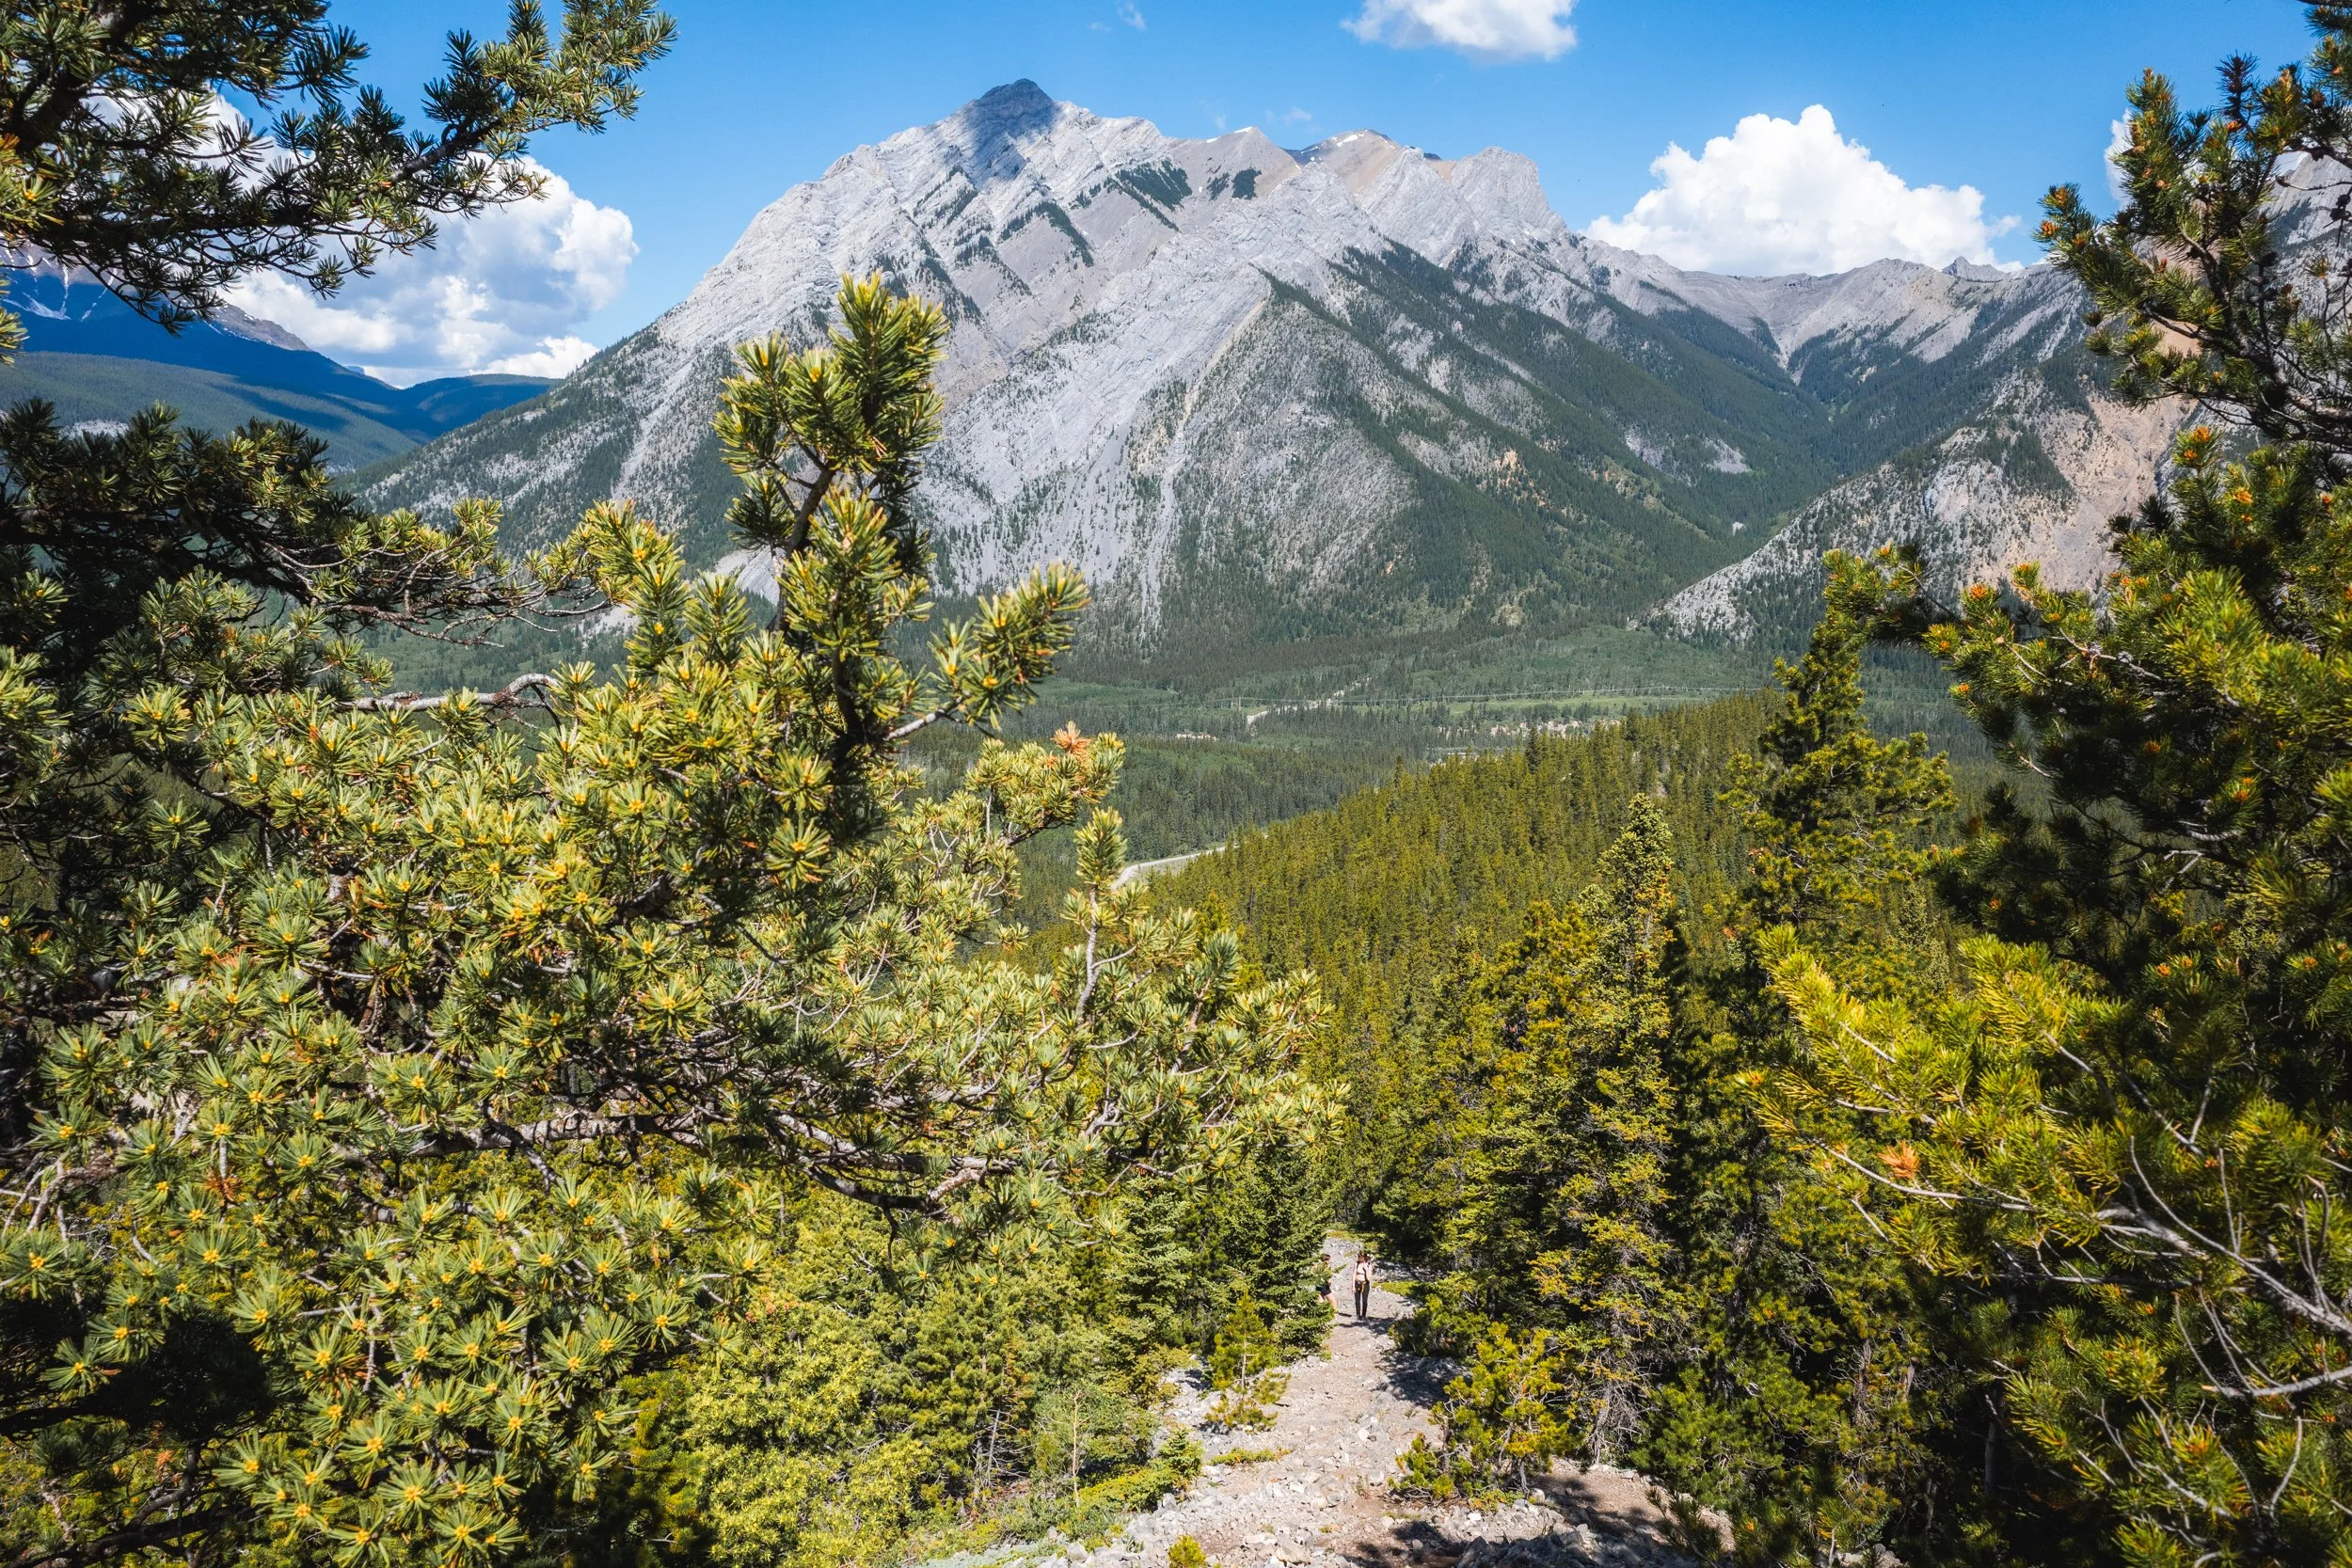
Just passed the above sign comes one of the first view points on trail. There’s a small detour to the right giving you views across the valley, it can be easy to miss so keep your eyes peeled! In fact the trail does braid and intersect a little from now on in but it’s hard to lose it completely….. until a little later anyway!
Views from the first view point back towards Kananaskis and Wasootch Peak across the valley.
From this view point you can see sections of trail to the left. There’s are very small pieces of respite from the steep terrain with a few mellower and flatter sections spread between the summits. These sections are short but offer a welcome reprieve from the slog!
The trail winds in and out of forest and on a hot summers day, like the day I hiked, the shade is definitely welcome.
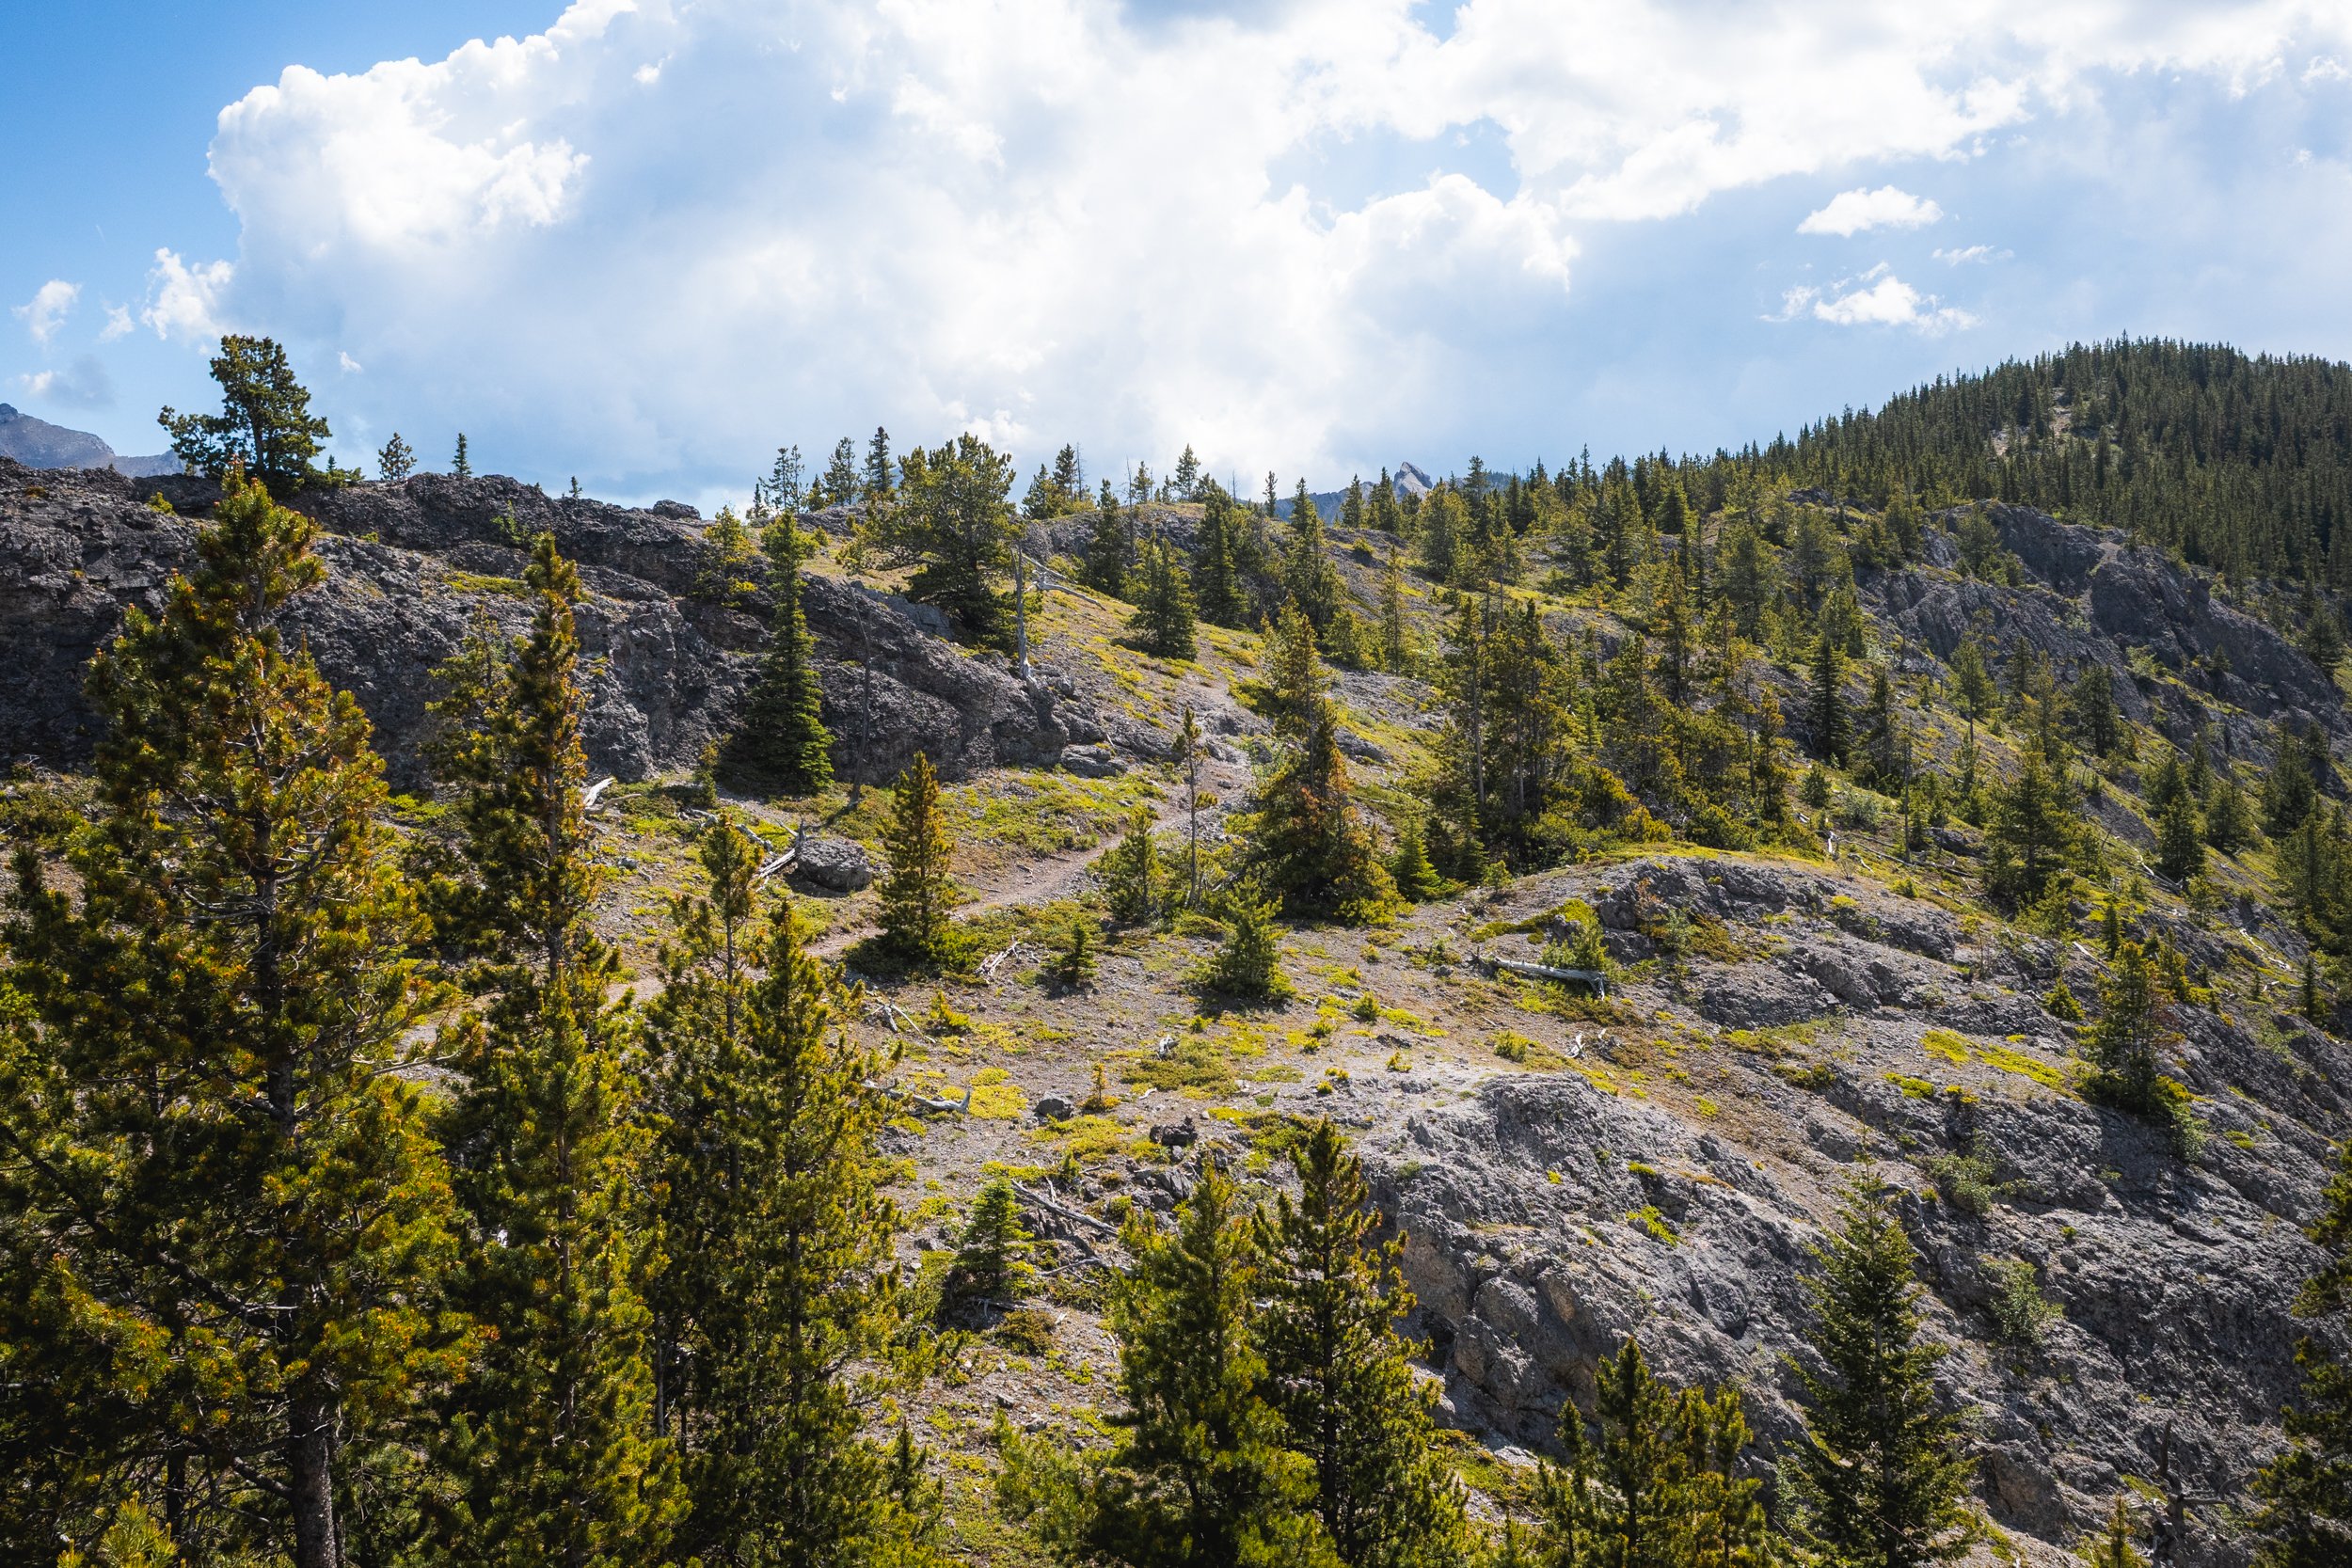
A section of trail viewed from the first view point.
A short downhill section before the uphill starts again!
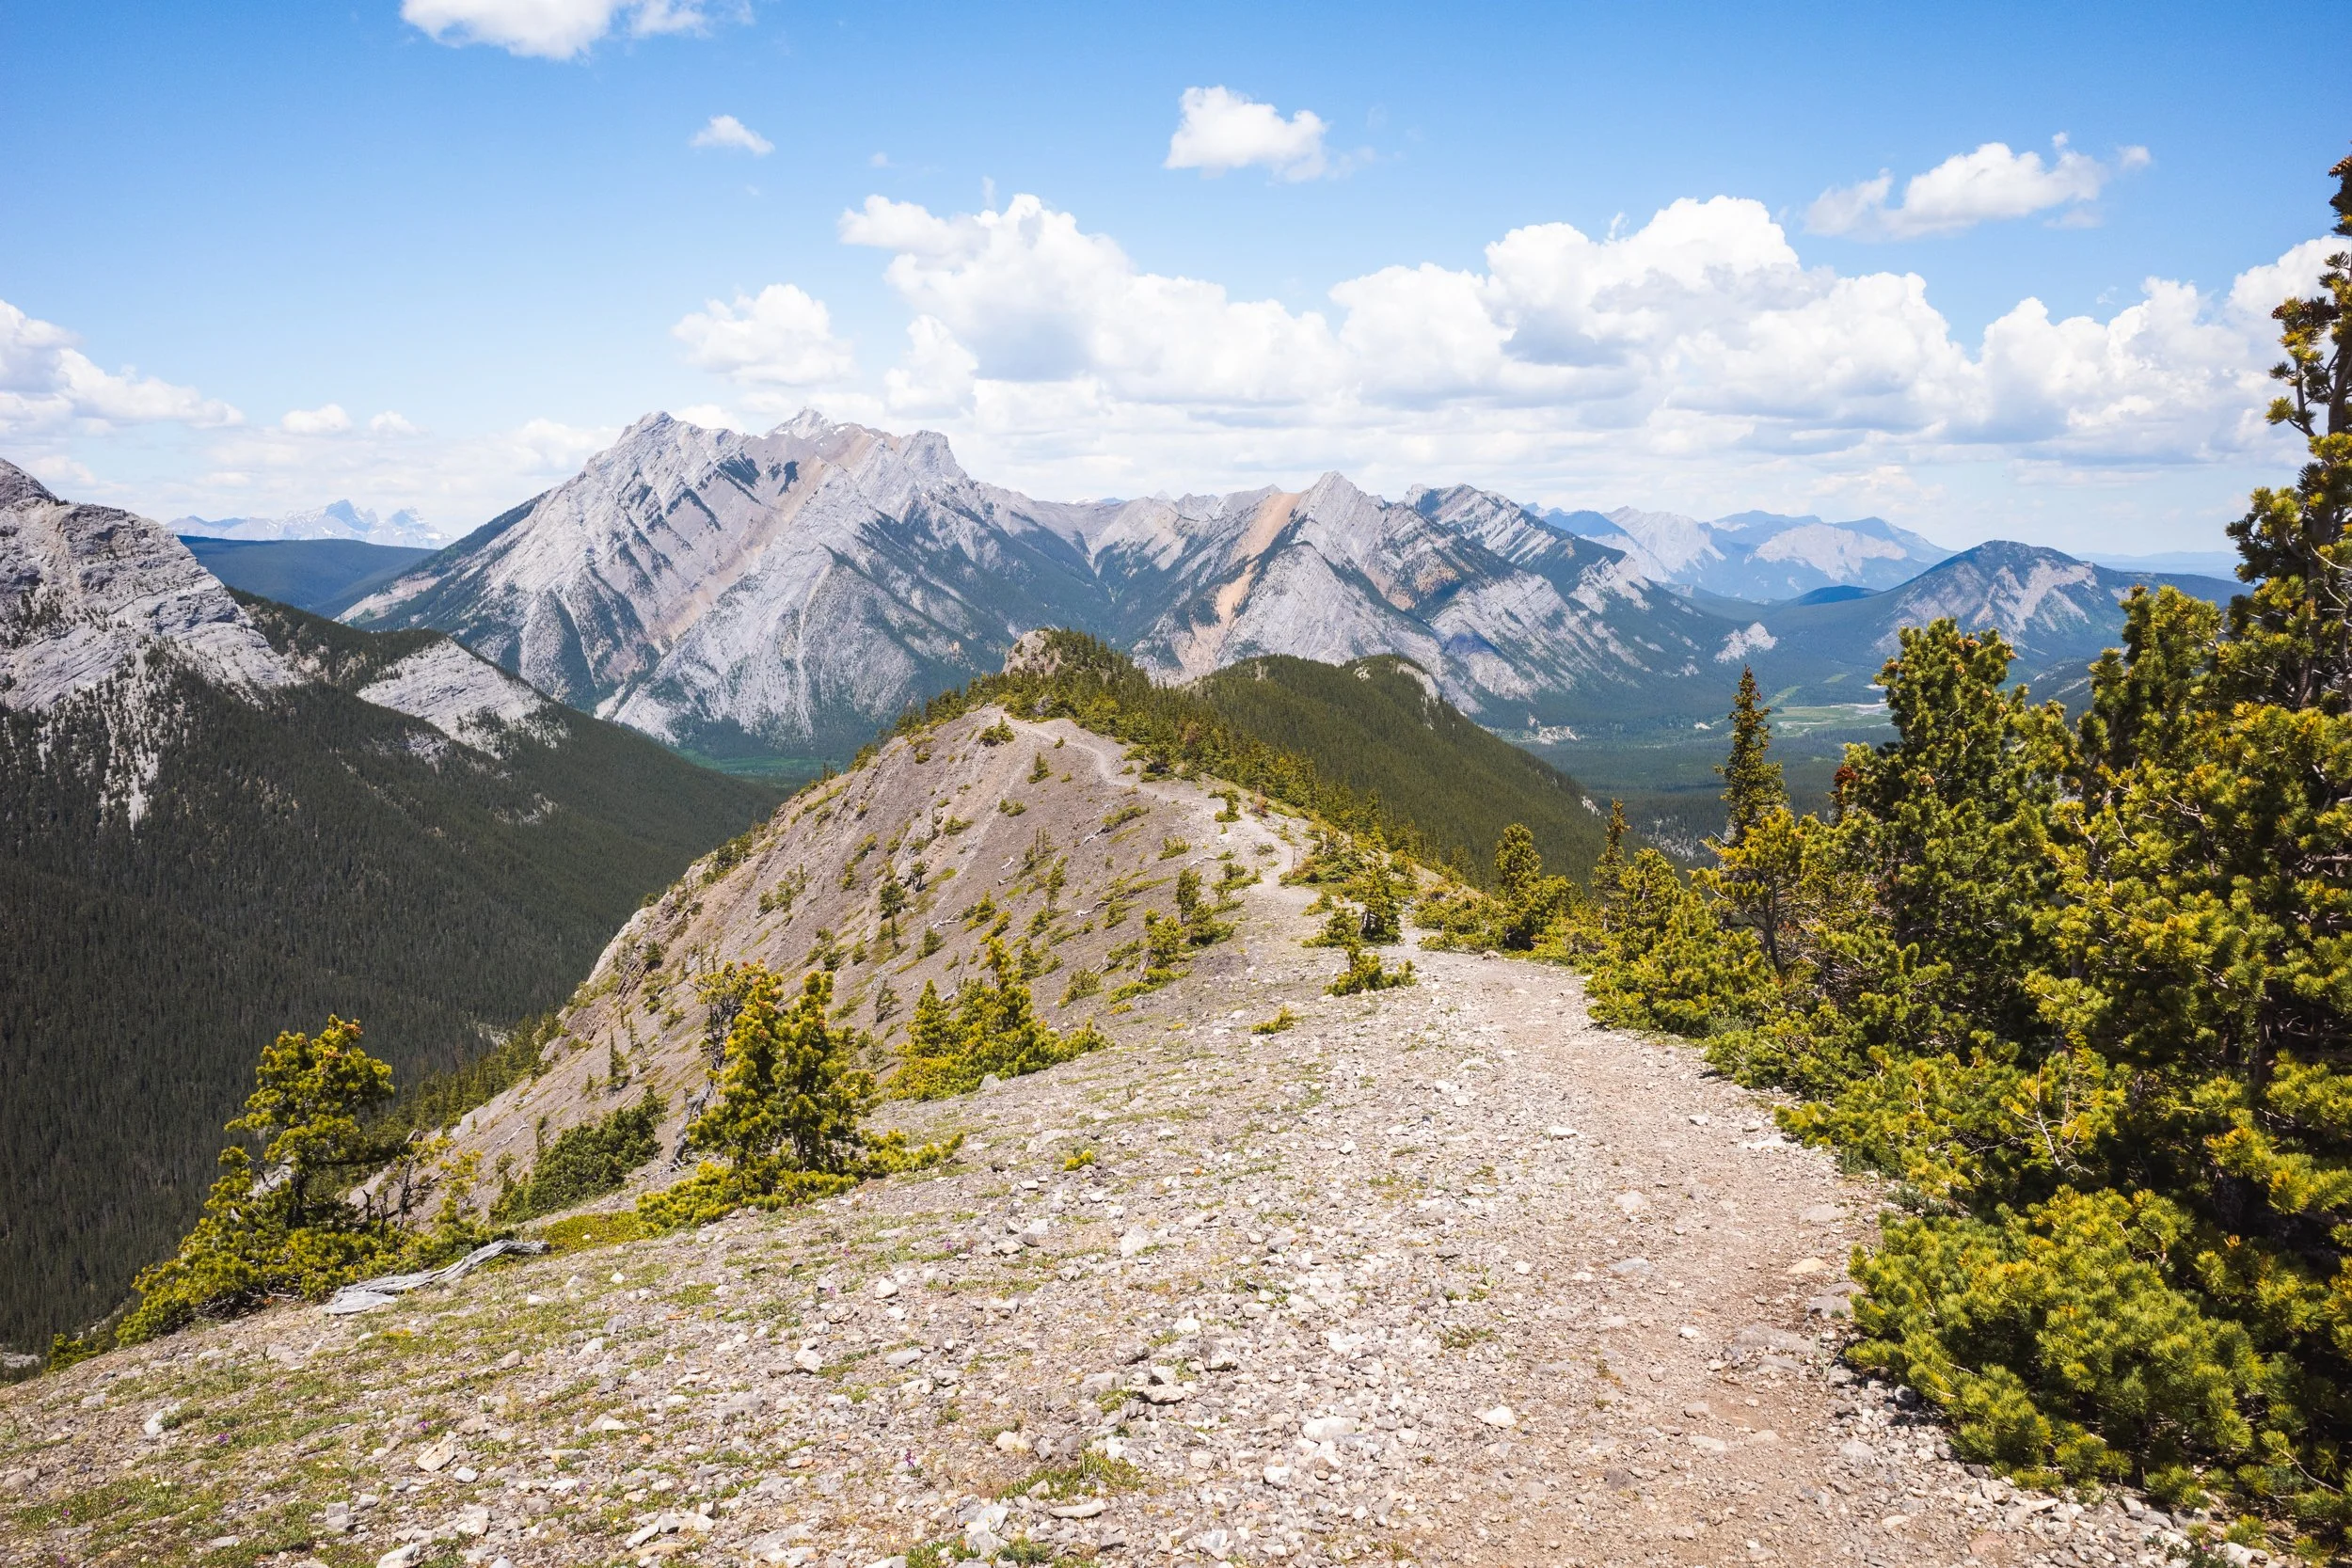
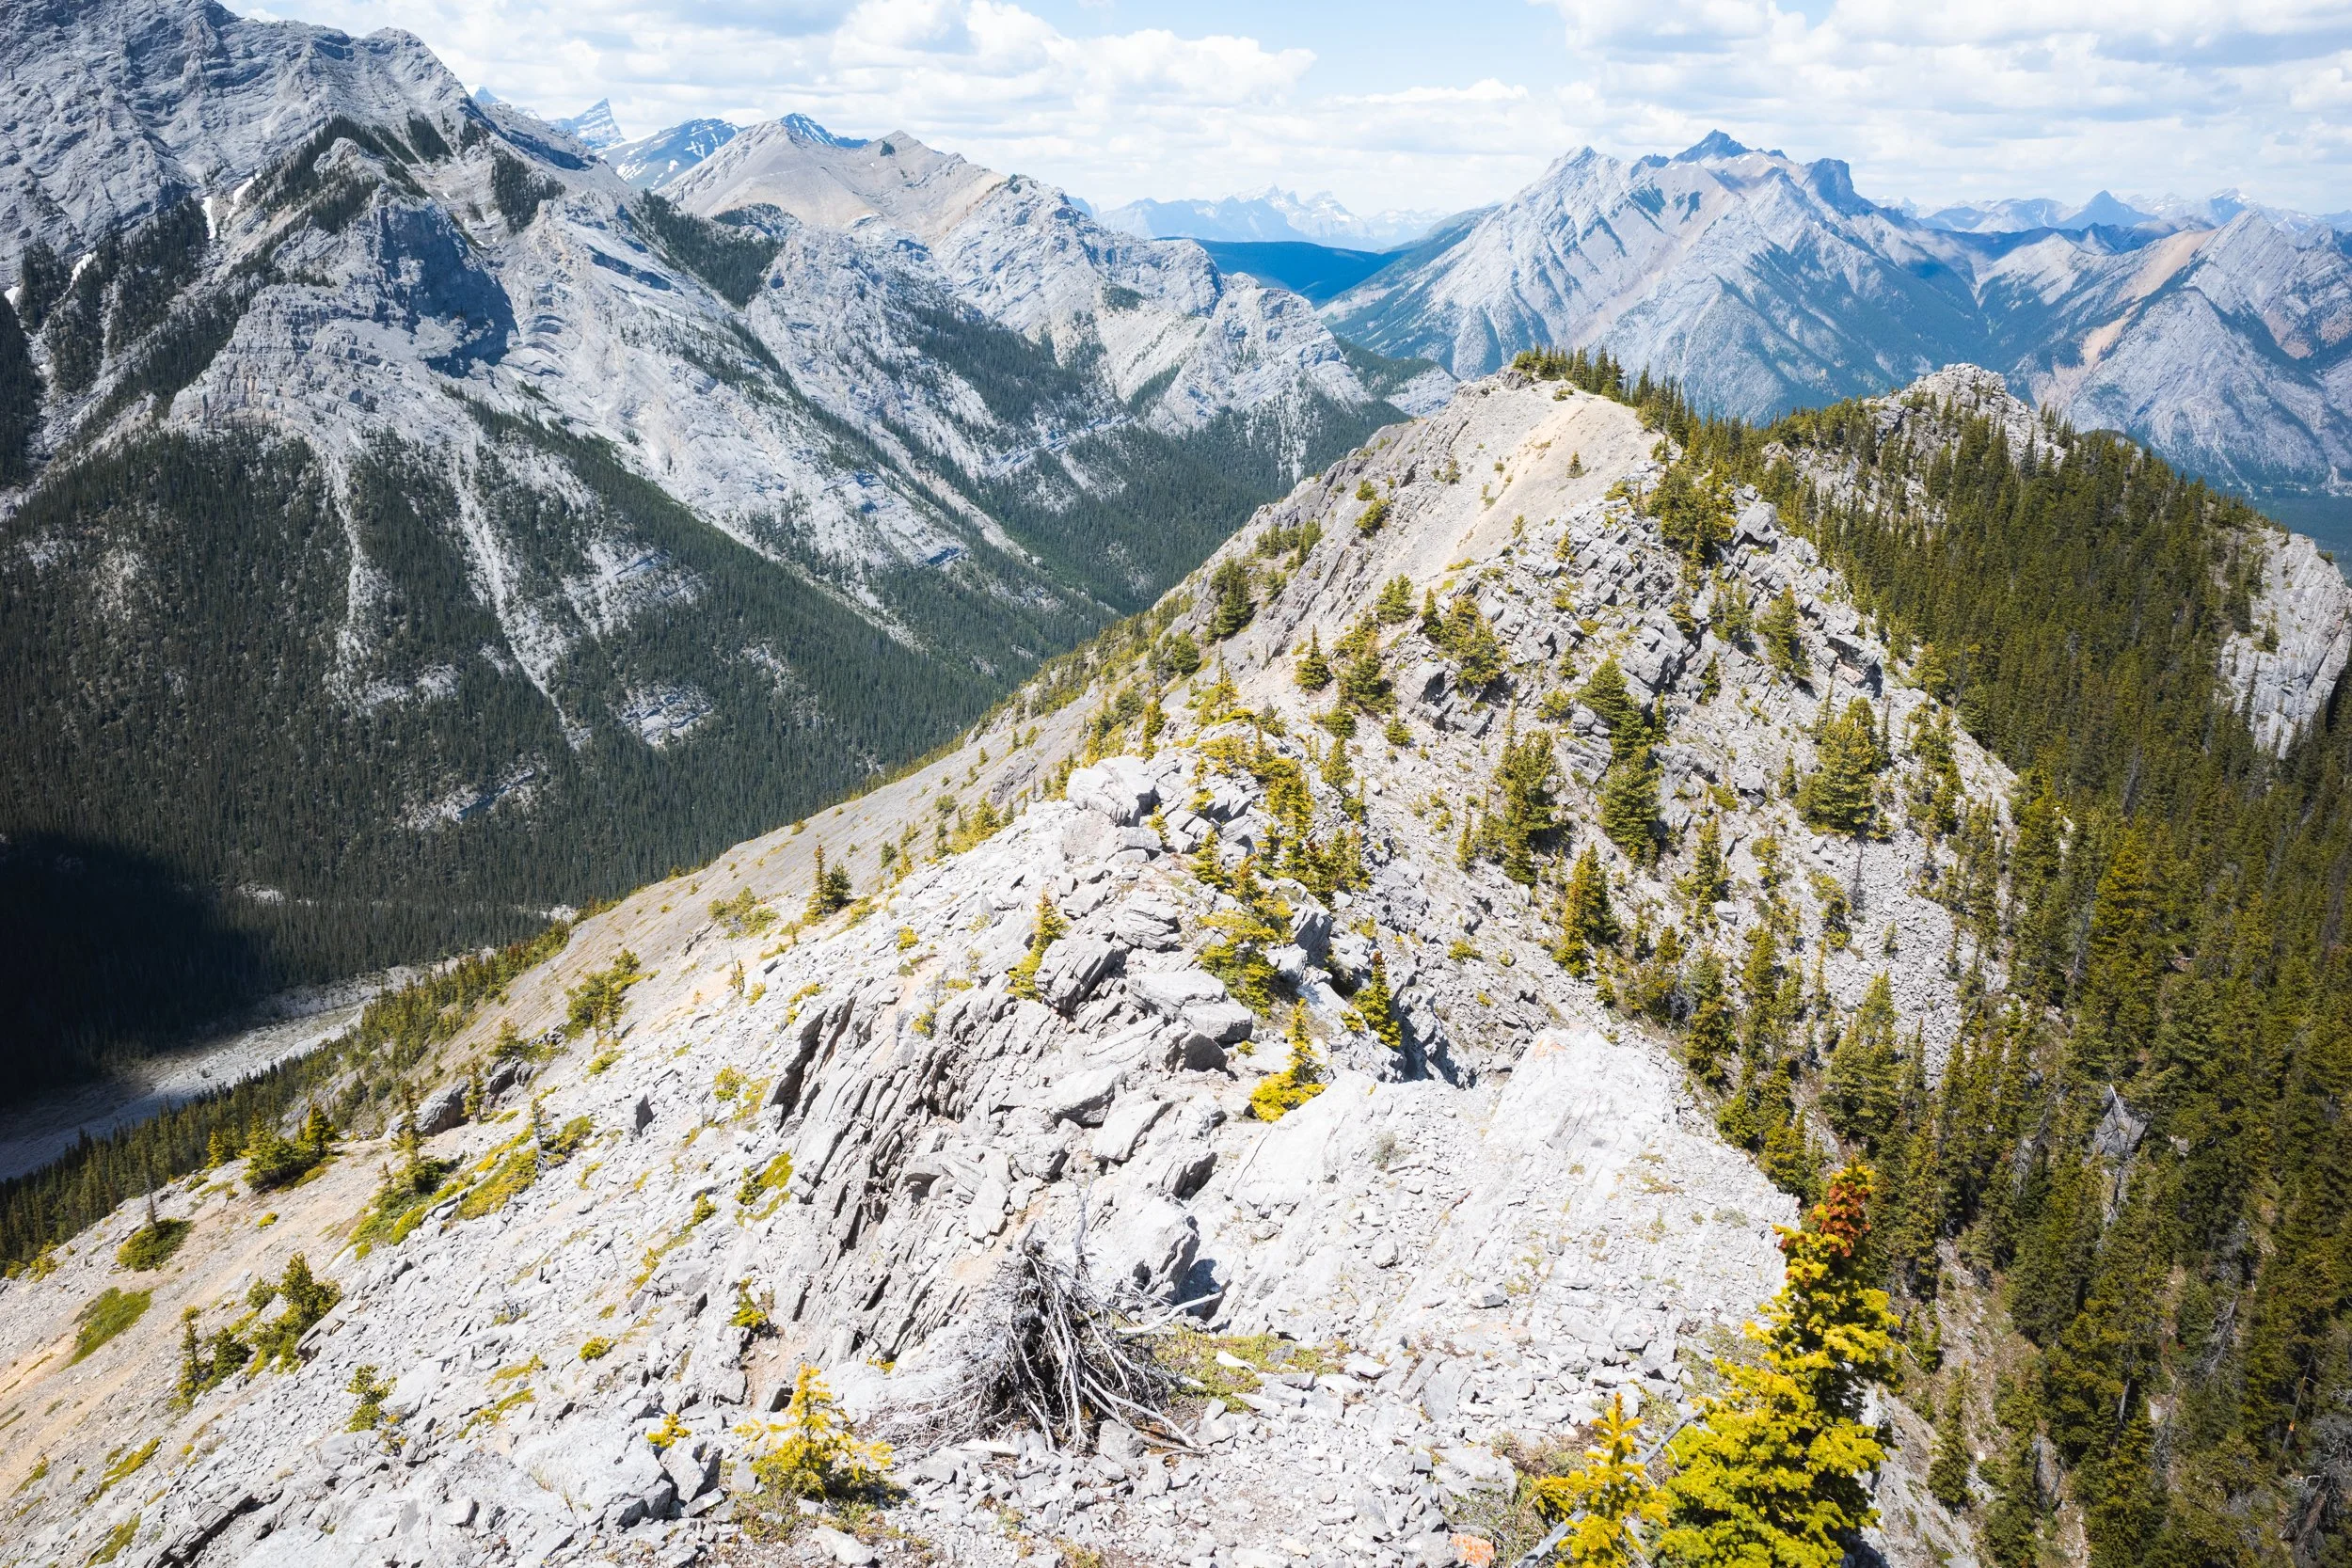
On top of the next peak along you start to see how much more trail you gave ahead of you! The Wasootch Ridge stretches in to the distance and the end can feel increasingly far away.

The true summit in the distance towards the centre of the image as seen from around half way along the ridge.
Looking back towards the start showing a small section of flatter ridge line trail.
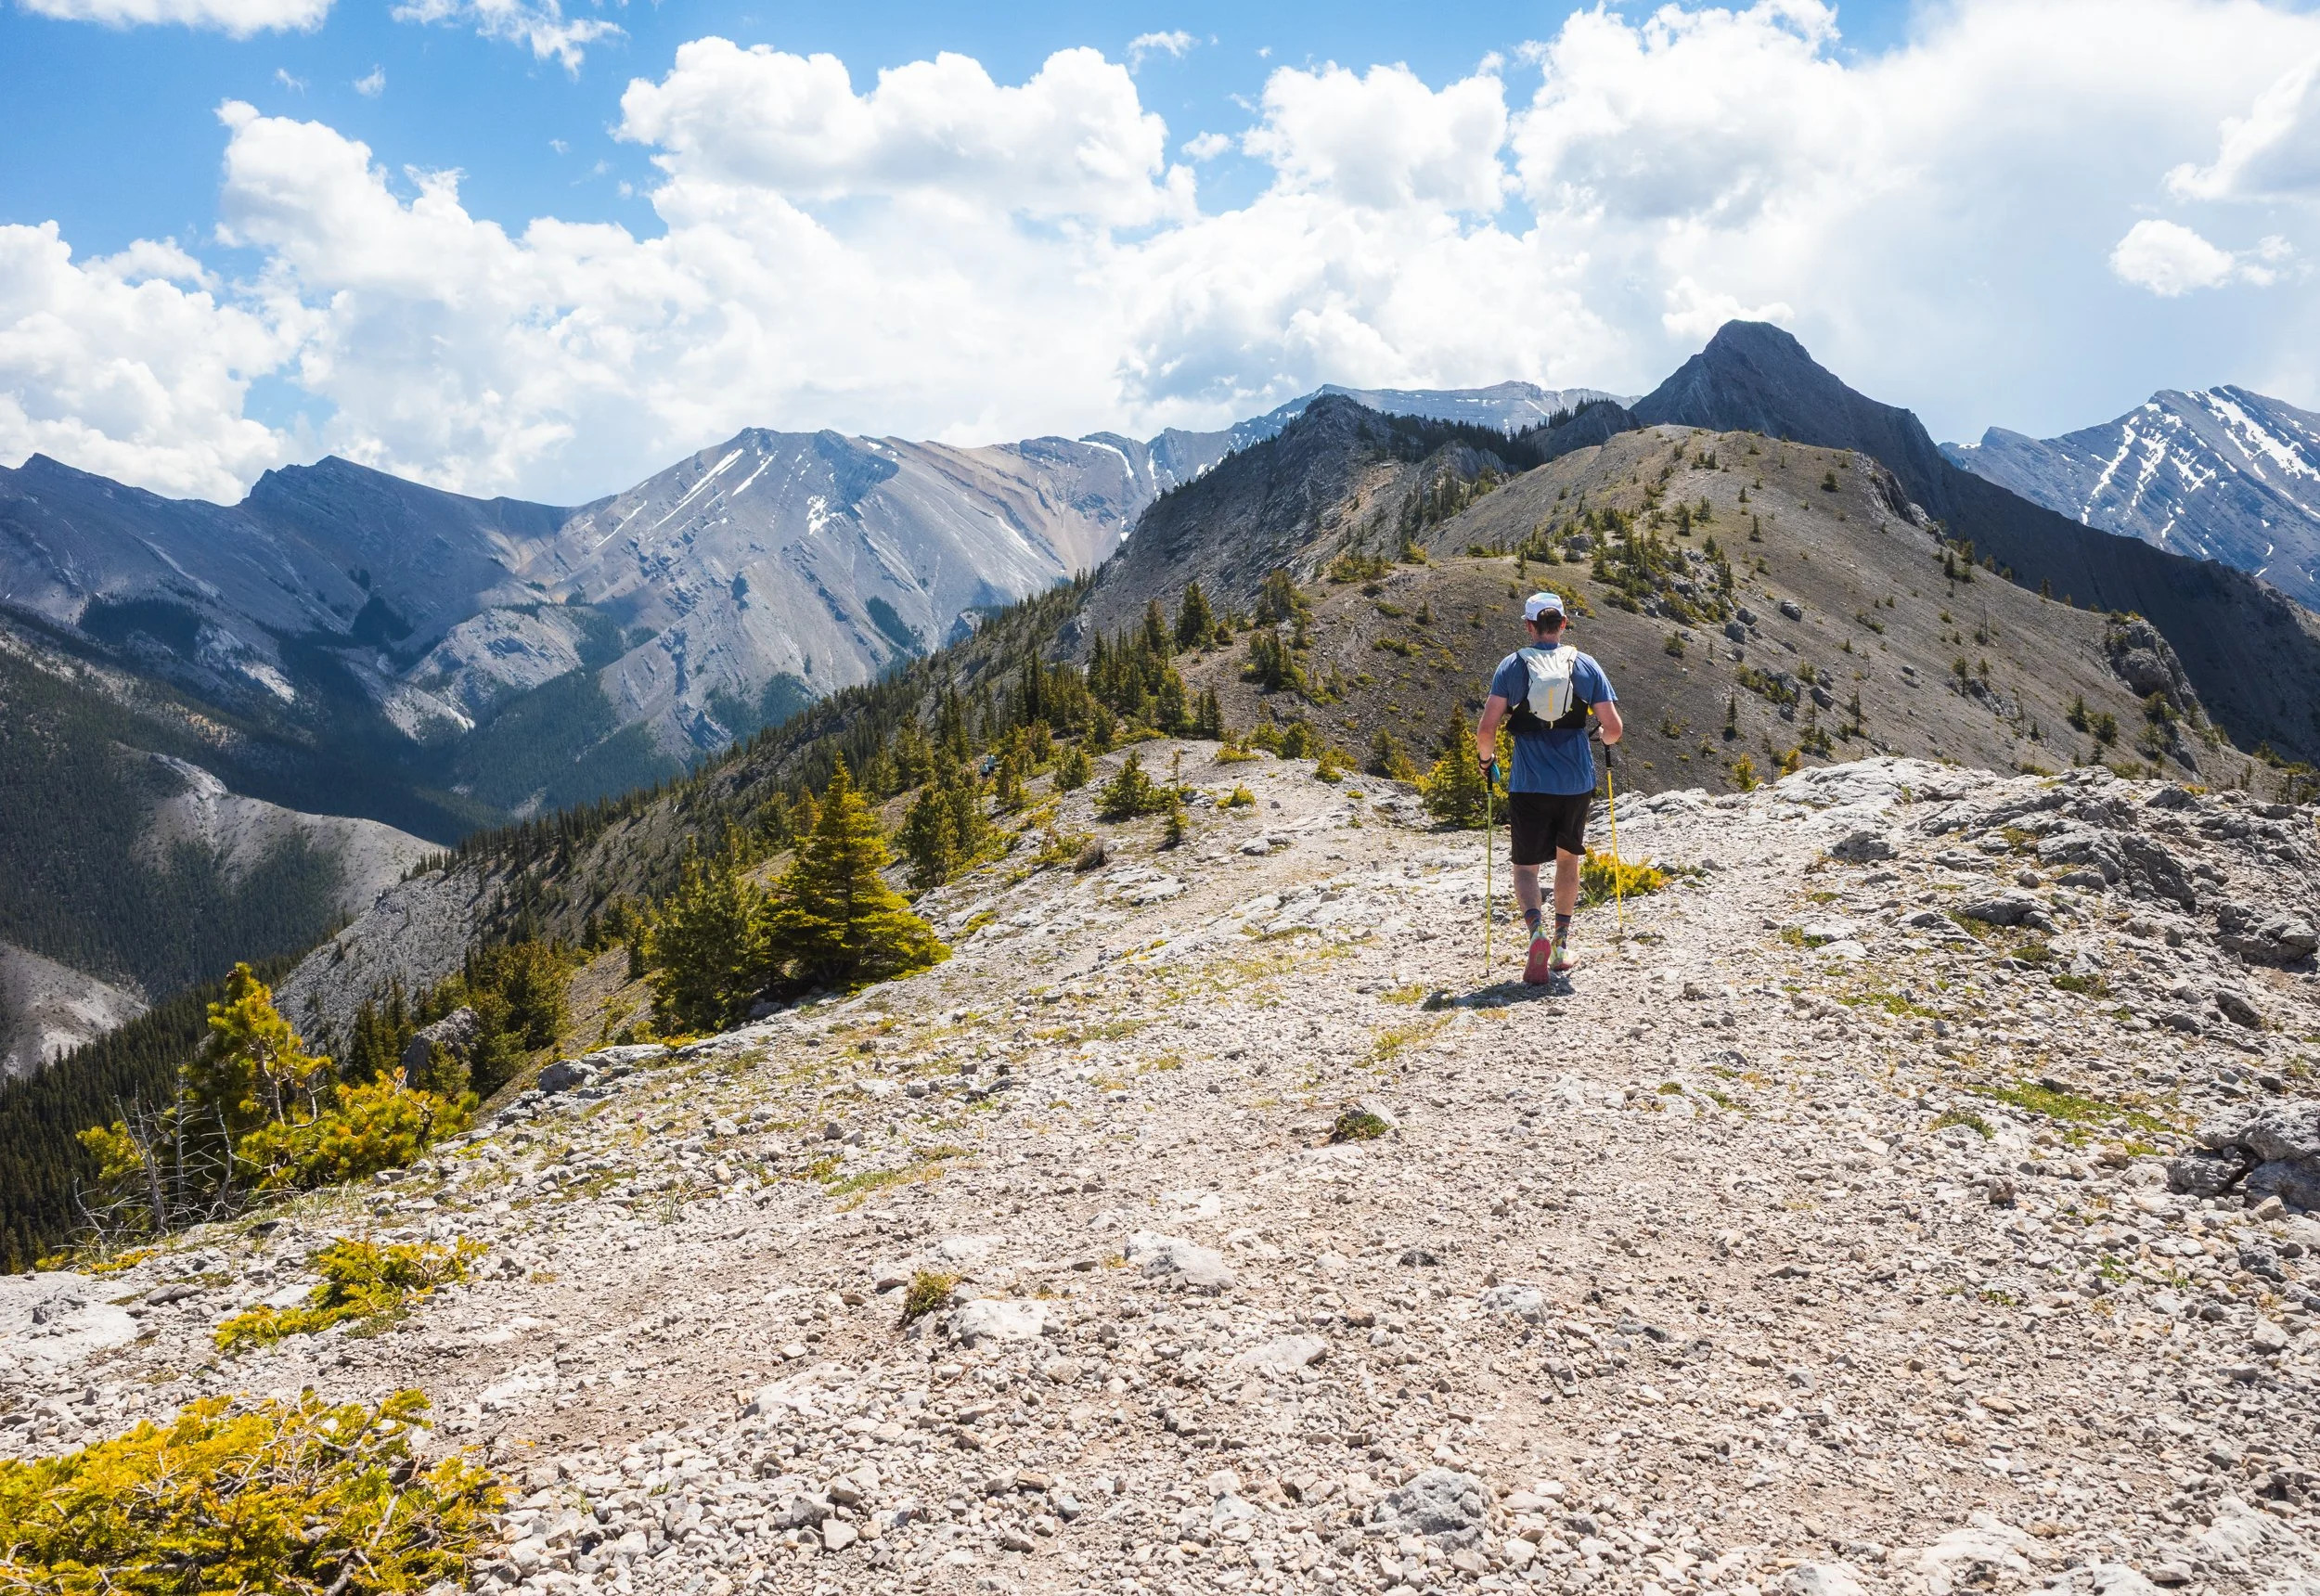
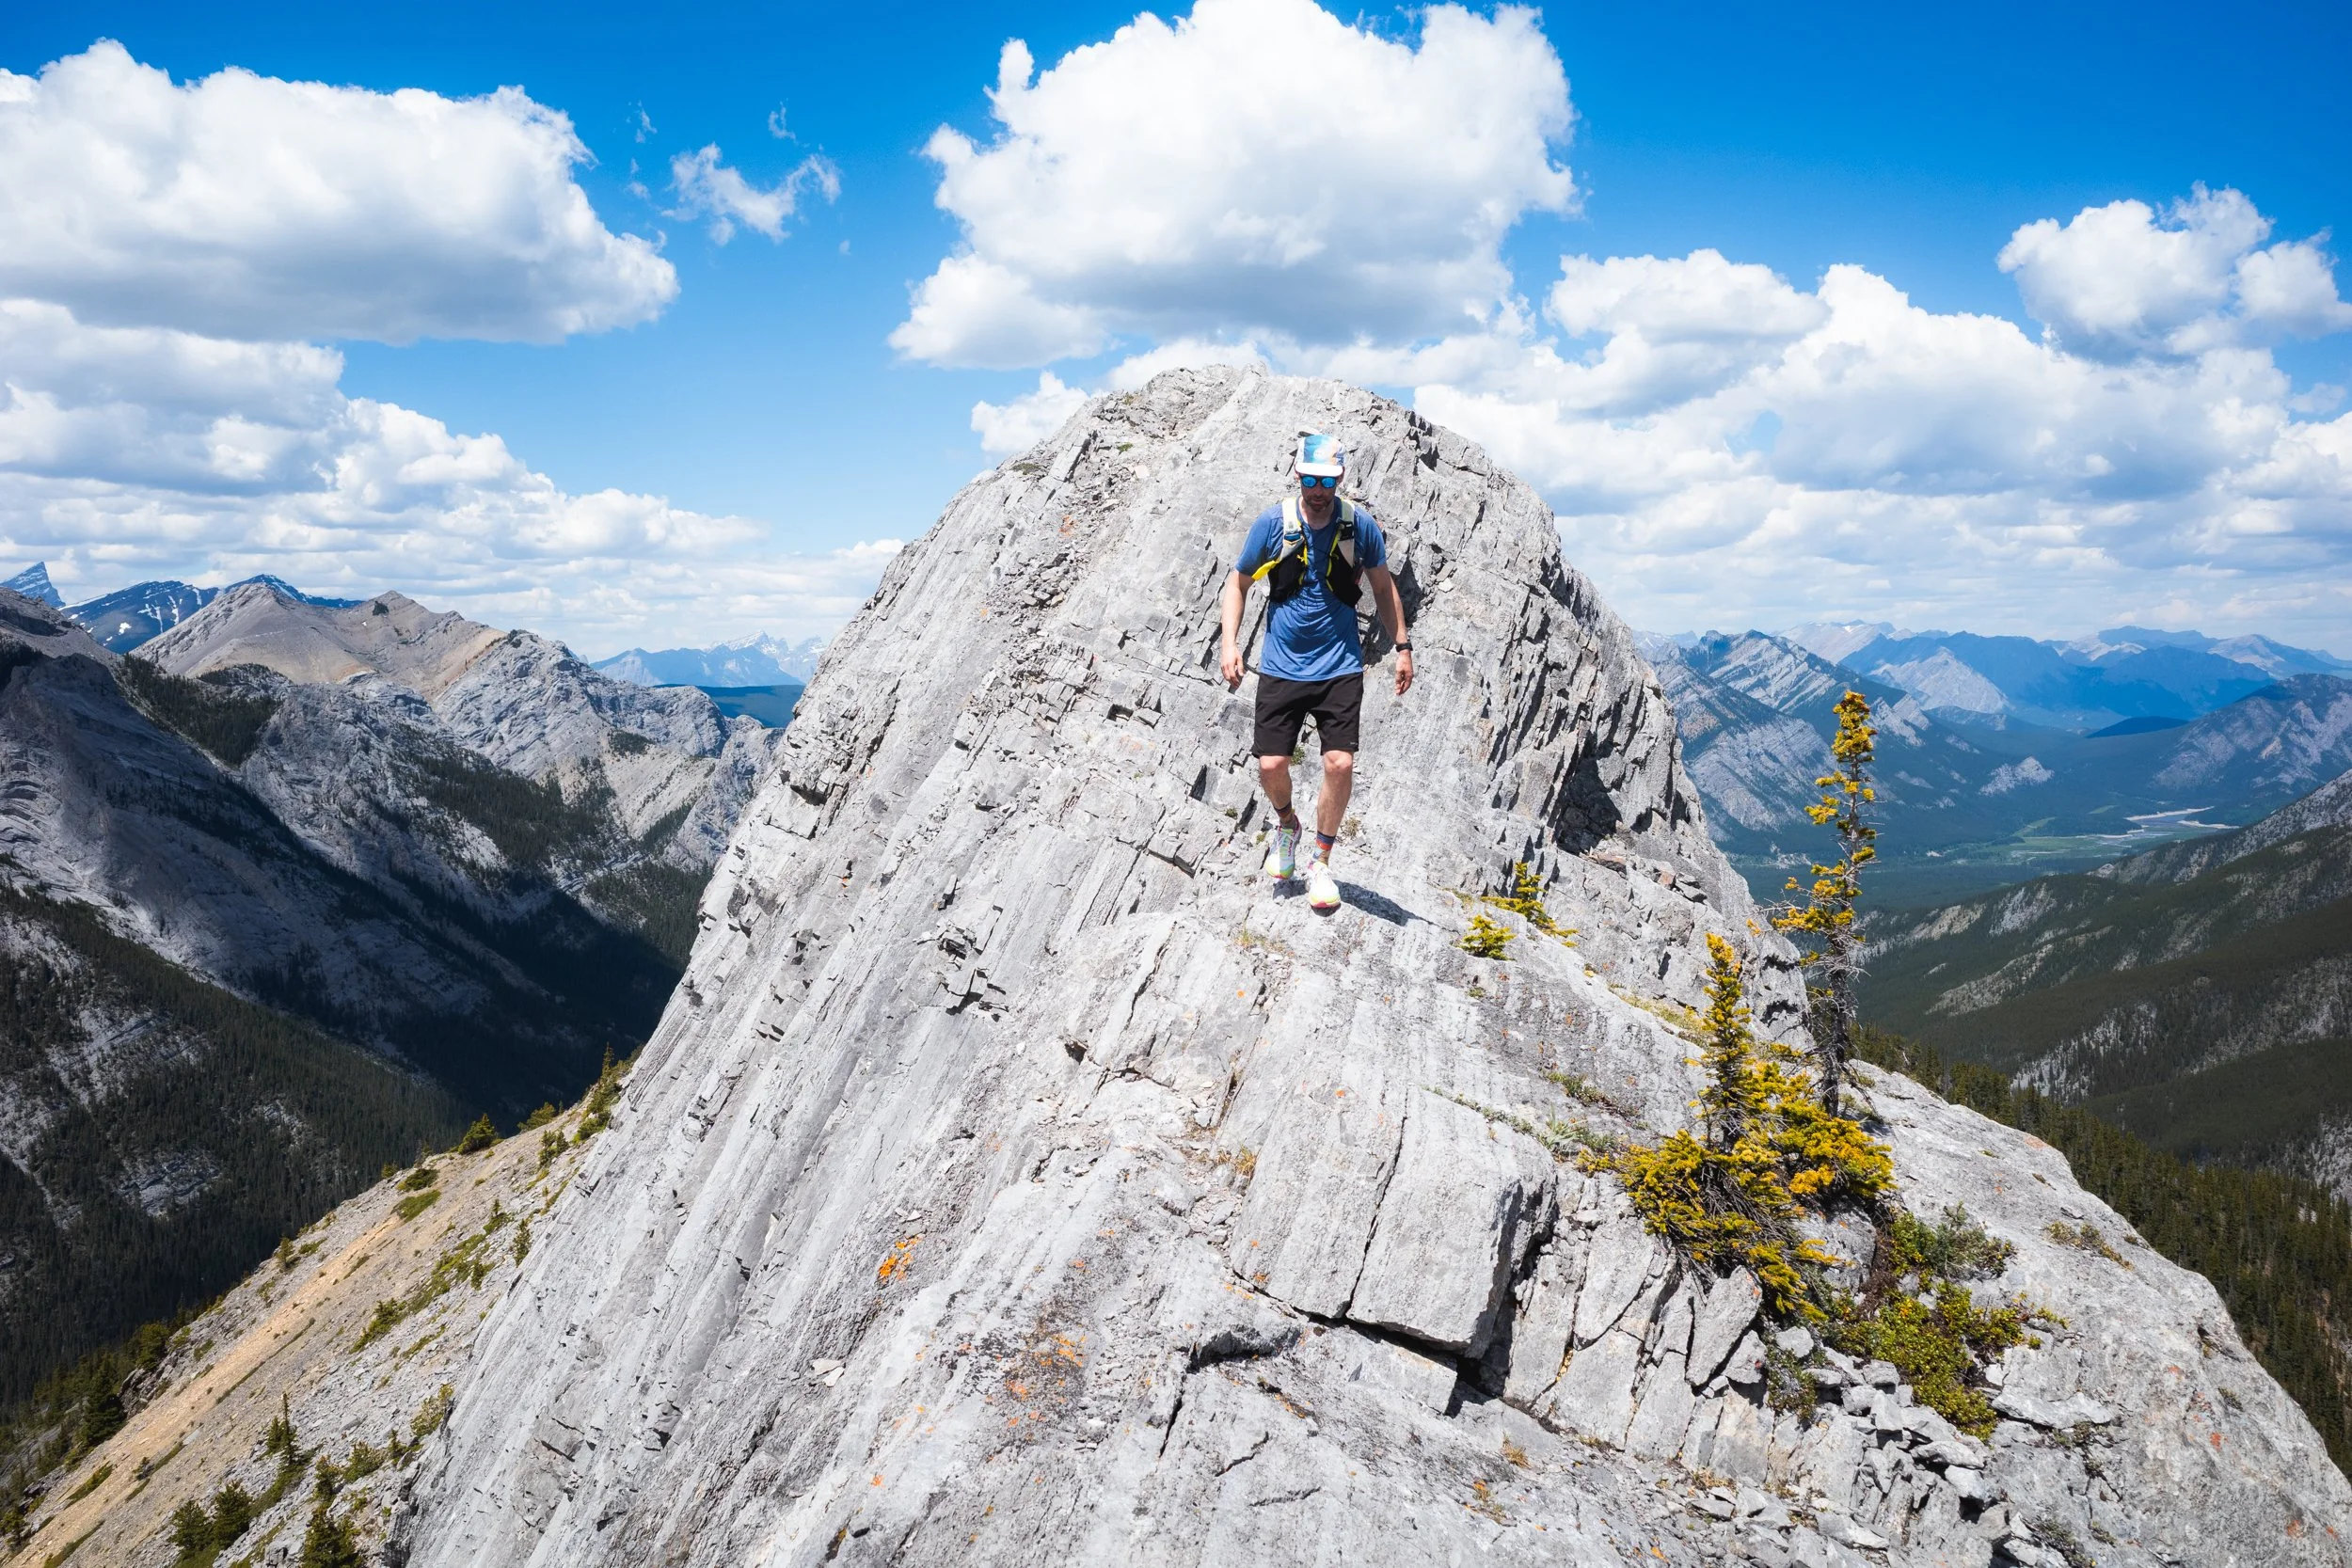
Marching on towards the true summit on the last of the less technical trail.
From here there are several route choices, some make this hike continue on as such but other route choices turn it in to more of a scramble. During certain sections you have the option to follow the ridge directly, this is often faster, more technical, more exposed and a little scary, or take hikers paths lower down and around these more technical scrambles.

Taking the more direct route. You can just about see a hiking path to the left of the image, these often take you lower and round the more direct ridge line.
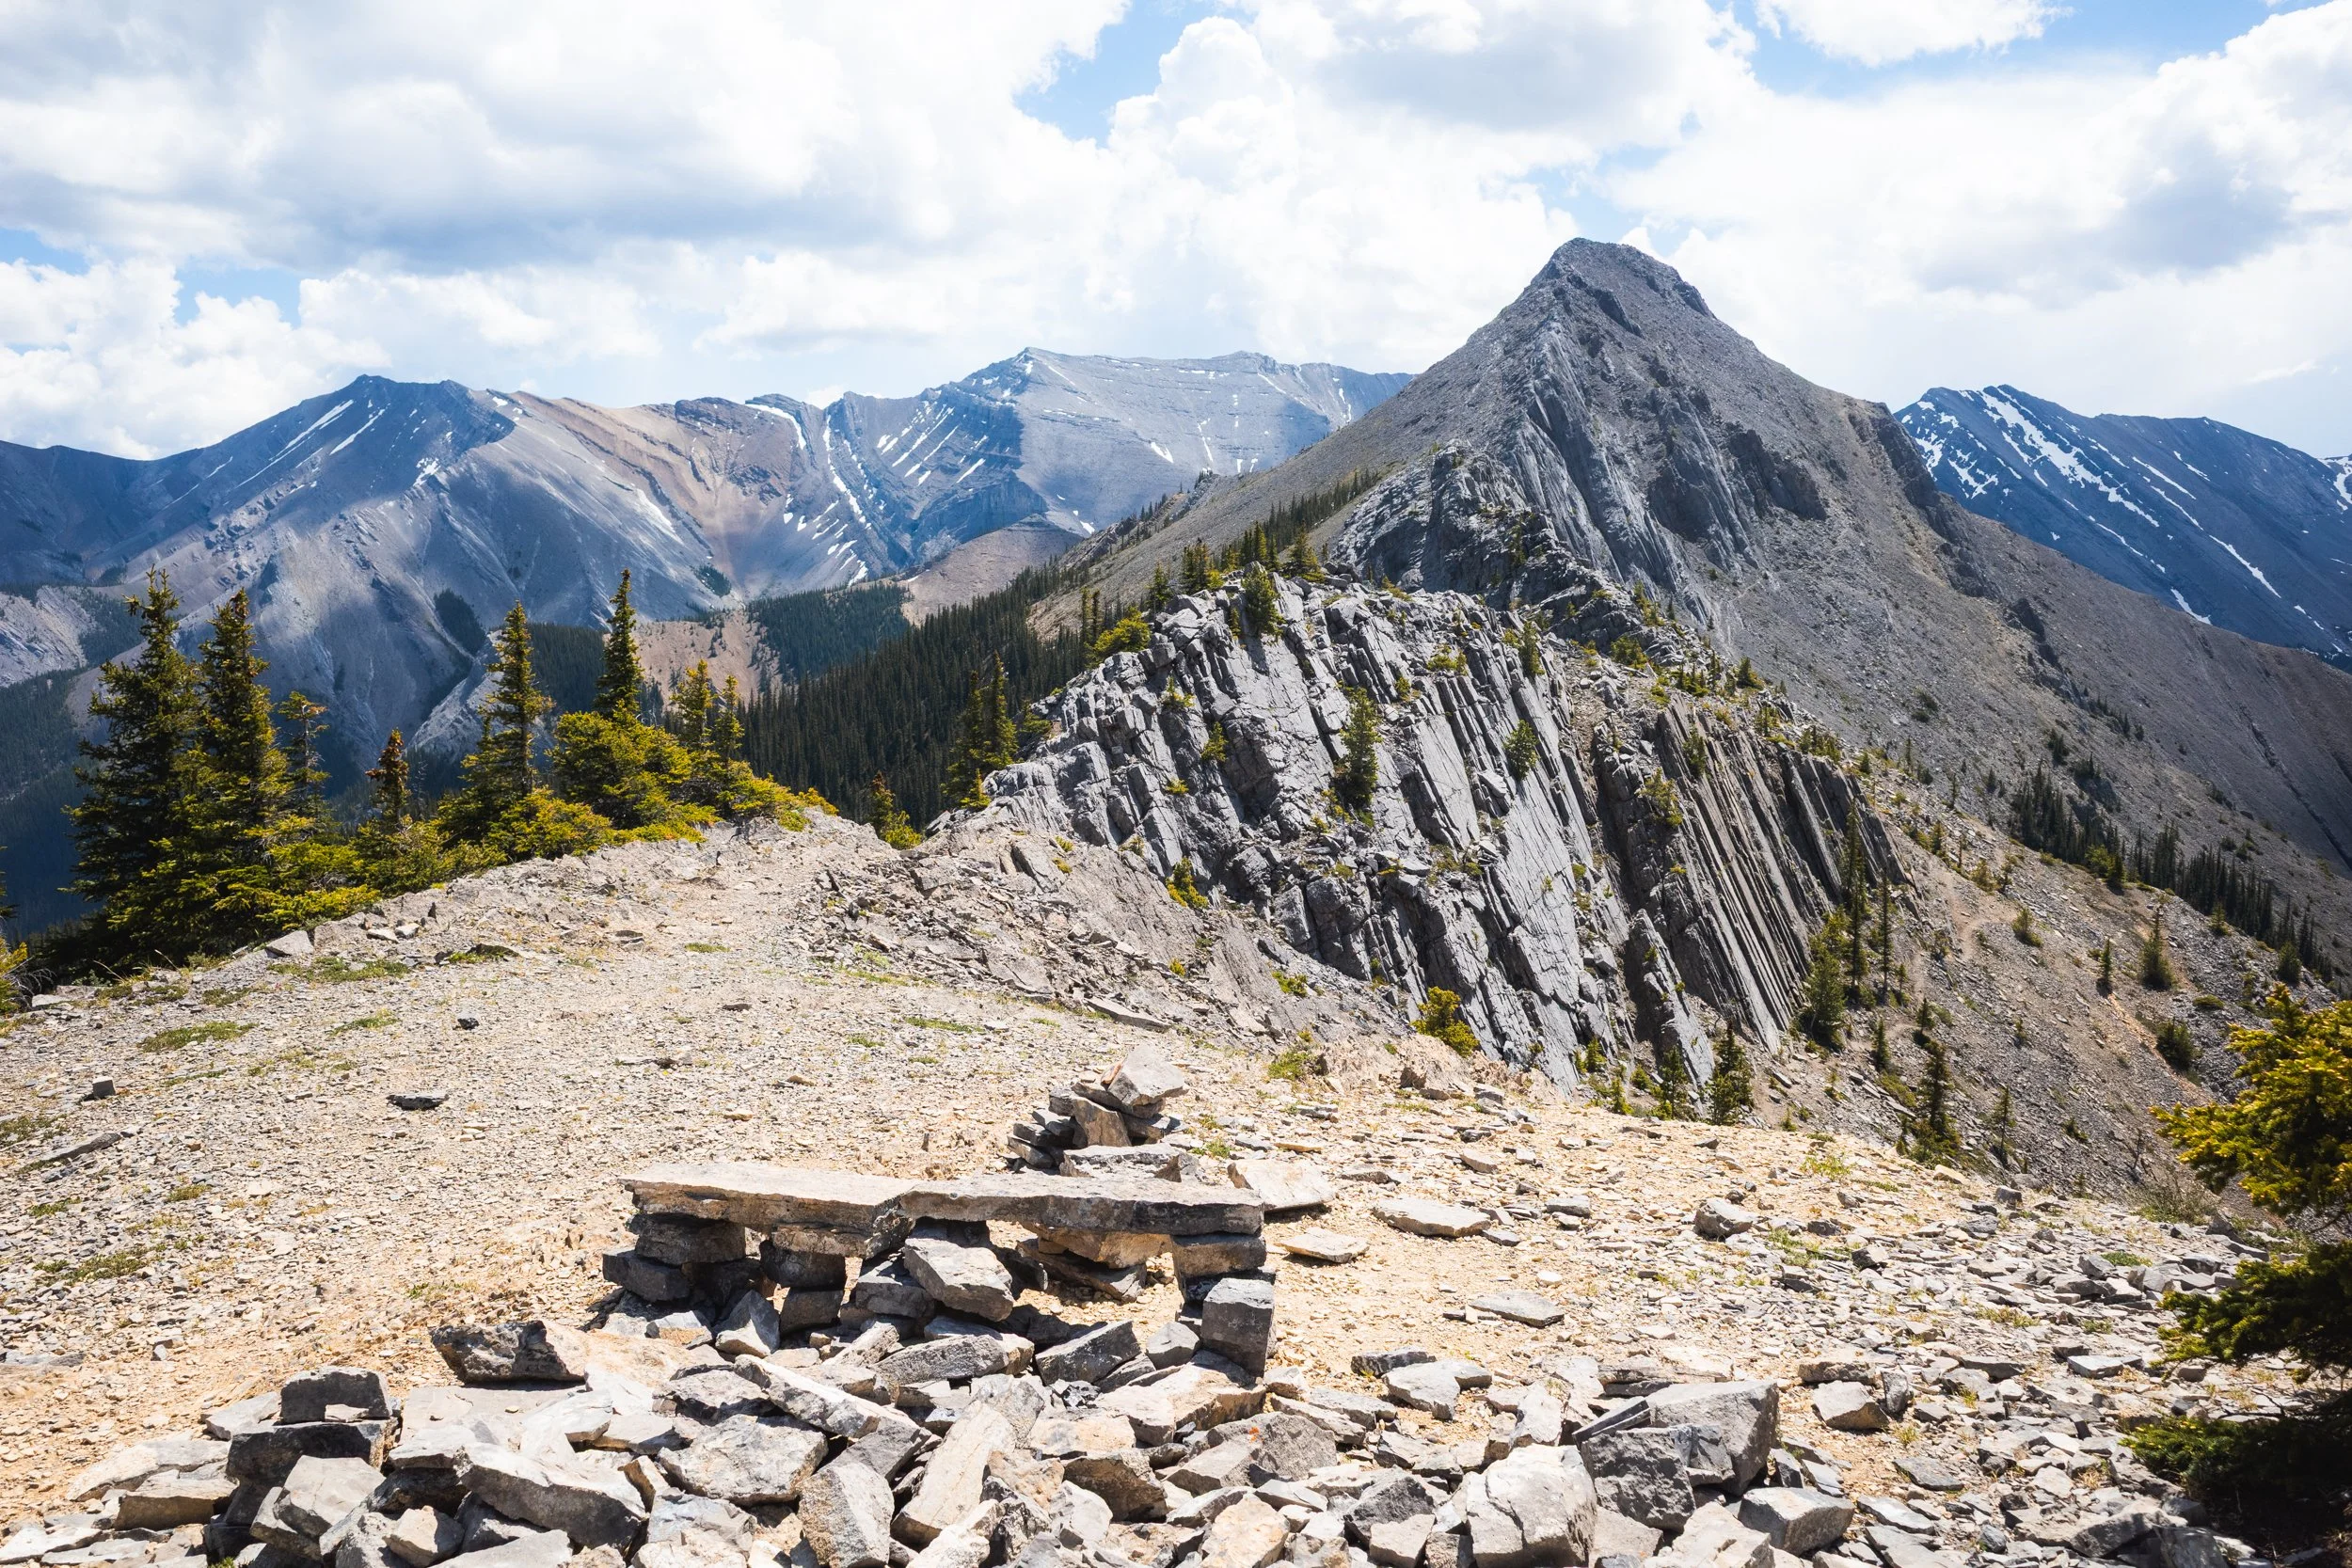
Stone benches about 2 km from the main summit.
Around 2 km from the true summit lay a couple of stone benches and some amazing views. This, or just beforehand, is a great place to end your hike if you aren’t comfortable with exposure or your legs have had enough, you’d be more than forgiven for doing so!
From this point, and the image above, you can see the terrain that you’ll have to cross to make it to the top. Ahead we have the main ridge line which turns this hike in to a full blown scramble, not for the faint hearted! Just below the grey slab on the right hand side you can see the hikers trail that by passes the more technical terrain, choose wisely!
Again take an offline mapping app with you to be more confident in your direction!
The ridge scramble looking back towards the trailhead.
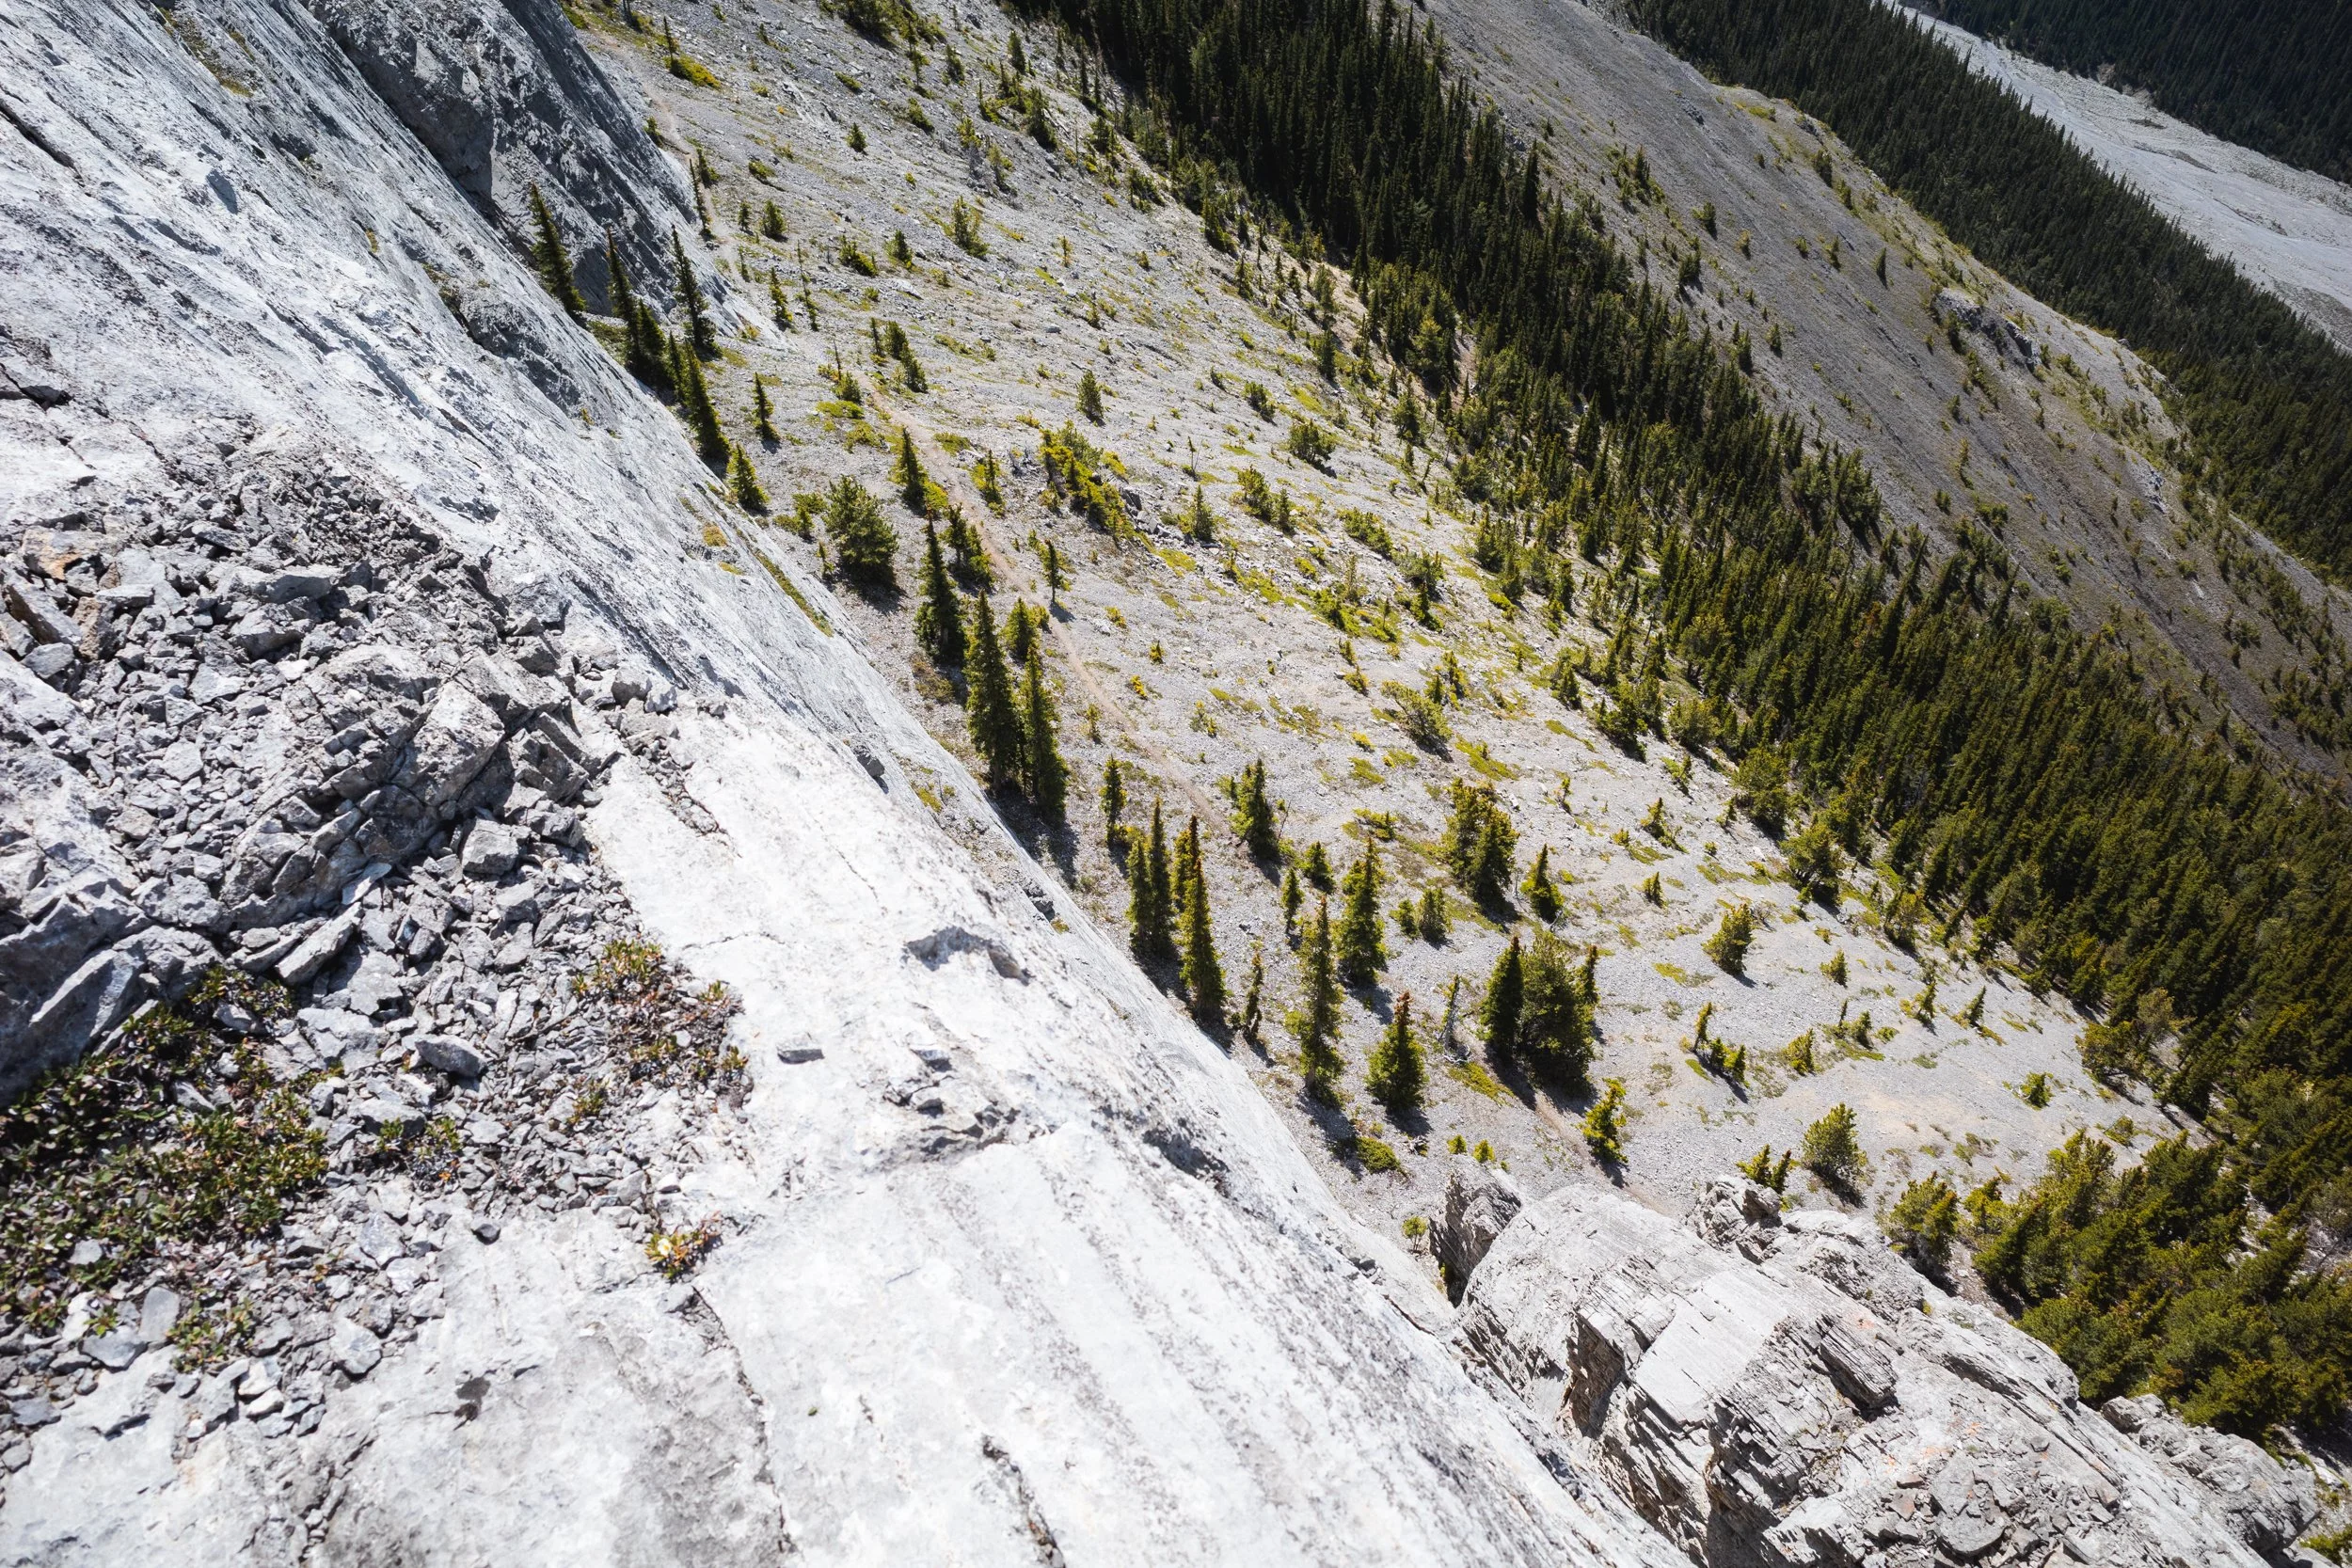
The hikers path below on the right from atop the ridge. I won’t lie, at times I wished I’d taken the lower route!
Now I chose the more direct route for the last couple of km to the Wasootch Ridge summit. I have a pretty good head for heights and am comfortable using my hands on scrambles and route finding. However for full transparency there was a section of down climbing I ended up having to do that I did not enjoy and was pushing the limits of what I’m comfortable with, especially when hiking solo.
So keep it in mind when you choose your own adventure on this trail, the lower hikers route, although not as adventurous, is definitely the most sensible!
Hiking along a wider section of the ridge scramble.
Throughout the hike there were multiple places where I thought about turning around and heading home. The views do improve as the trail goes on but the going is tough. Don’t be ashamed of calling it early if you feel you need to!
Maybe that’s advice I should take on myself!
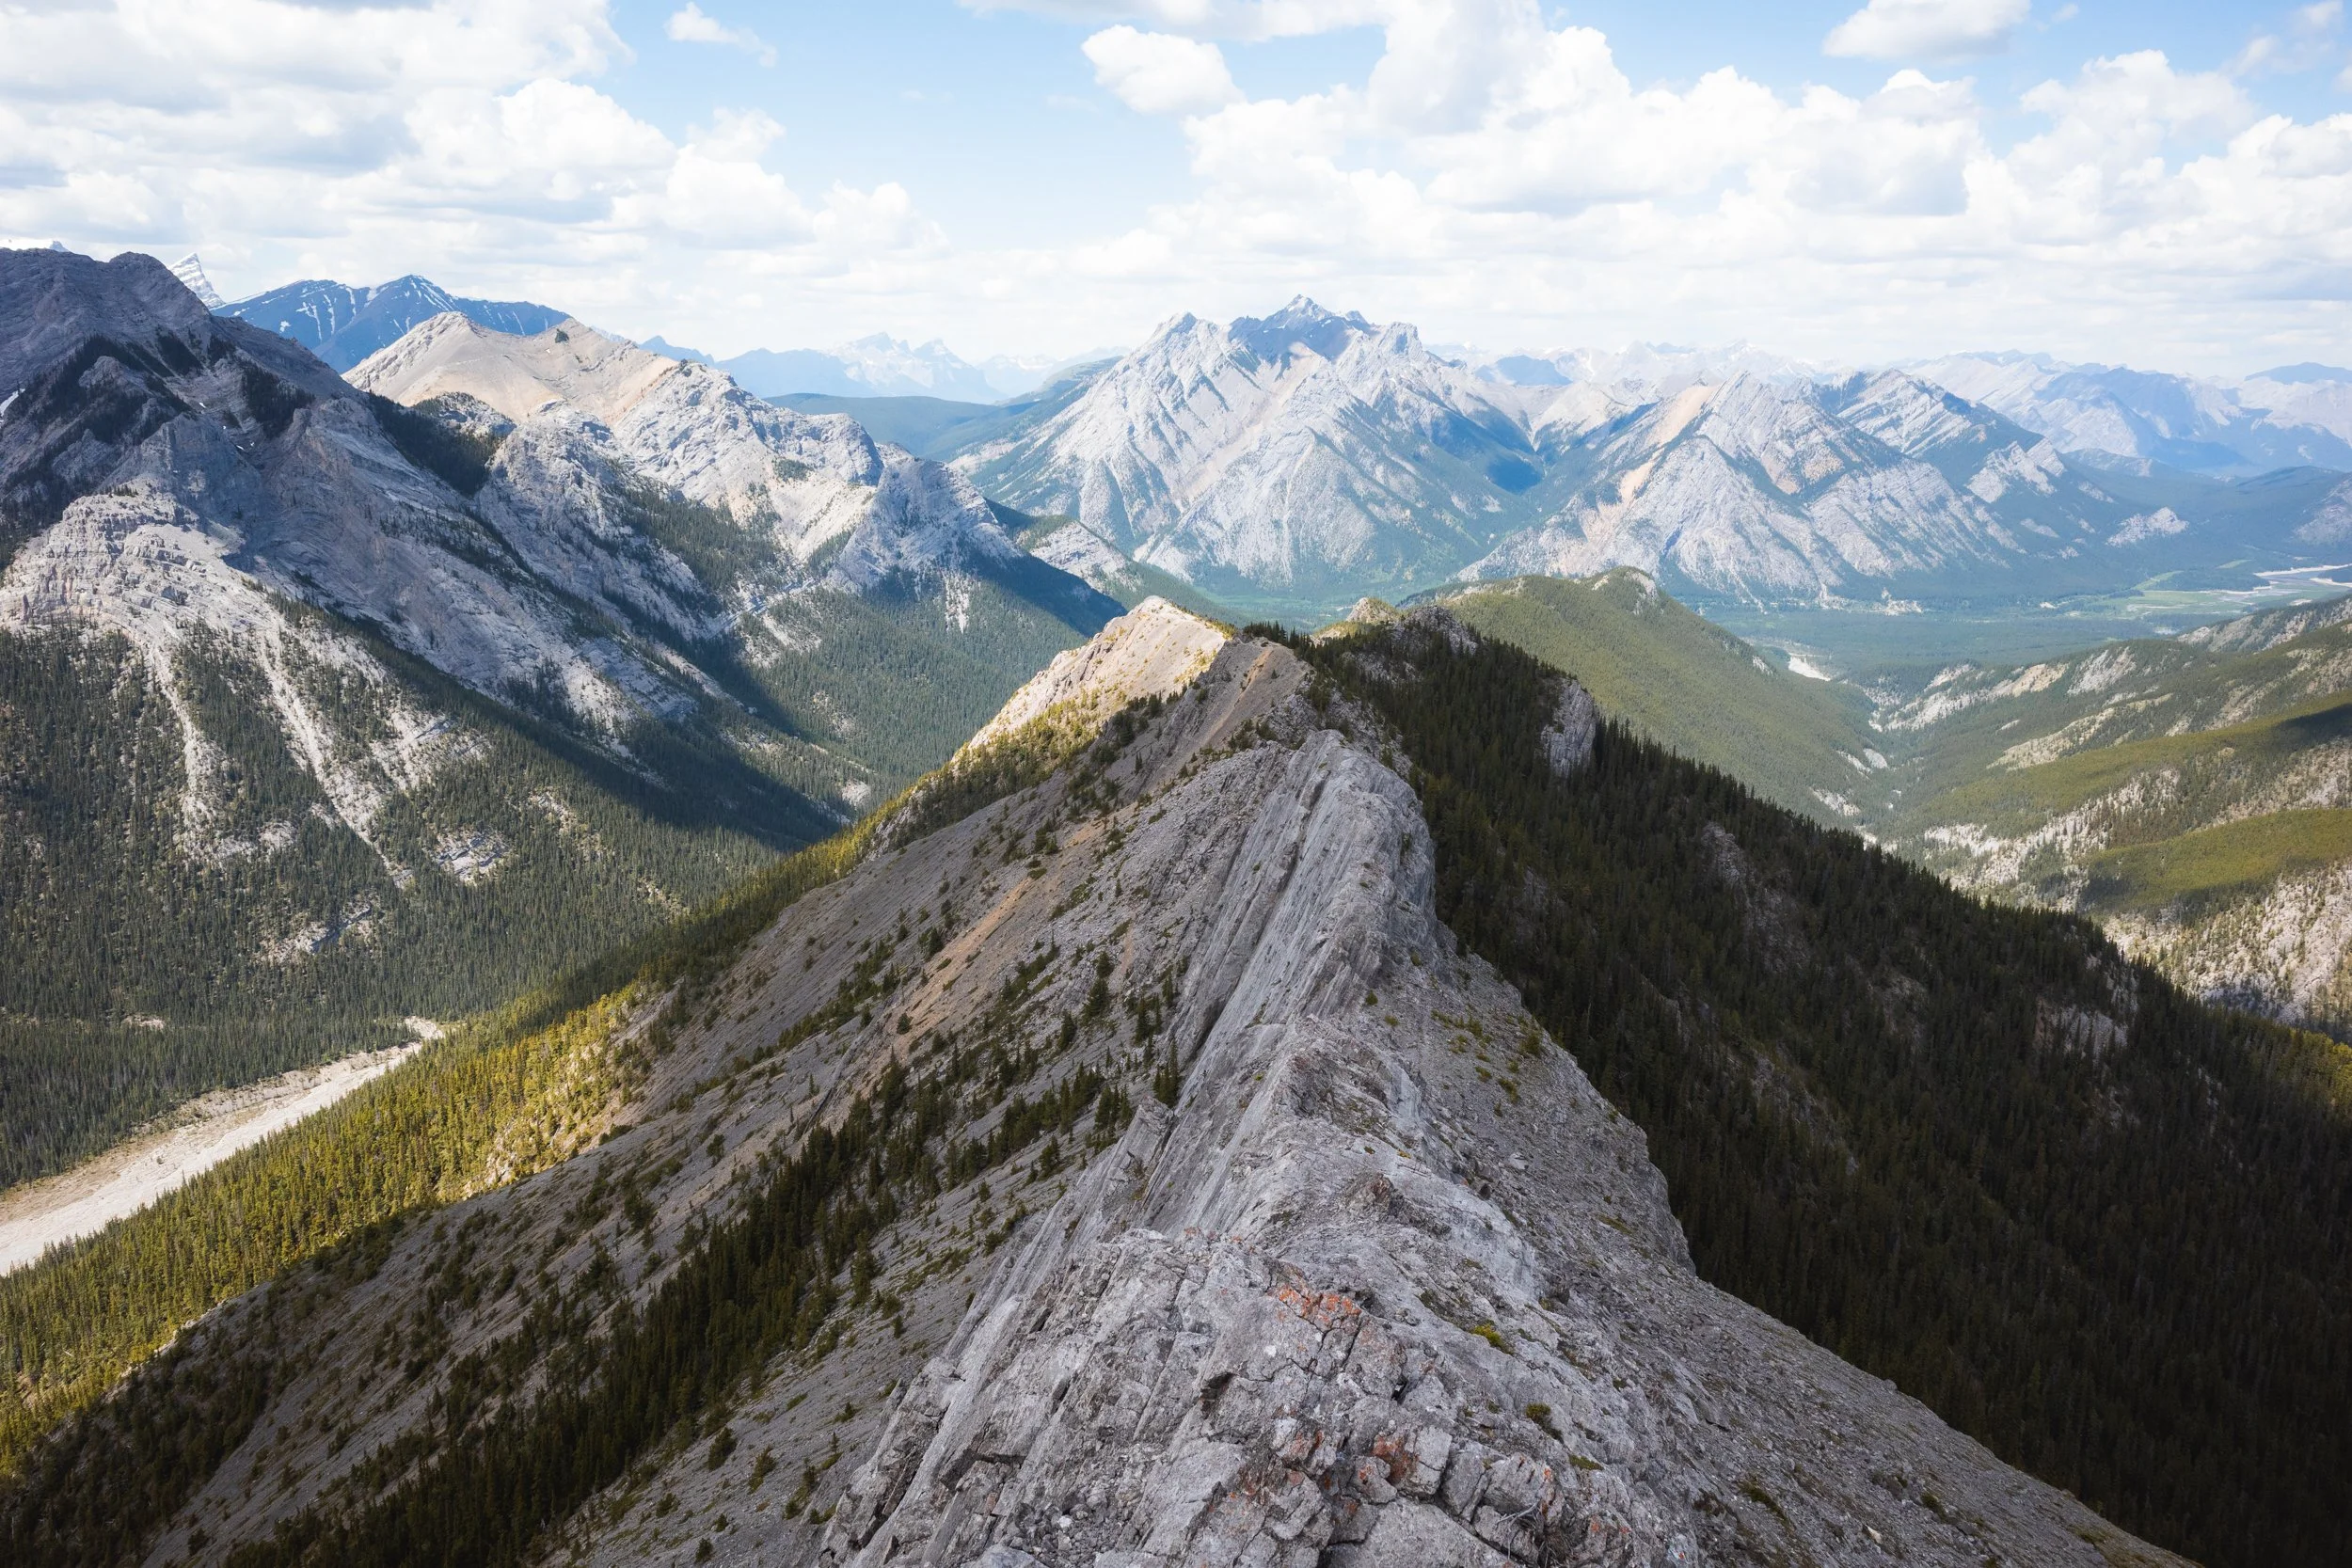
Looking back towards the more technical section of the ridge line.
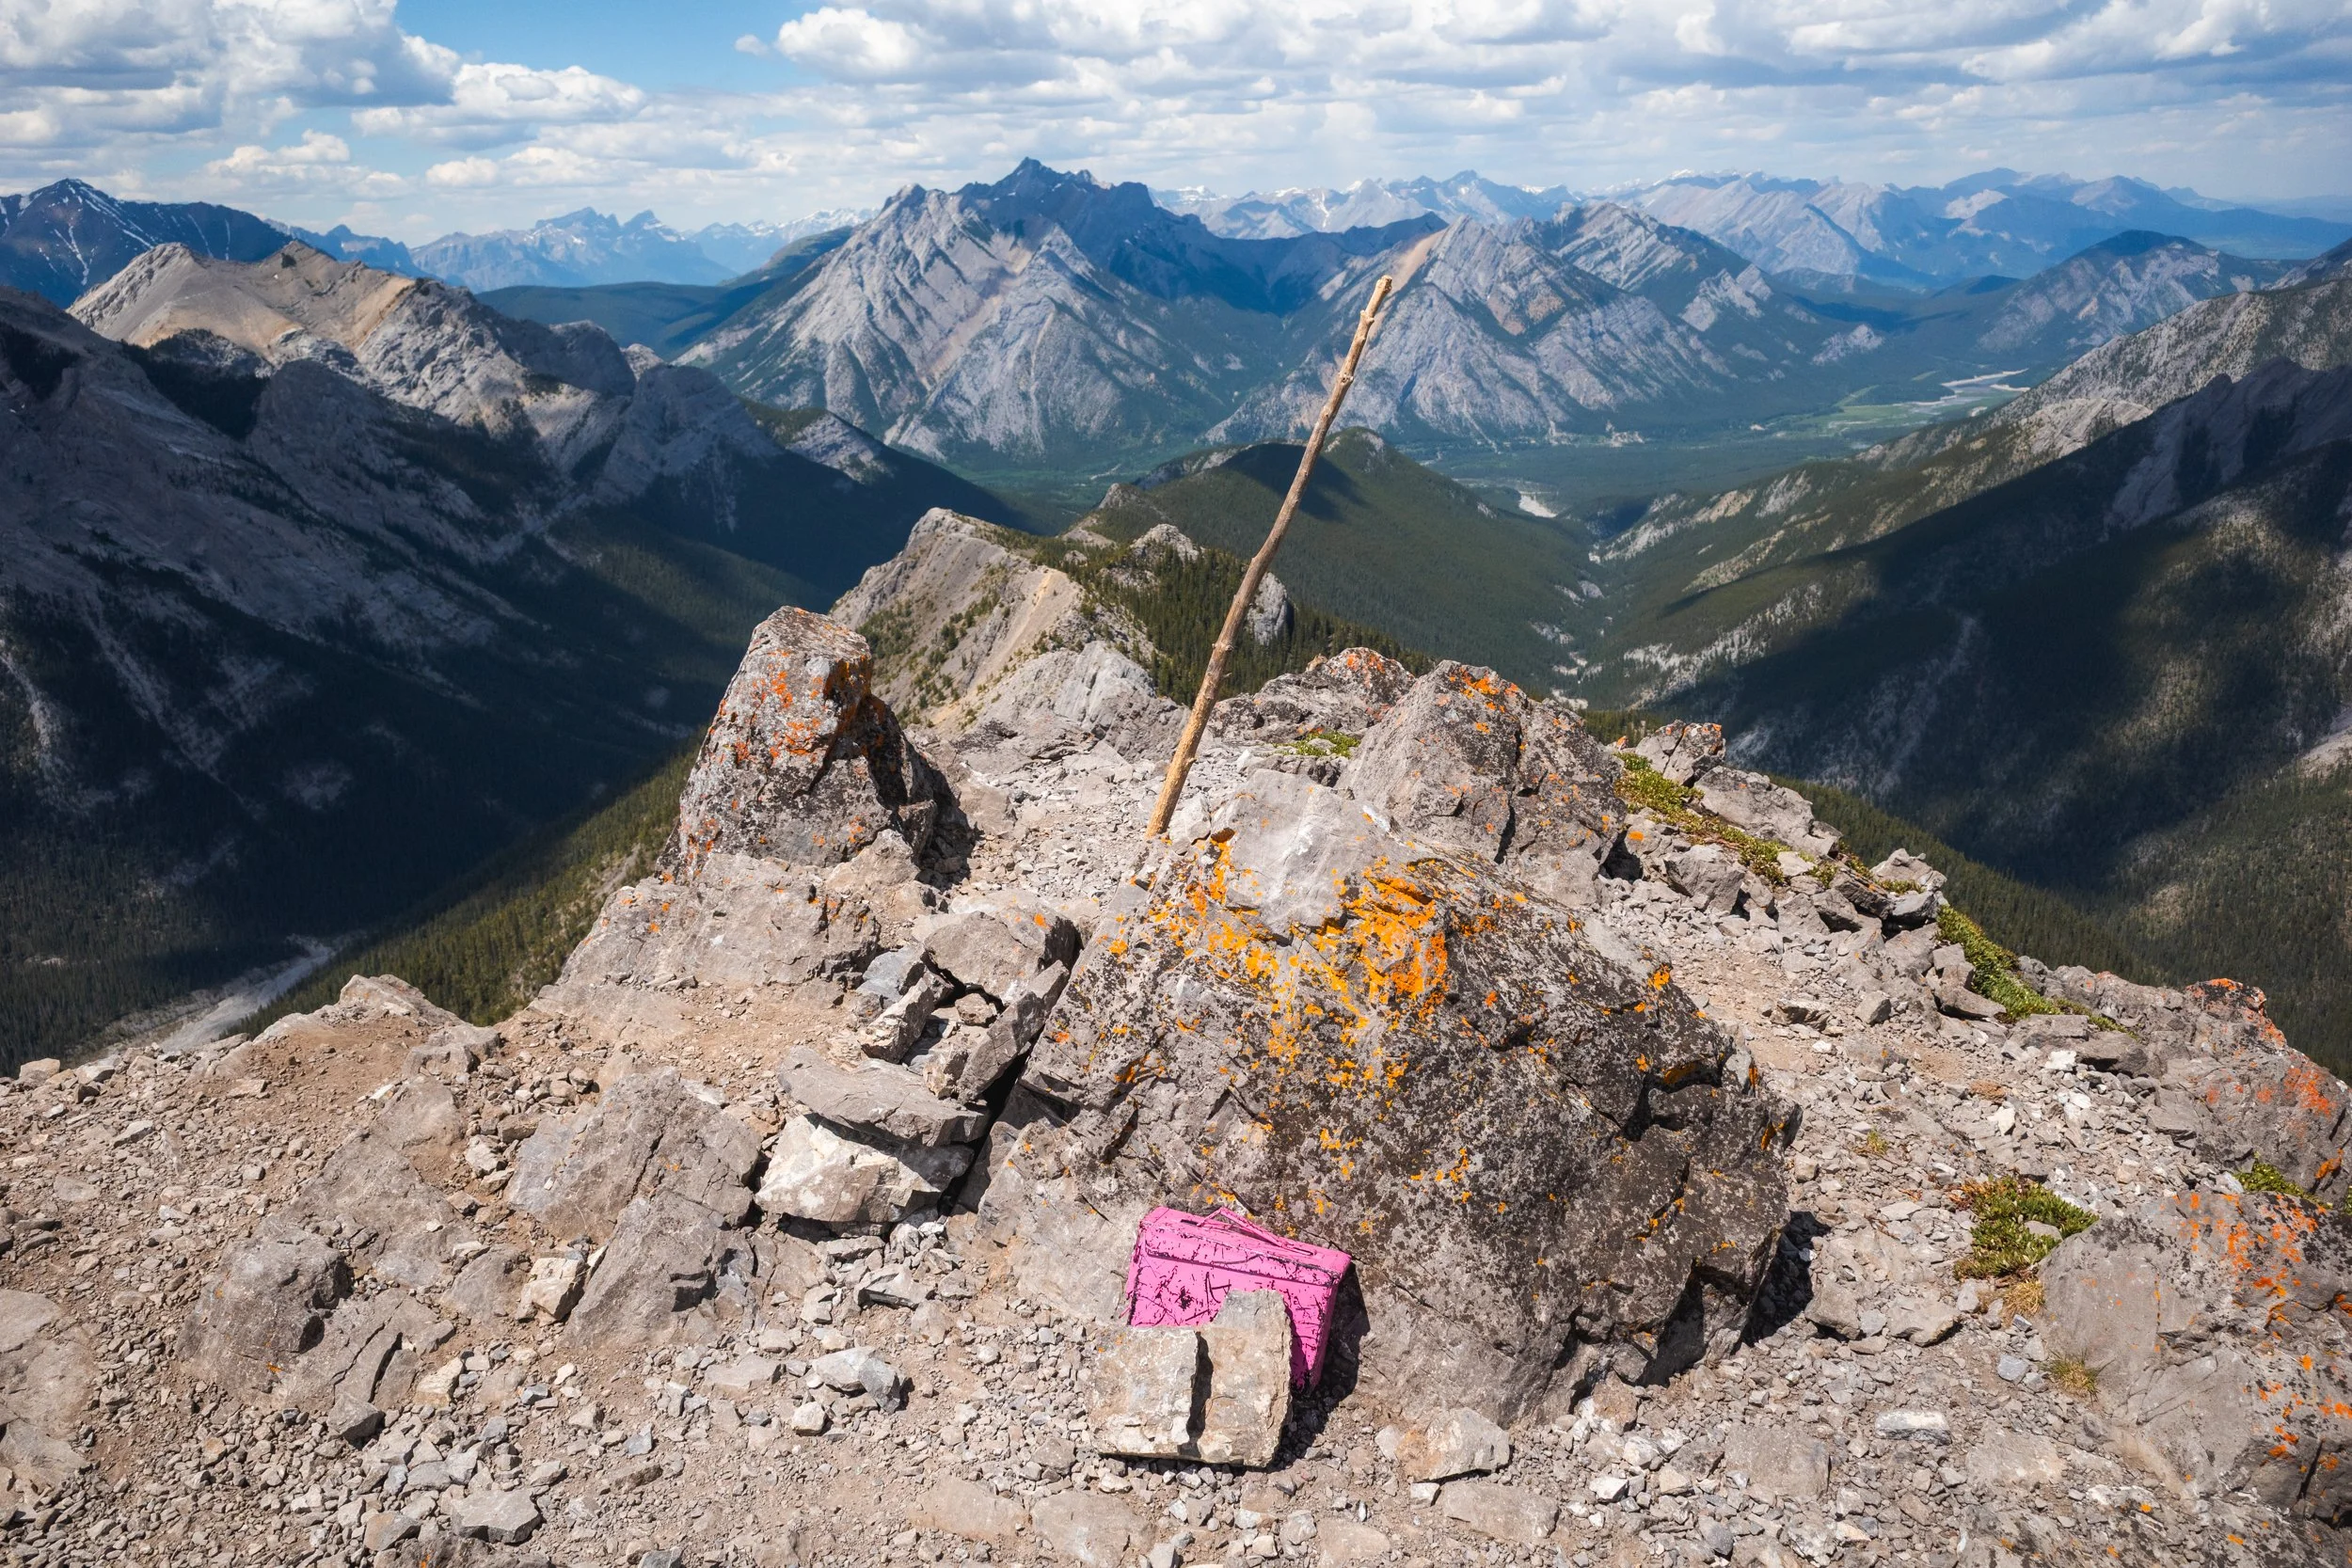
Finally after a long slog you’ll come across the summit marked with a rock cairn and a summit log.
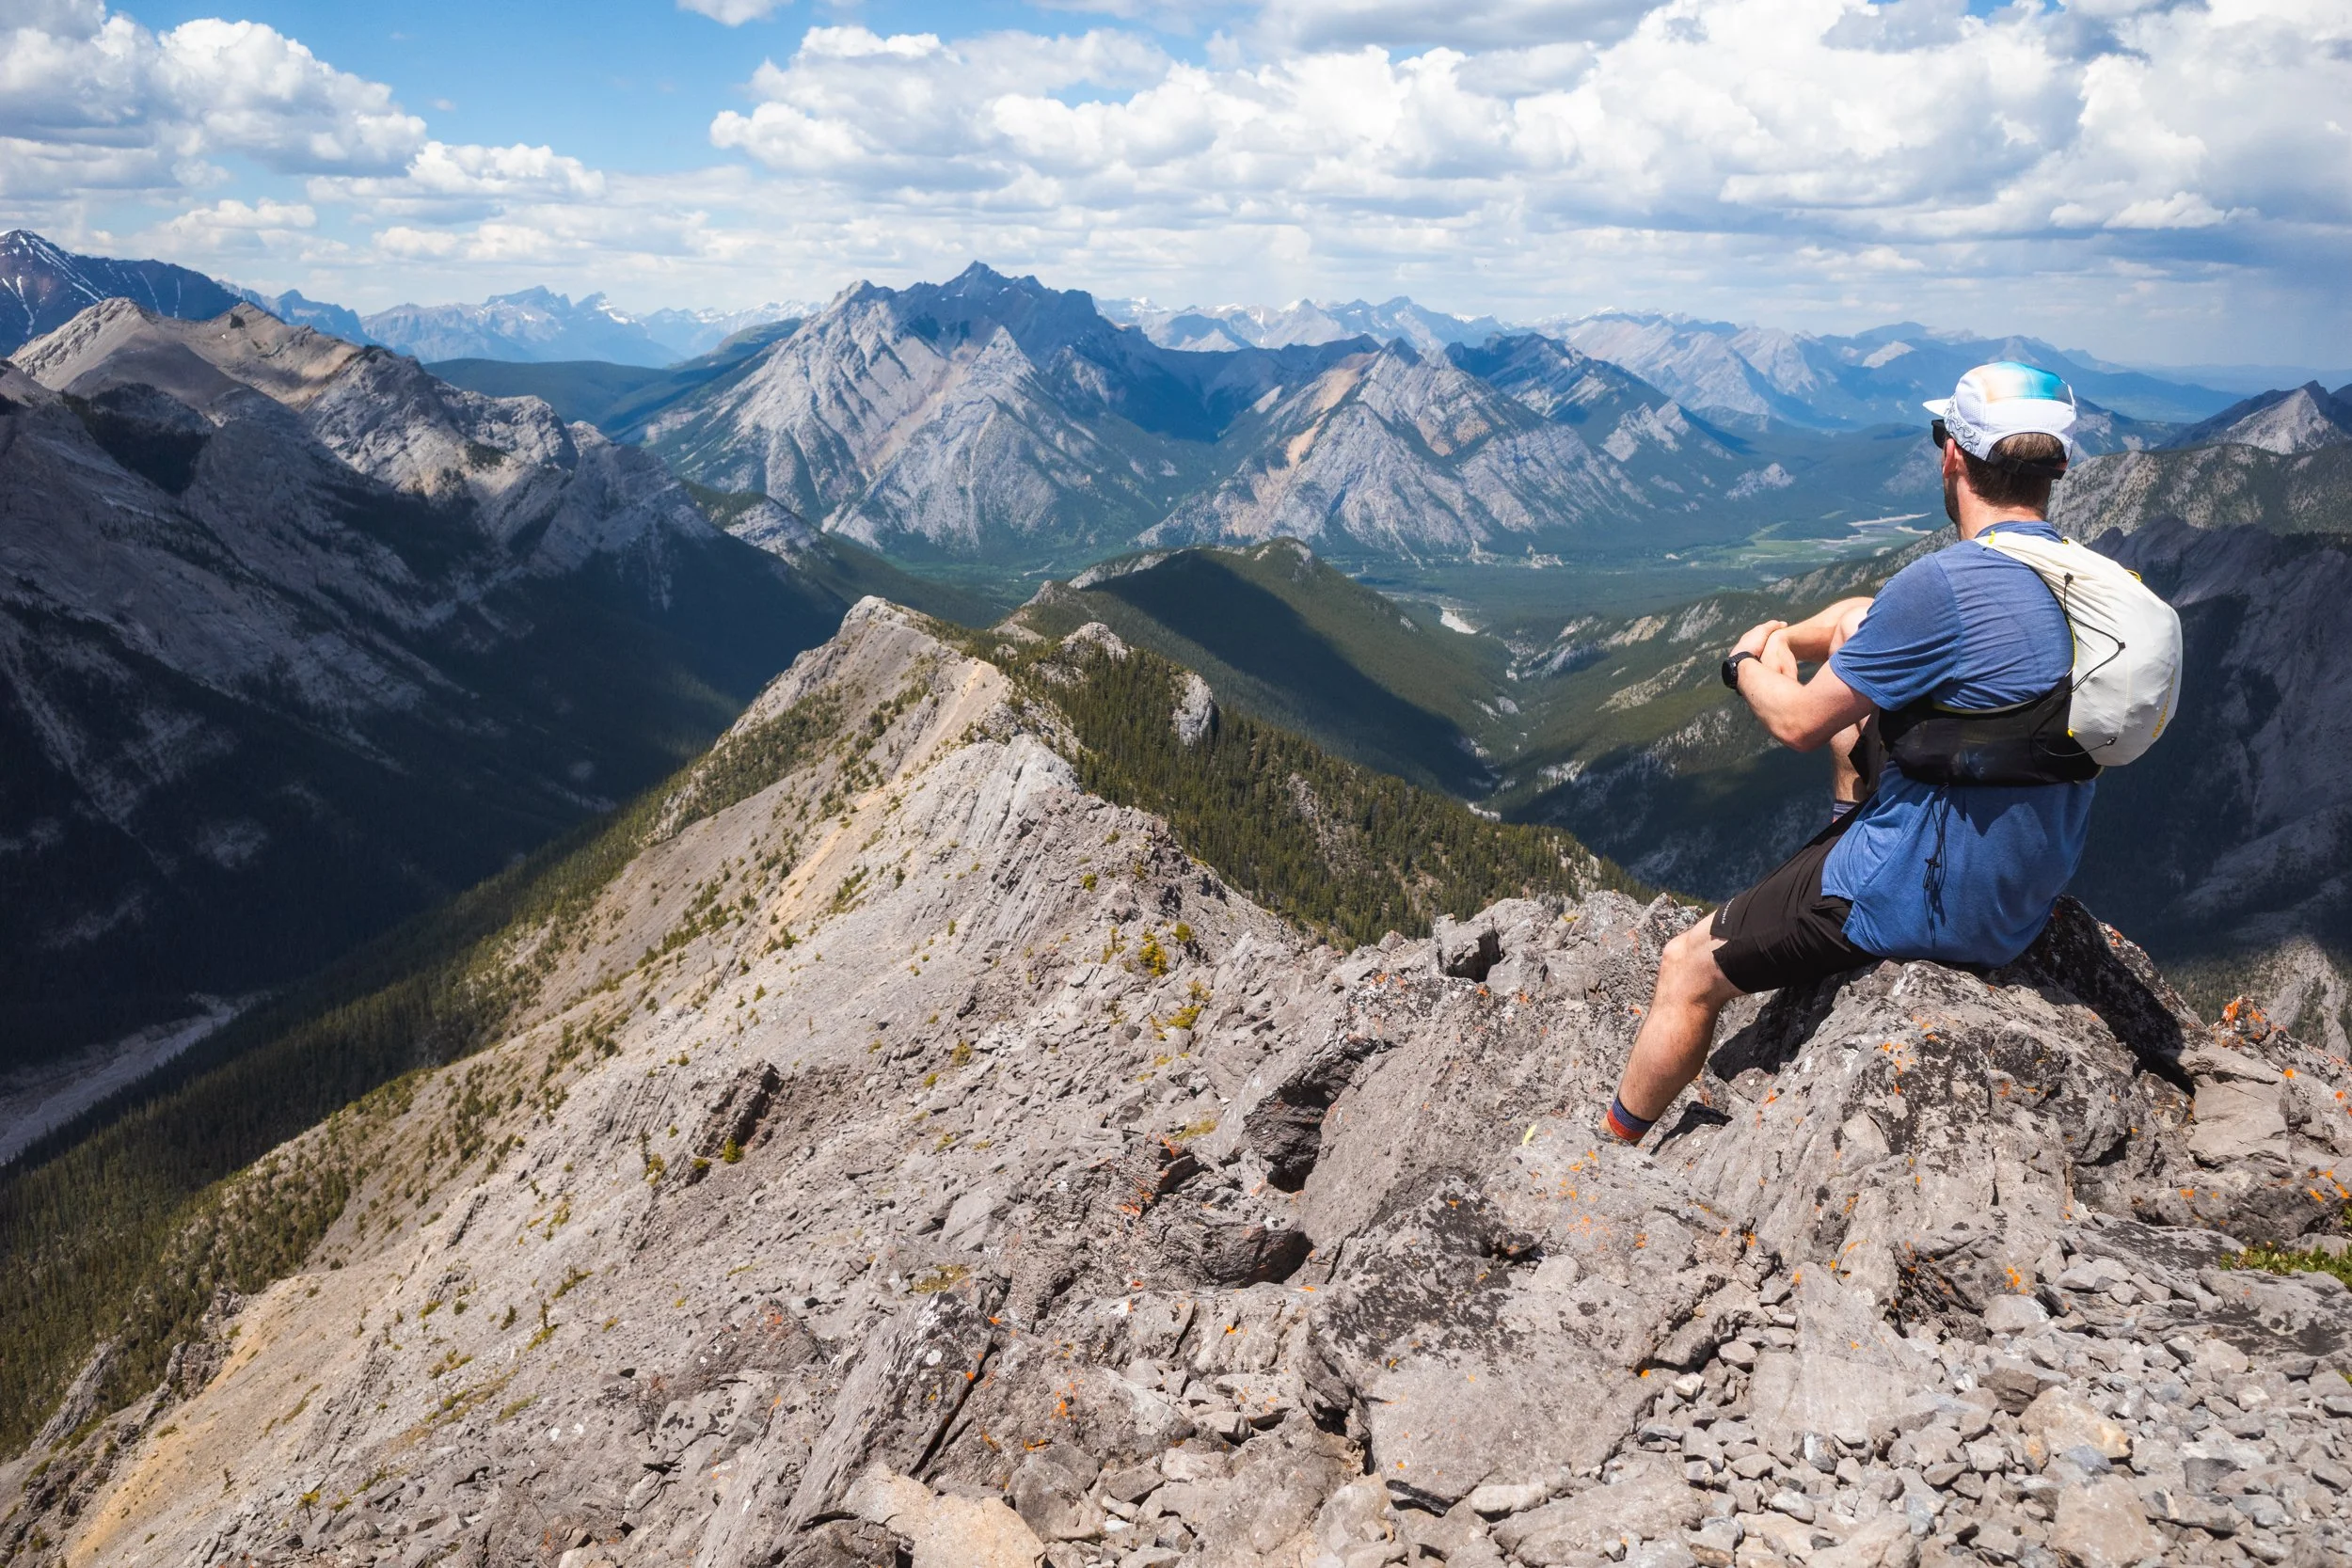
Enjoying the views back along the trail from the top of Wasootch Ridge summit.
From up top the views are better (although maybe this is slightly influenced by the amount of effort it took to get here) but I wouldn’t be upset about turning around earlier as it’s still a fantastic day hike no matter how far you go!
From the summit you simply follow the ridge back the way you came, or choose a less exposed route option! On the way back down I opted for the hikers route, however a word of warning…
There are multiple braided trails down from the ridge line towards the lower hiking trail and some route finding skills are definitely worth it to navigate the safest route. There are several steep scree paths that though are as not as exposed as the ridge line are probably more dangerous as it’s easy to take a slip and slide pretty far if you go the wrong way!
Keep your wits about you a little and plan ahead, wear good boots and carry poles and you shouldn’t have a problem!
Looking for More Hikes in Kananaskis?
Tent Ridge offers stunning views, ridge line hiking and incredible fall colour.
East End of Rundle has to be one of my favourite for sunset photography.
Sarrail Ridge has to be one of the best views in Kananaskis Country!
Yates Mountain offers a great early season warm up to the hiking season!
Pipers Pass is a lesser known unofficial trail.
Things to know Before You Go
Parks and Conservation Passes: Whether you’re hiking in a national park in Canada or certain provincial parks you’ll most likely need some kind of conservation pass. A Discovery Pass will cover you for the year for all national parks in Canada whilst the Kananaskis Conservation Pass covers the provincial and wildland parks in the Kananaskis region.
Check Trail Conditions Before You Go: Trail conditions in the Rockies can change month to month and year to year. Trails close for wildlife, weather and avalanche hazards. Be sure to double check trail conditions before heading out to avoid any disappointment. You can do so here!
Leave No Trace: When hiking anywhere in the world it’s important that you practice a leave no trace philosophy. This means whatever you hike in to a trail or campground you have to be able to hike out too. There won’t be trash cans or waste disposal in the backcountry and you should never throw trash in any out houses or pit toilets. In recent years, as trails and parks become busier, litter is becoming more of a problem. Don’t add to that problem!
Bears and Wildlife! Wild life is everywhere in the Canadian Rockies, even on trails that are close to town. People and animals have been attacked by bears and other wild life on popular trails in the past so don’t take it for granted.
Most wildlife is looking to avoid human contact so no matter what type of wildlife you see be sure to keep your distance. 30 metres is the minimum recommendation for most species but under any circumstance don’t approach wildlife. Even the cuddliest of critters can be dangerous!
So as always be bear aware, make noise, hike in groups, carry bear spray and, if they’re allowed on trail, keep your dog on a leash!
Offline maps knowing where you’re going is super important as to not get lost. I recommend All Trails Plusfor finding routes and offline mapping allowing you to safely find your way home.
Interested in other multi-day hikesin the Canadian Rockies or maybe day hikes?
Gear Recommendations
After 10 years living in the Canadian Rockies, years working in retail and years reviewing outdoor gear I’ve dialled in my backcountry kit! And on all day hikes there are definitely a few things I always take with me to make my trip safer, easier and more enjoyable.

Merino Socks
Merino socks are a must for any hike. They keep you dryer, warmer and smelling better!
Once you go merino you never go back!
My socks are now 100% Smartwool!
Get them at Smartwool.com

Hiking Poles
Poles are often overlooked by new hikers and seen as unnecessary. However once you use them you’ll never go back! They make you more efficient and take the weight of your knees!
Get it on Backcountry.com

Down Jacket
No matter what the weather I carry a lightweight down jacket. The Arcteryx Cerium is light and very warm! Perfect for keeping you toasty when you take a break or if you were injured and awaiting help.
Get it on REI.com
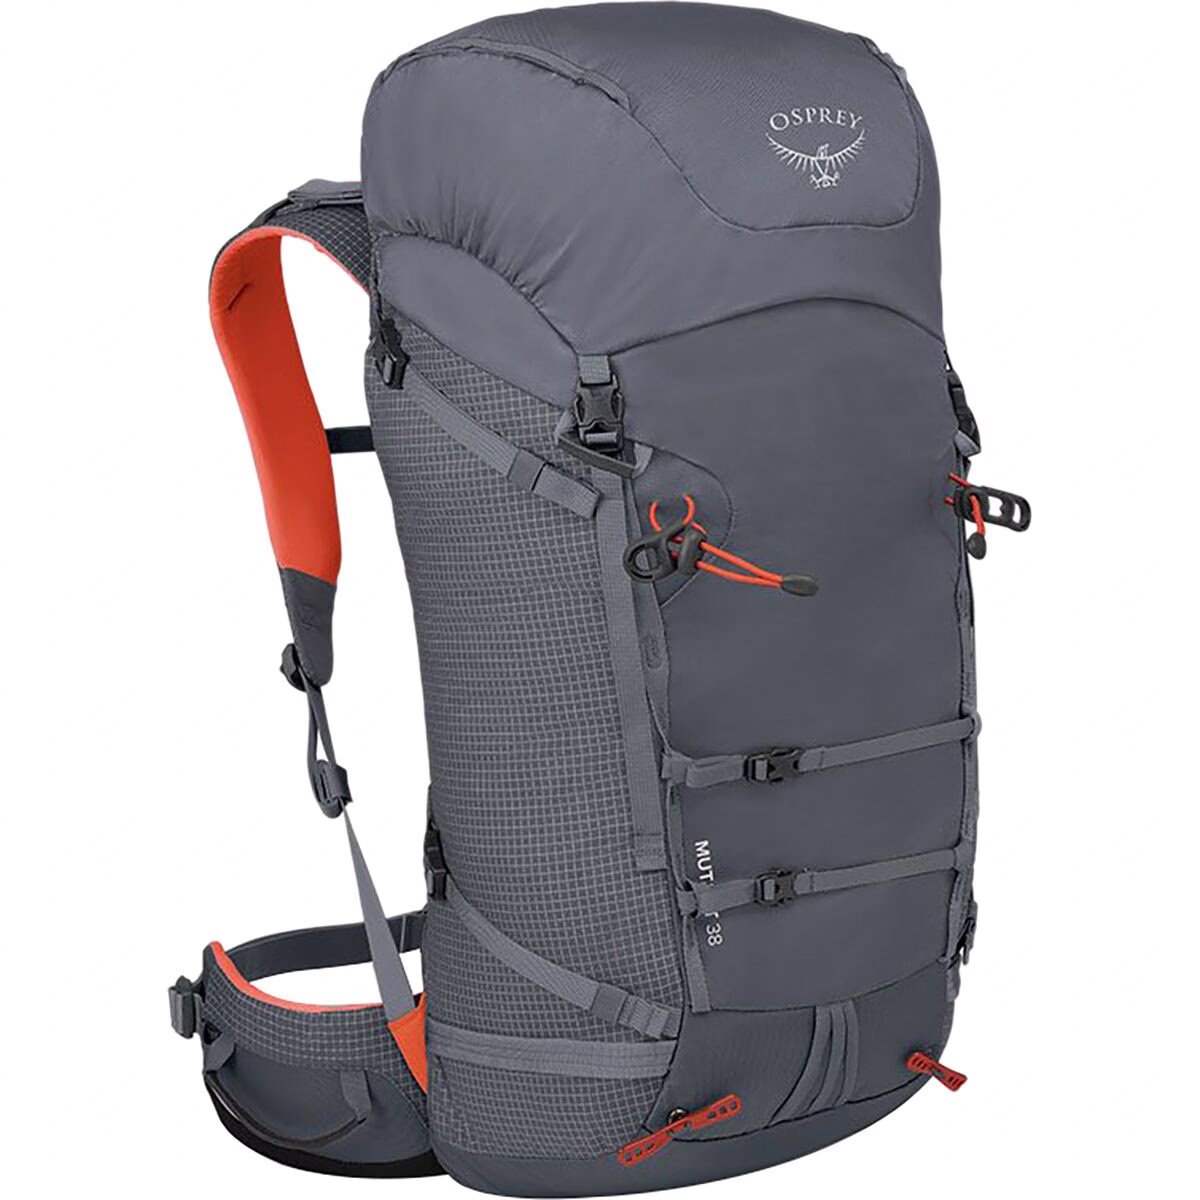
Comfortable Day Pack
The Osprey Mutant is my favourite day bag. Even though it’s designed more for scrambling or mountaineering this bag is one of the most comfortable bags I own and has enough space for everything I need.
Get it on Backcountry.com

Water Filter
A Katadyn BeFree has to be the easiest filtration system to use. When out on the backcountry you want to be able to filter and refill your water along the way.
This filter packs down small and filters fast. It’s in my bag on every hike!
Get it on Backcountry.com

Capture Clip
Another item that comes on every hike with me and a must own for every photographer.
Keeps your camera close at hand making capturing moments much faster!
Get it on Peakdesign.com