Tamarack Trail - A Guide to Waterton’s Best Multi-Day Hike
The Tamarack Trail sits in Waterton, a small town in Southern Alberta close to the US border. The town itself only boasts a population of around 150 during the summer and even less in winter. Even though the town centre can get pretty overwhelming in the peak season the backcountry trails here remain relatively undiscovered.
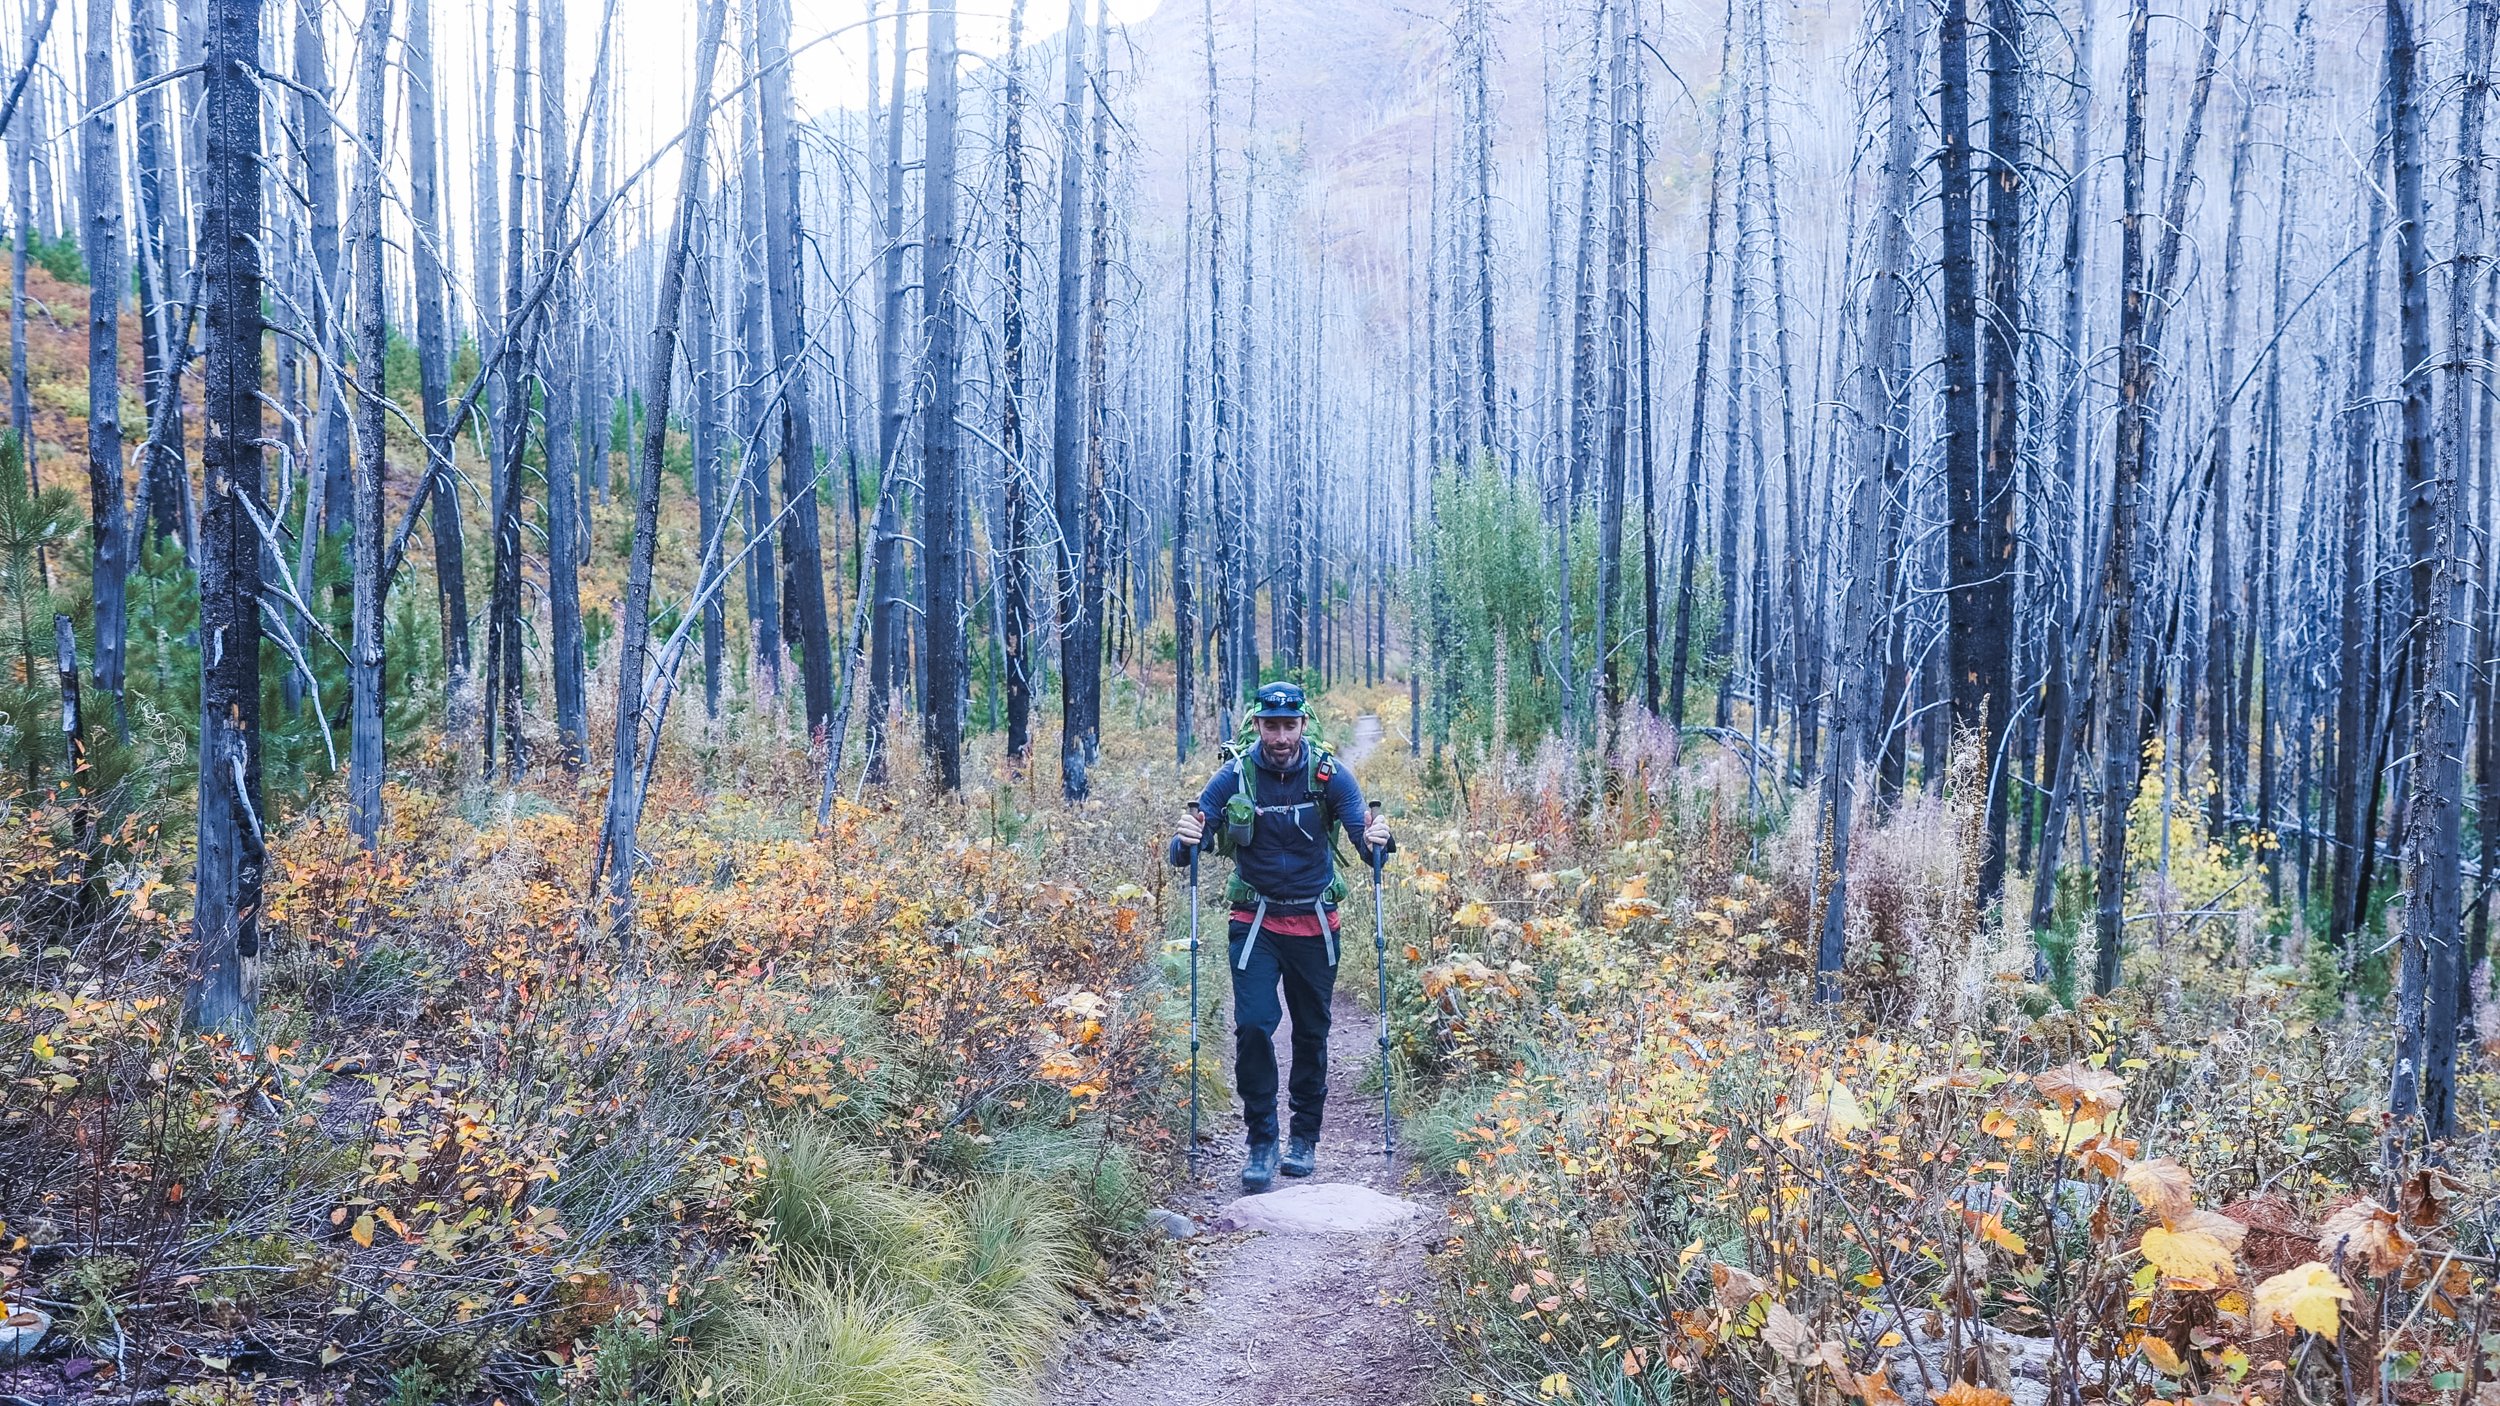
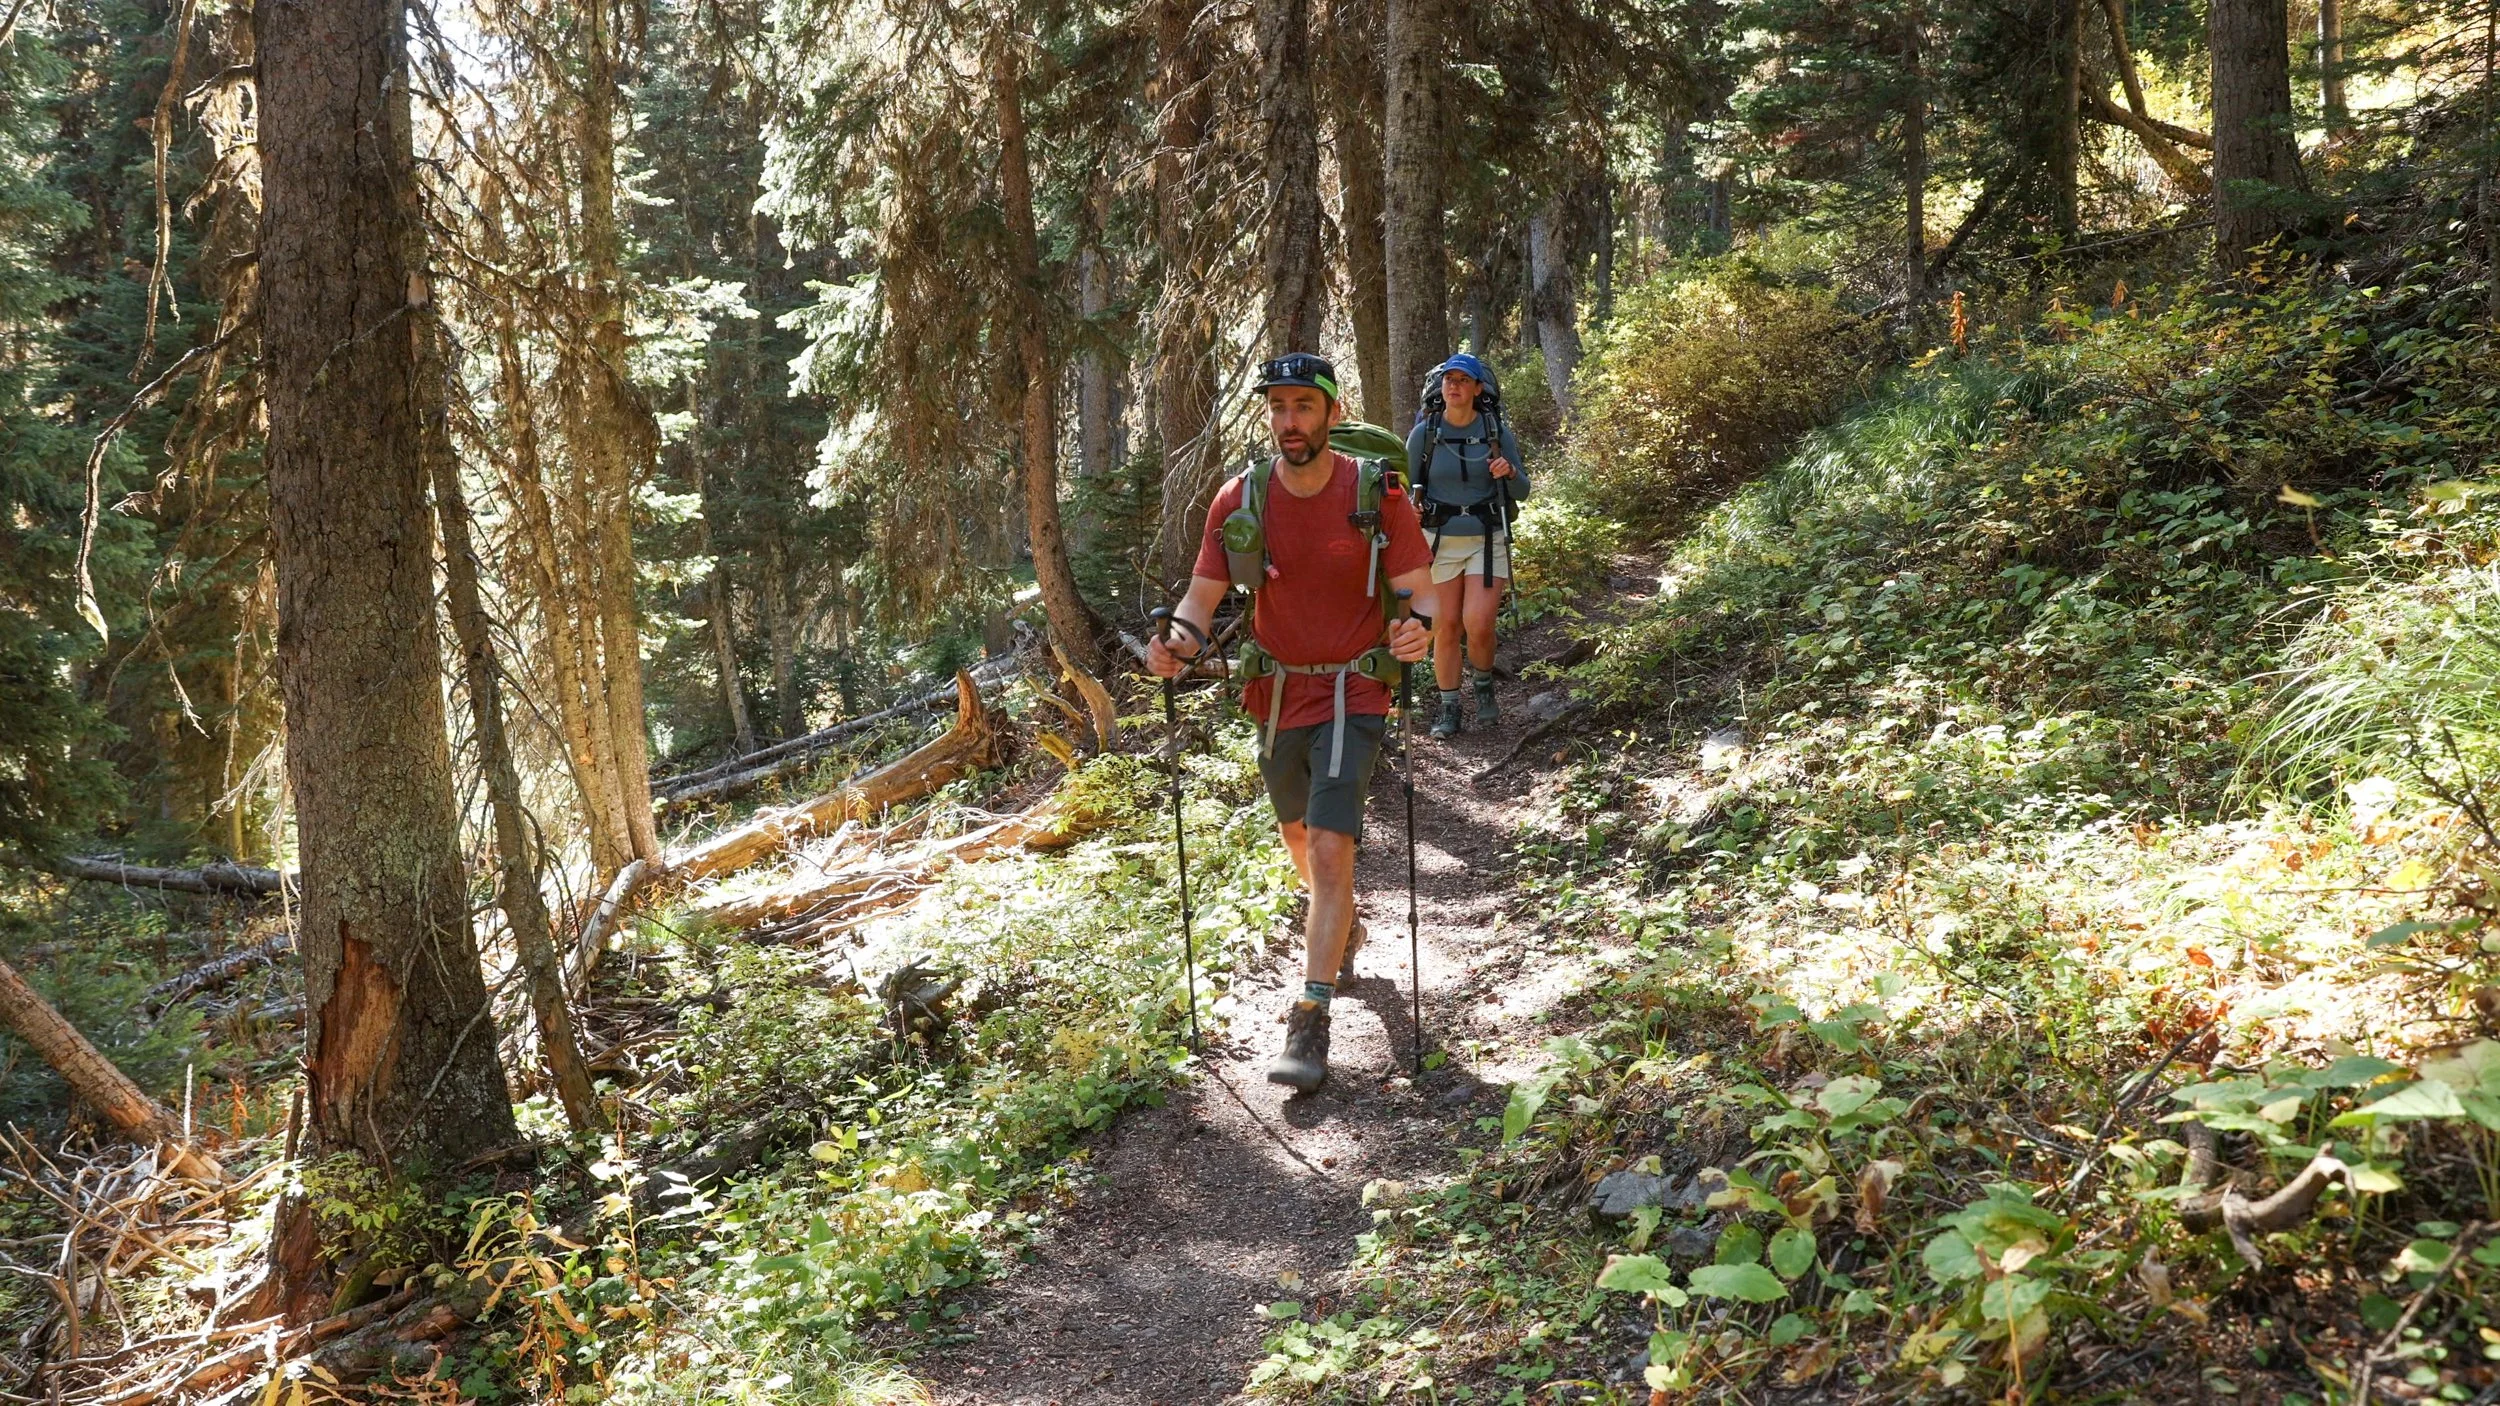
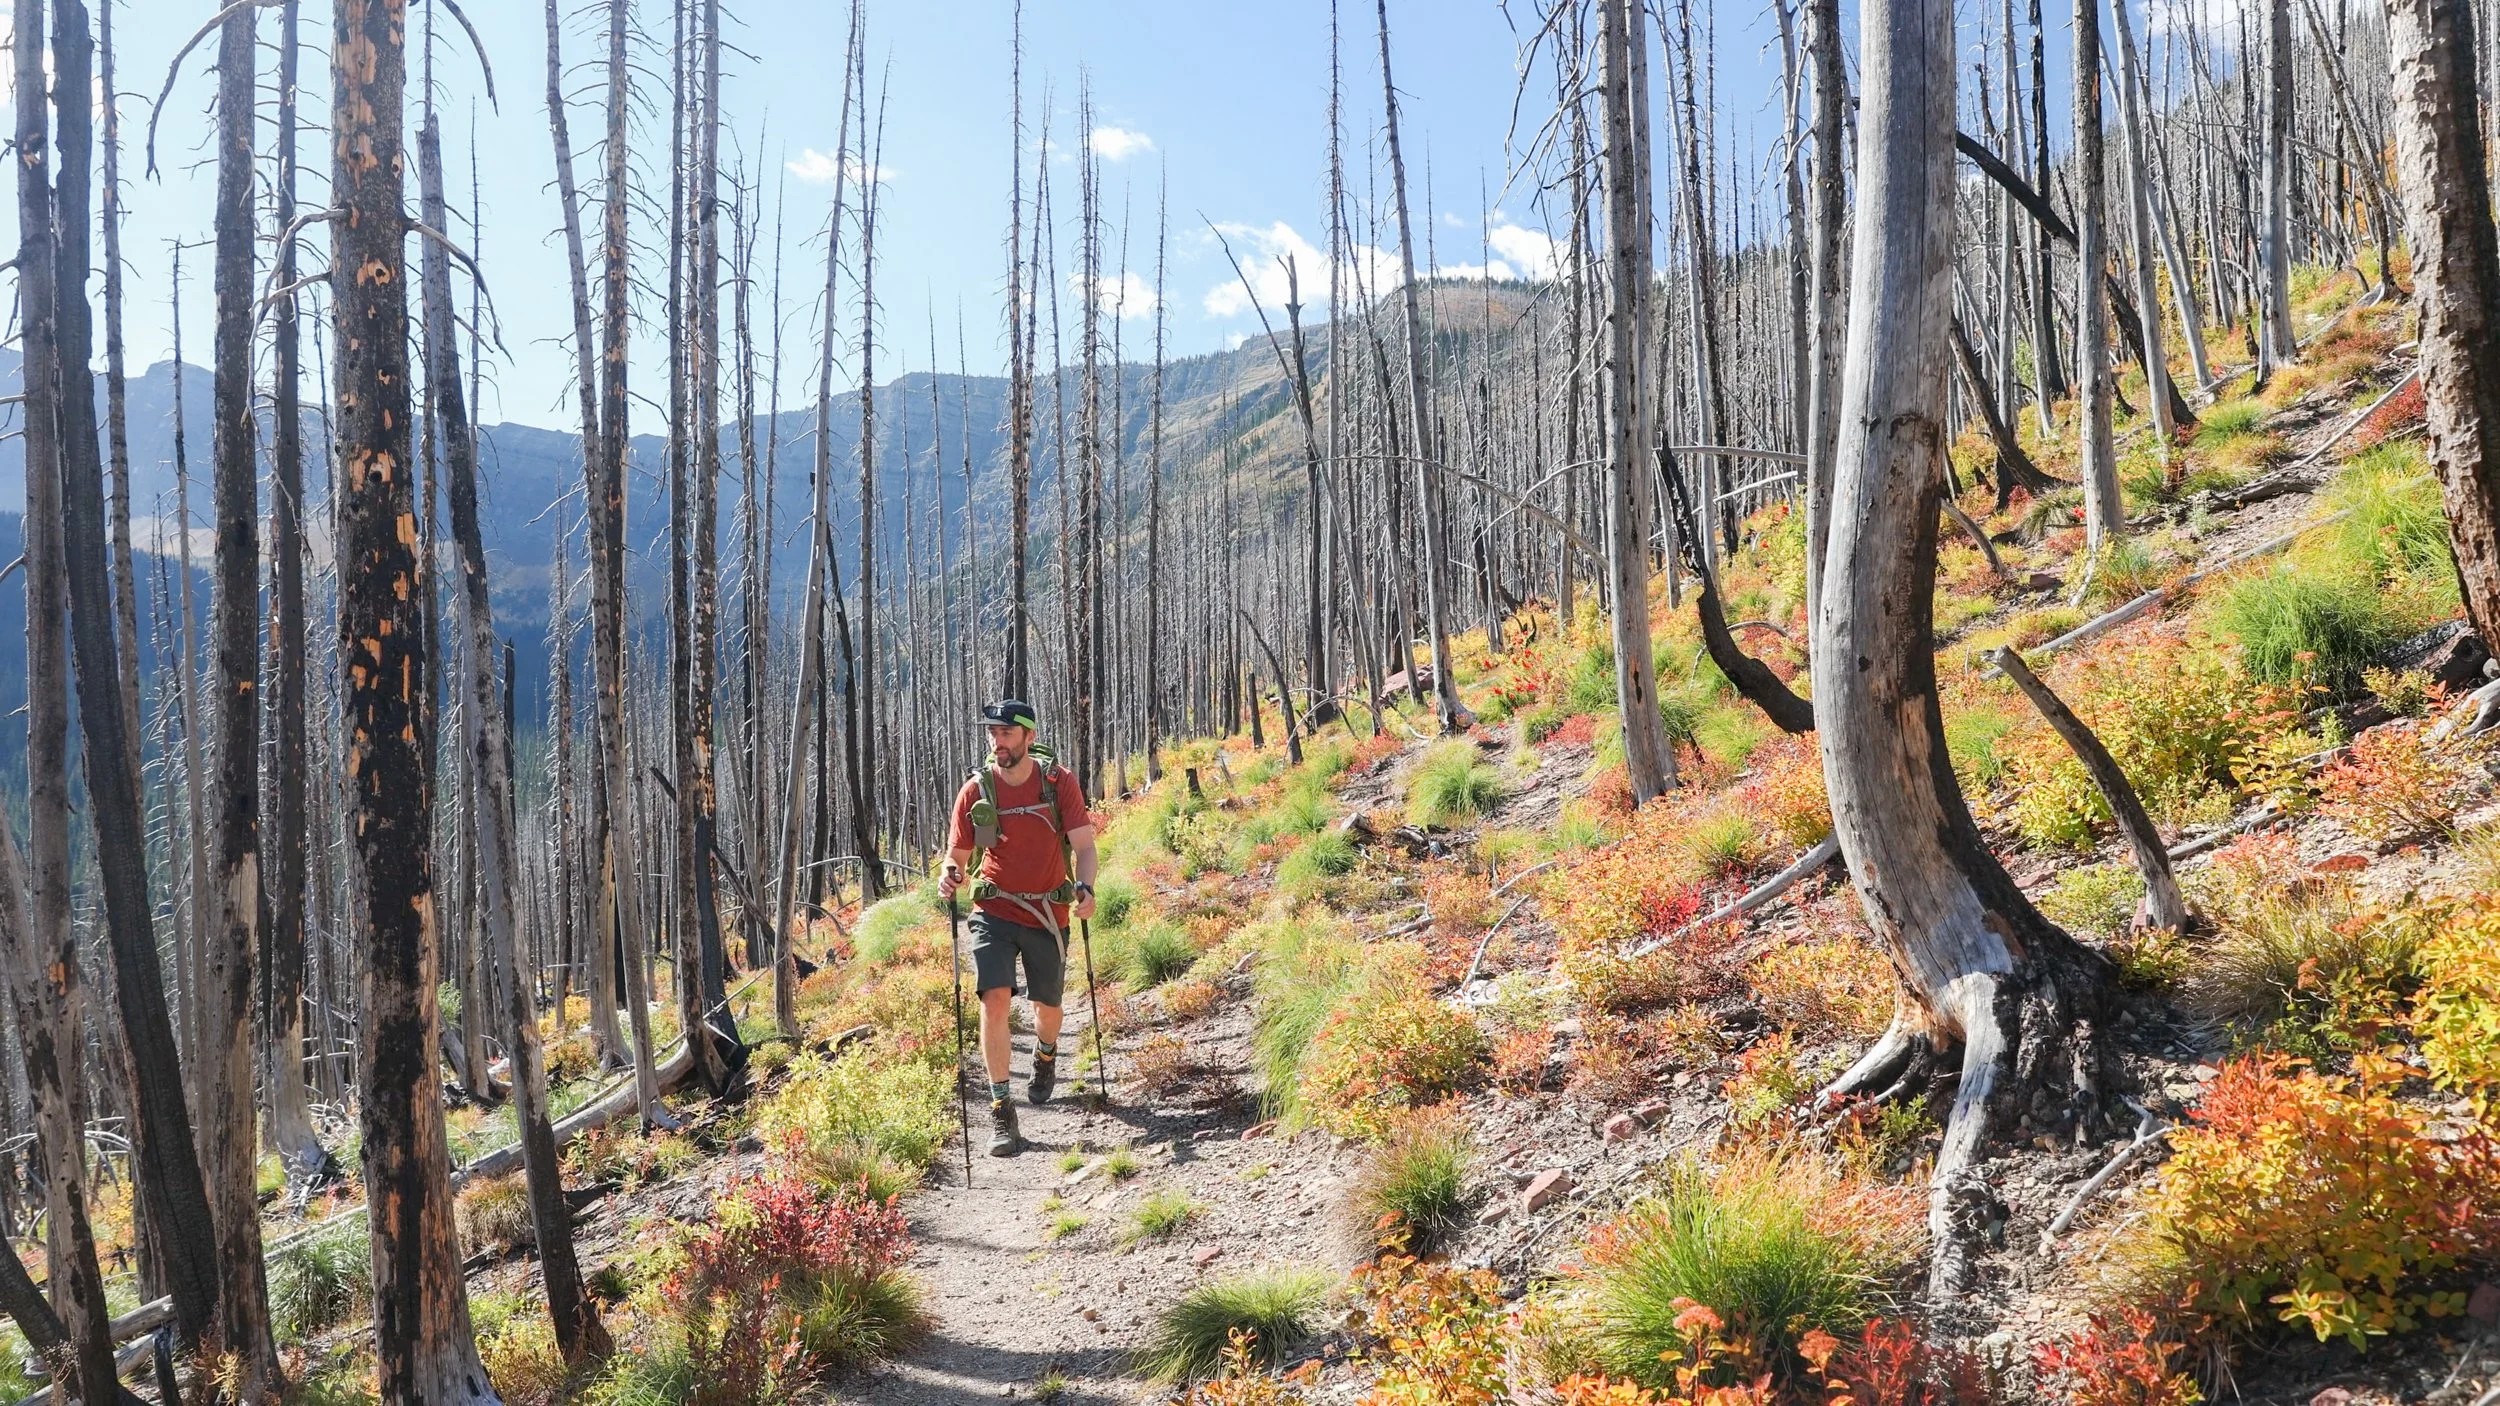
In 2017 a wildfire swept through the town and large sections of Waterton National Park killing off hectares of forest close to the town. However areas of the backcountry remained untouched as steep mountainous walls defended valleys from the encroaching flames. The Tamarack Trail runs through several of these areas. Passing through lush pine forests, larch trees and scarred landscape all in one hike.

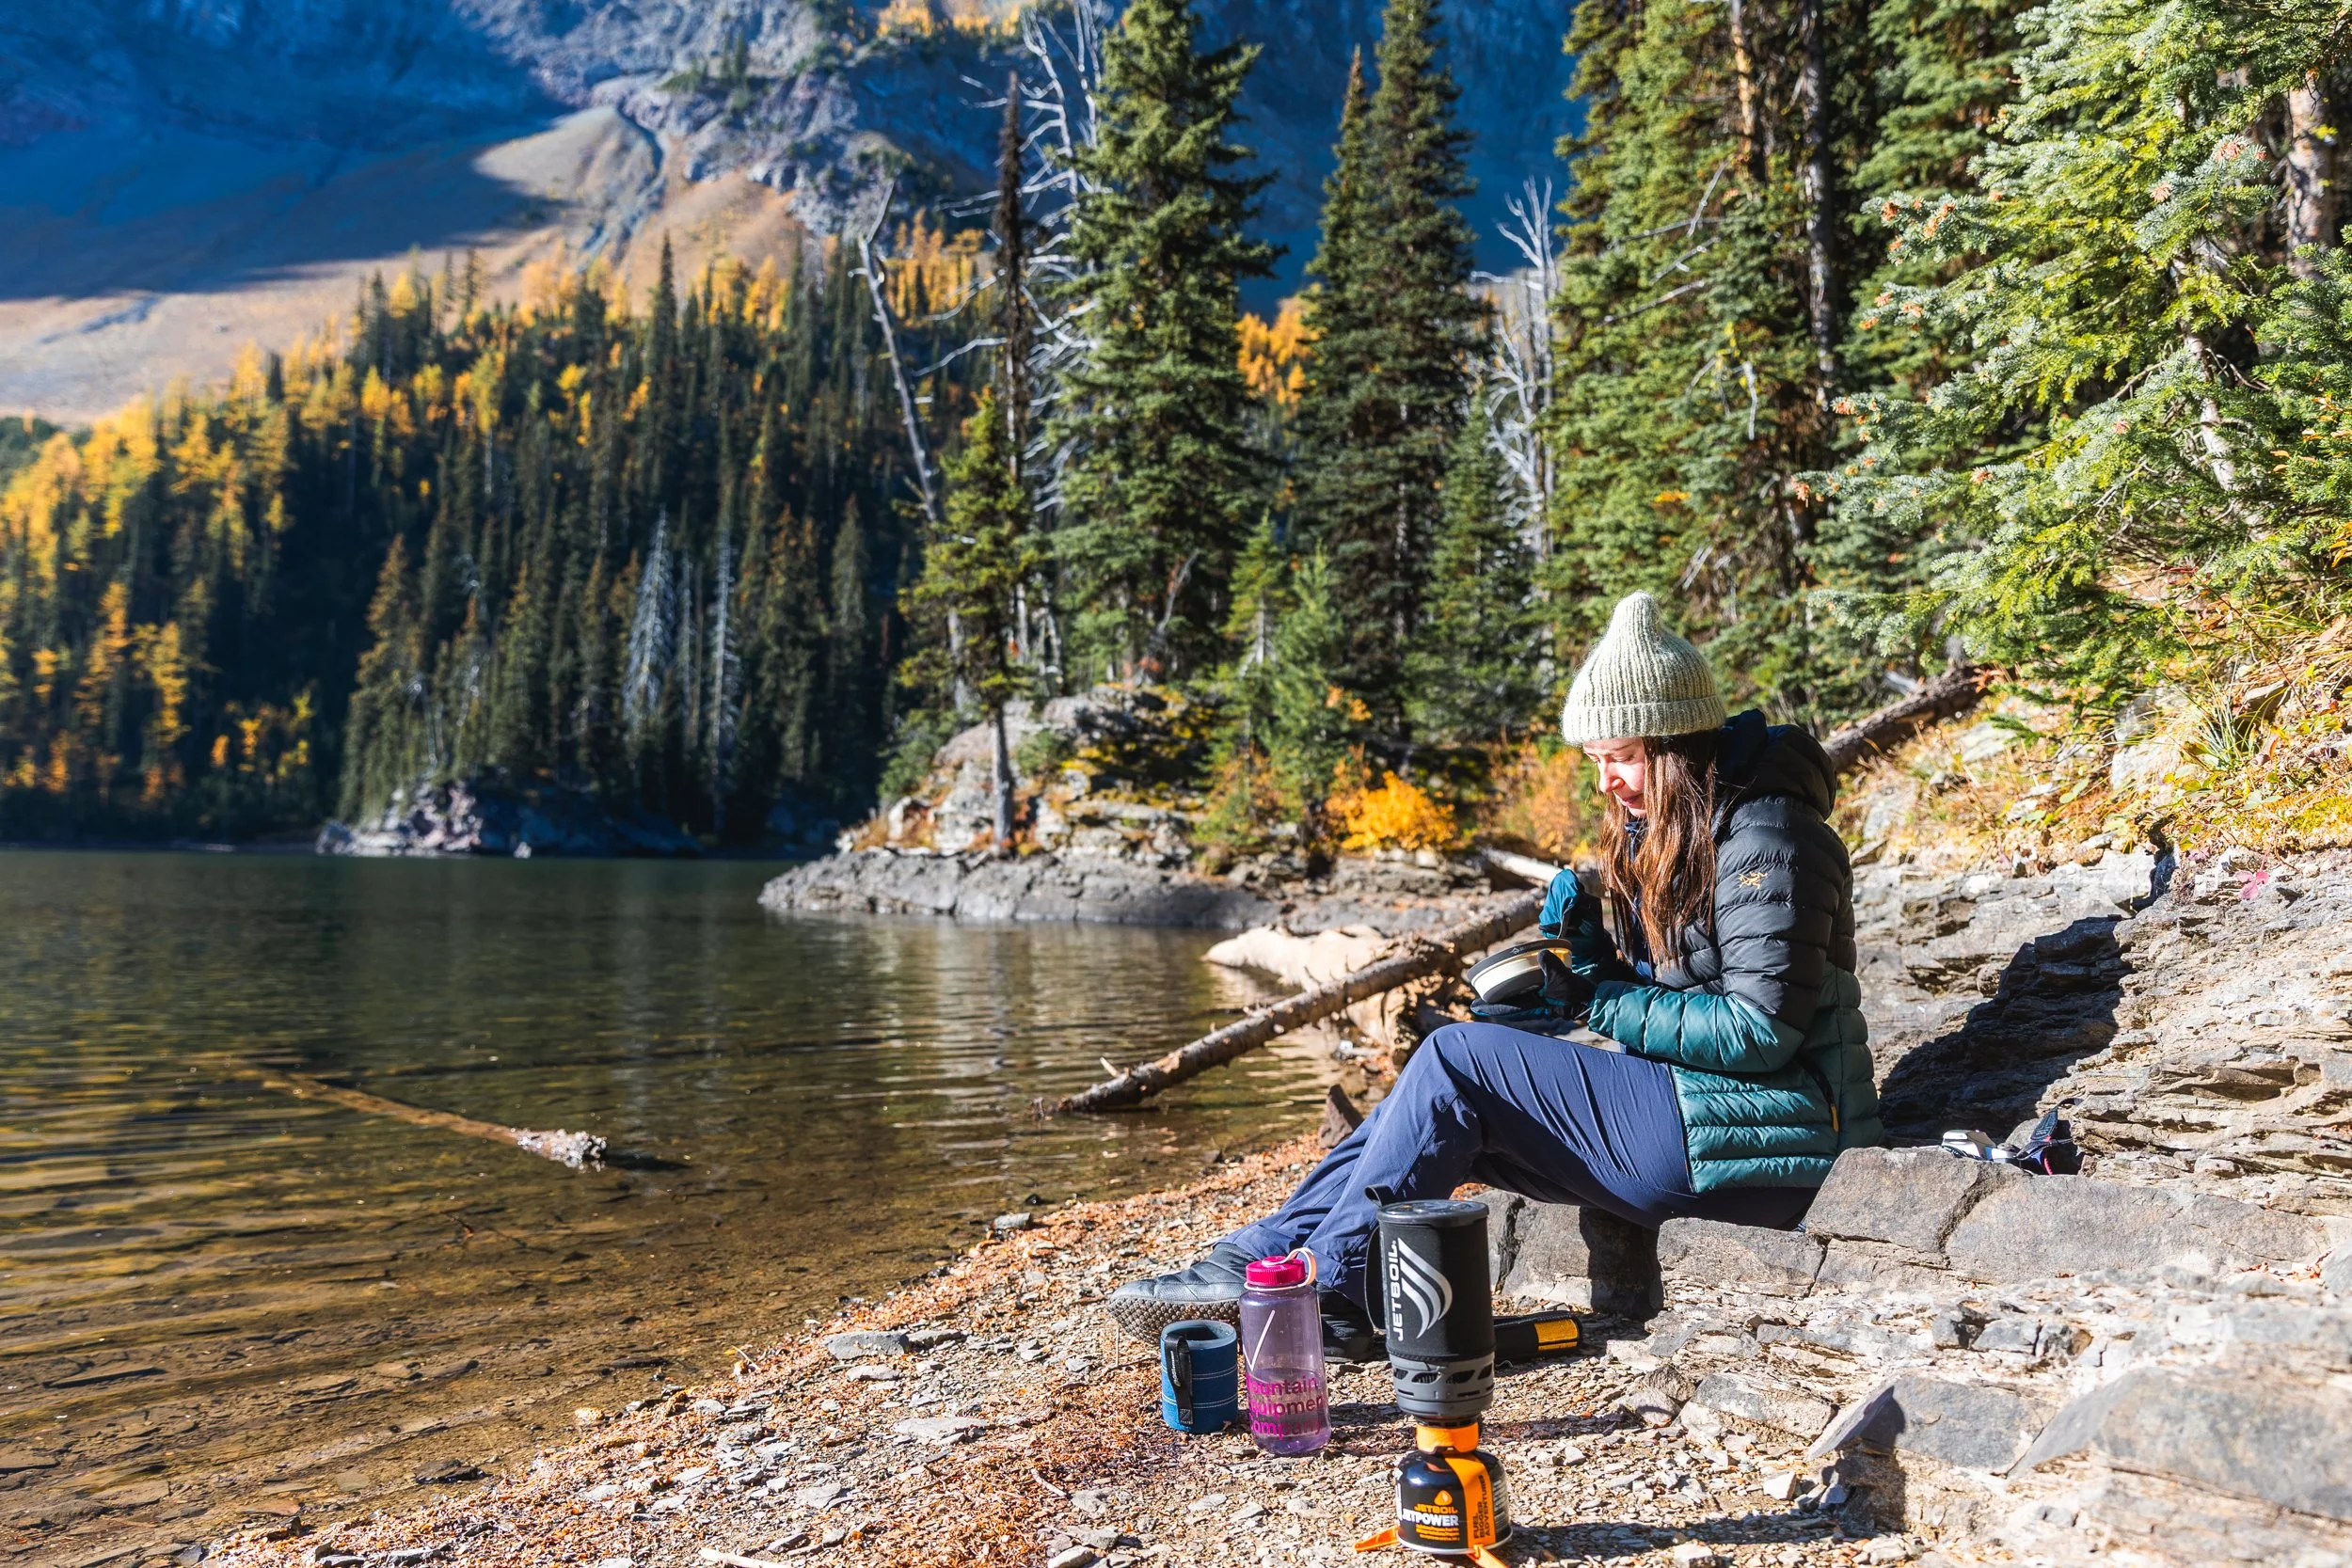
Reflections at Lone Lake on the Tamarack Trail.
What is the Tamarack Trail?
In my opinion the Tamarack Trail is one of the best multi-day hikes in Waterton National Park covering approximately 32 km with 1700 m of elevation gain.
Now you’ll probably come across lots of different routes for the Tamarack Trail when searching online, some suggesting an out and back route. However the proper route is a horseshoe with the trail starting or ending at either Rowe Lake trailhead or Red Rock Canyon and takes in a couple of different lakes whilst also offering some alternative finishes.
The Stats
Time: 10 - 12 hours in one push but you want to split this up to 2 days at least.
Distance: 32 to 36 km depending on what route you take.
Elevation Gain: 1700 m - more if you head up to the upper lake or Twin lakes.
Hiking out of Rowe Meadow untouched by the 2017 Wildfires.
What’s the Best Time of Year to do the Tamarack Trail?
The Tamarack Trail doesn’t close as such but will become pretty impassable during the winter months. The campsites on trail are open from June 19th to October 11th 2026 and this is of course the best period to visit.
I would however recommend doing this trail in late September to early October for a couple of reasons. Firstly the weather is cooler and in some sections of the trail there isn’t a lot of shade. Secondly Tamarack, or Tamarack Tree is another name for Larch Tree! So during fall you’ll get some great yellow colour scattered throughout the trail.
Which Way around Should I Hike?
As mentioned the Tamarack trail has two trailheads, Rowe Lake and Red Rock Canyon and you can obviously start at either. Personally though I would recommend starting at Rowe Lake trailhead for a couple of different reasons.
Firstly this means you can leave your car at Red Rock Canyon trailhead, the end of your hike, for the duration of your trip which is a large car park, regularly frequented by tourists and has a few facilities. The Rowe Lake trailhead is a smaller more remote lay-by. I feel like a car is safer parked at Red Rock Canyon parking lot for a couple of days!
Secondly for the first section of the trail in this direction there is only one trail option. Then for the second half of the trail you can extend it or shorten it a little depending on what route you take. Starting at Rowe Lake means you can make this decision on your second day depending on how tired you feel.
Layers of mountains from Lineham Pass.
How to Get to the Trailhead
Now the Rowe Lake trailhead is about a 15 minute drive from the town of Waterton on the Akimina Parkway. Even though this is where you want to start your hike it isn’t where you want to leave your car!
Before you start the trail you’ll want to drop a car off at Red Rock Canyon ready for when you finish! To get to Red Rock Canyon head towards Waterton and take a right just before the golf course, if you cross the small bridge you’ve gone too far. It’s about a 20 minute drive down this road. I’d recommend parking in the first, lower car park.
Two Cars
Now you’ve left a car at Red Rock you need to make your way to Rowe Lake trailhead. If your party has come in two cars this is pretty straight forward. Drive back down the road you came in on and when driving in to Waterton take the right turn just after the Prince of Wales Hotel and follow along this road for just over 10km.
Shuttle
If you only have one car, like we did, you’ll need to get a shuttle. Tamarack Adventures offer a hiker shuttle that’s simple and pretty reasonably priced.
How Long Does the Tamarack Trail Take?
You could do the Tamarack Trail in one long, single day of about 10 - 12 hours. However the trail is easily broken up and most will do it as an overnight hike. 2 days and 1 night is very manageable but hikers can extend to a 3 day 2 night hike for a more leisurely pace.
Where to Stay on the Tamarack Trail?
Lone Lake
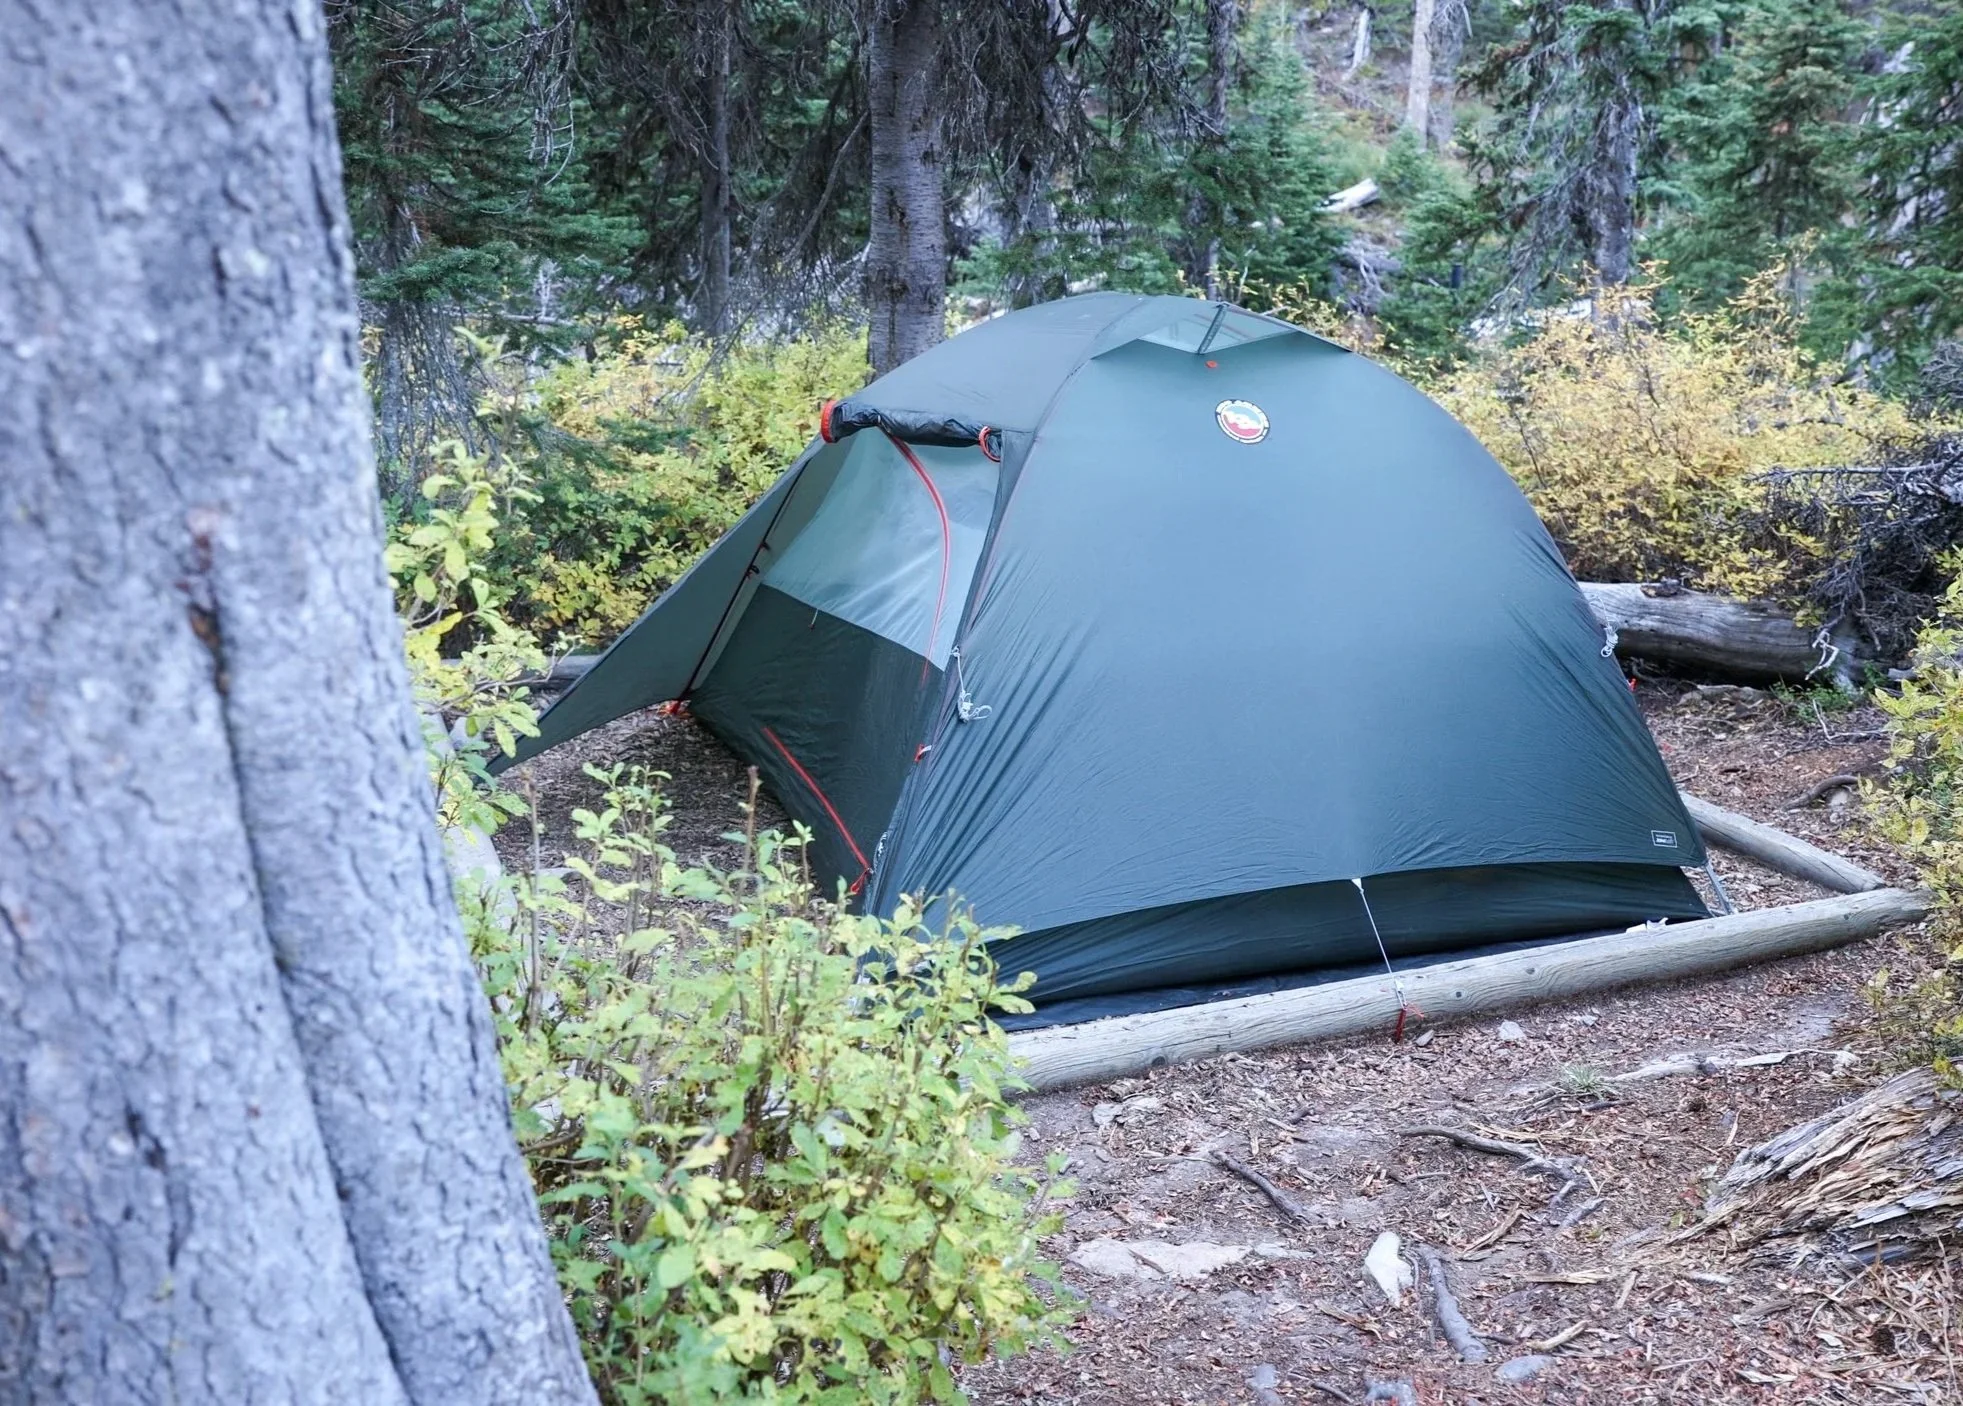
Lone Lake campground is definitely your best bet if hiking the trail in 2 days as it gives the trail a more even split.
The campground is small and quiet situated close to the lake with only 4 tent pads. It has recently been renovated with new outhouses and bear lockers. The food prep area is a lovely stone bench and table with a fire pit close by.
Twin Lakes
Twin Lakes has similar facilities and again offers 4 tent pads. I’d be adding on this campground if you can’t book Lone Lake or are looking to do the trail in 3 days as it’s quite a big day to get there from Rowe Lake in one push.
A cheesy picture at the food prep area of lone lake!
Itinerary Options
2 Days 1 Night
Day 1: Hike from Rowe Lake trail head to Lone Lake with a small side trip to Lower Rowe Lake - 18 km total. Add 2 km and 200 m of gain if you also want to do Upper Rowe Lake (It’s steep!). Overnight at Lone Lake.
Day 2: Hike from Lone Lake to Red Rock Canyon - 14 - 19 km depending on your route choice.
On Day 2 you can hike out either via Blakiston Creek trail (also called Twin Lakes Route) to Blakiston falls or via Twin Lakes and the Snowshoe trail.
Our shuttle driver suggested that if we weren’t staying at Twin Lakes for the night that it wasn’t worth extending the trail to see Twin Lakes and to take the shorter trail. We took his advice and were glad we did.
You can see both options for your return made in to a loop on this map on AllTrails. I always recommend using All Trails Plus for offline mapping.
3 Days 2 Night
Day 1: Hike from Rowe Lake trail head to Lone Lake as above - 18 km total. Overnight at Lone Lake.
Day 2: Hike from Lone Lake to Twin Lakes - a relaxed 7 km. Overnight at Twin Lakes.
Day 3: Hike from Twin Lakes to Red Rock Canyon via Snowshoe trail - 12 km.
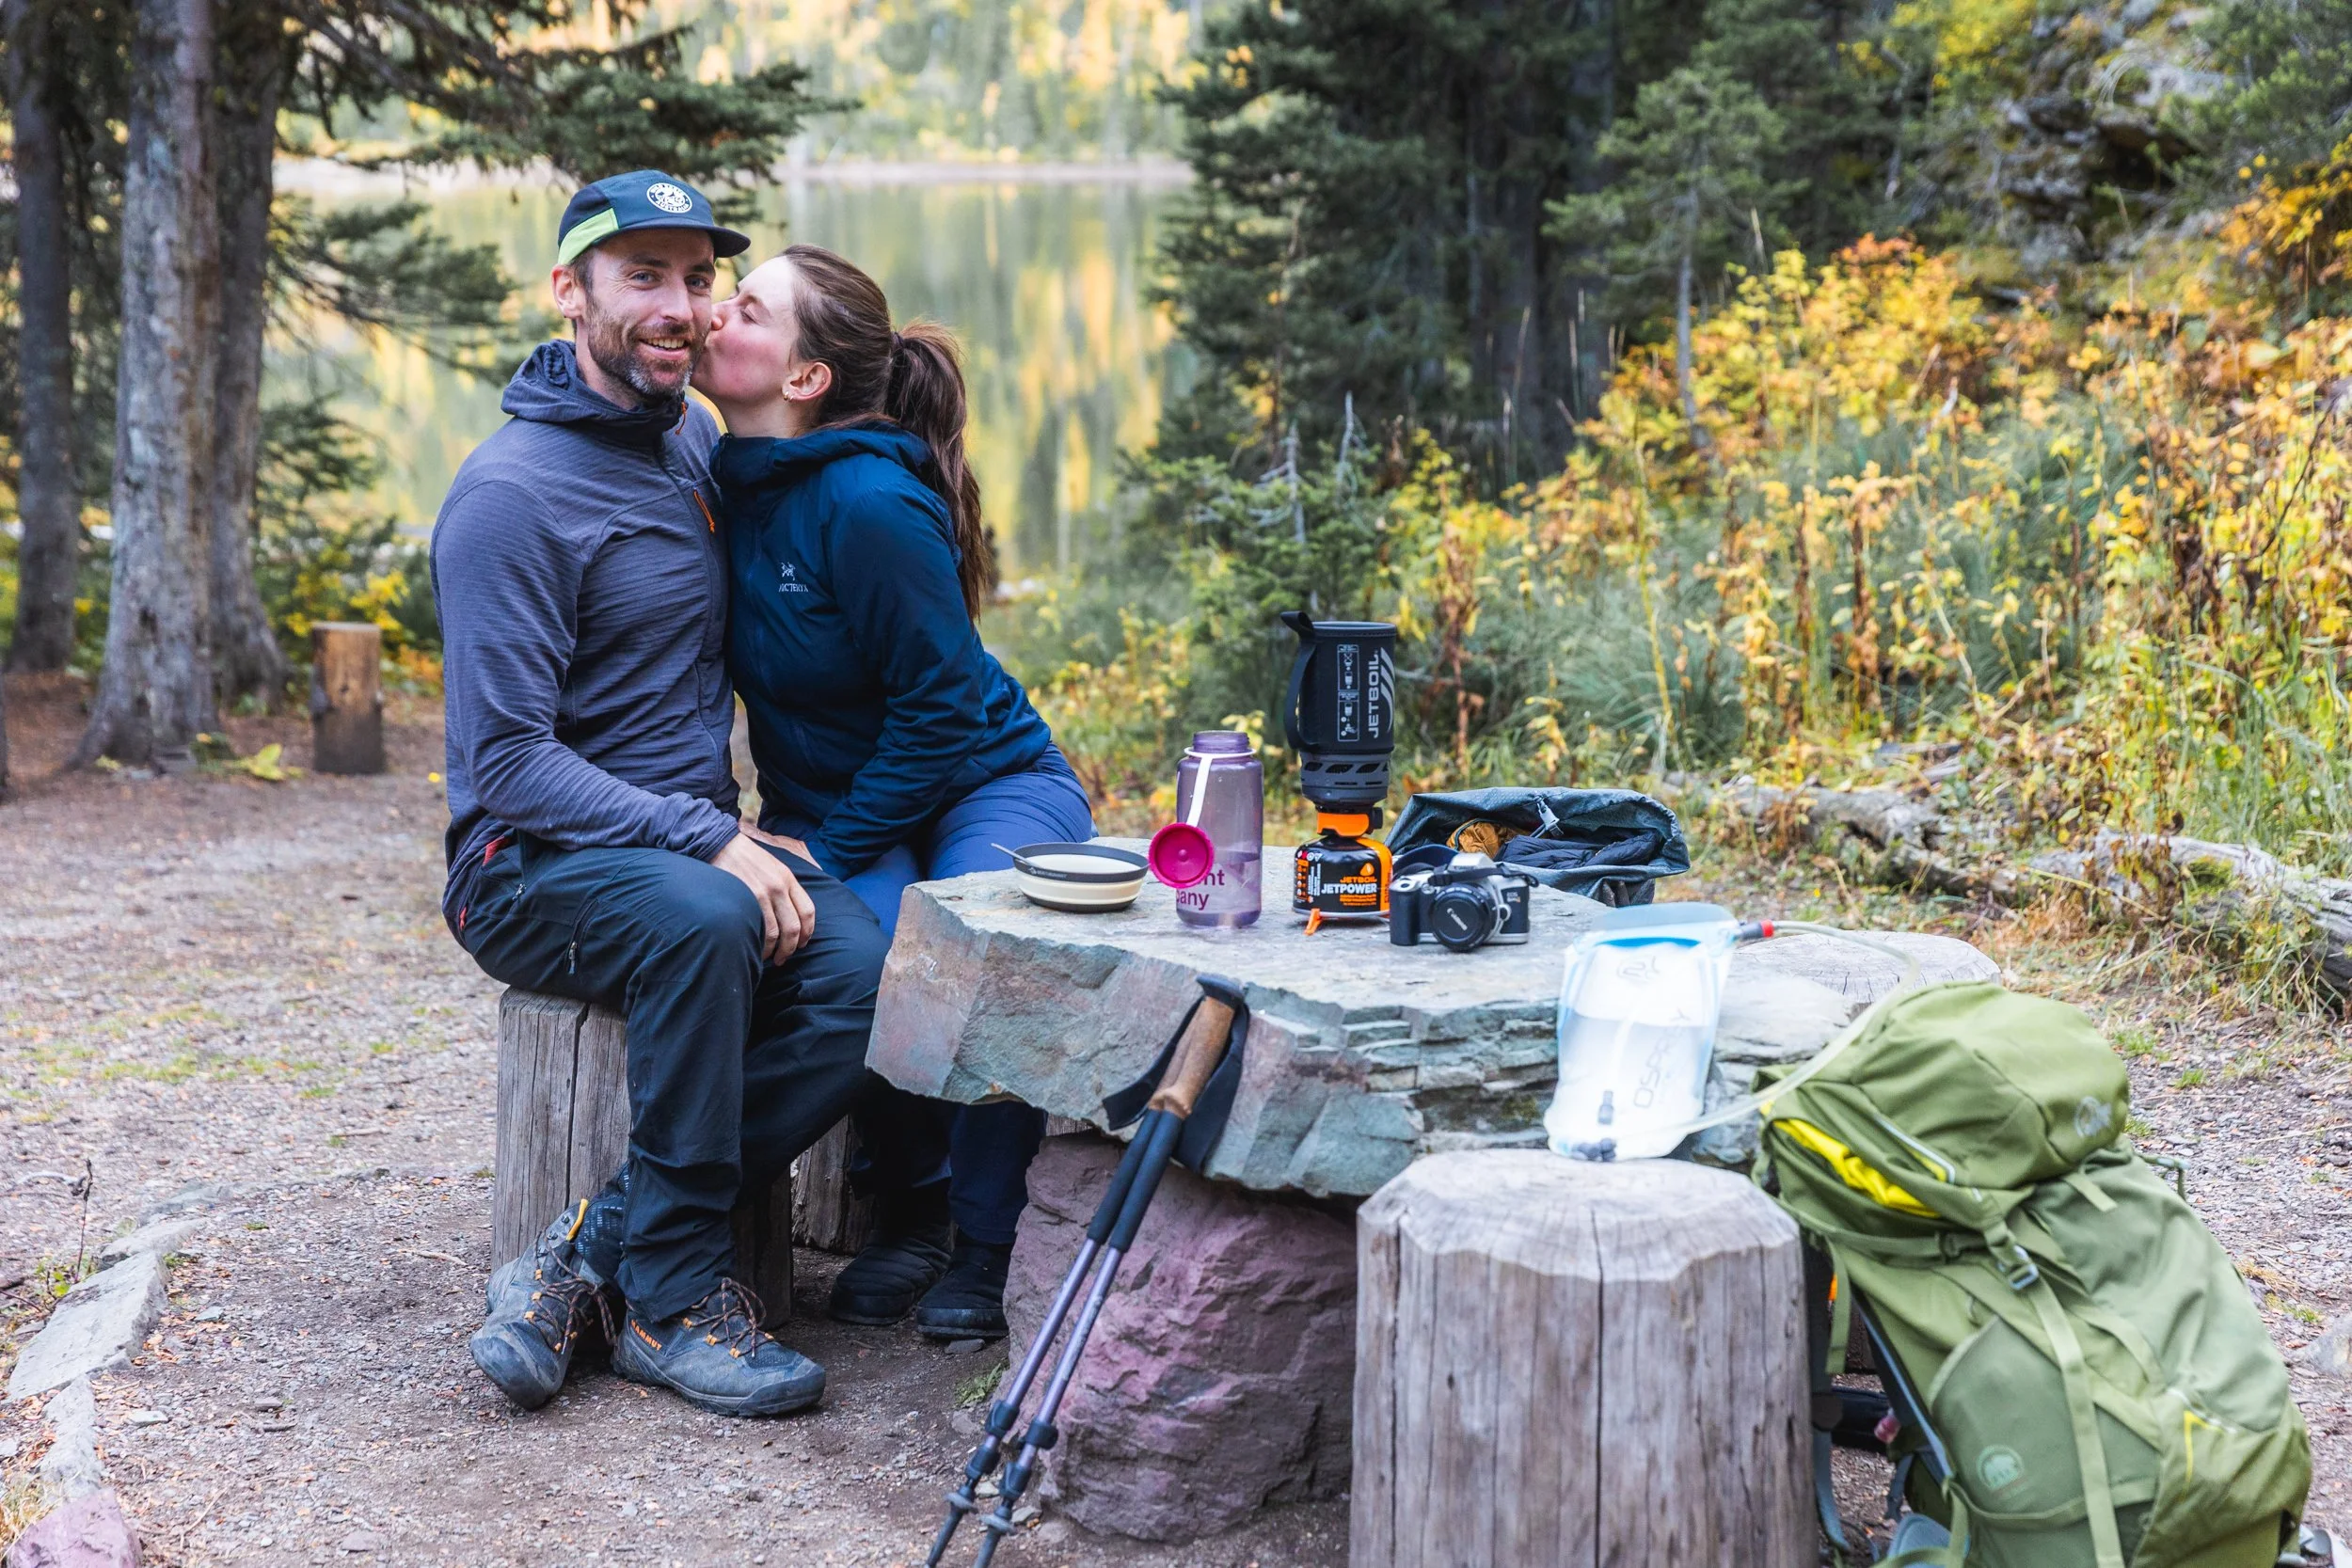
Enjoying breakfast at lone lake.
The Hike
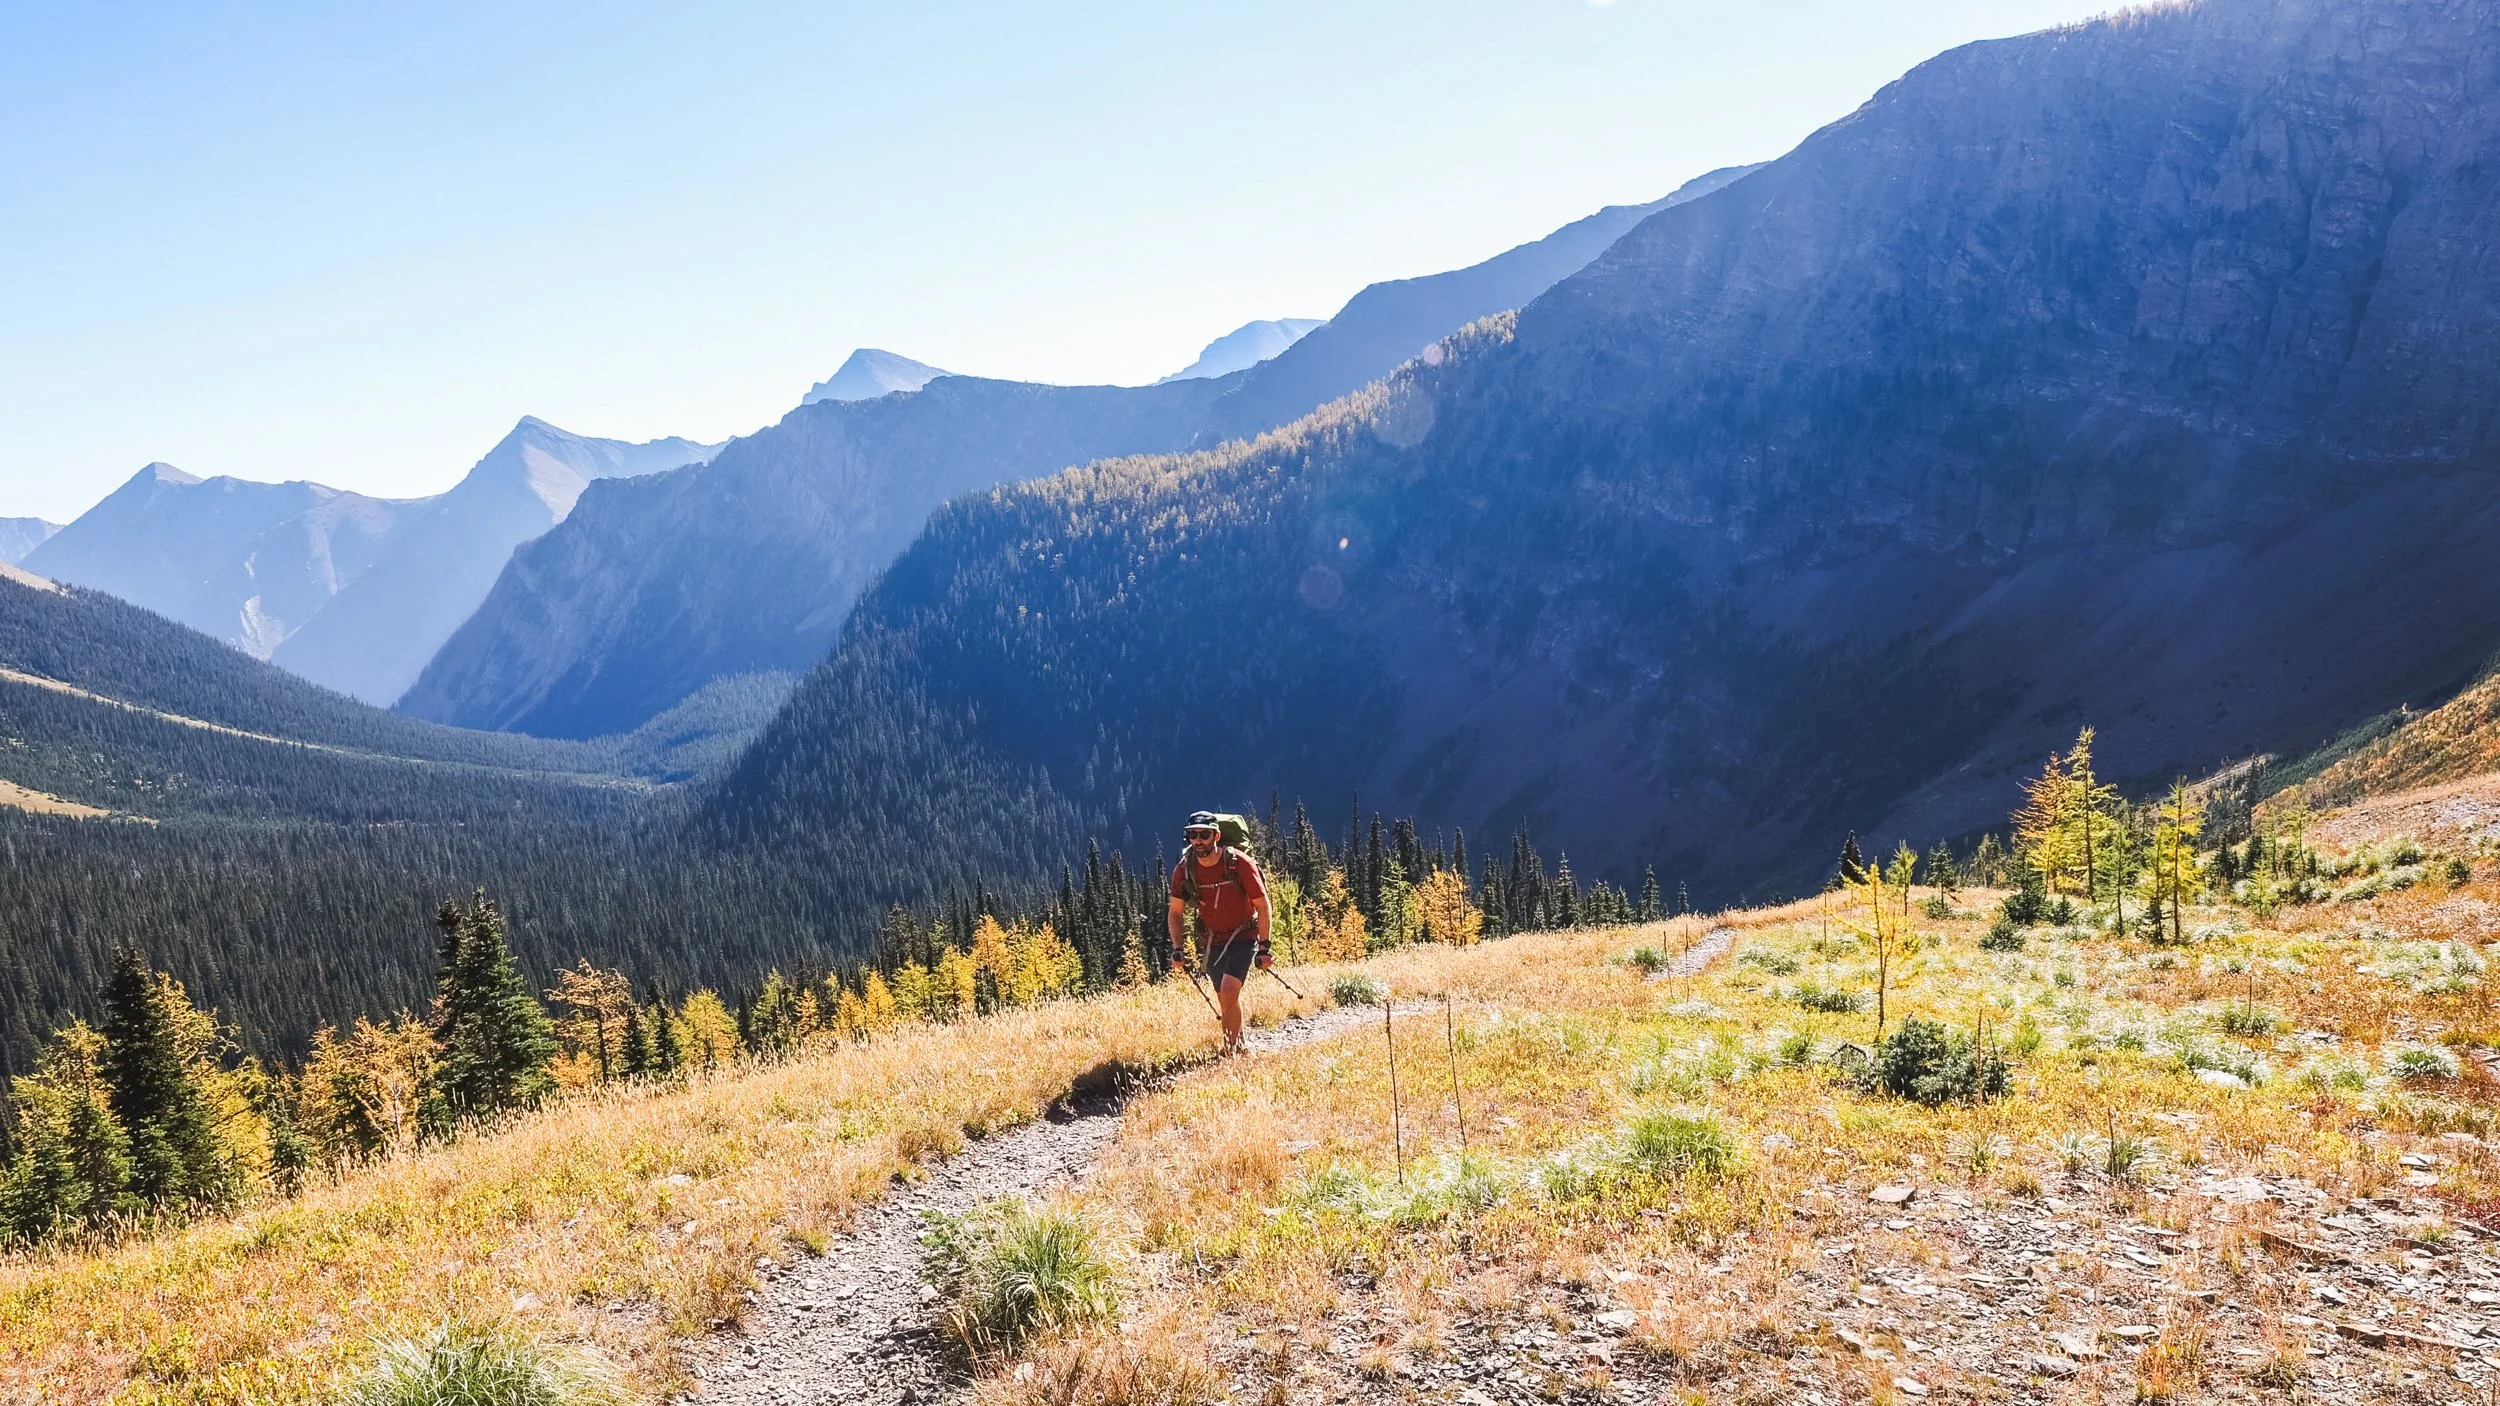
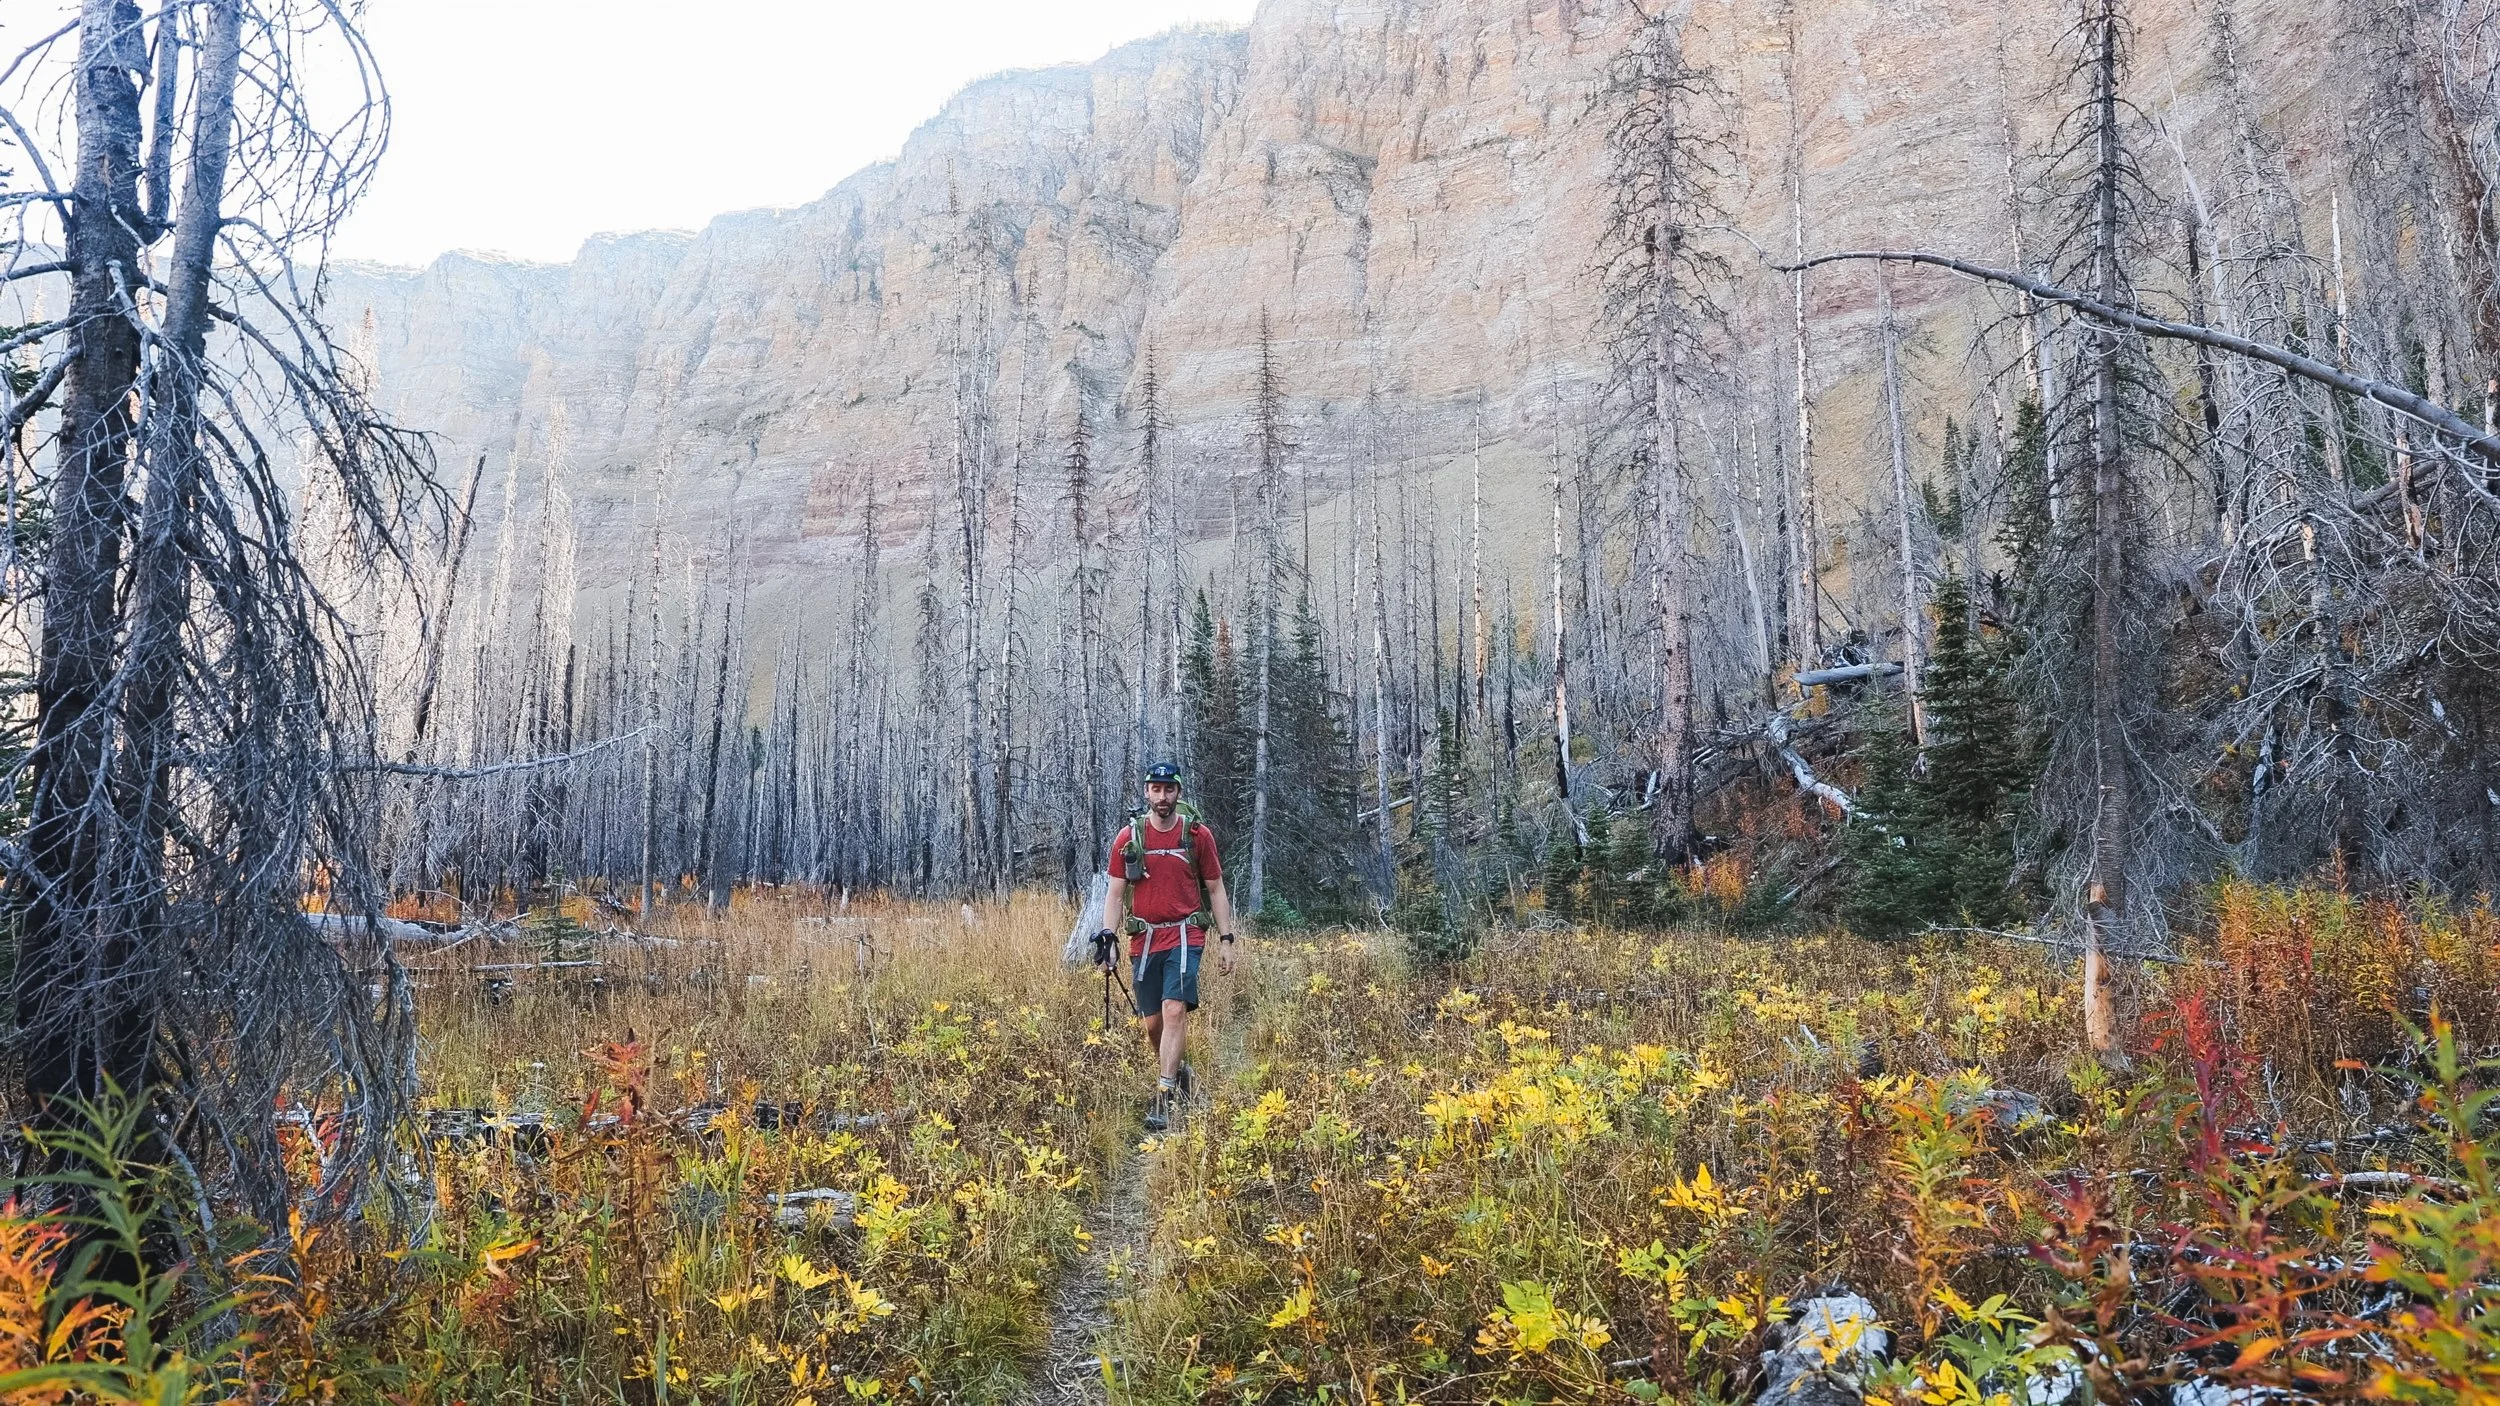
The trail starts with a pretty steady elevation gain as you wind up through some short switch backs through a section of burn from the 2017 wildfire. In Autumn the forest floor comes alive with colour and young pine trees litter the forest between the old charred trunks.
However it isn’t long until you come in to the first section of untouched forest. An area that avoided the wildfires from previous years.
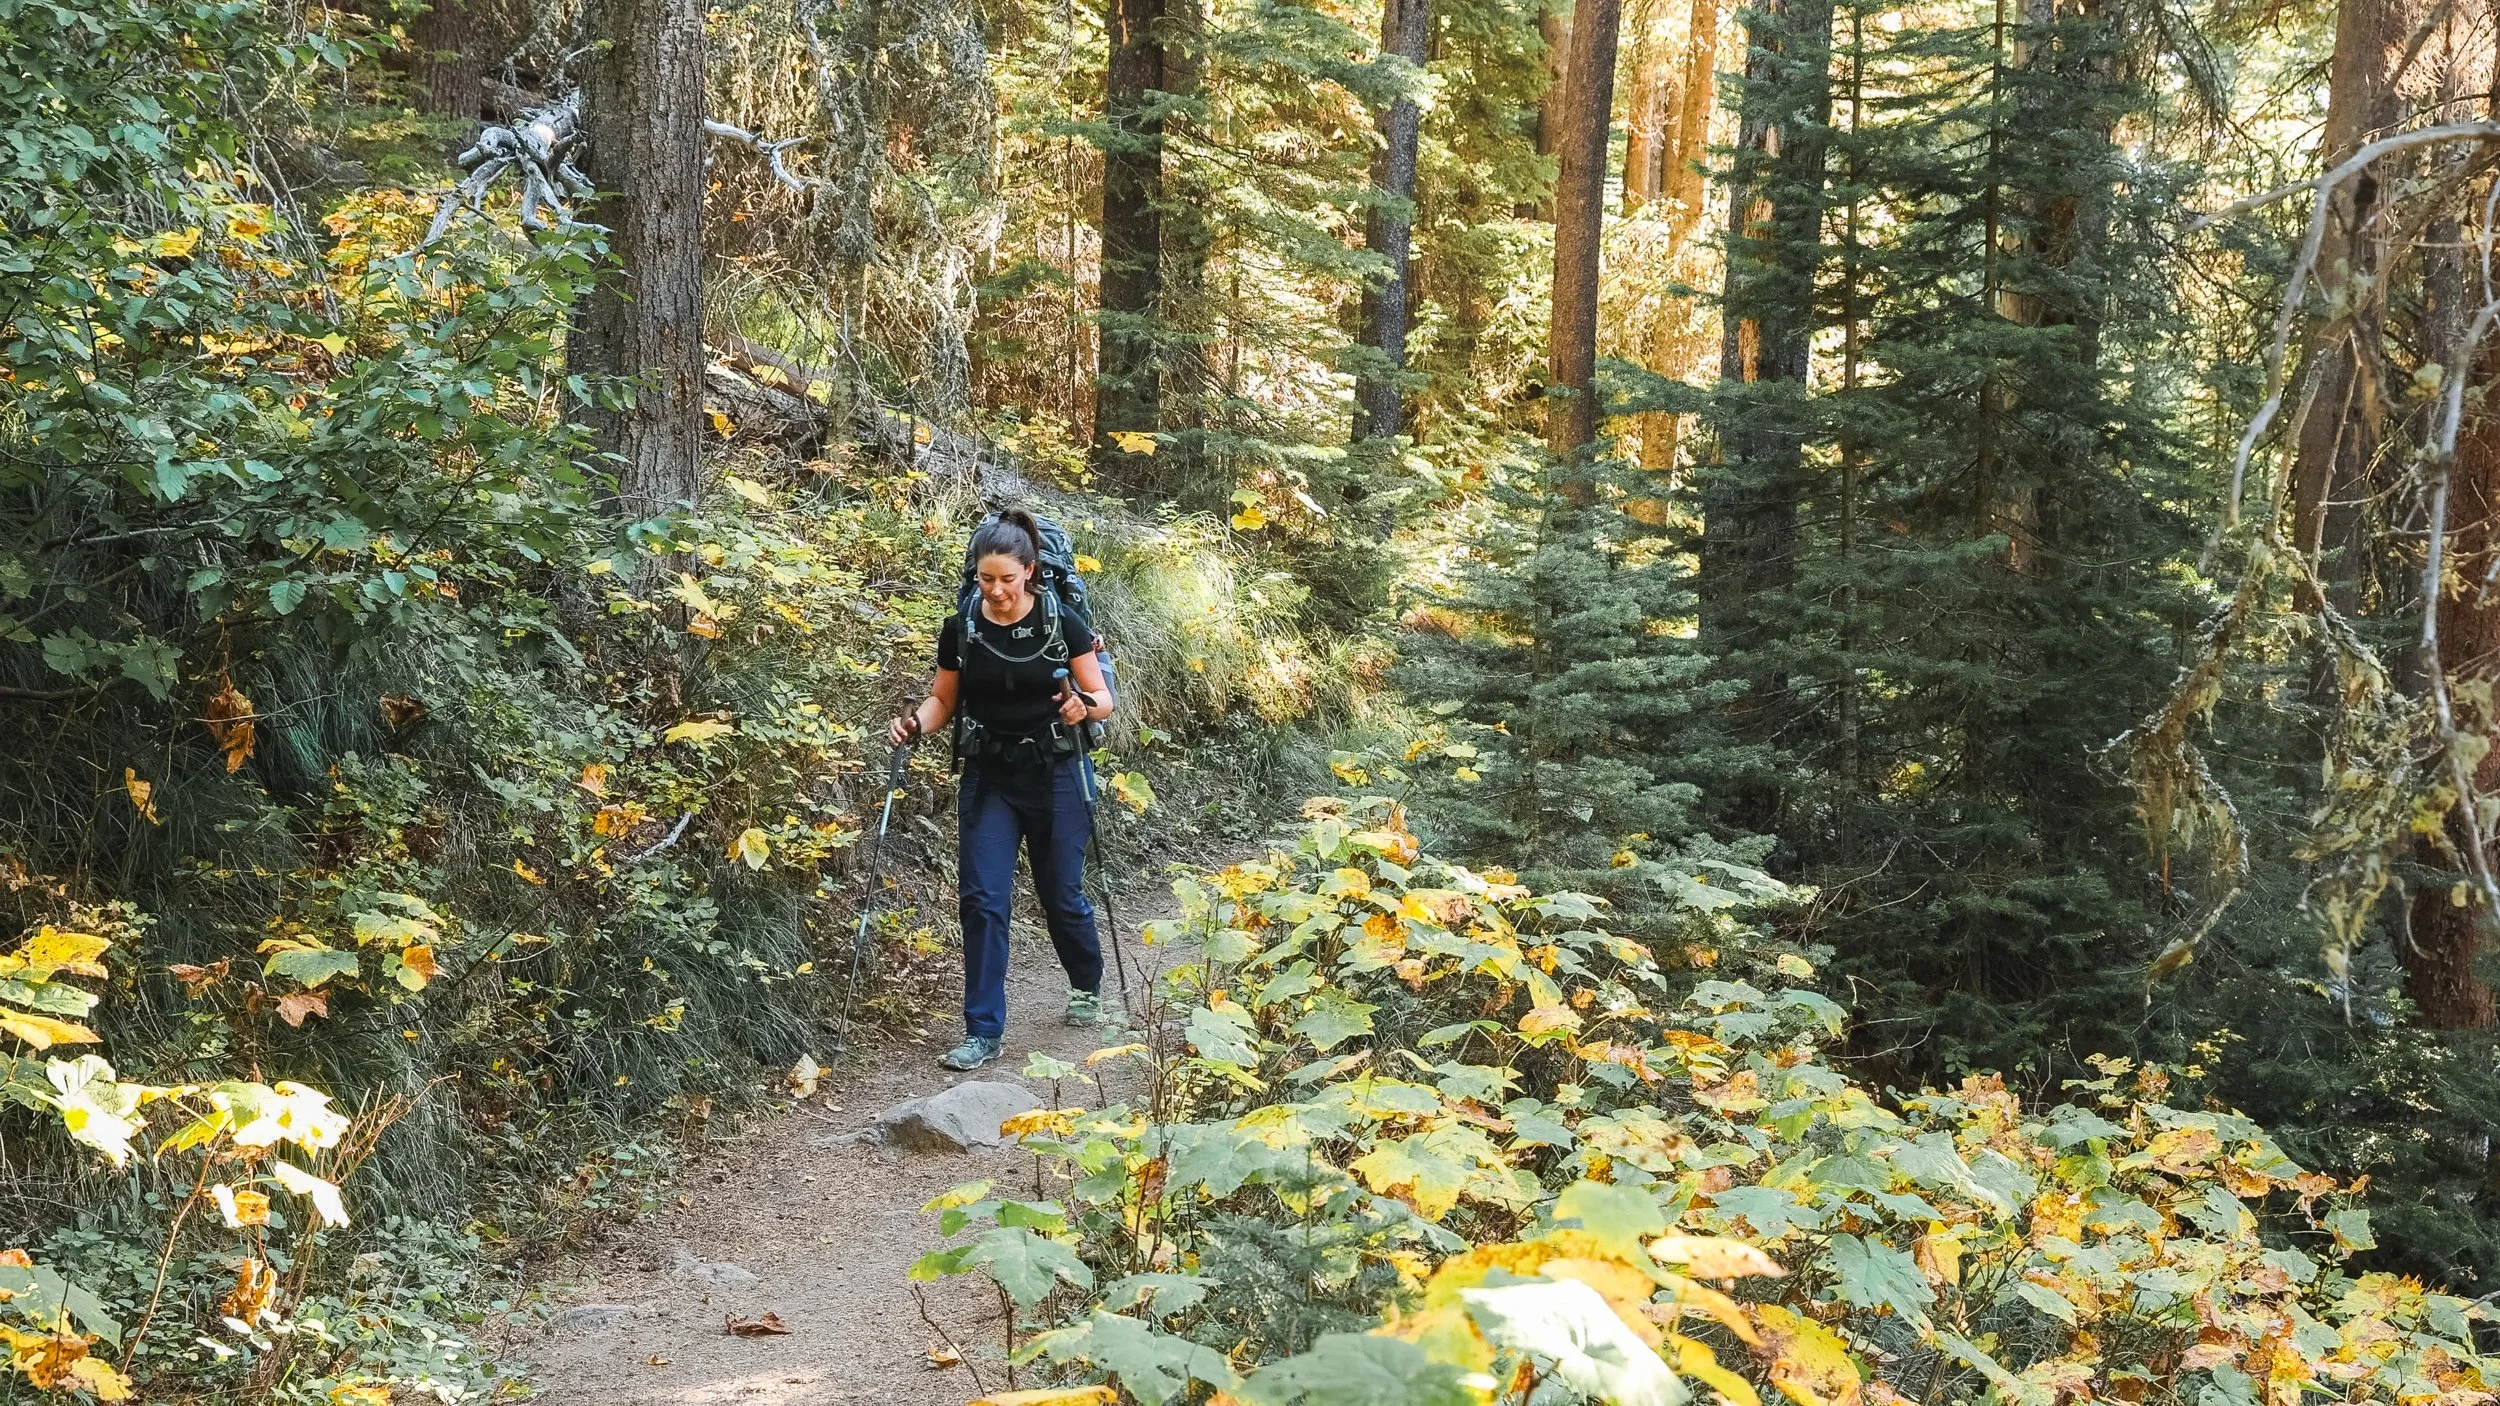
The trail is well defined, well maintained and easy to follow. From here the trail goes in to Rowe Meadows one of the main valleys that remained resistant to the huge wildfire of 2017. Before you get to this meadow though there are a couple of options for small detours to both Lower Rowe lake and Upper Rowe Lake.
We opted to just visit the lower lake as it’s a much shorter detour, and we didn’t think it was worth adding on the extra elevation gain to see the upper lake.

Rowe Meadow just before heading up to Lineham Pass.
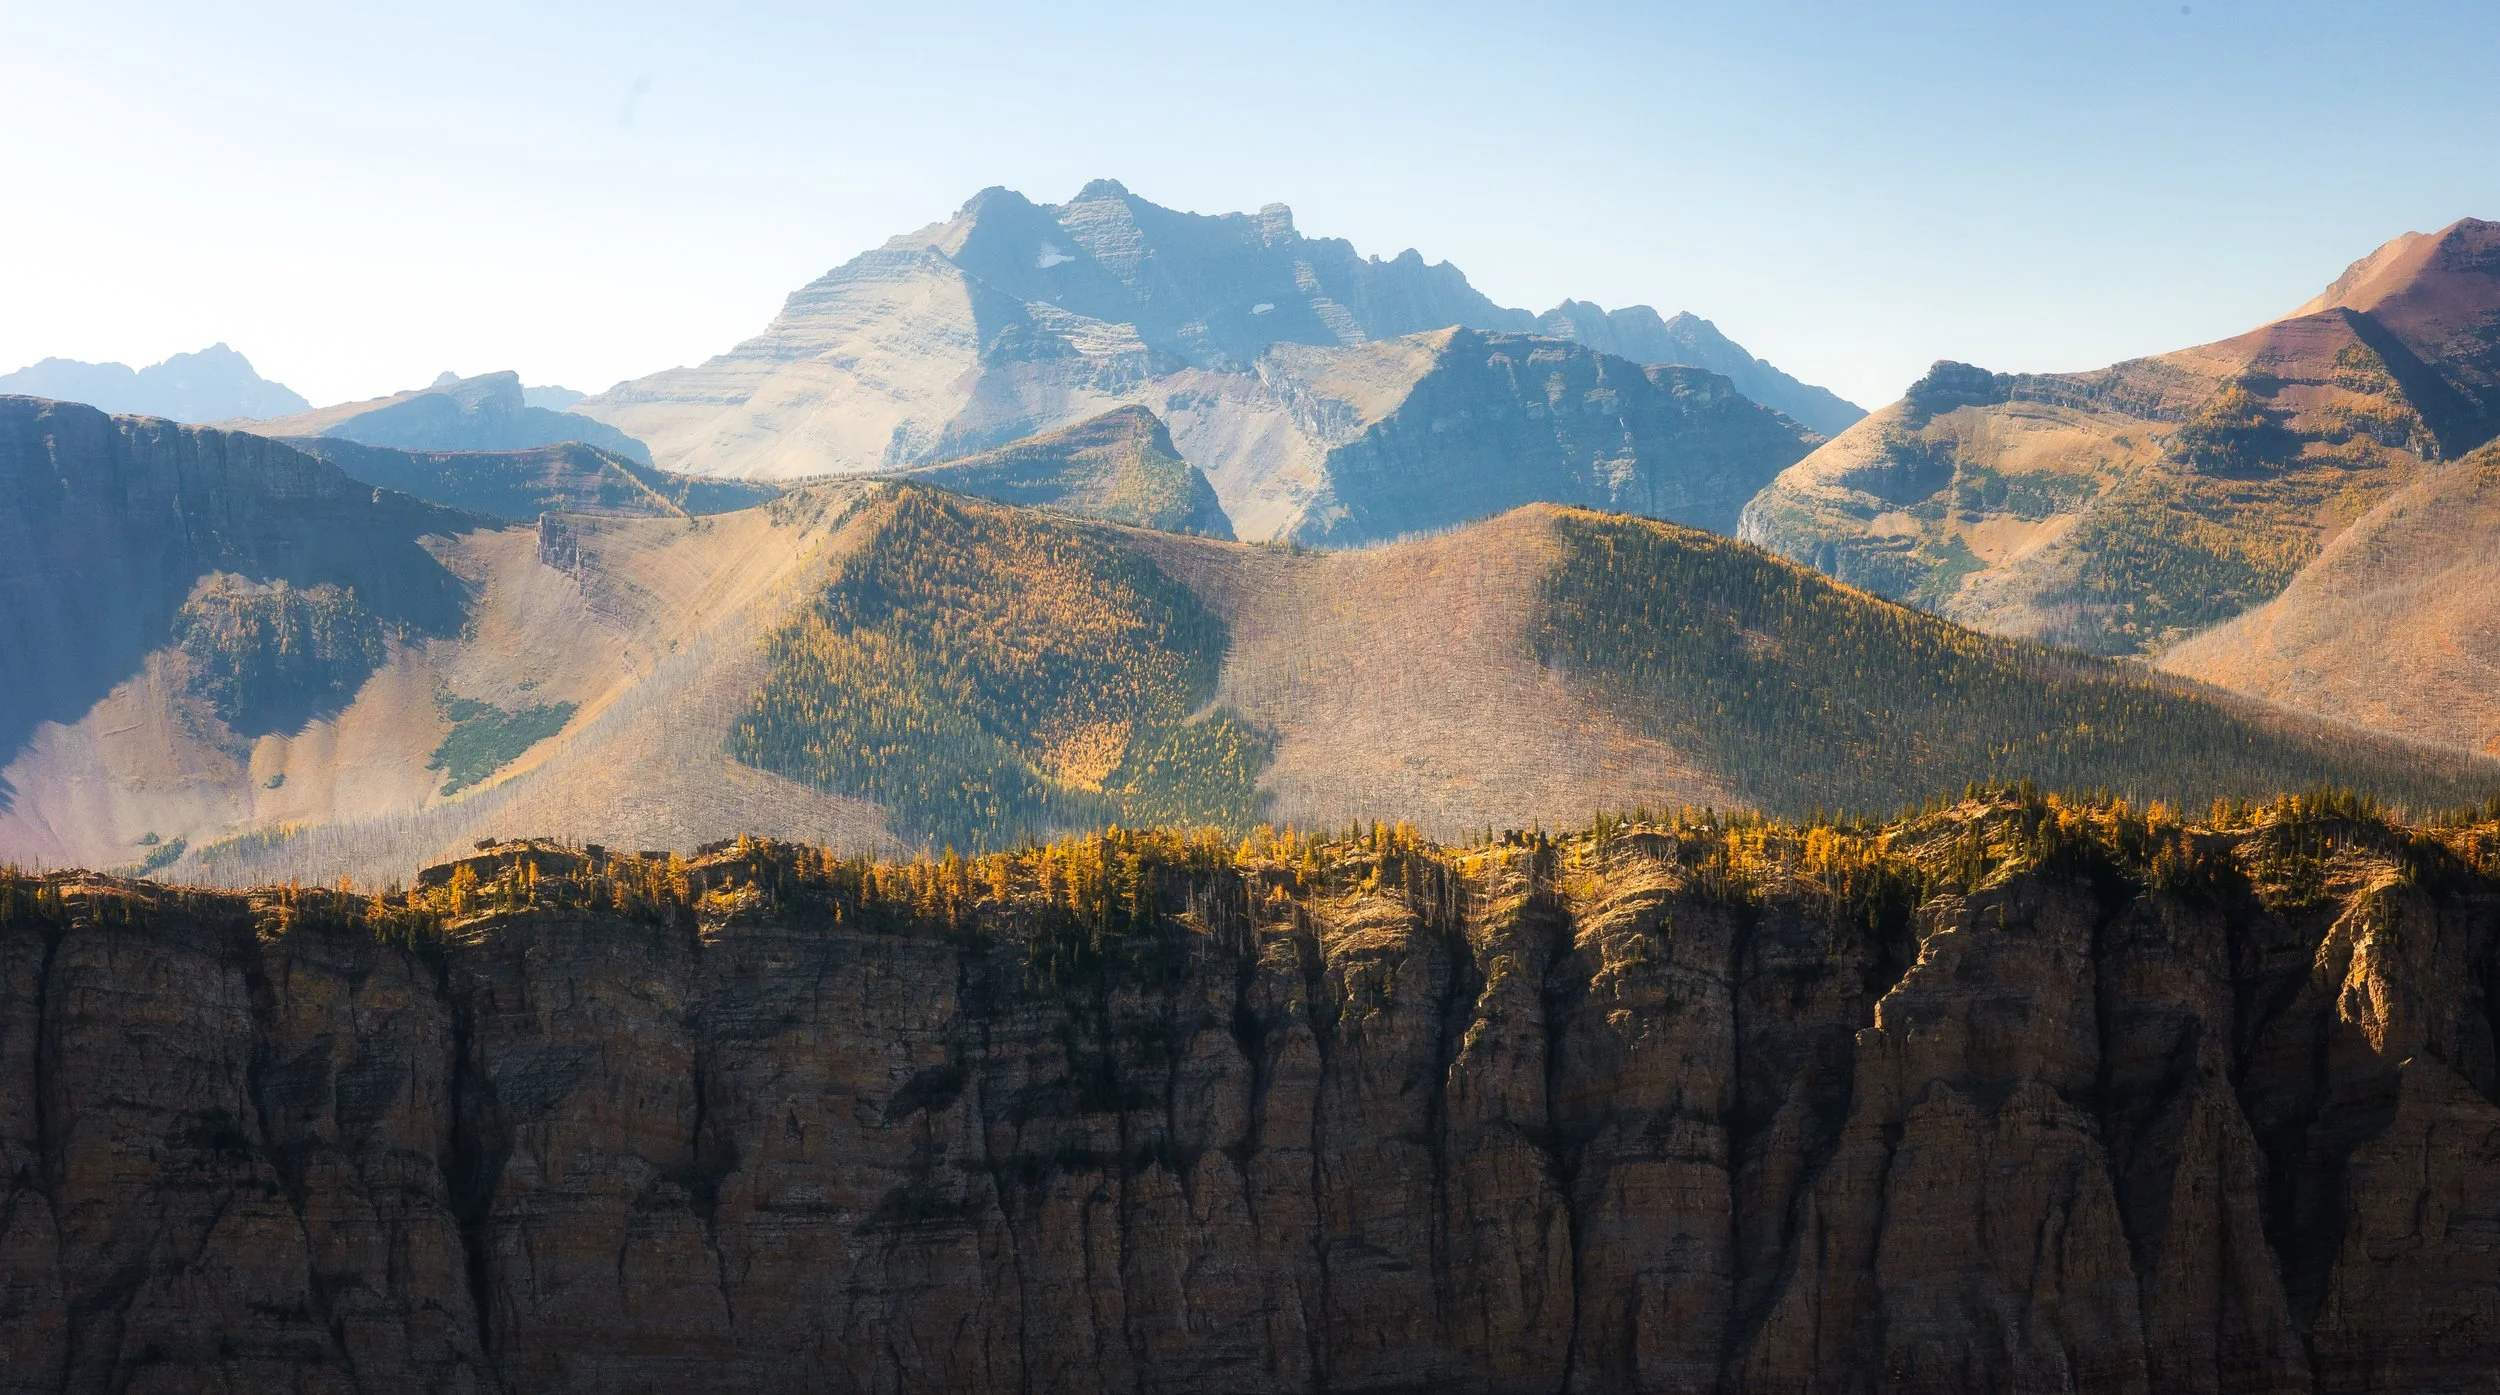
One of the biggest sections of elevation gain on the trail comes on the way up to Lineham Pass as you hike along the unique red rock. At the top of the pass you can take a right to summit Mount Lineham but to continue on the trail you’ll need to head left and back down in to the valley.
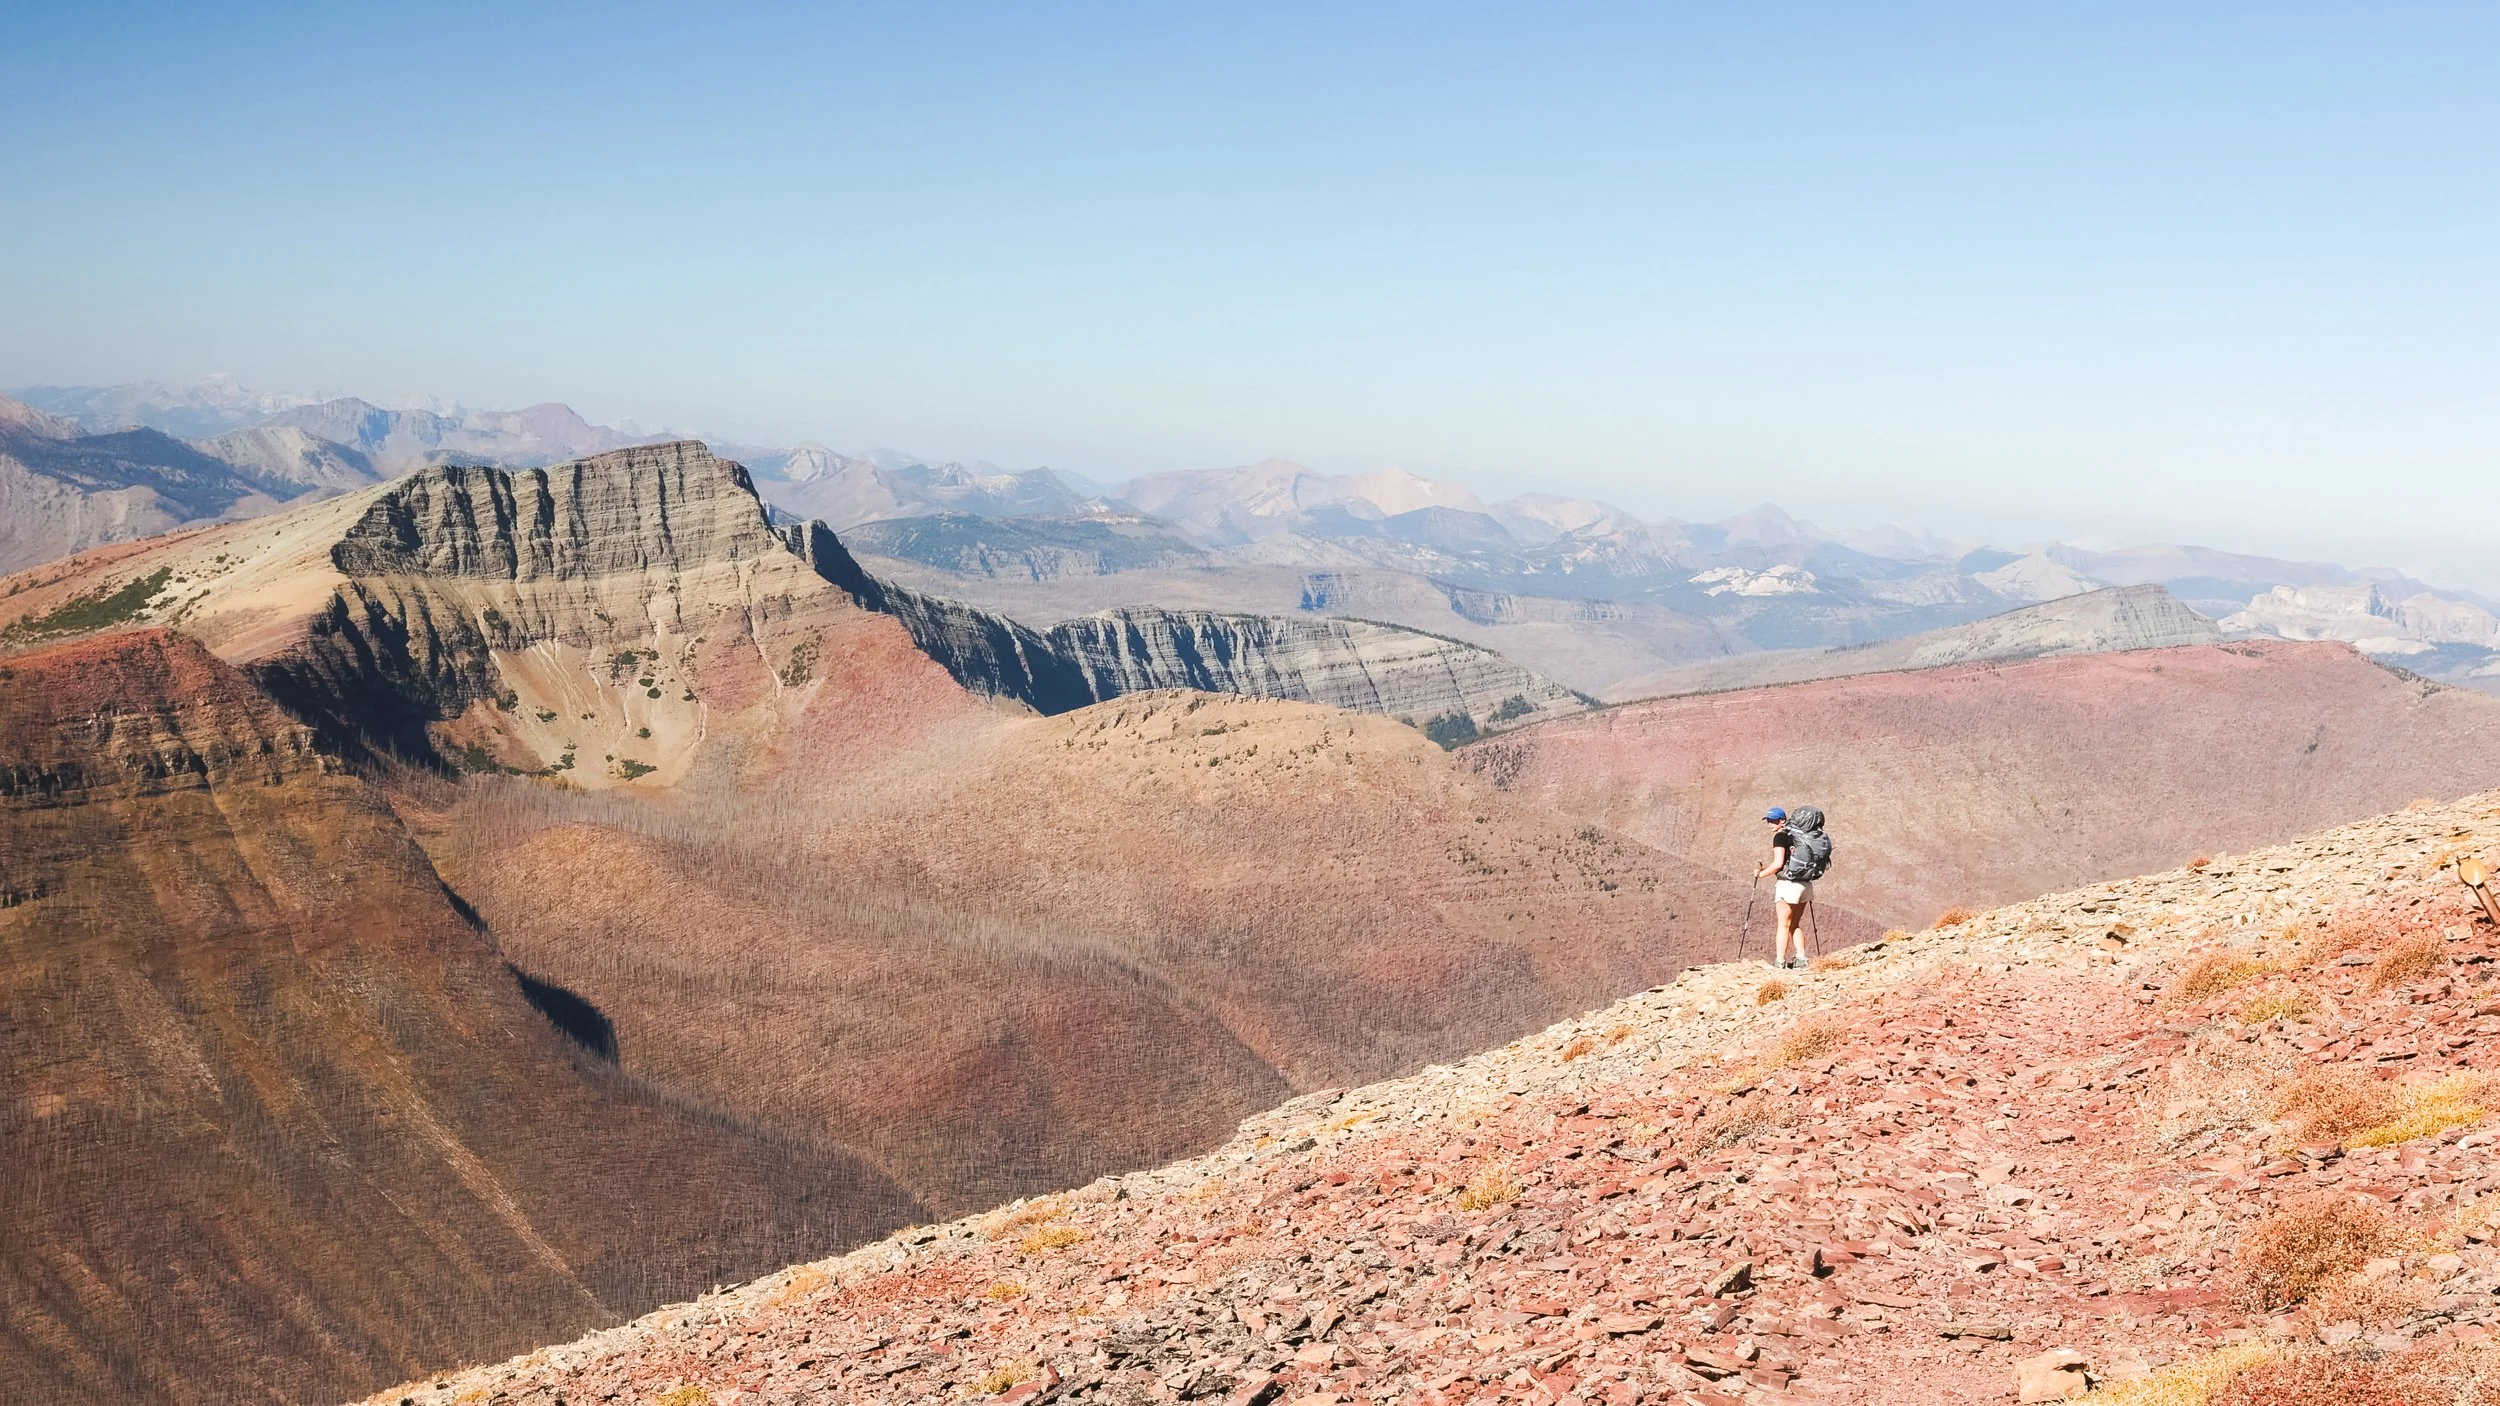
Standing atop Lineham pass
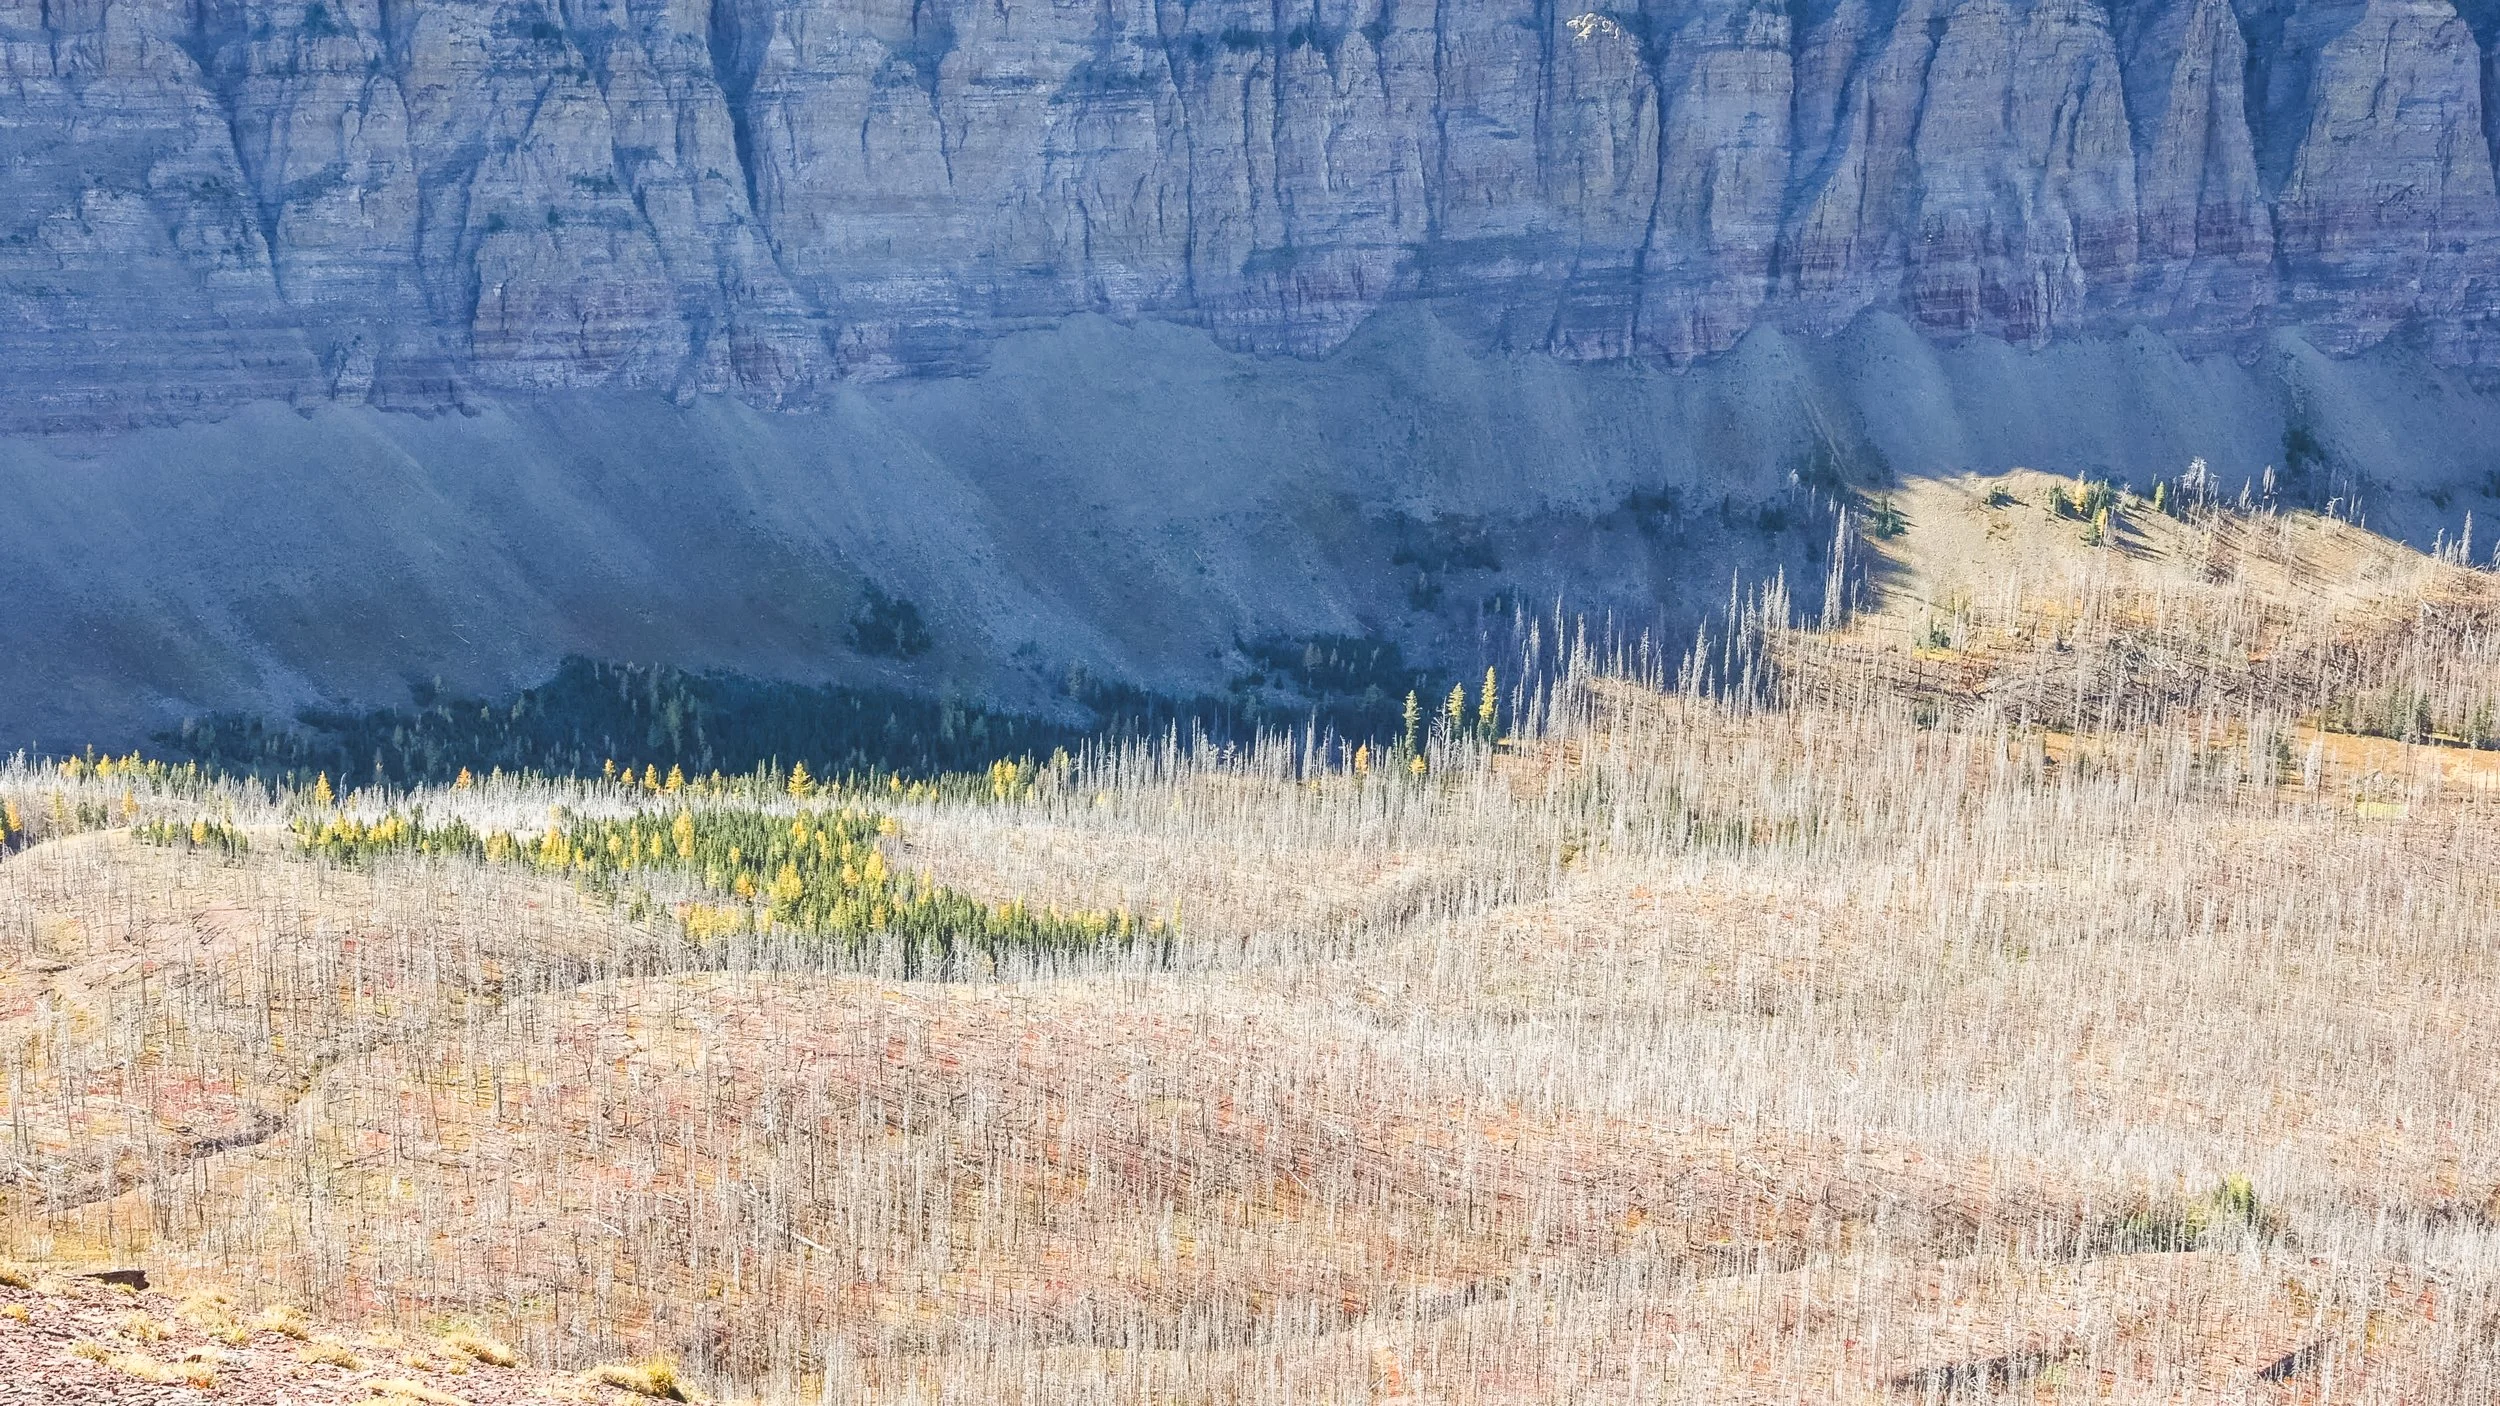
The next valley over from Rowe Meadows shows evidence of previous wild fires with pockets of colour.
More colourful autumn foliage contrasts beautifully with the black and grey scarred trees.
After walking through the second valley of burn there’s another steeper section of elevation gain. This section has little shelter from the sun due to the burnt forest making the ascent a little gruelling.
Once you reach the summit the scenery switches once more as you’re met with a forest of Larch Trees.
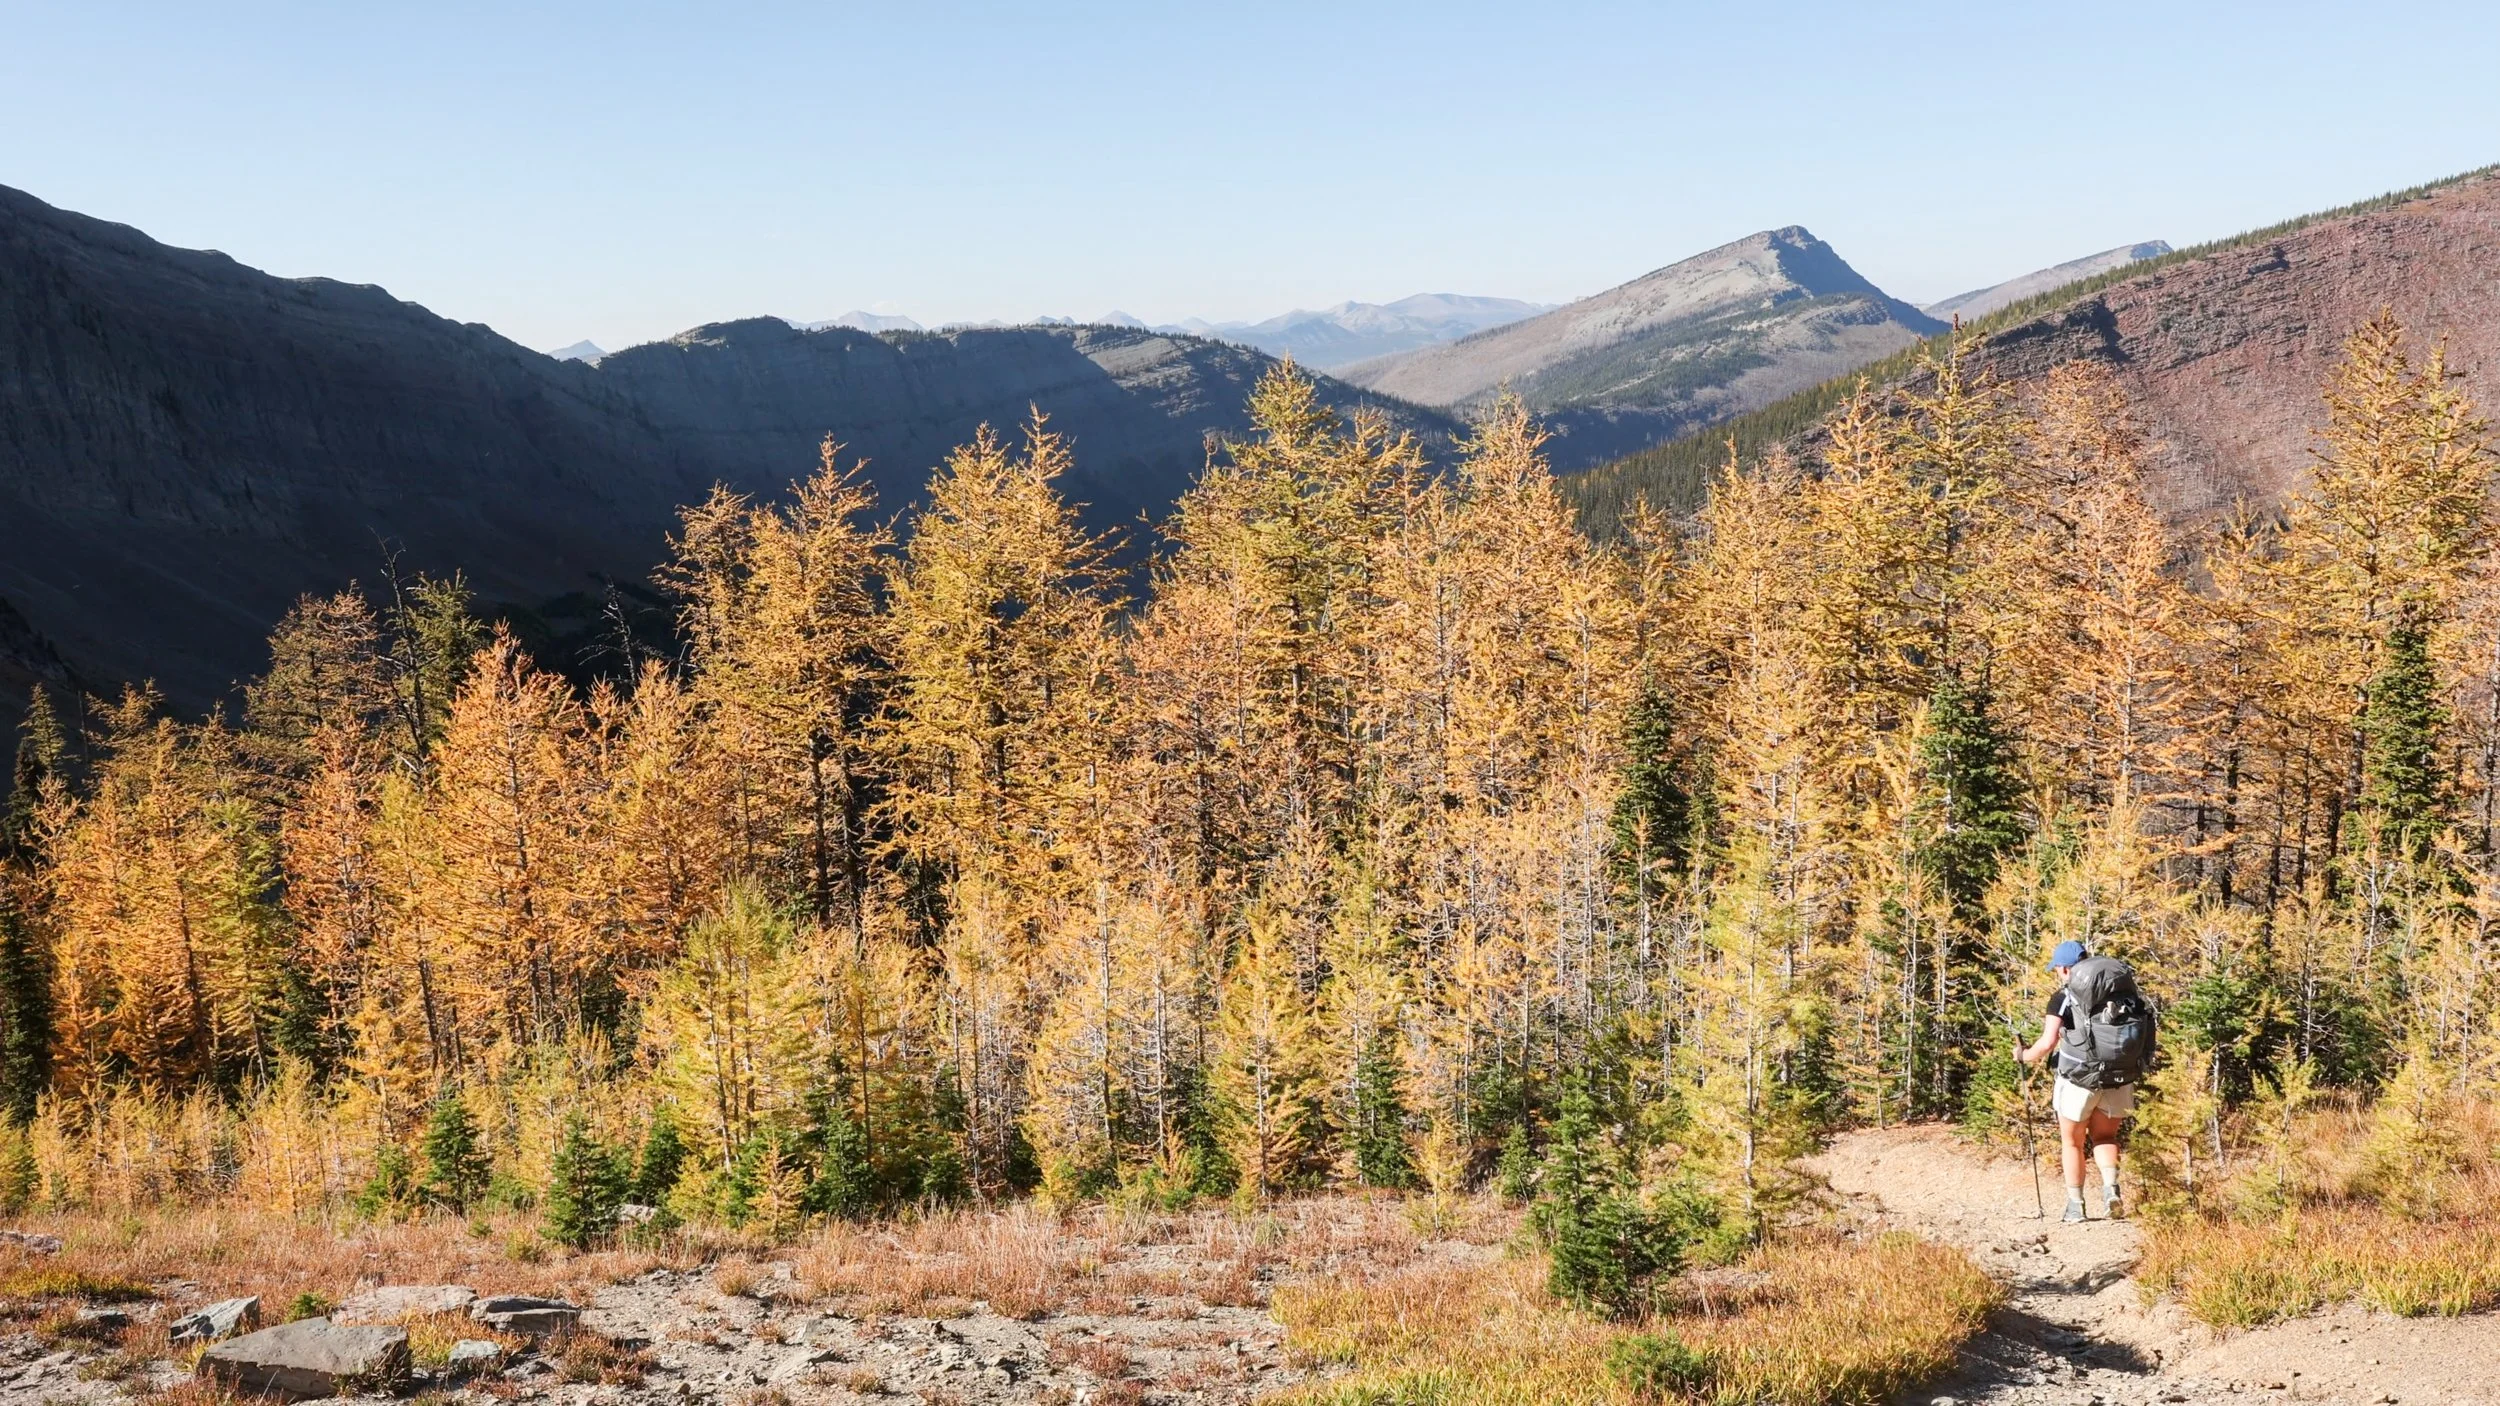
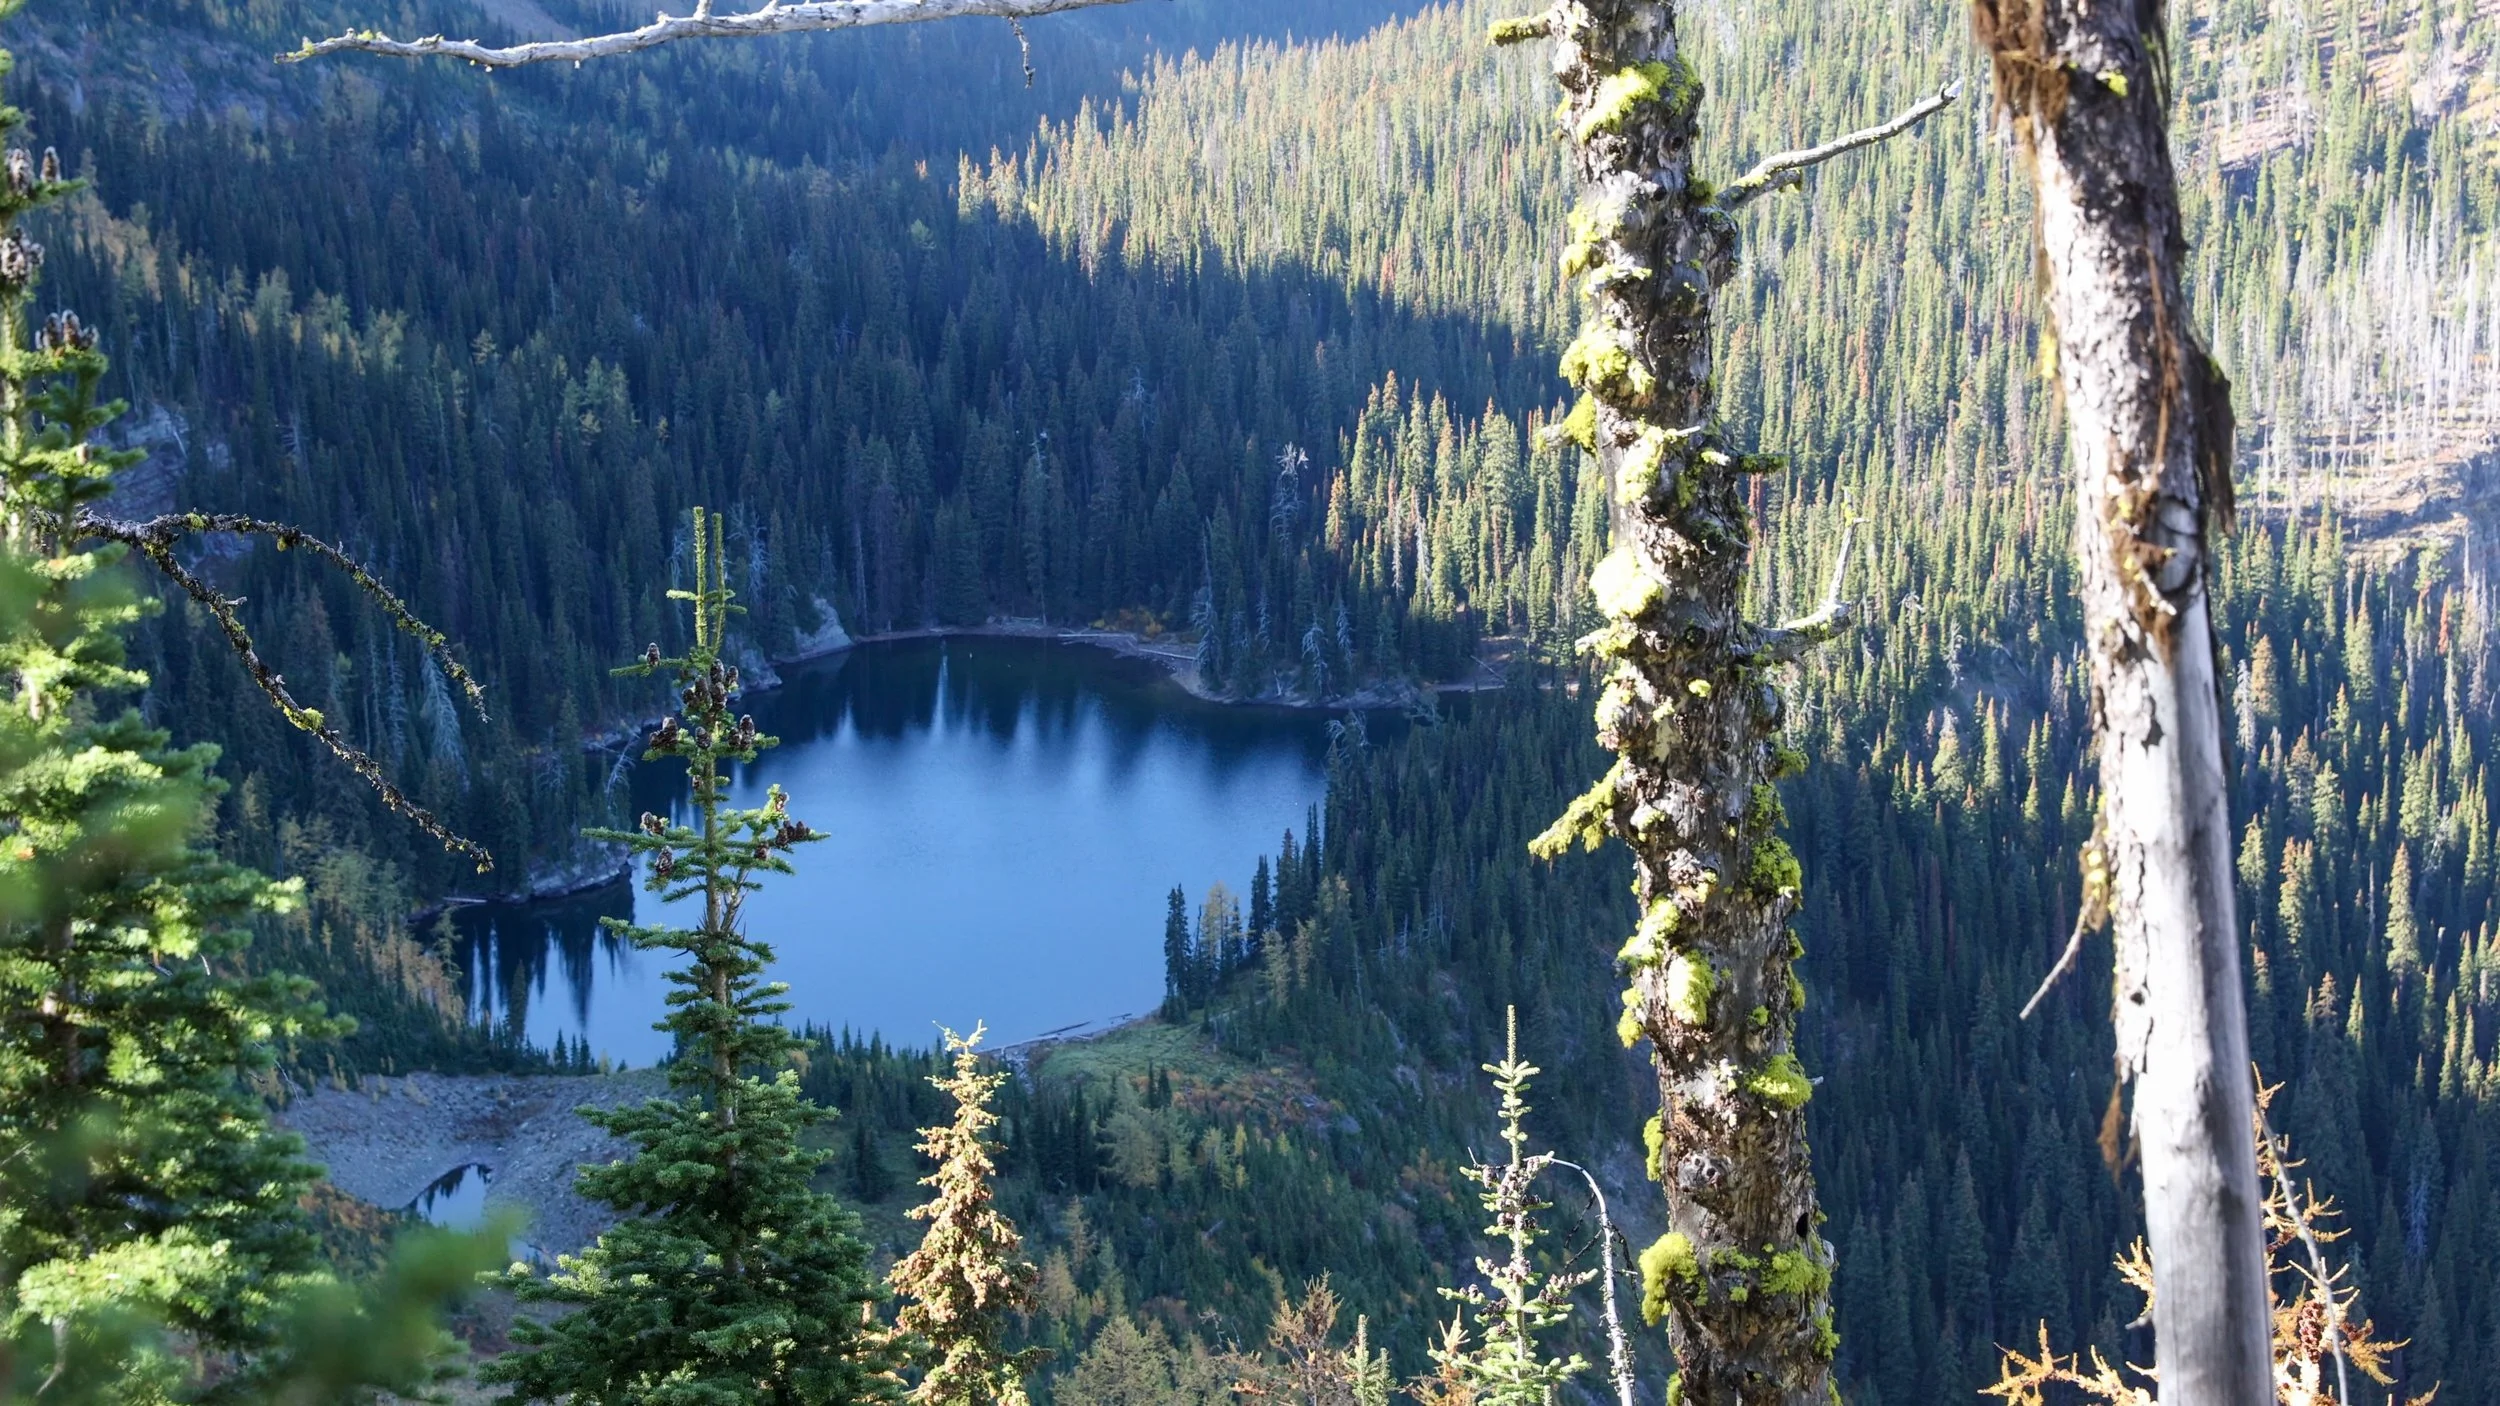
It’s on this pass you get your first view of Lone Lake from above nestled in between the surrounding mountains. The fuller forest and nearby camp are a welcome sight after the elevation gain.
After overnighting at Lone Lake and enjoying the campground all to ourselves we headed off to make our hike out back to Red Rock Canyon.
This section of trail again is easy to navigate and well sign posted when it’s needed. On the way out hikers are again treated to a huge mixture of terrain and scenery.
Starting off in lush green forests, walking through burn with colourful foliage scattered through the forest floor and flowing creeks as you follow the water flowing all the way to Blakiston Falls. The majority of the trail is steadily downhill from this point until the end.
Walking through the burn on the way out - there isn’t a lot of shade for the last 8 - 10 km.
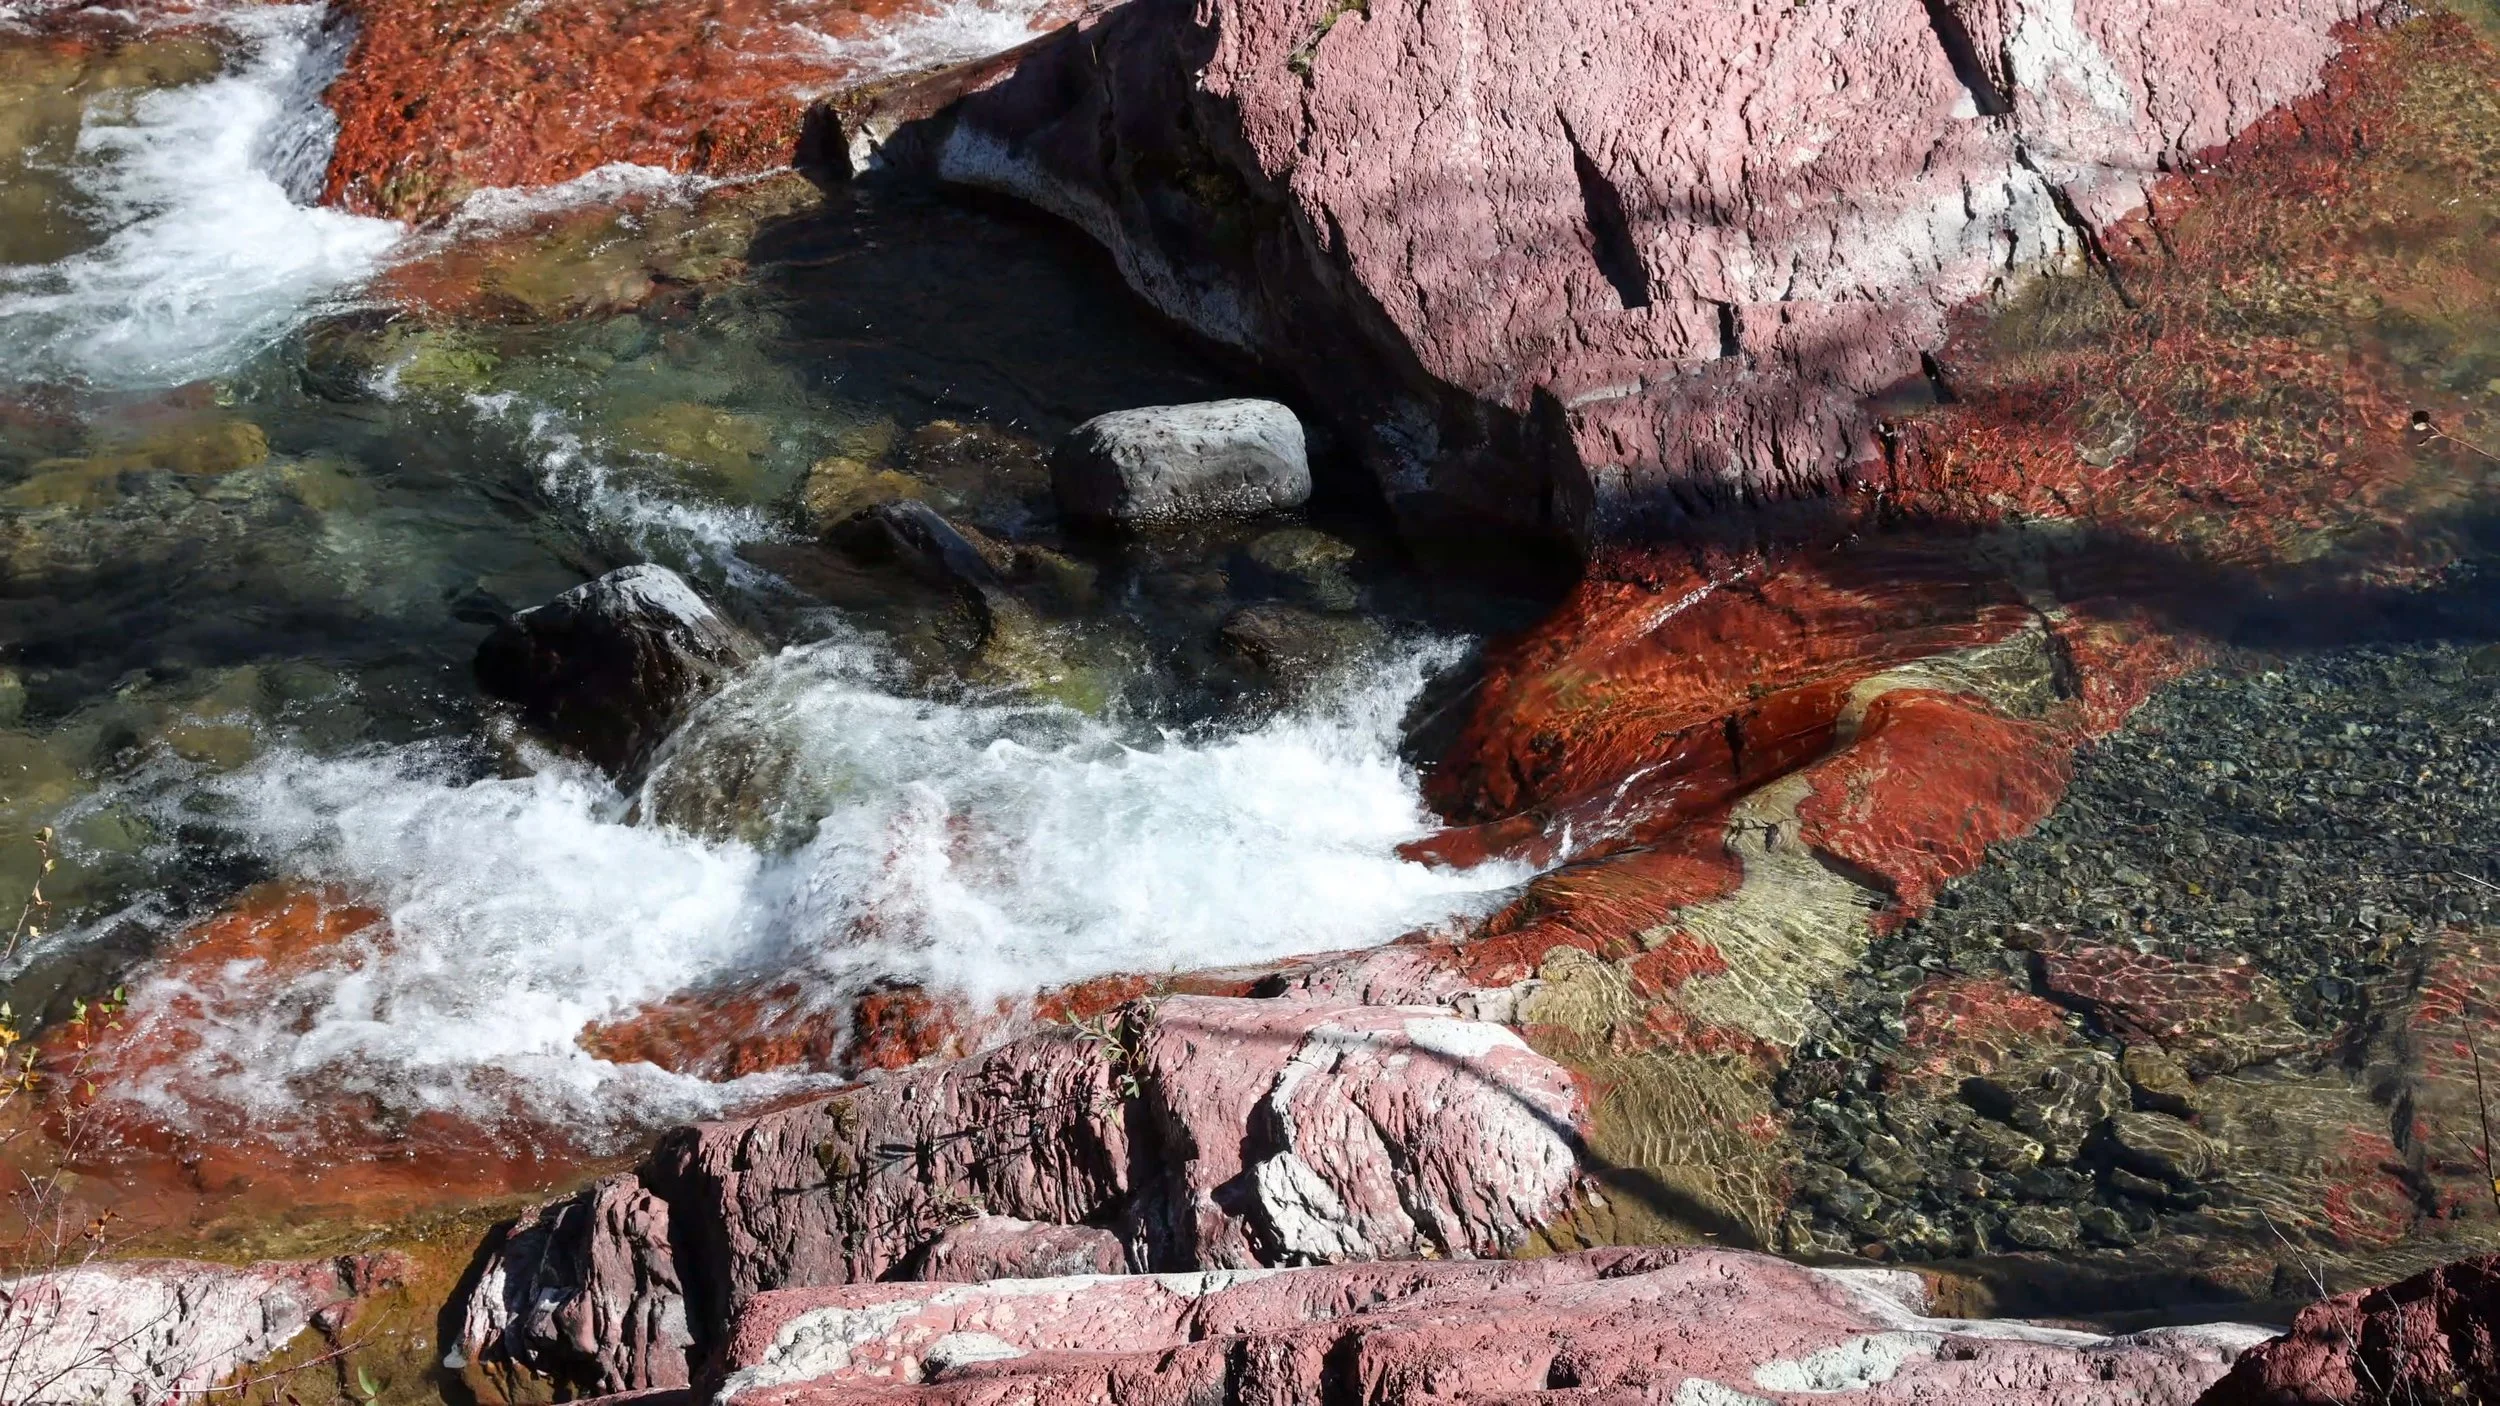
The famous red rocks of Red Rock Canyon.
What Gear Should I Take?
Through years of hiking and camping in the Rockies as well as working in outdoor retail and producing gear reviews I’ve dialled in my backcountry kit!
The Tamarack trail can be pretty exposed to the sun on a hot day making that bag feel even heavier. Having the right gear can make your camping trips much more comfortable and enjoyable. A good sleep, a good feed and a lightweight pack is key to a great day on the trail.
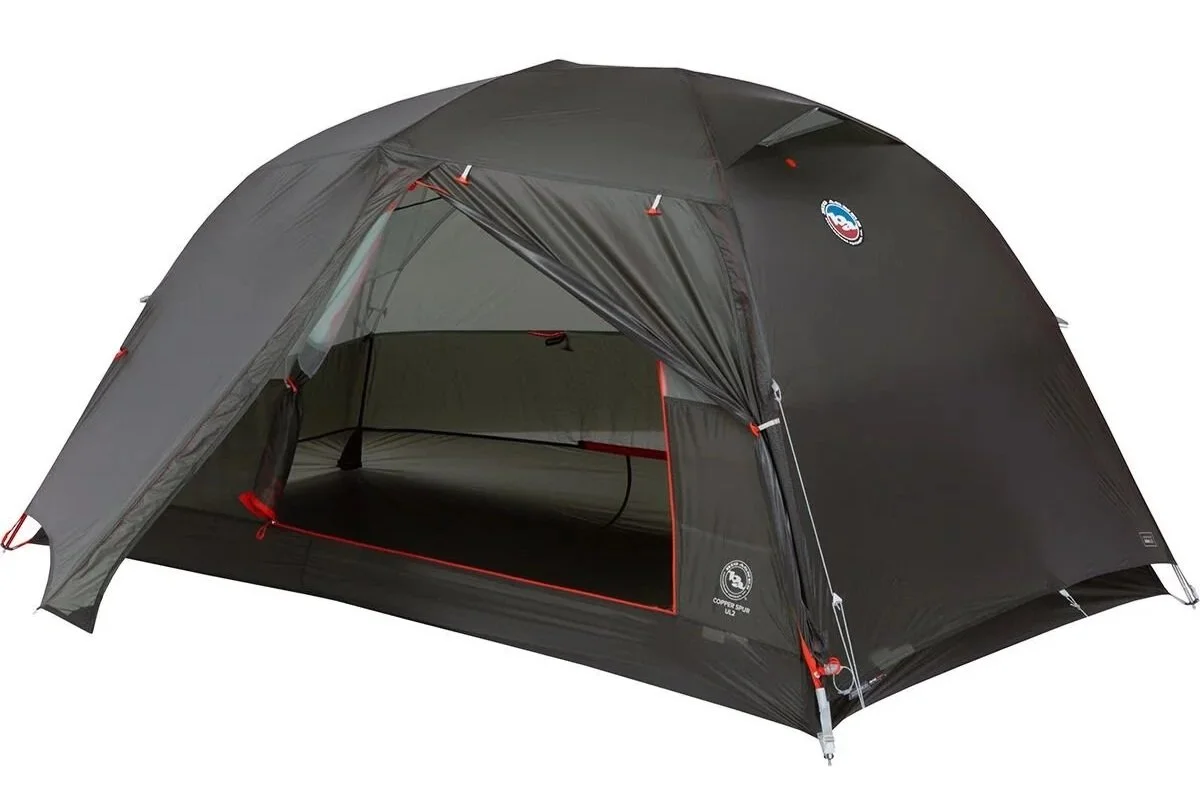
Lightweight Backcountry Tent
I’ve owned the Big Agnes Copper Spur tent for years, in fact I own 2 and it’s never let me down! It’s lightweight, always waterproof and fits perfectly on those backcountry tent pads.
One of the world’s best sellers for good reason
Get it on Backcountry.com
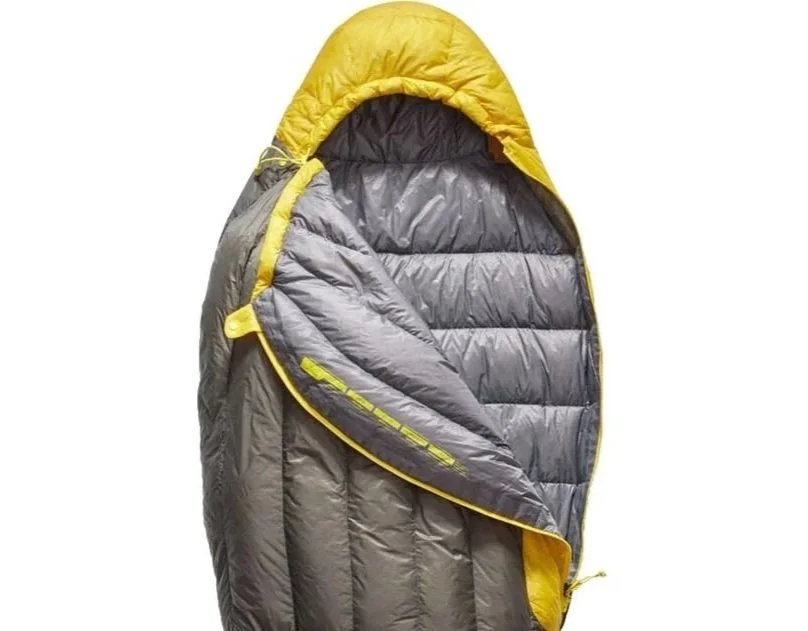
High Quality Sleeping Bag
Getting a high quality down sleeping bag is the best investment I’ve ever made! The Sea to Summit Spark 3 weighs in at 600 grams and packs down to just a few litres whilst keeping me warm down to -8ºC .
Doesn’t take up a lot of room in my bag and keeps be warm!
Get it on Backcountry.com

4 season Sleeping Pad
The Rockies can be cold! Even in the summer the temperature will drop in the mountains. An insulated sleeping pad will help keep the cold off the ground. Both me and my partner use the Nemo Tensor.
Get it on Backcountry.com
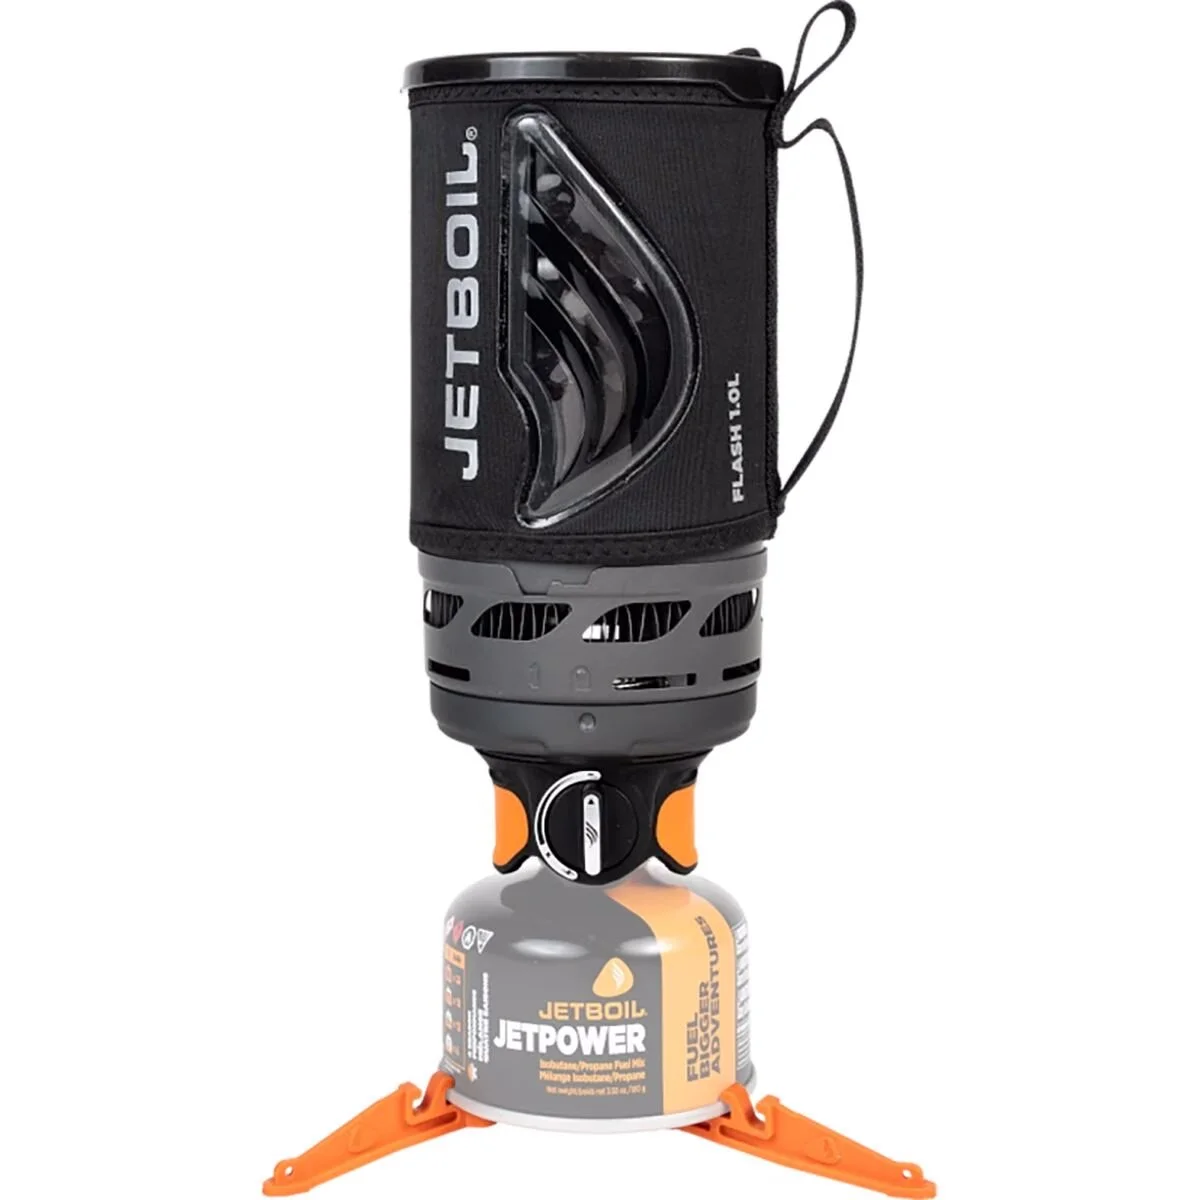
Cooking System
The Jetboil Flash cooking system has become my favourite. It’s incredibly efficient, light and packs down well. You can fire up a hot chocolate on the windiest of ridge lines in just a minute or two!
Get in on Backcountry.com
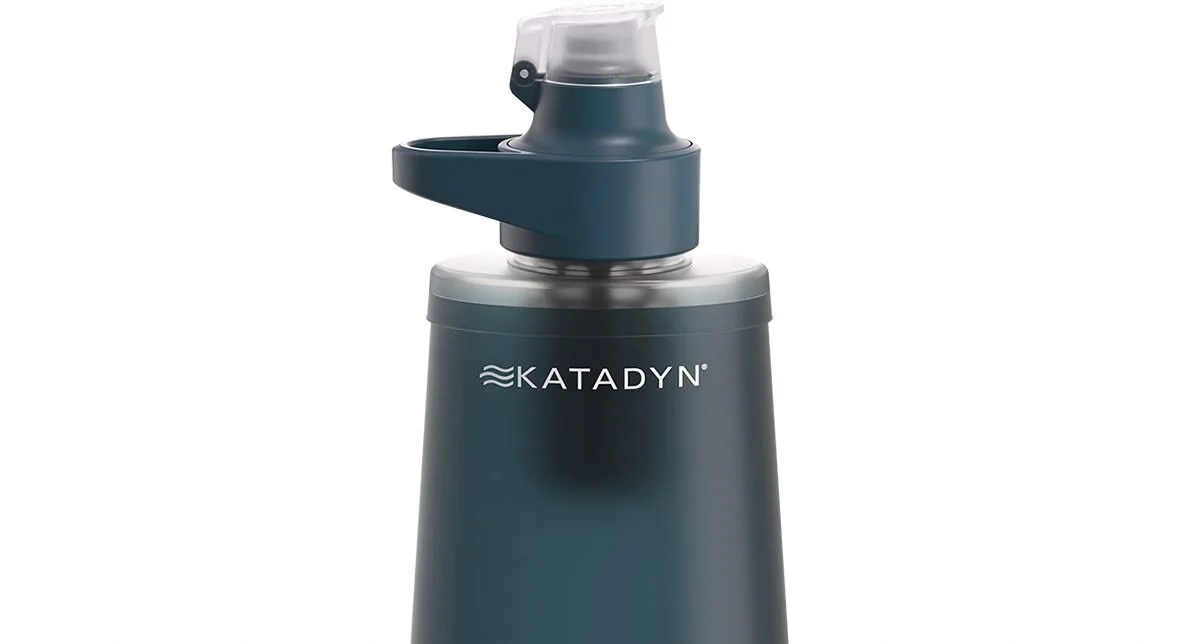
Water Filter
A Katadyn BeFree has to be the easiest filtration system to use. When out on the backcountry you want to be able to filter and refill your water along the way.
This filter packs down small and filters fast. It’s in my bag on every hike!
Get it on Backcountry.com

Capture Clip
Another item that comes on every hike with me and a must own for every photographer.
Keeps your camera close at hand making capturing moments much faster!
Get it on Peakdesign.com
Where To Stay Before and After The Tamarack Trail
Waterton
The closest town to the Tamarack trail is of course Waterton. There are a fair few accommodation options for such a small town, however in summer this will book out fast!
The most prominent hotel is the Prince Of Wales Hotel - a unique building set above the lake that has become some what of a mascot for the town! If staying here is out of your budget I’d still recommend heading over for a breakfast one morning.
More budget friendly recommendations are places like Aspen Village or the town campsite that you can book over on the Parks Canada reservation page under ‘Front Country’ campgrounds.
Out of Town
Alternatively there are a couple of accommodation options around 12 km out of town which can be a great option if you’re stryggling to find a room during peak season.
Check out Echos and Embers Waterton or Waterton Country Villas if you fancy a little more space away from the hustle and bustle.
Looking for other Multi Day Hikes in The Rockies?
Mount Assiniboine has options for every type of camper!
Lake O’Hara is a must do camping location!
The Berg Lake Trailis one of the best for photography.
Northover Ridge offers a more adventurous overnight trip.
Things to know before you go
Leave No Trace: When hiking anywhere in the world it’s important that you practice a leave no trace philosophy. This means whatever you hike in to a trail or campground you have to be prepared and able to hike out too.
There won’t be trash cans or waste disposal in the backcountry and you should never throw trash in any out houses or pit toilets.
In recent years, as trails and parks become busier, litter is becoming more of a problem. Don’t add to that problem!
Bears and Wildlife! Wild life is everywhere in the Canadian Rockies, even on trails that are close to town. People and animals have been attacked by bears and other wild life on popular trails in the past so don’t take it for granted!
Most wildlife is looking to avoid human contact so no matter what type of wildlife you see be sure to keep your distance. 30 metres is the minimum recommendation for most species but under any circumstance don’t approach wildlife! Even the cuddliest of critters can be dangerous!
So as always be bear aware, make noise, hike in groups and carry bear spray!
Offline maps knowing where you’re going is super important as to not get lost on your. I recommend All Trails Plus for finding routes and offline mapping allowing you to safely find your way home.
Interested in other multi-day hikes in the Canadian Rockies or maybe some day hikes?