The Hermit Trail To Hermit Meadows
Now the Hermit Trail hike to Hermit Meadows, isn’t technically in the Rockies. It’s part of the Selkirk Range in Rogers Pass B.C, it isn’t a particularly long trail and is easily achievable in a single day. However the campsite in the meadows is simply so scenic you’d be mad to not make this an overnight trip! This has to be the best, easy access campsite in BC!
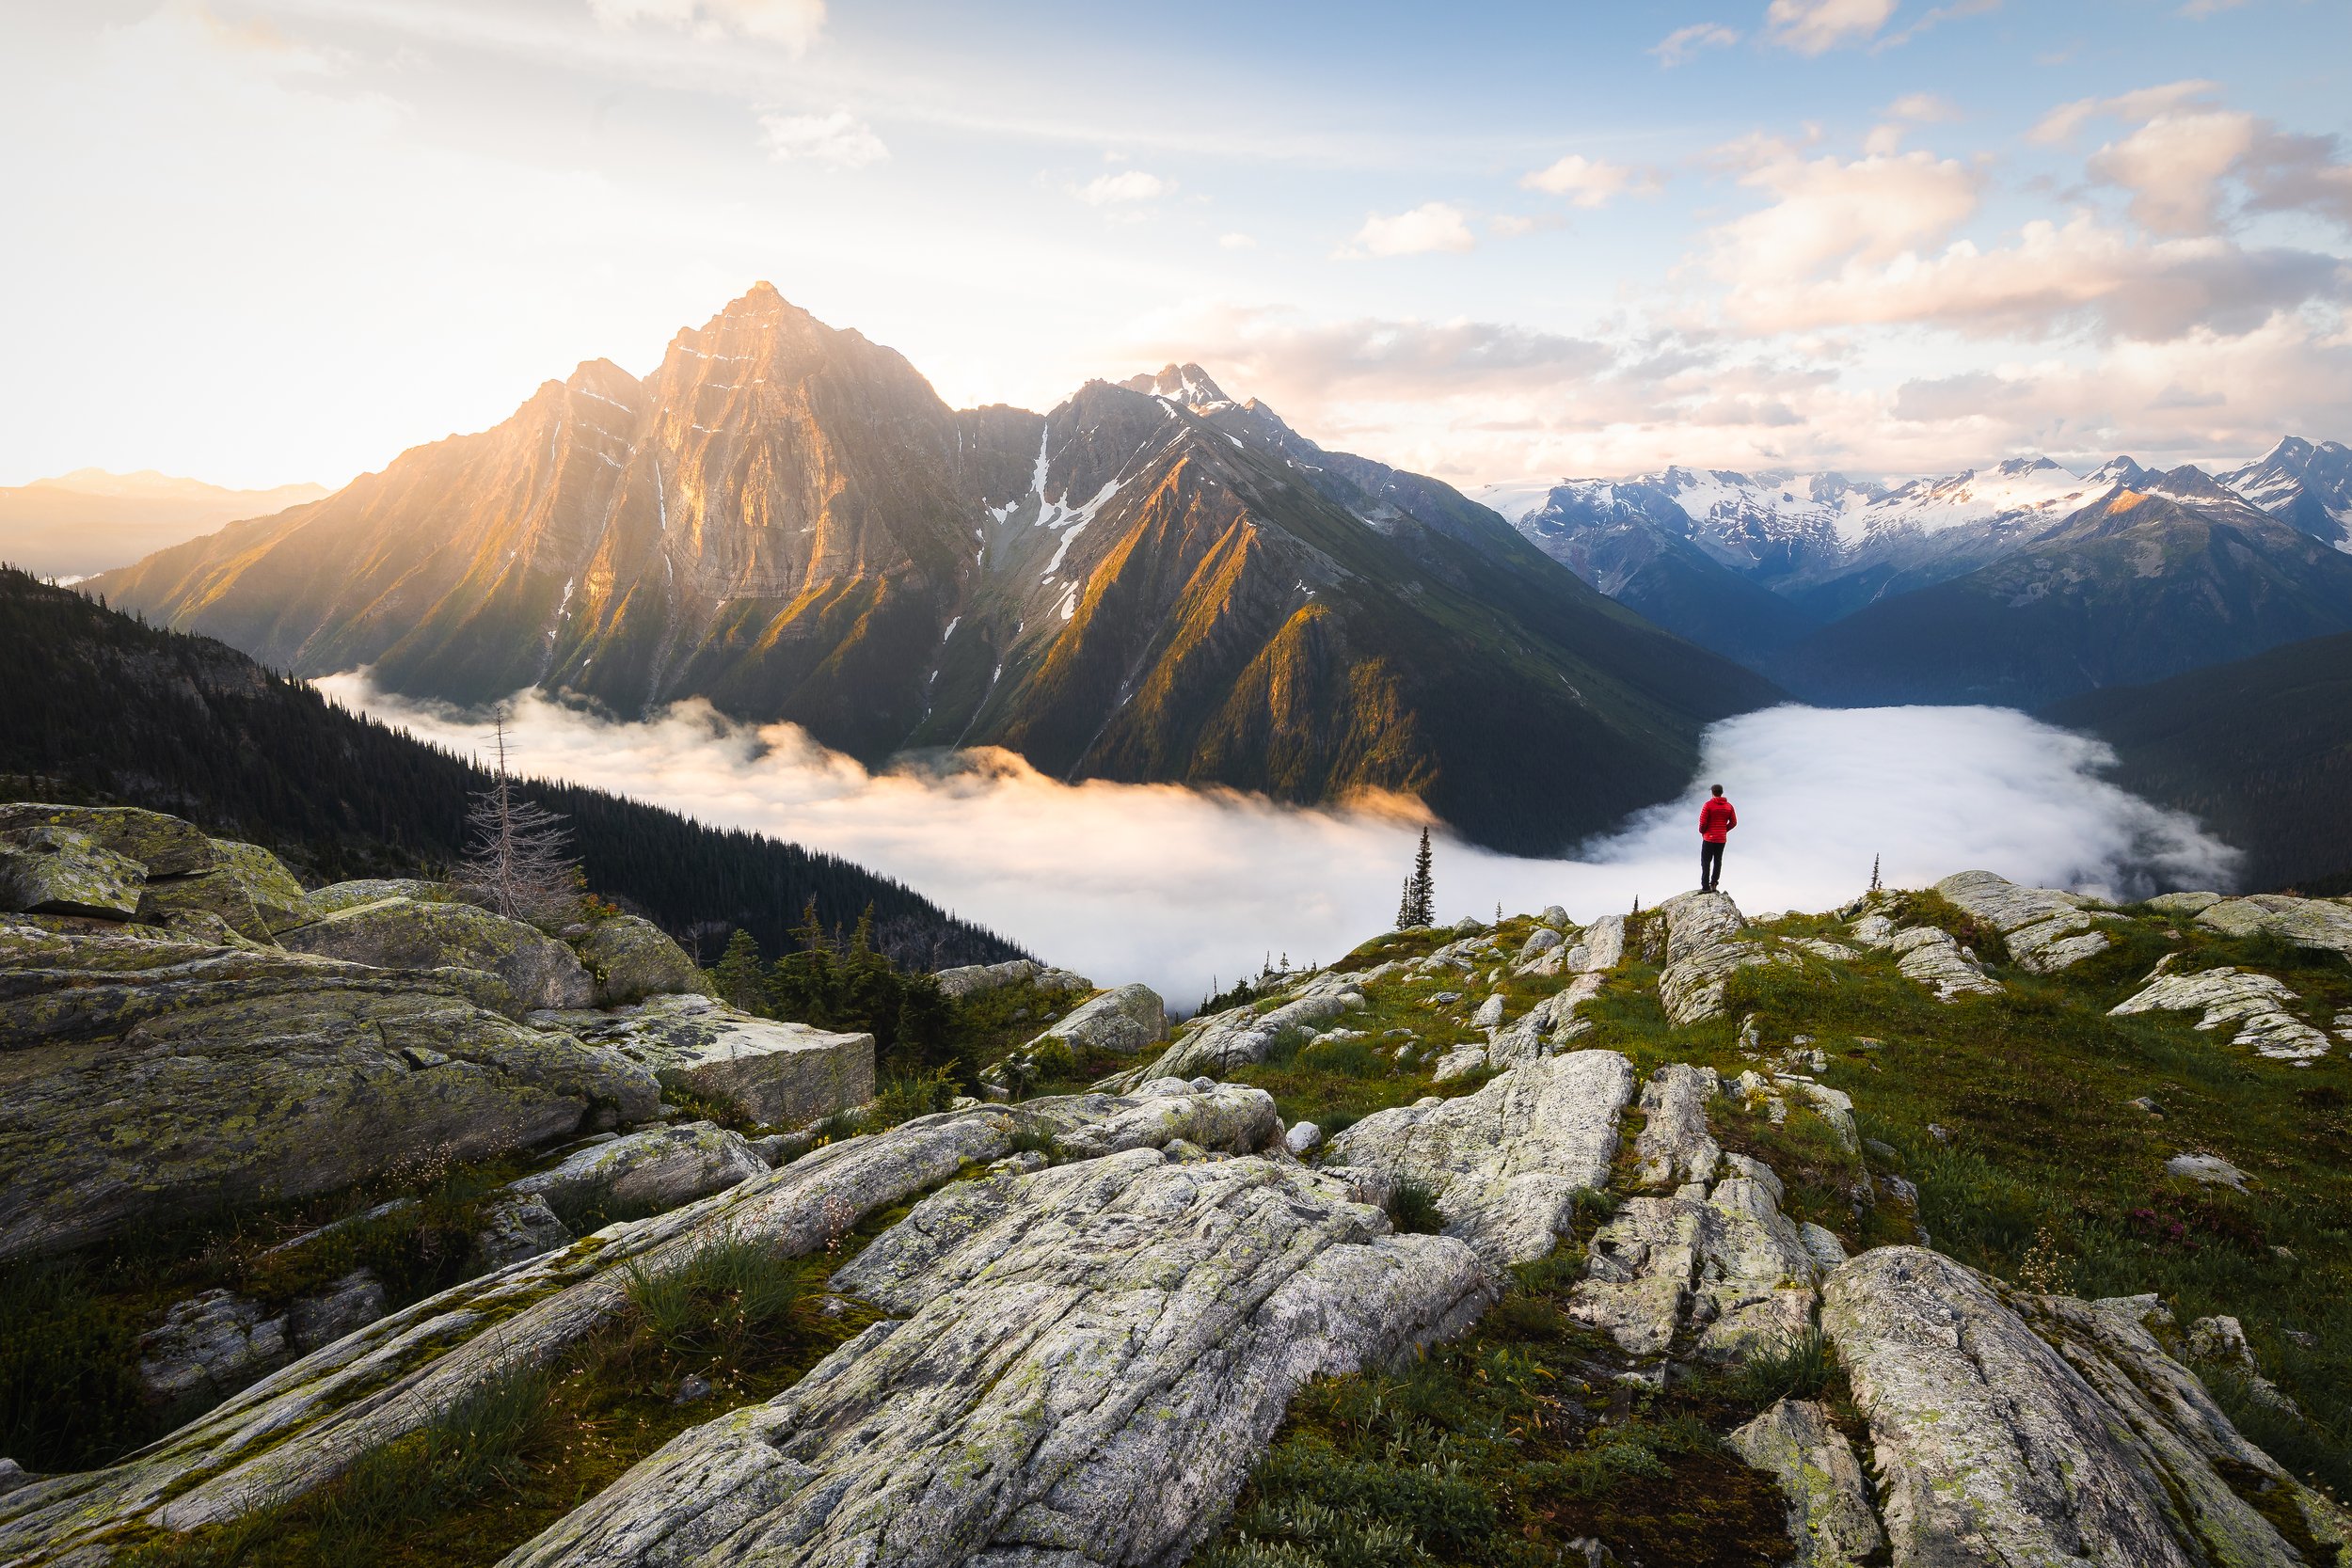
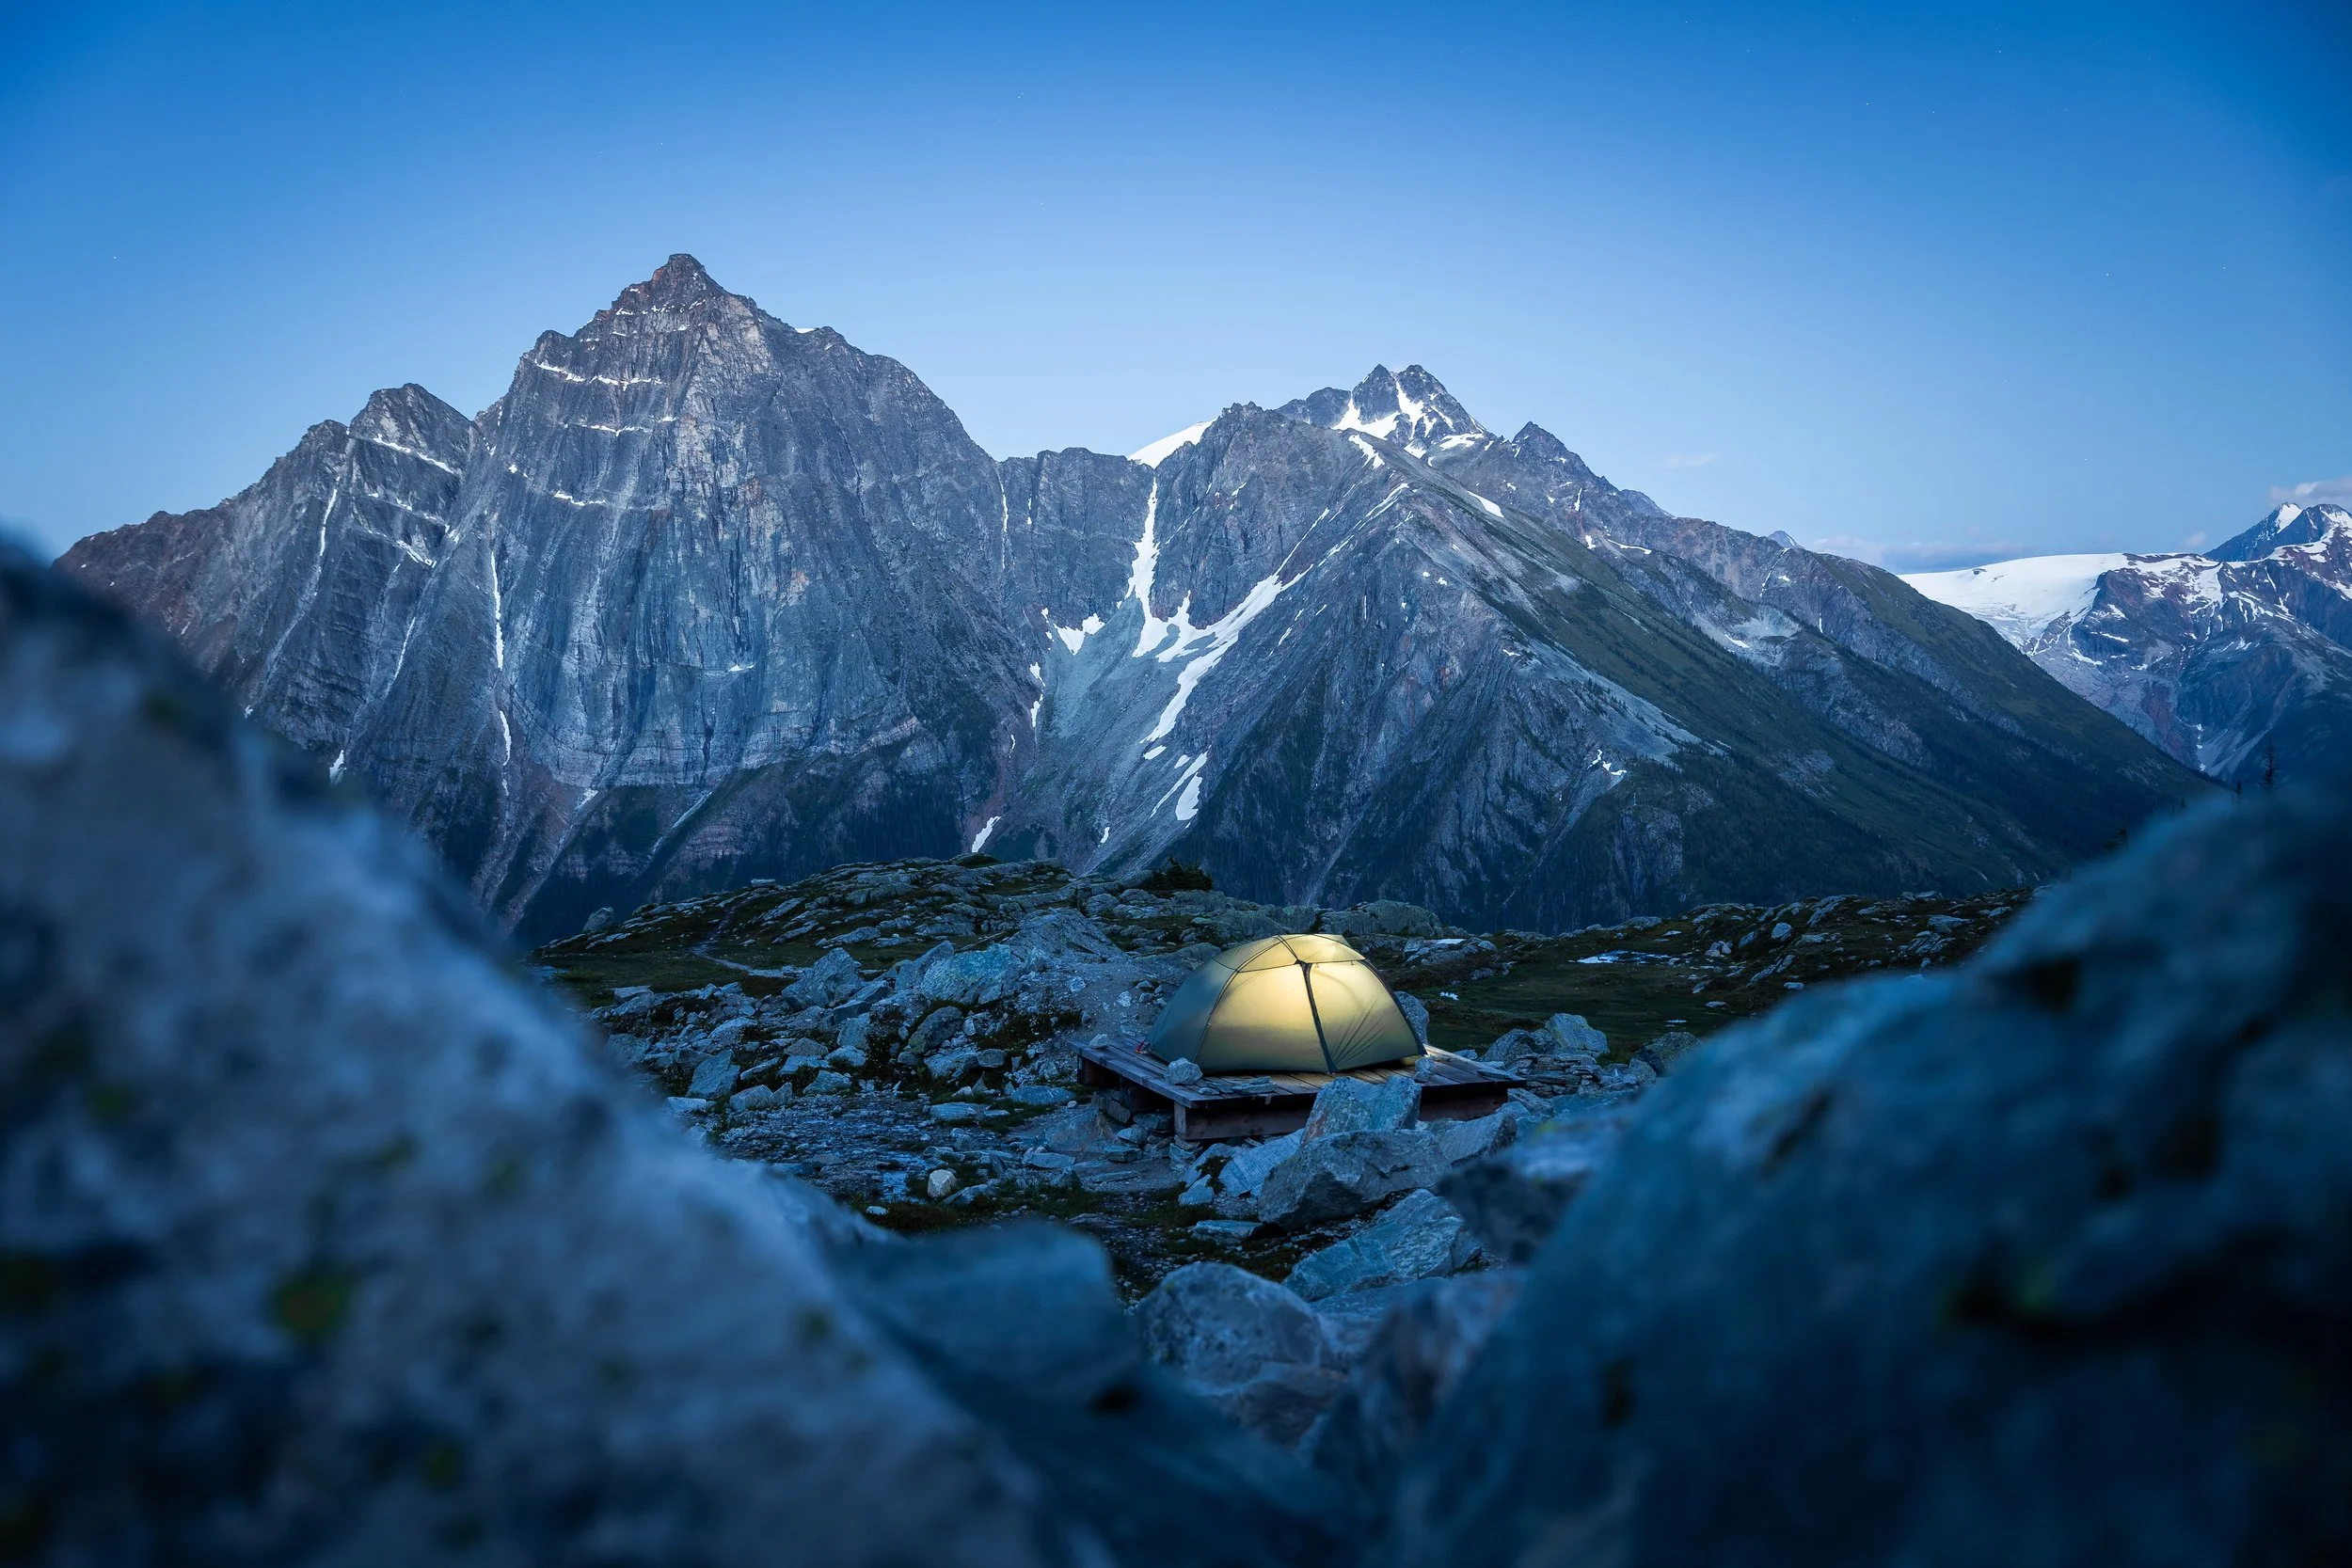
Sunrise at Hermit meadows just a hundred metres from the campground.
The Stats
Time: 3 - 4 hours as a straight return but you’ll want to spend the night!
Distance: 7 km up and down to the campground.
Elevation Gain: 800 m
Difficulty: Moderate to Hard - it’s steep but not technically challenging!
How To Get to The Hermit Meadows Trailhead
The trailhead sits just off of highway 1 around 1.5 km before the Rogers Pass Discovery Centre. However if camping at the meadow you’ll need to register your trip and your car at the discovery centre before you head off.
If coming from Calgary the drive is just shy of 4 hours driving past Canmore, Banff and Golden before making your way in to Rogers pass.
Once registered there is a small car park, back up the road, right by the trailhead.
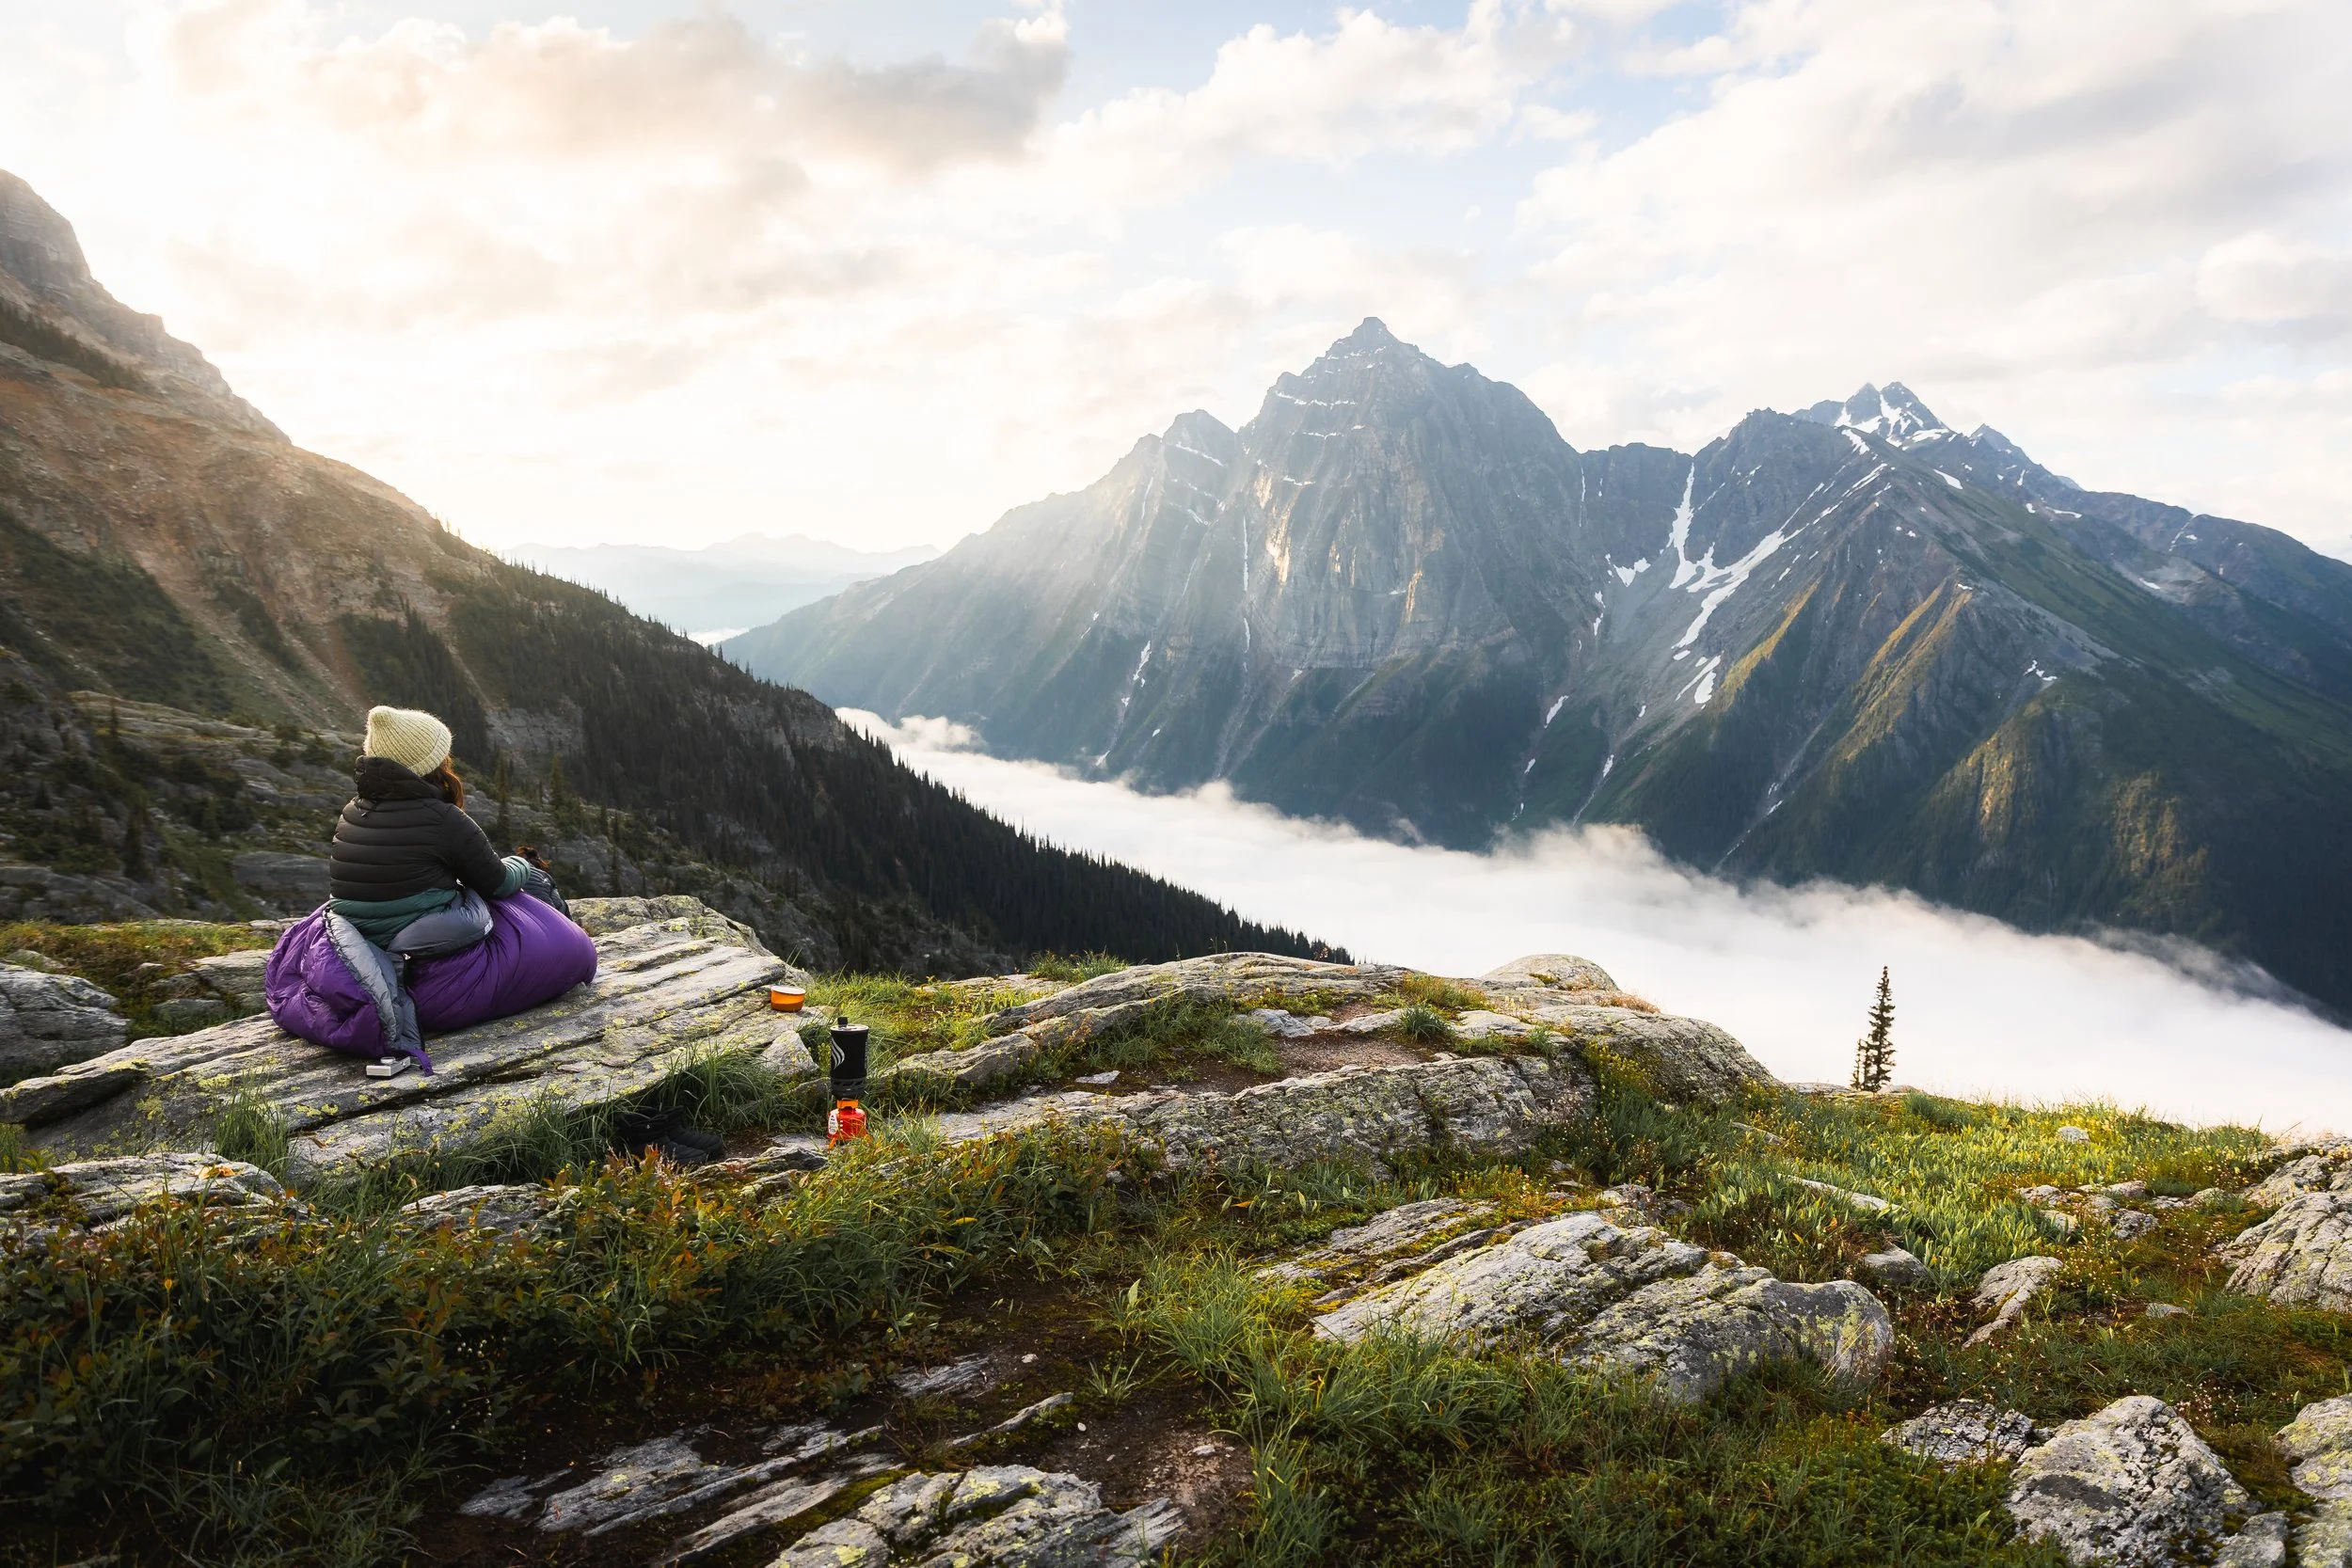
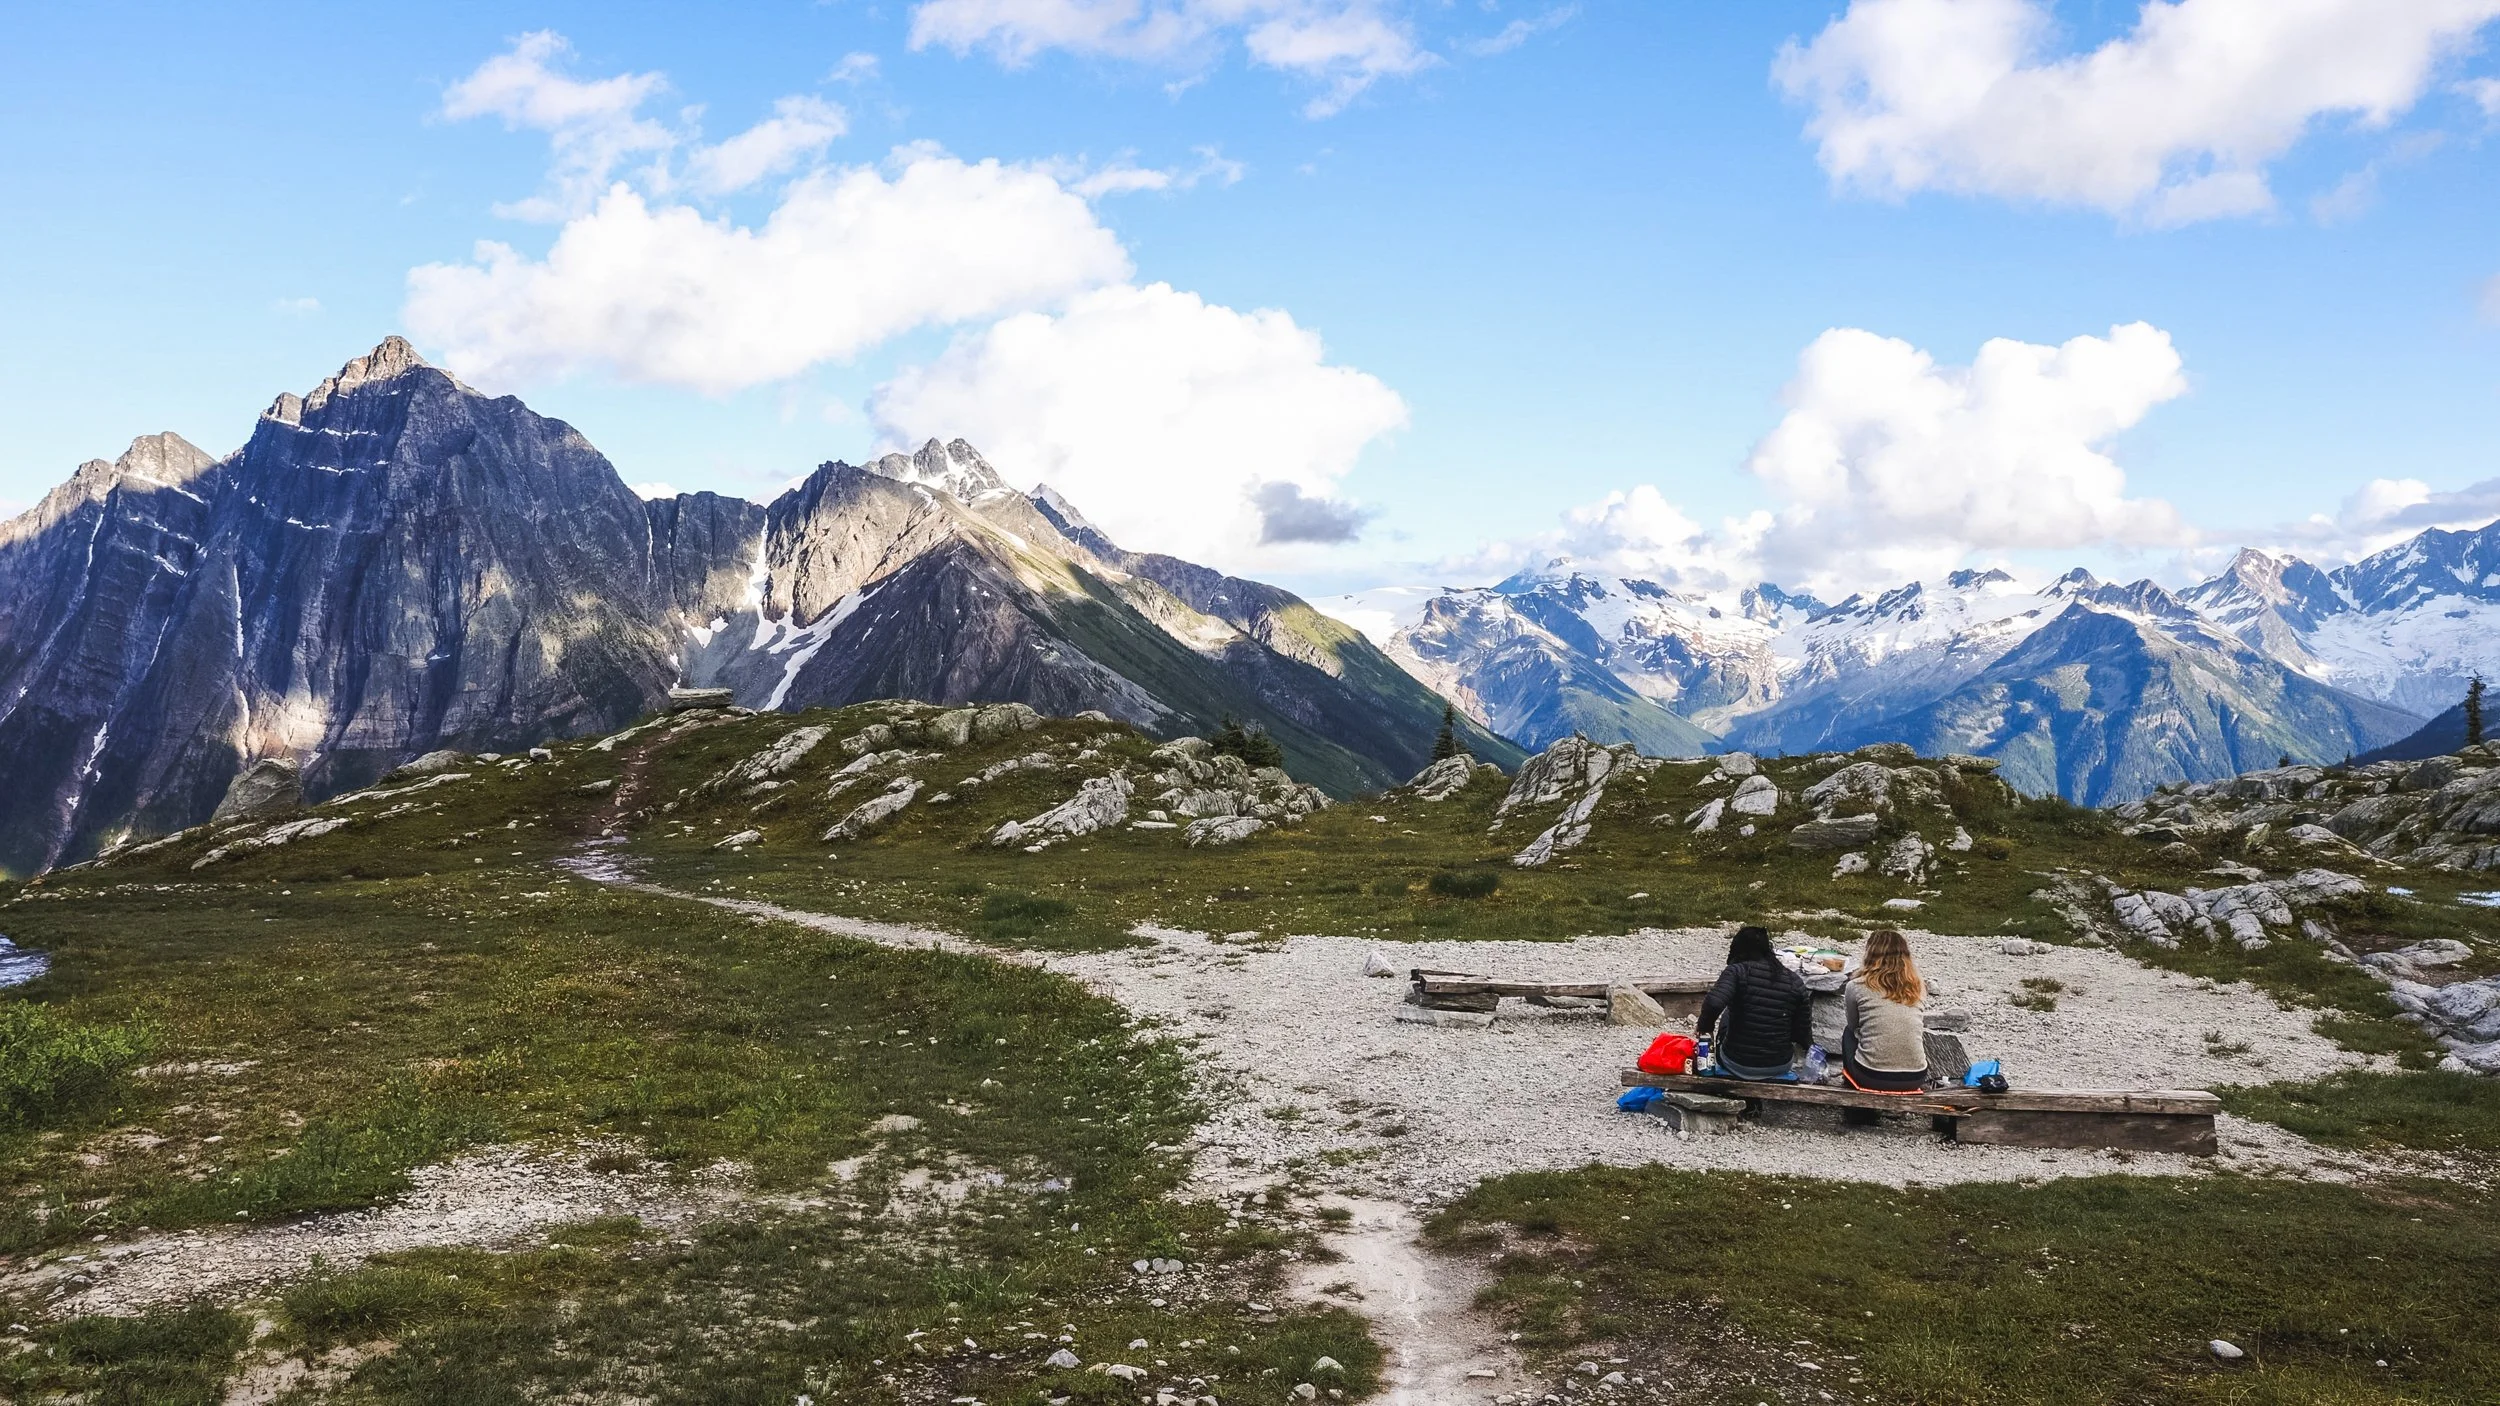
Enjoying the view and a tea at Hermit Meadows.
When to Visit Hermit Meadows
Hermit Meadows trail is open from July 1st to October 1st (snow dependent, it can be an avalanche risk during winter), and camping reservations can be made for between July 14th to September 14th.
Outside of these dates visiting the area isn’t really possible for hikers. Rogers pass receives a lot of snow and has a lot of steep terrain. It’s a popular location for ski tourers and in the winter a lot of the trails pose an avalanche risk.
Hermit Meadows Campground
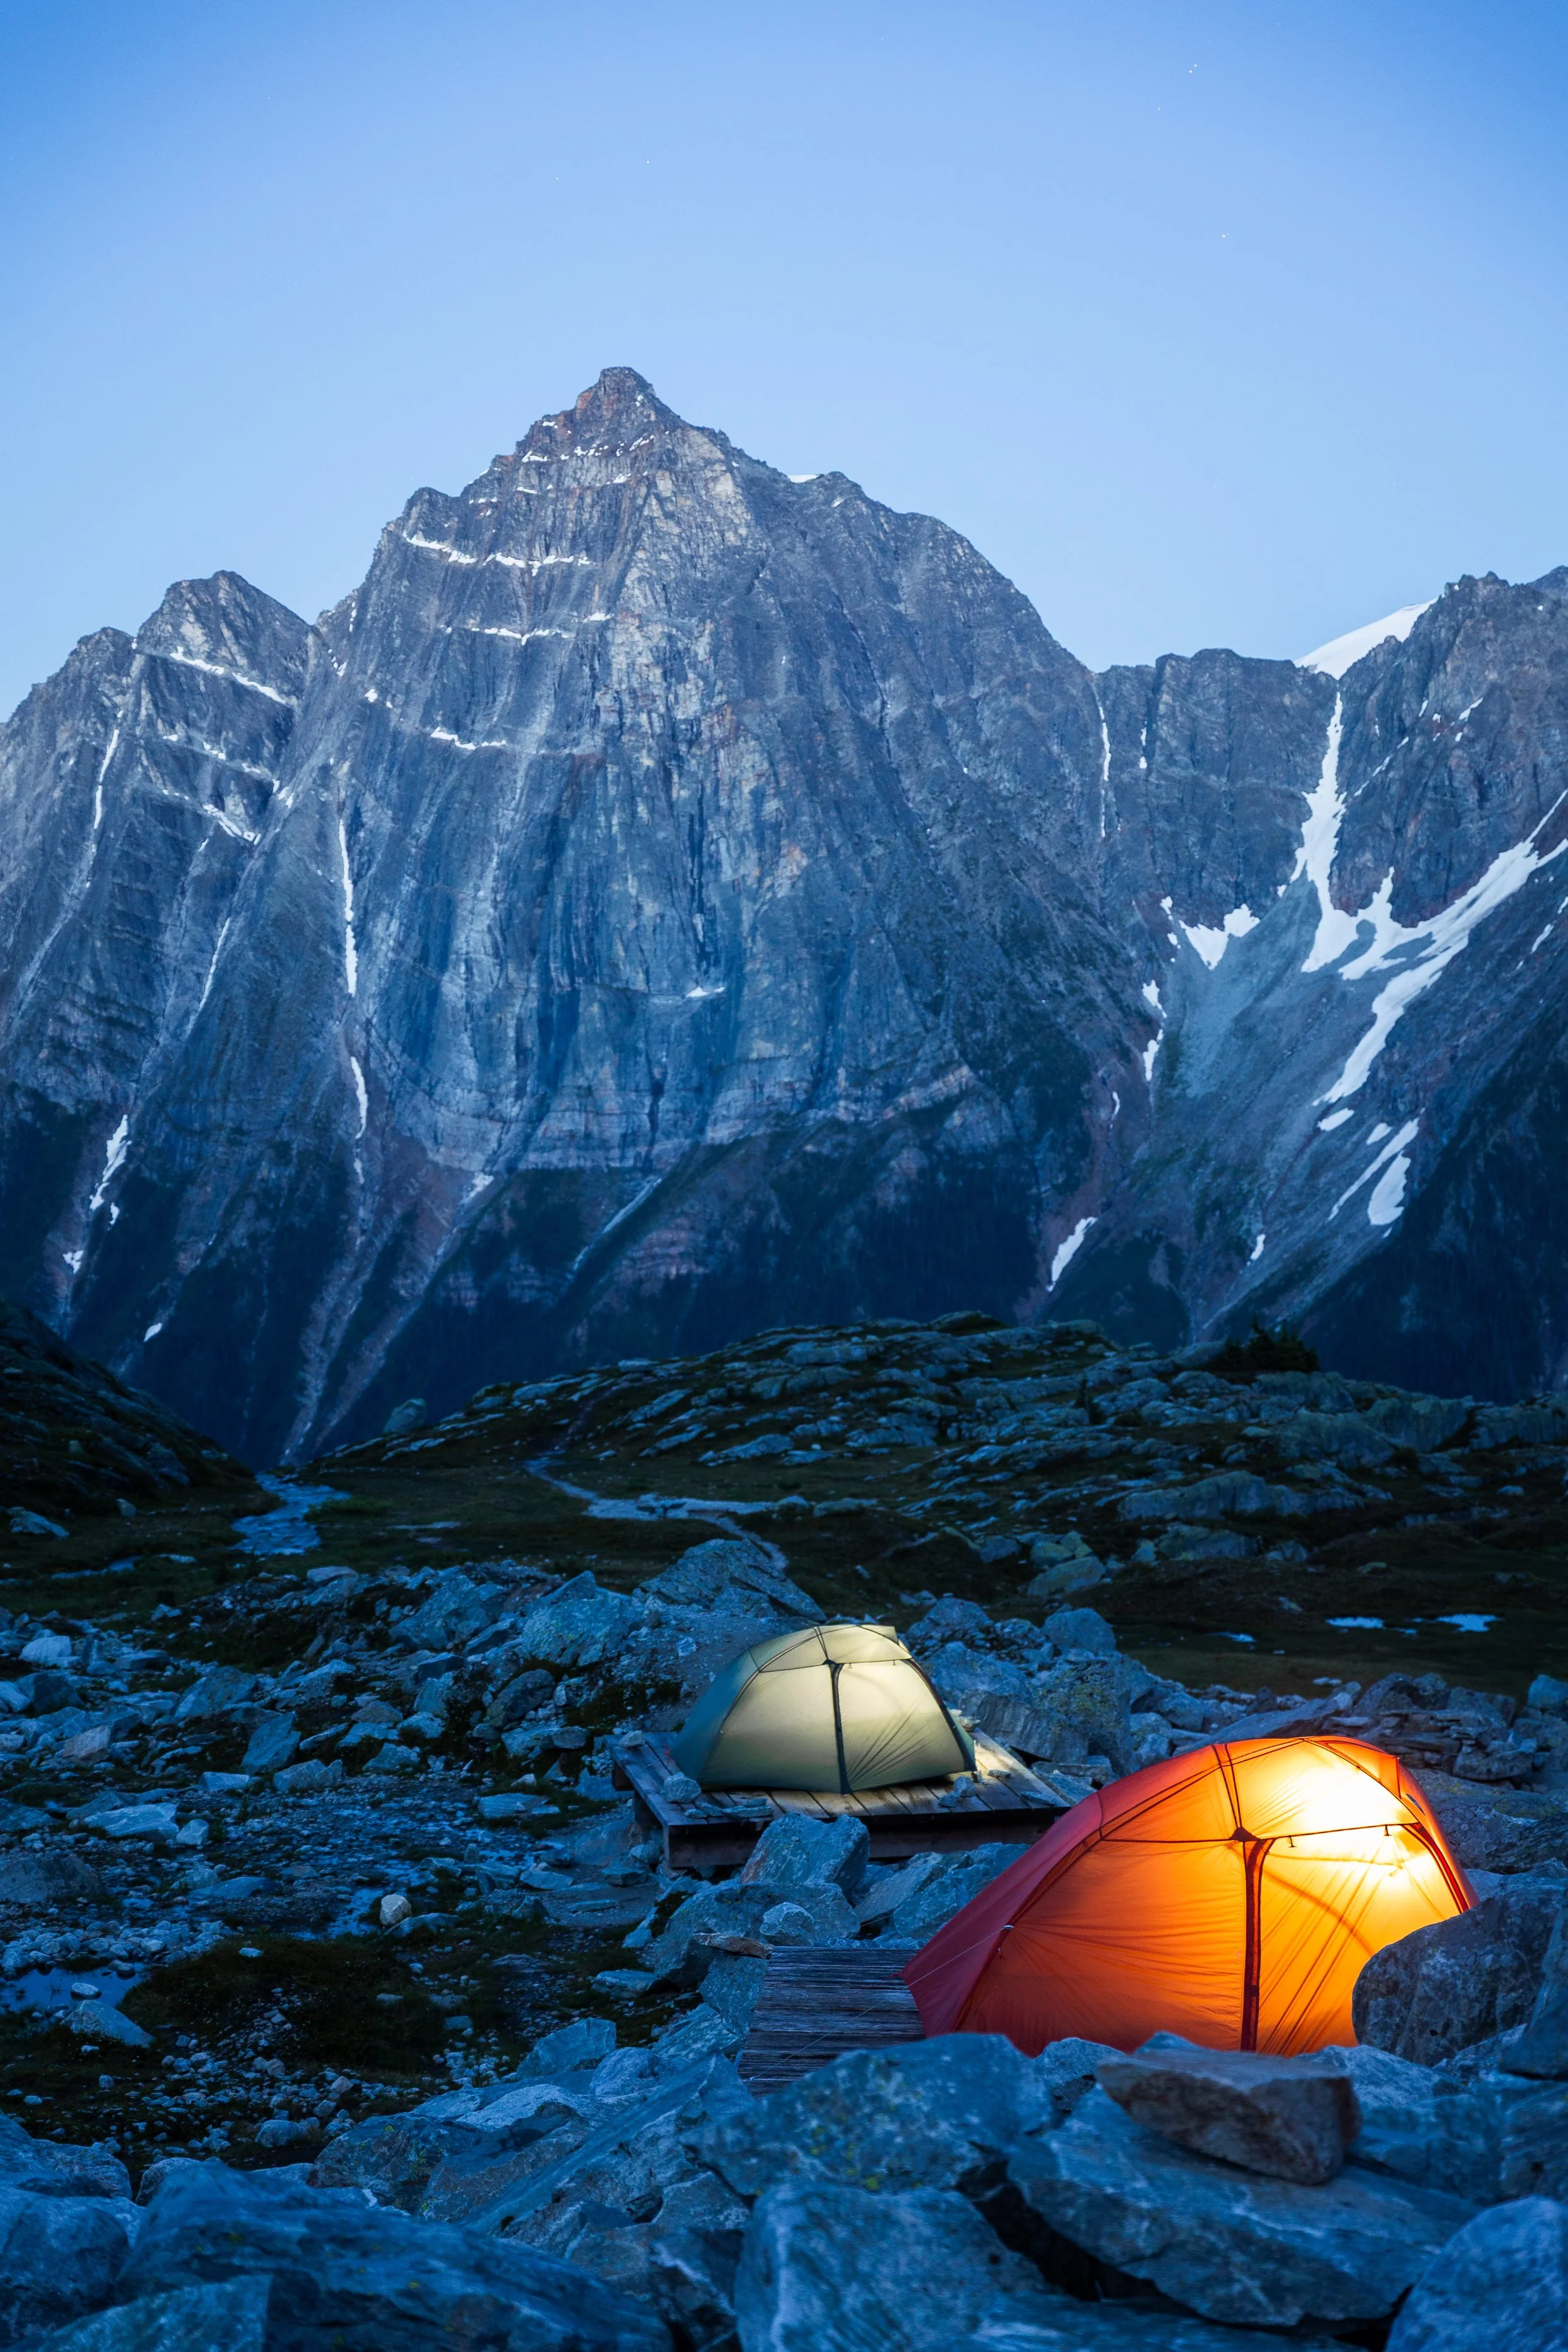
The Hermit Meadows Campground lies in a large alpine meadow with views of Mount MacDonald over the valley. Here you’re able to pitch your tent on one of the 8 wooden tent pads all offering those Instagram worthy views!
Facilities
8 Wooden Tent Pads
Bear Lockers
The worlds post scenic open air outhouse.
Cooking area with stone benches.
Plenty of fresh water streams for water.
Grey water pit.
And world class views!
Note: Fires are not permitted so you’ll need to pack your camp stove.
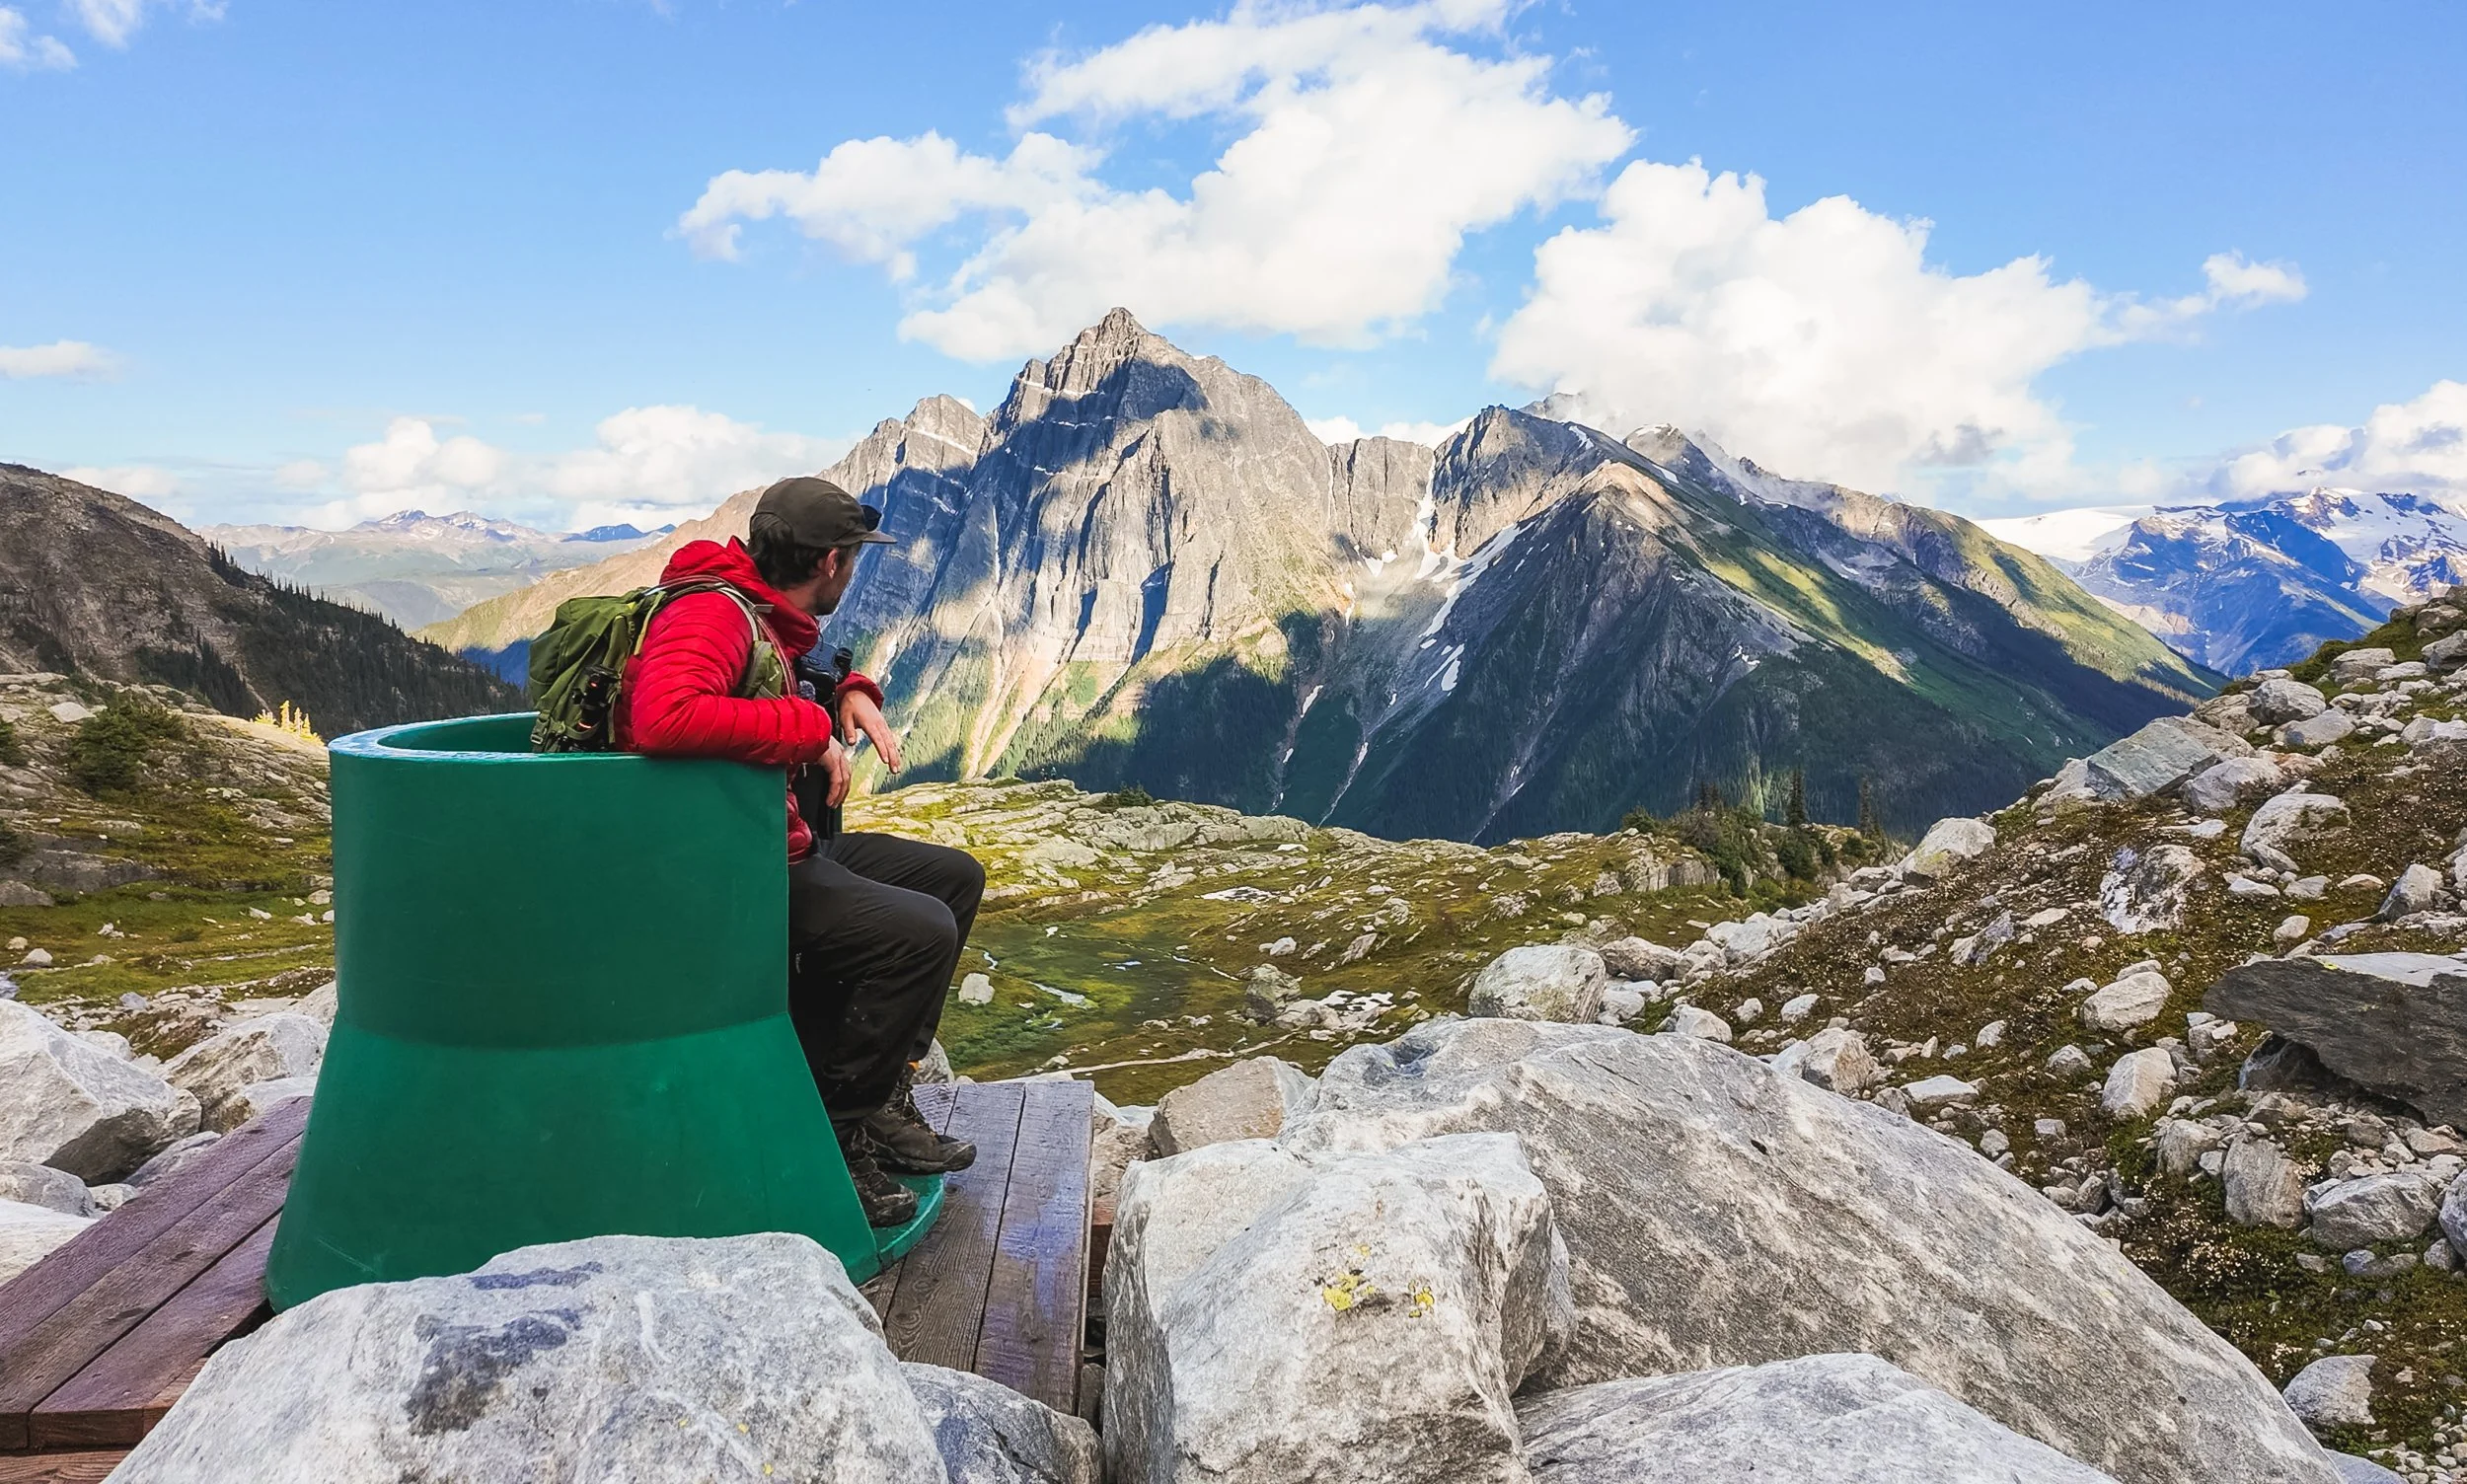
A very scenic place to do your business!
How to Book a Campsite at Hermit Meadows
As you can imagine from some of the pictures in this blog this is a super popular site and booking can be a little tricky!
Typically in most years bookings for Glacier National Park open around mid January - in 2026 that date was postponed until January 29th. Be warned this campground books out super fast!
You can check all parks booking launch dates on the Parks Canada website. - Bookmark this page!
Then the actual booking is done on the Parks Reservation Page.
Be sure to select ‘Backcountry’ and ‘Backcountry Zone’ and then ‘Glacier’ as your park before searching for dates. If you search under ‘Backcountry Campsite’ you won’t find what you’re looking for.
Keep checking back too as there are often cancellations!
The campsite is $15 per person, per night in 2026.
Park Pass
You’ll also need a National Park Pass to hike or camp in Glacier National Park. This can be an annual Discovery Pass or you can pick up a day pass at the Rogers Pass Discovery Centre. You’ll also need to check in at the centre before departing on your hike.
The Hike
The hike itself is steep from the get go, in fact Hermit Meadows boasts itself as one of the steepest trails in what is already a steep national park - it even says so at the trailhead!
However don’t let this put you off, although it is a steep trail it isn’t technically difficult and the elevation and gain is similar to hikes like Ha Ling peak in Canmore. So if you’ve completed hikes like this in the past you shouldn’t have a problem here, just take it slow and steady!
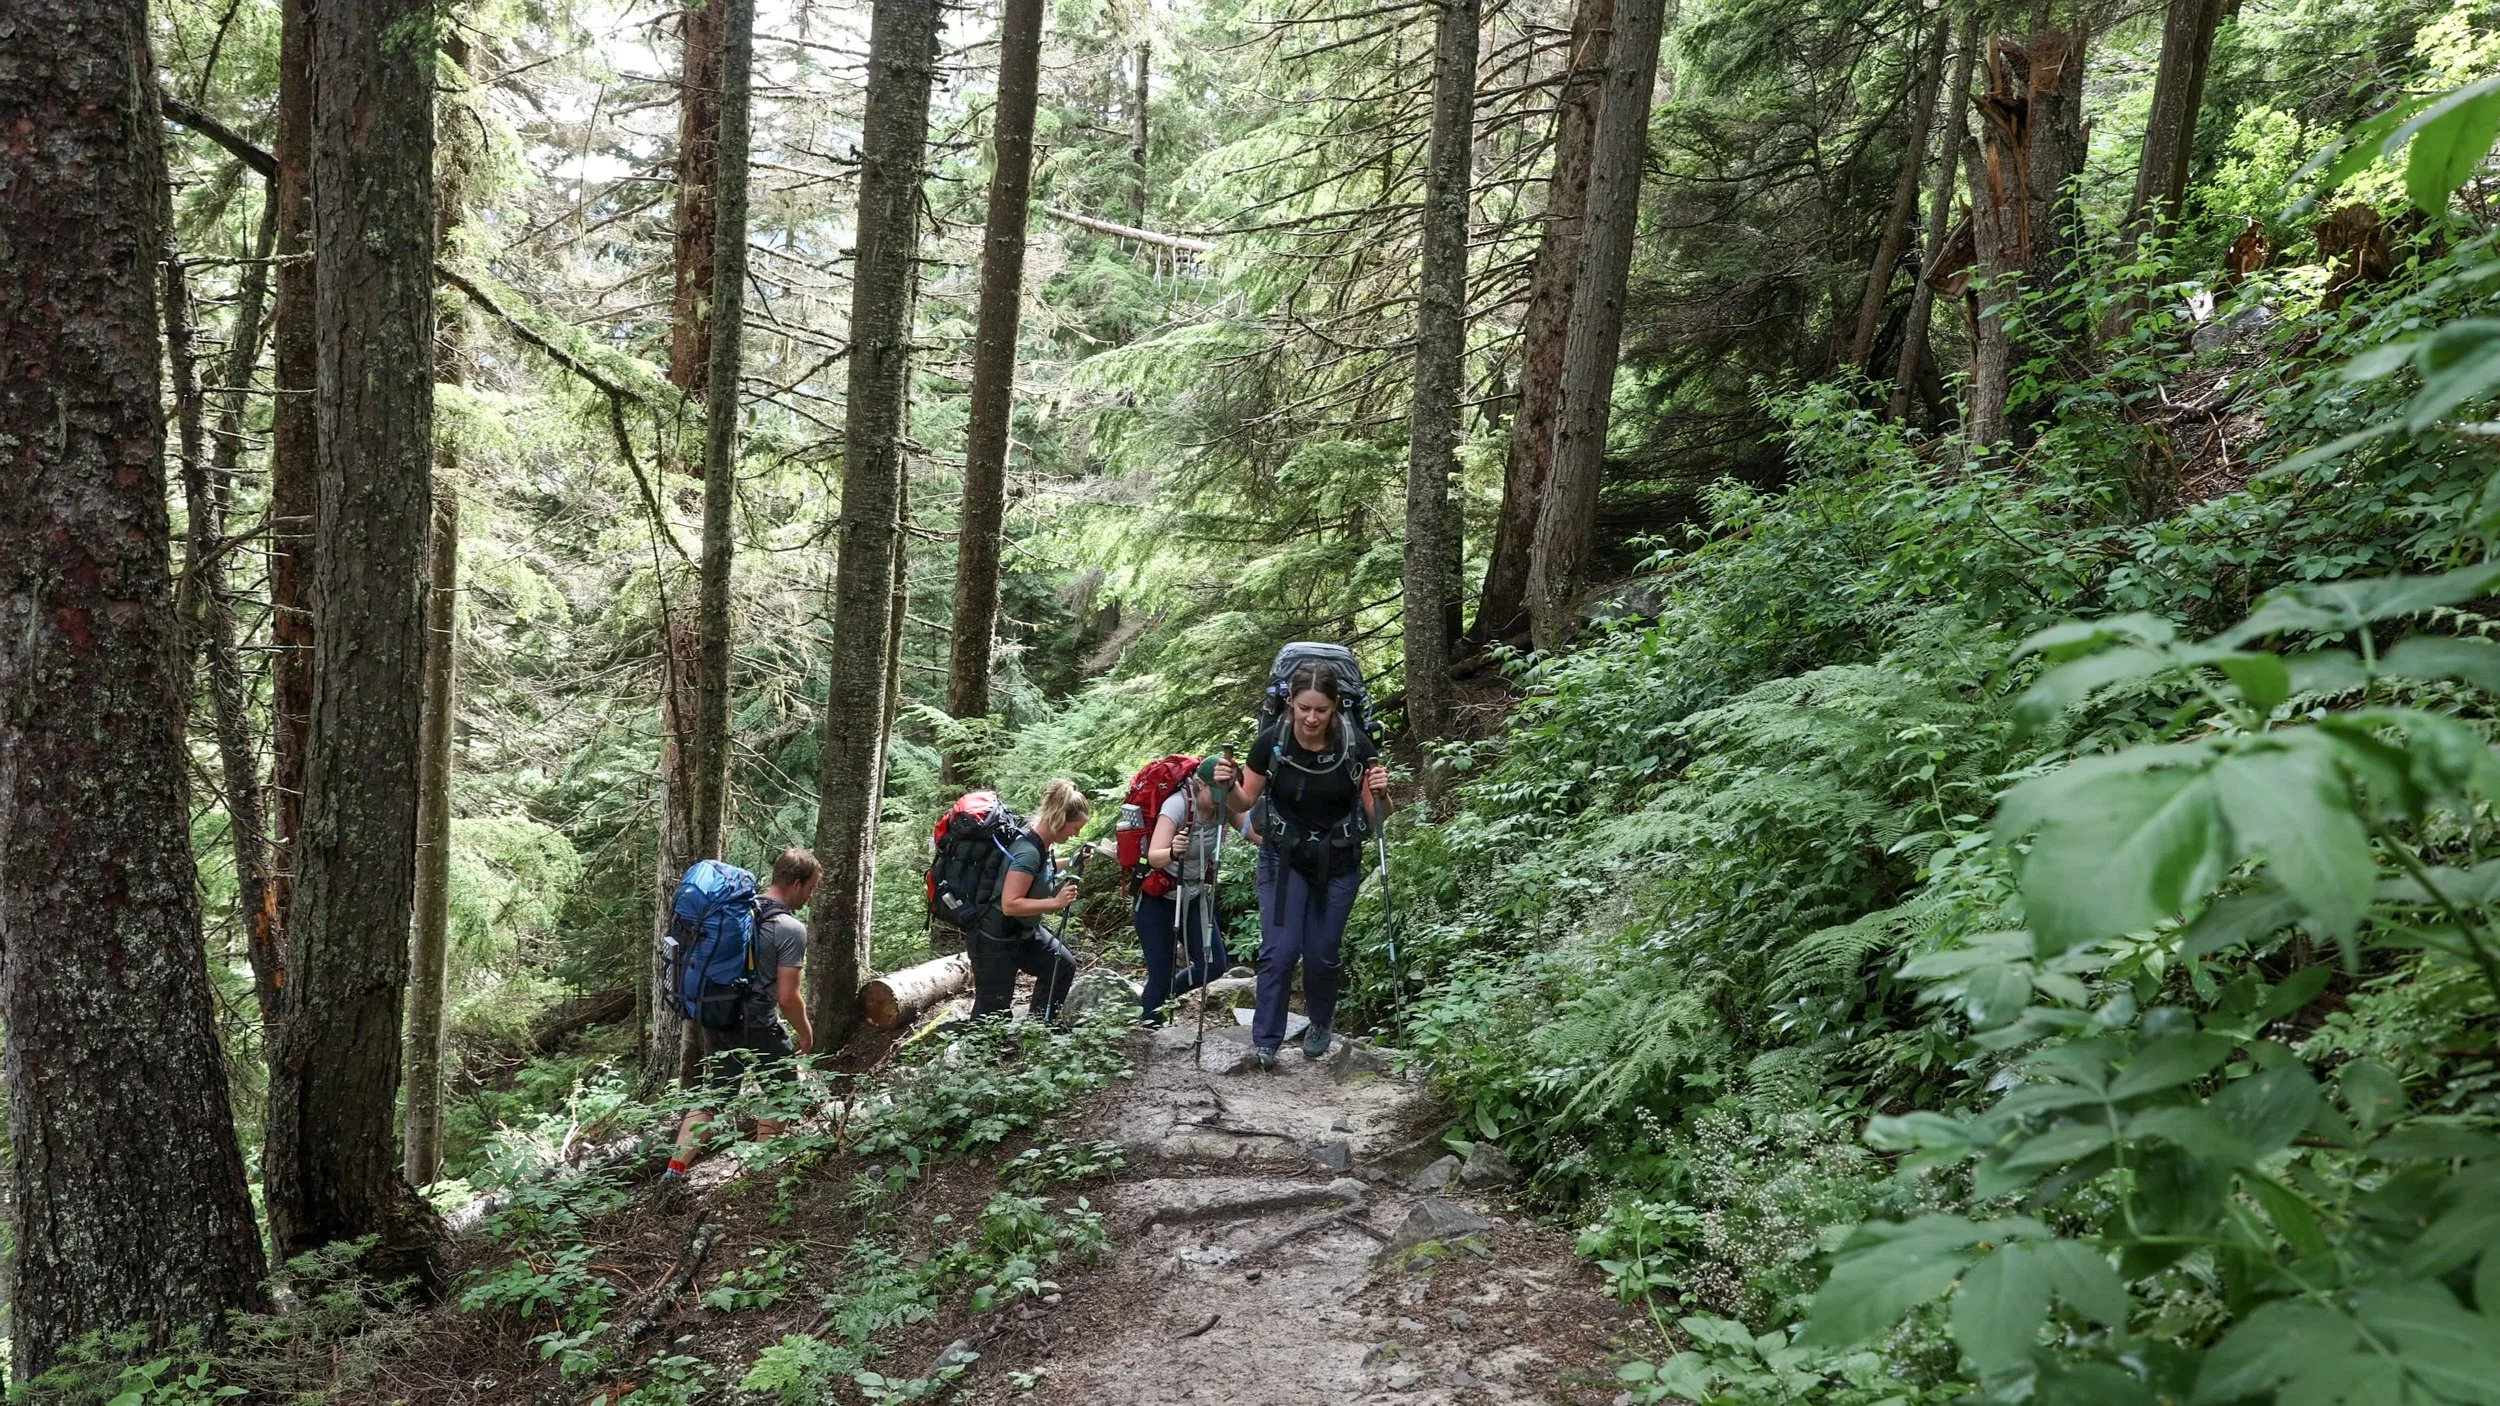
The initial section of the trail heads up through thick, luscious forest.
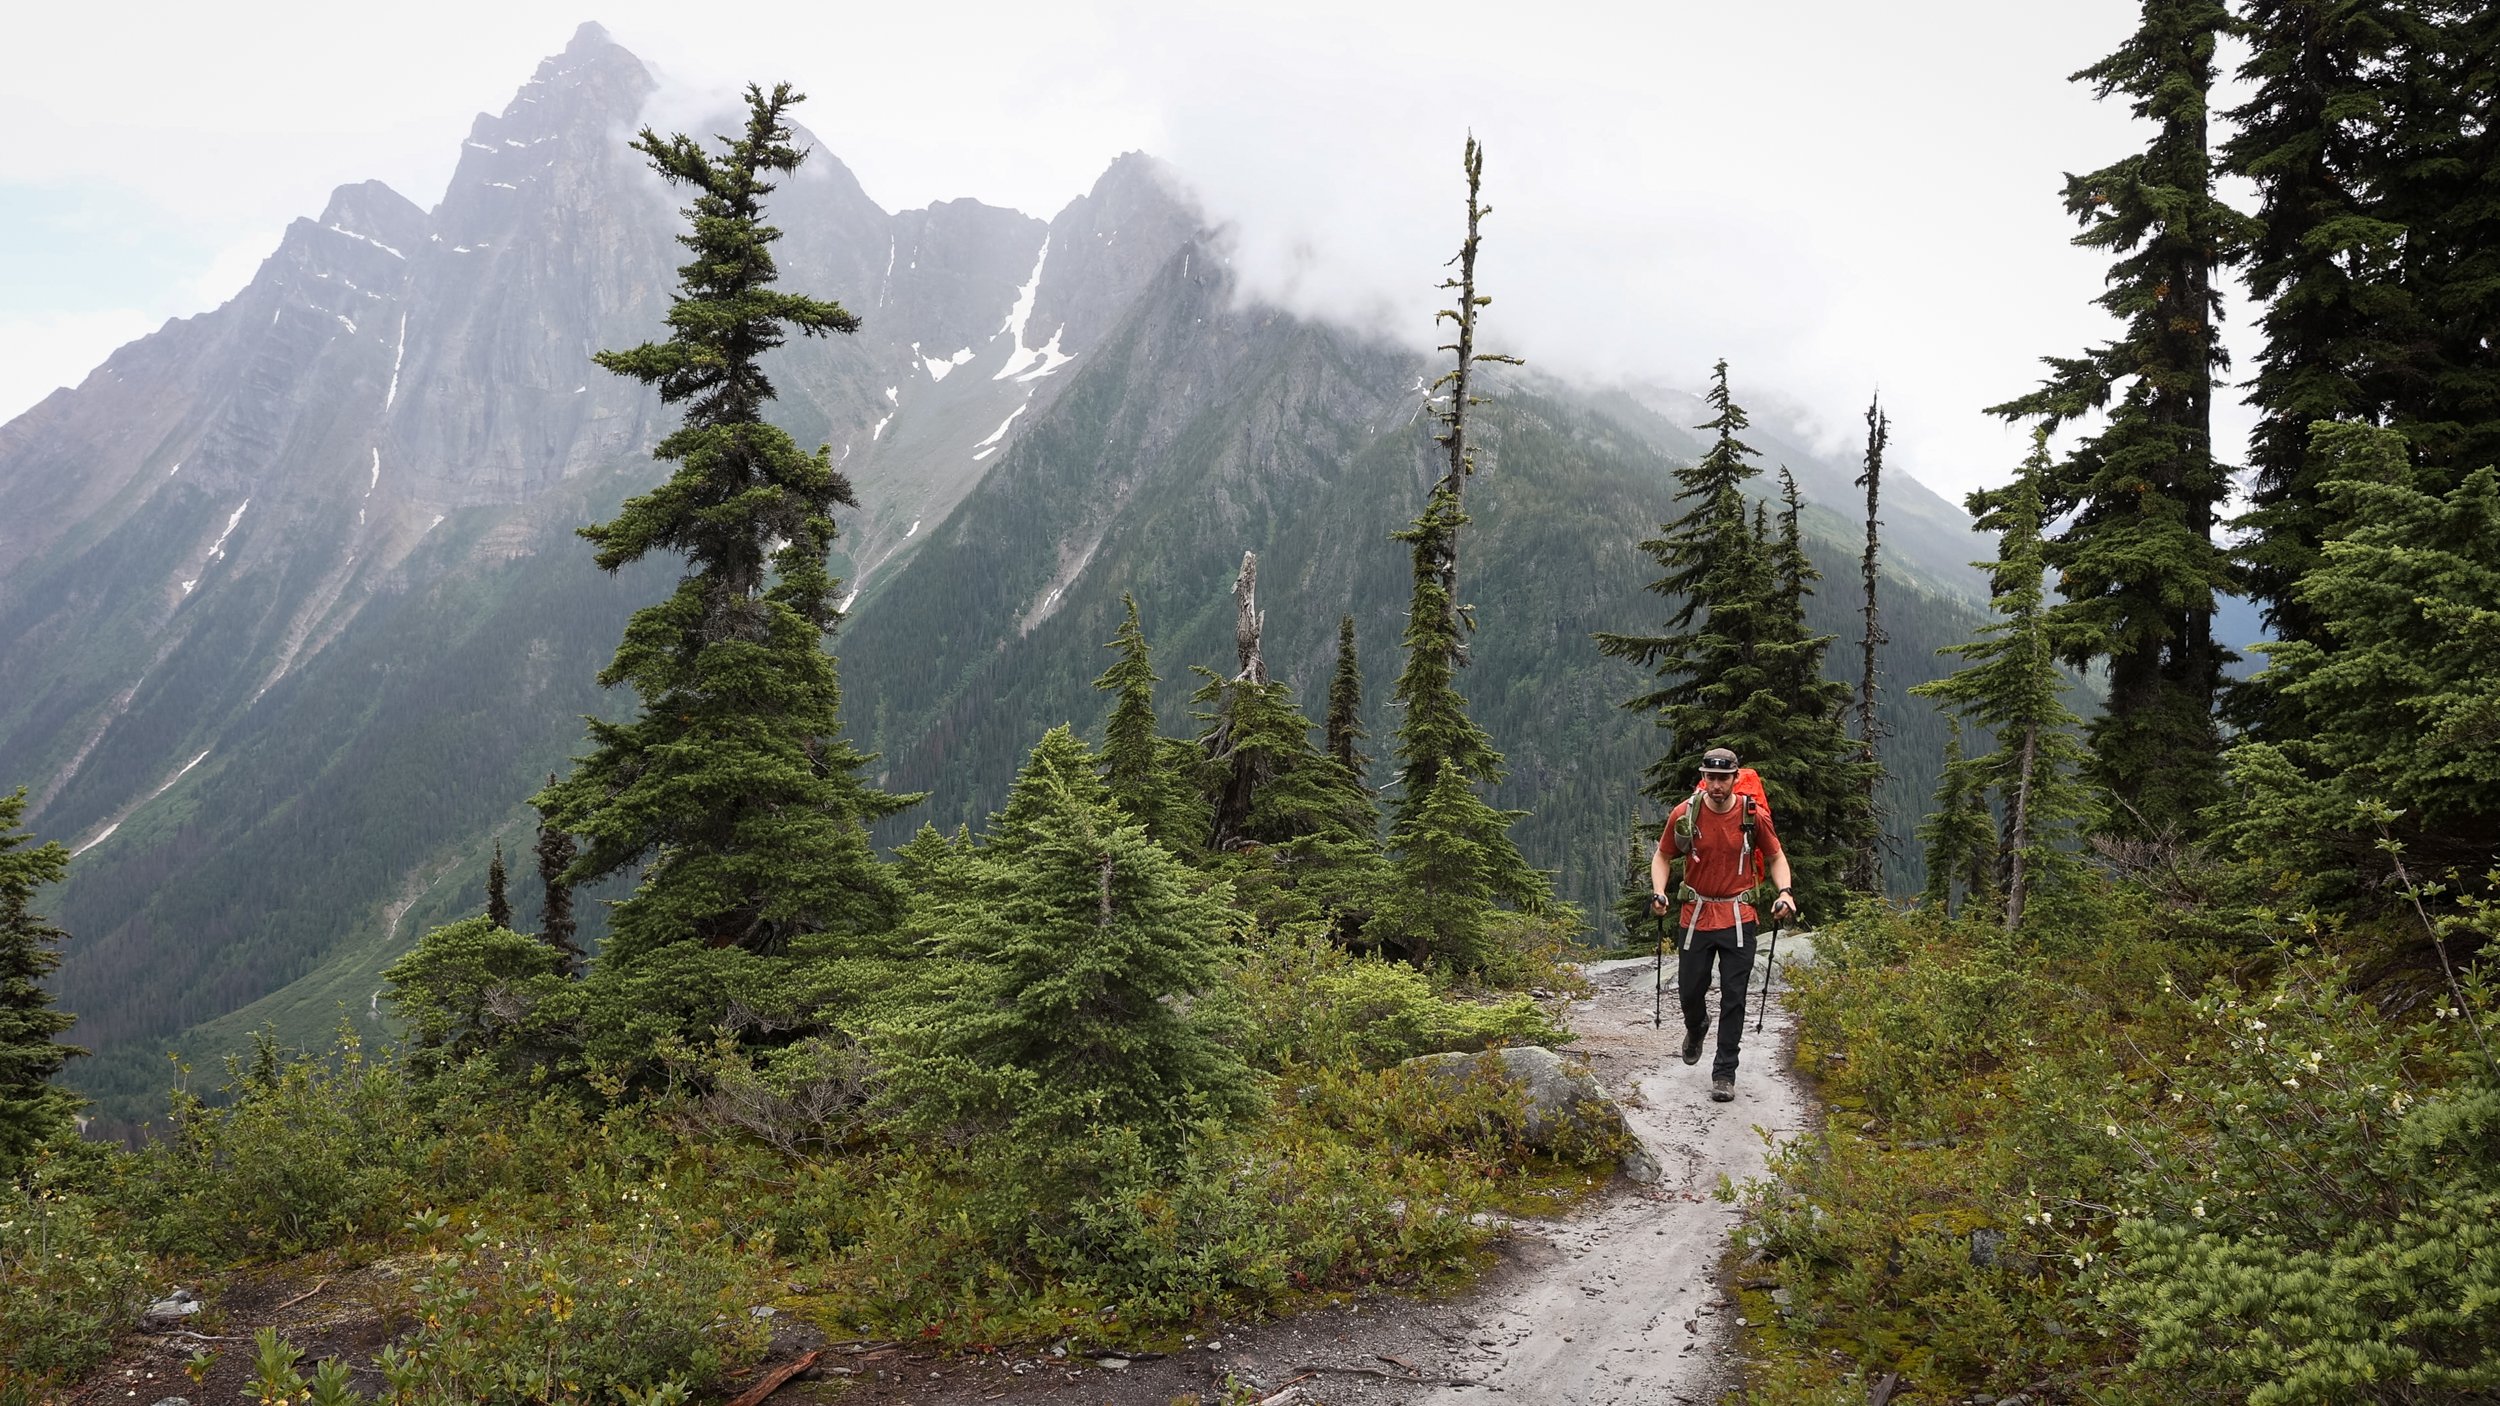
It isn’t long until the trees open up and you get your first views of Mount MacDonald back across the valley. We hiked during low cloud and rain which made the forest and valley even more atmospheric.
The trail throughout is incredibly easy to follow so there really is no chance of getting lost on this one!
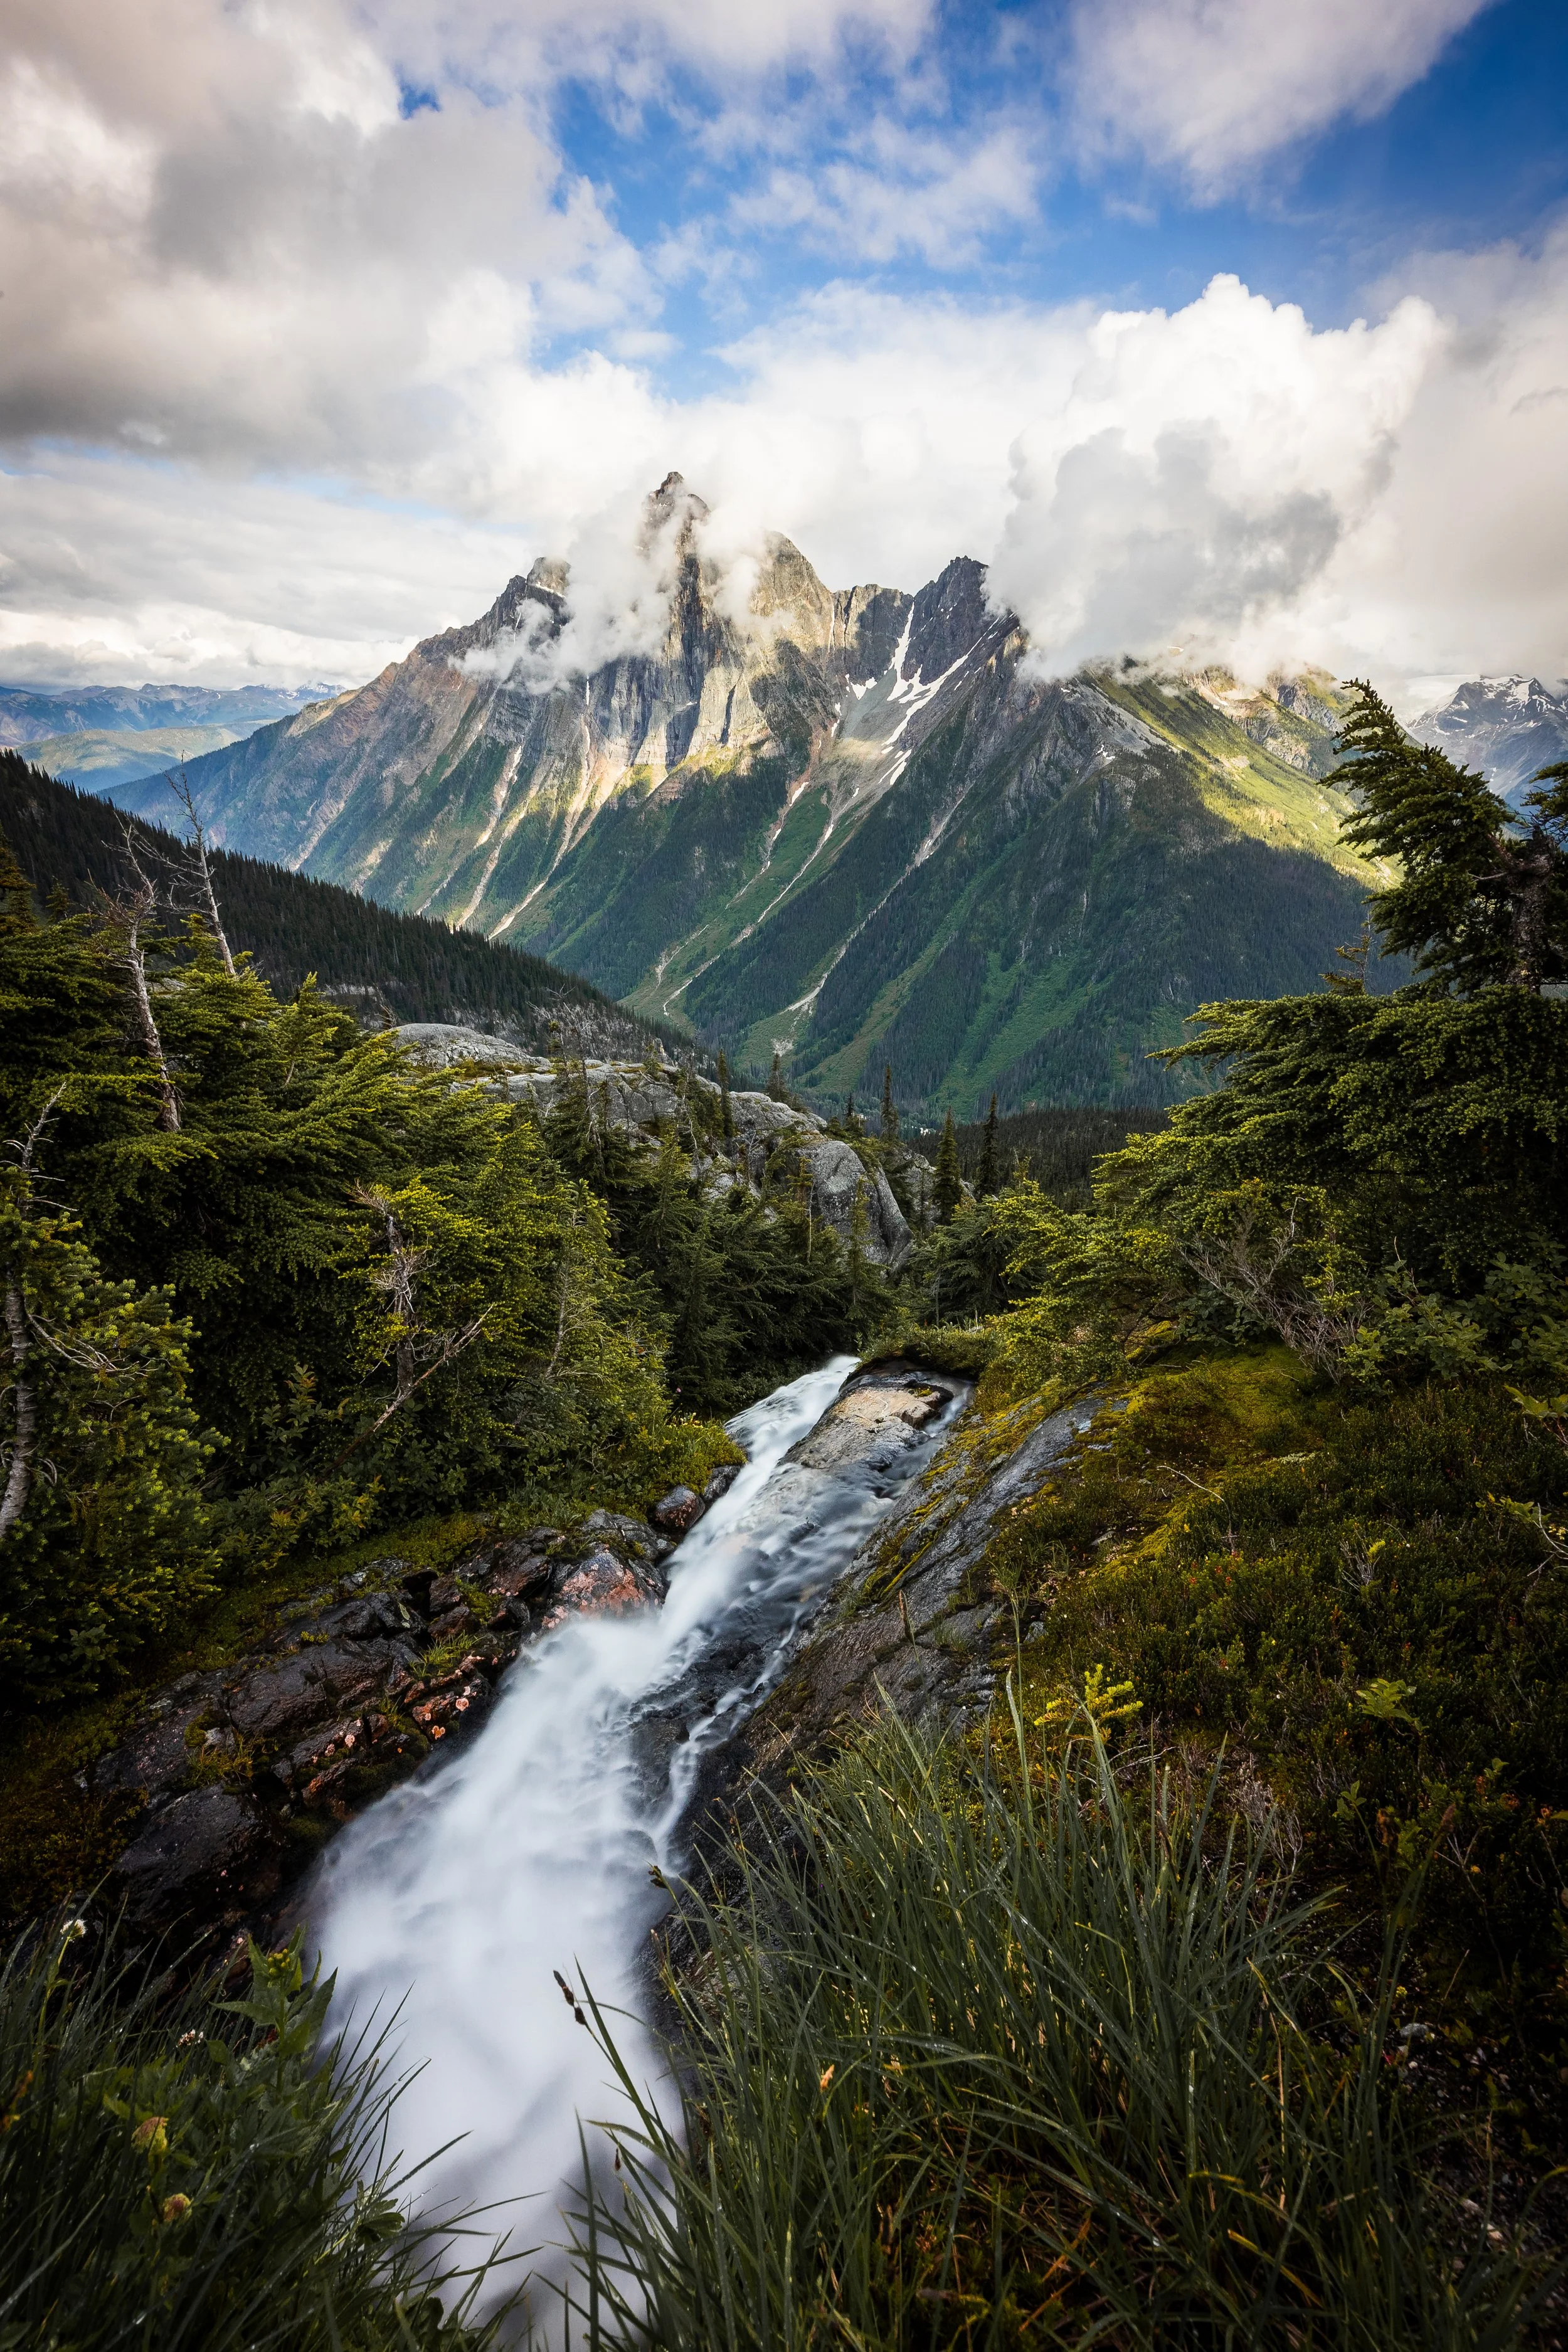
As the forest clears you’ll also be able to see lots of waterfalls running down the steep sides of the valley. There are a couple closer to trail that offer a great leading line back towards the peaks if photography is you thing! Personally I couldn’t resist and had to stop, get the tripod out and take a picture.
From here there are some beautifully laid stone steps making the final section a little easier. There is also at one point a small section of trail that has a rope rigged through it.
In all honesty I’m not sure that rope is really necessary but it’s there to be used if that gives you a little more confidence on what is a relatively short but steep section of trail.
Once at the top it’s easy to find a tent pad with a stunning view. In fact I don’t think any of them don’t have an amazing view so take your pic! (pun intended)
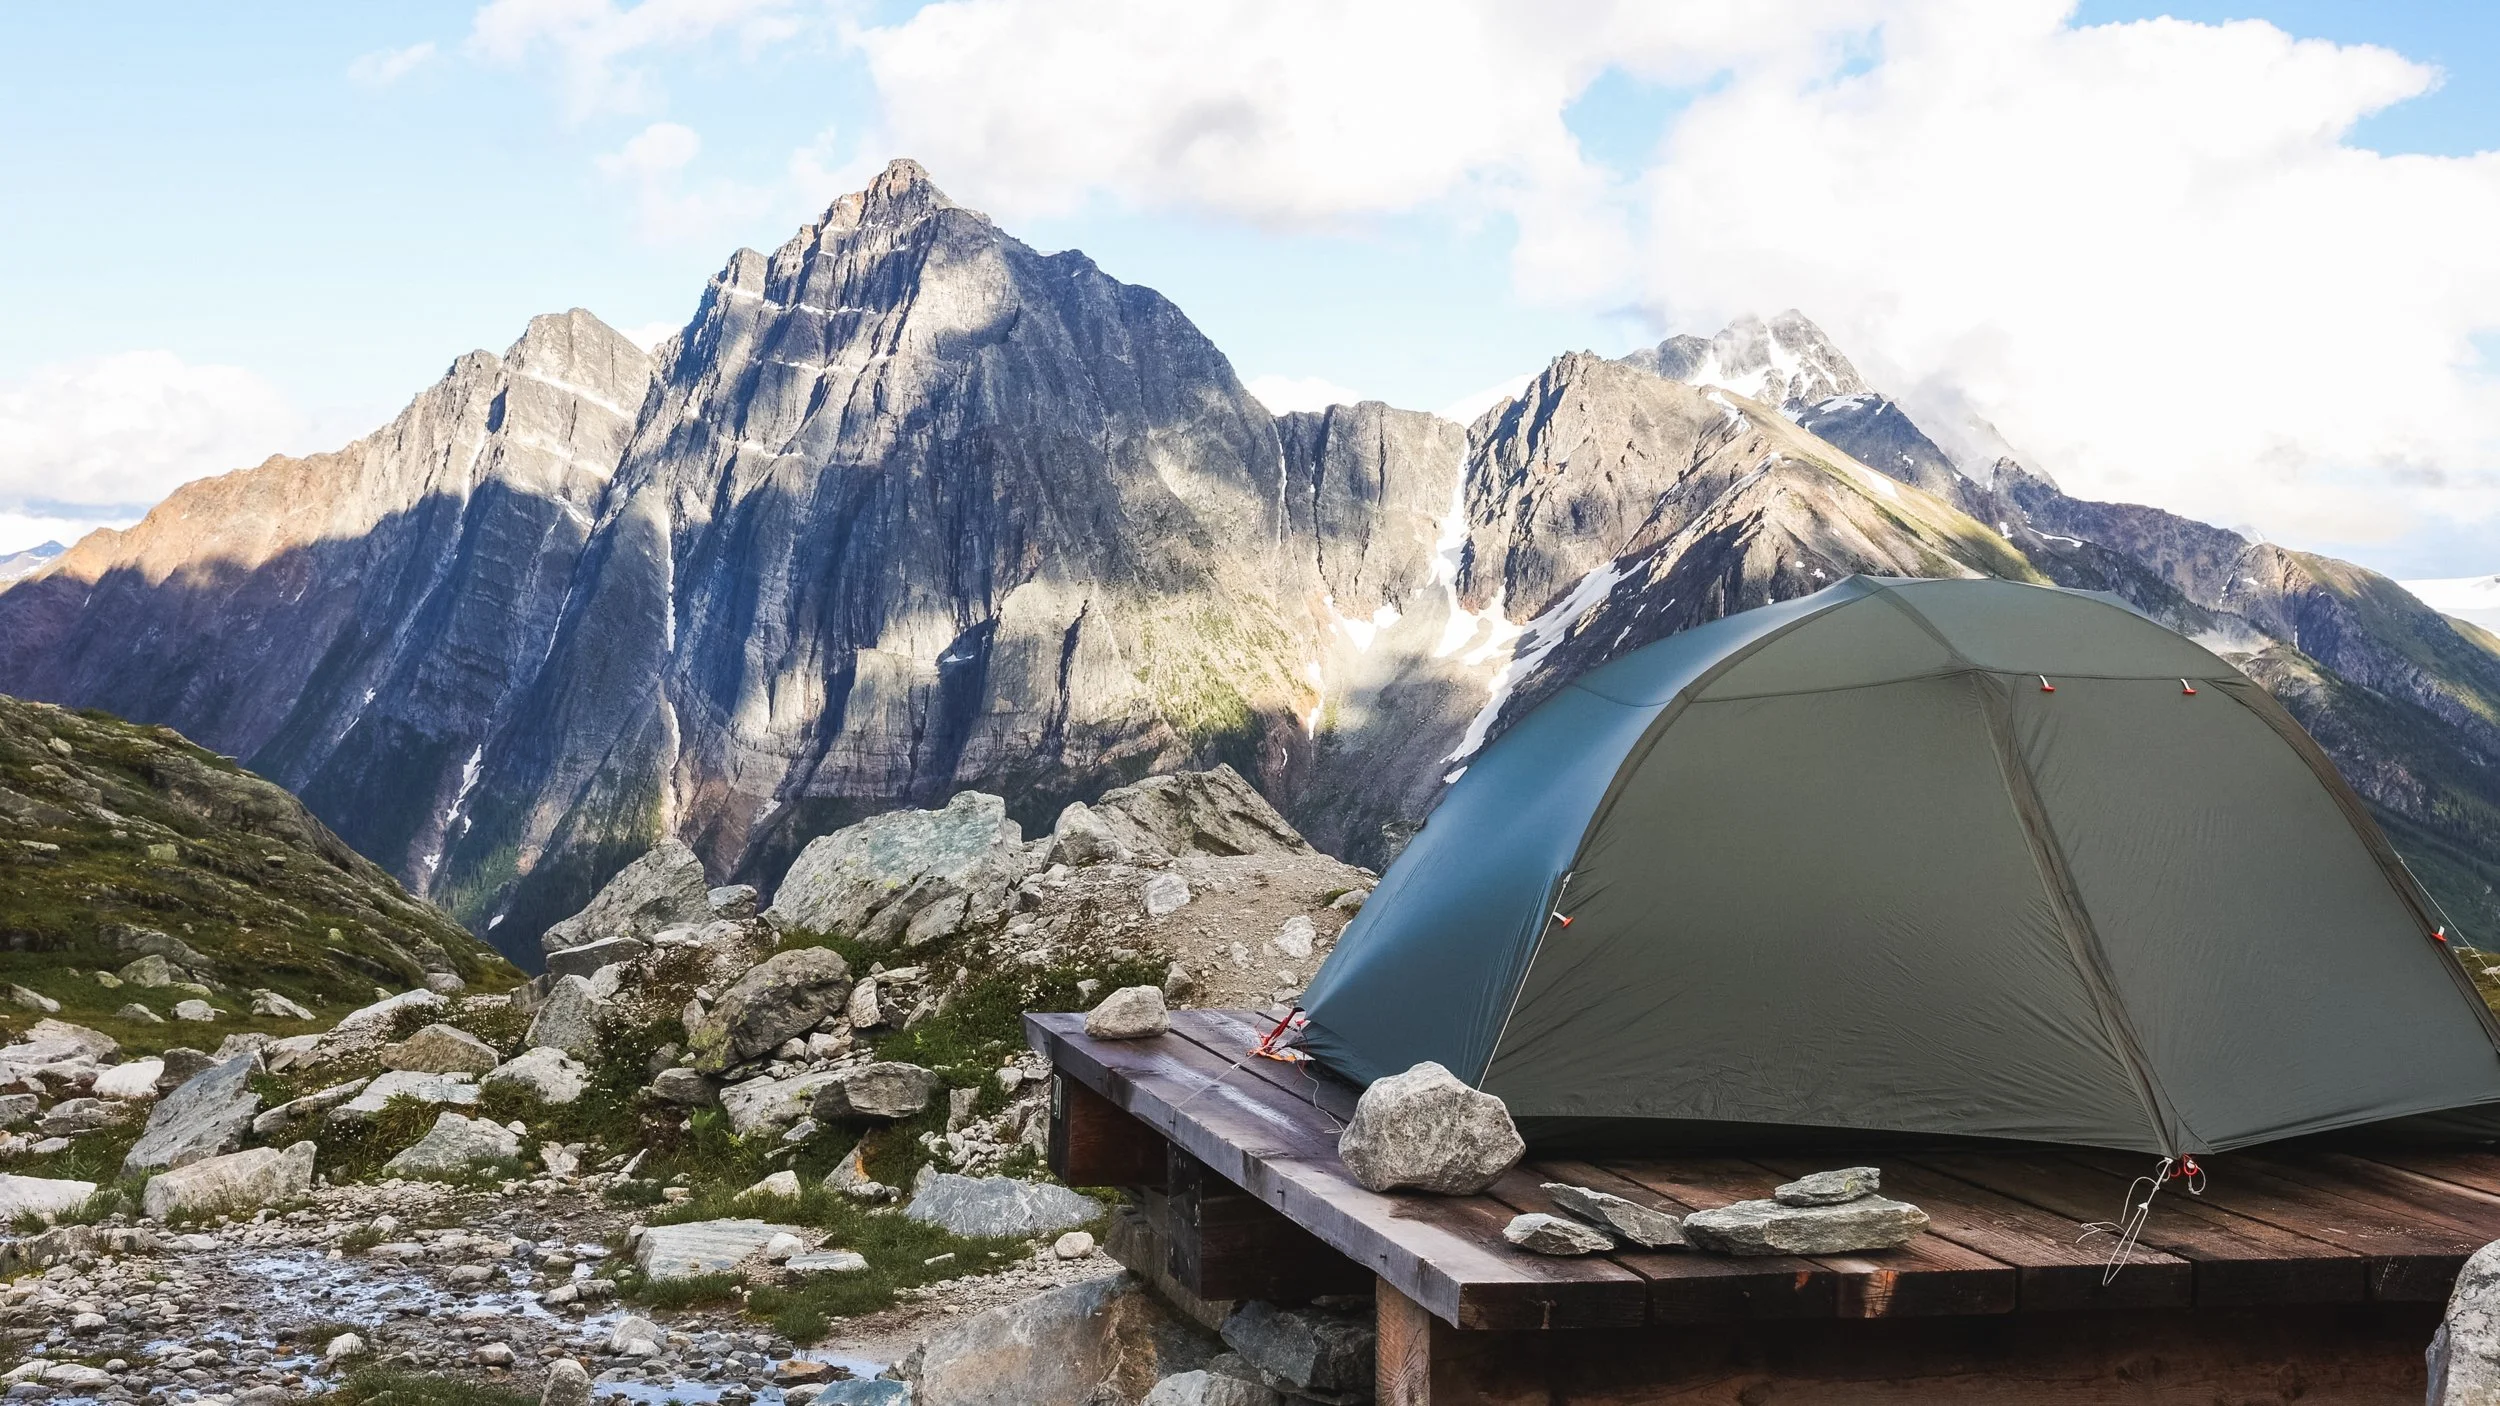
A tent pad that’s pretty hard to beat! The tent pads have nails placed around their edges making a perfect place to hook on guy ropes and there is also of course an abundance of rocks to help secure your tent. Pegs aren’t a lot of use here!
Dinner with a view at Hermit Meadows cooking area
Mountain Goats at Hermit Meadows
Mountain goats have been frequenting this campground on a regular basis in recent years. Apparently these woollen beasts are attracted to the salt in human urine or even sweaty layers and camping gear. So when you’re out there be sure to use the very scenic pit toilet (I mean why wouldn’t you want to) and the storage lockers so the goats don’t get too habituated, brazen and dependent.
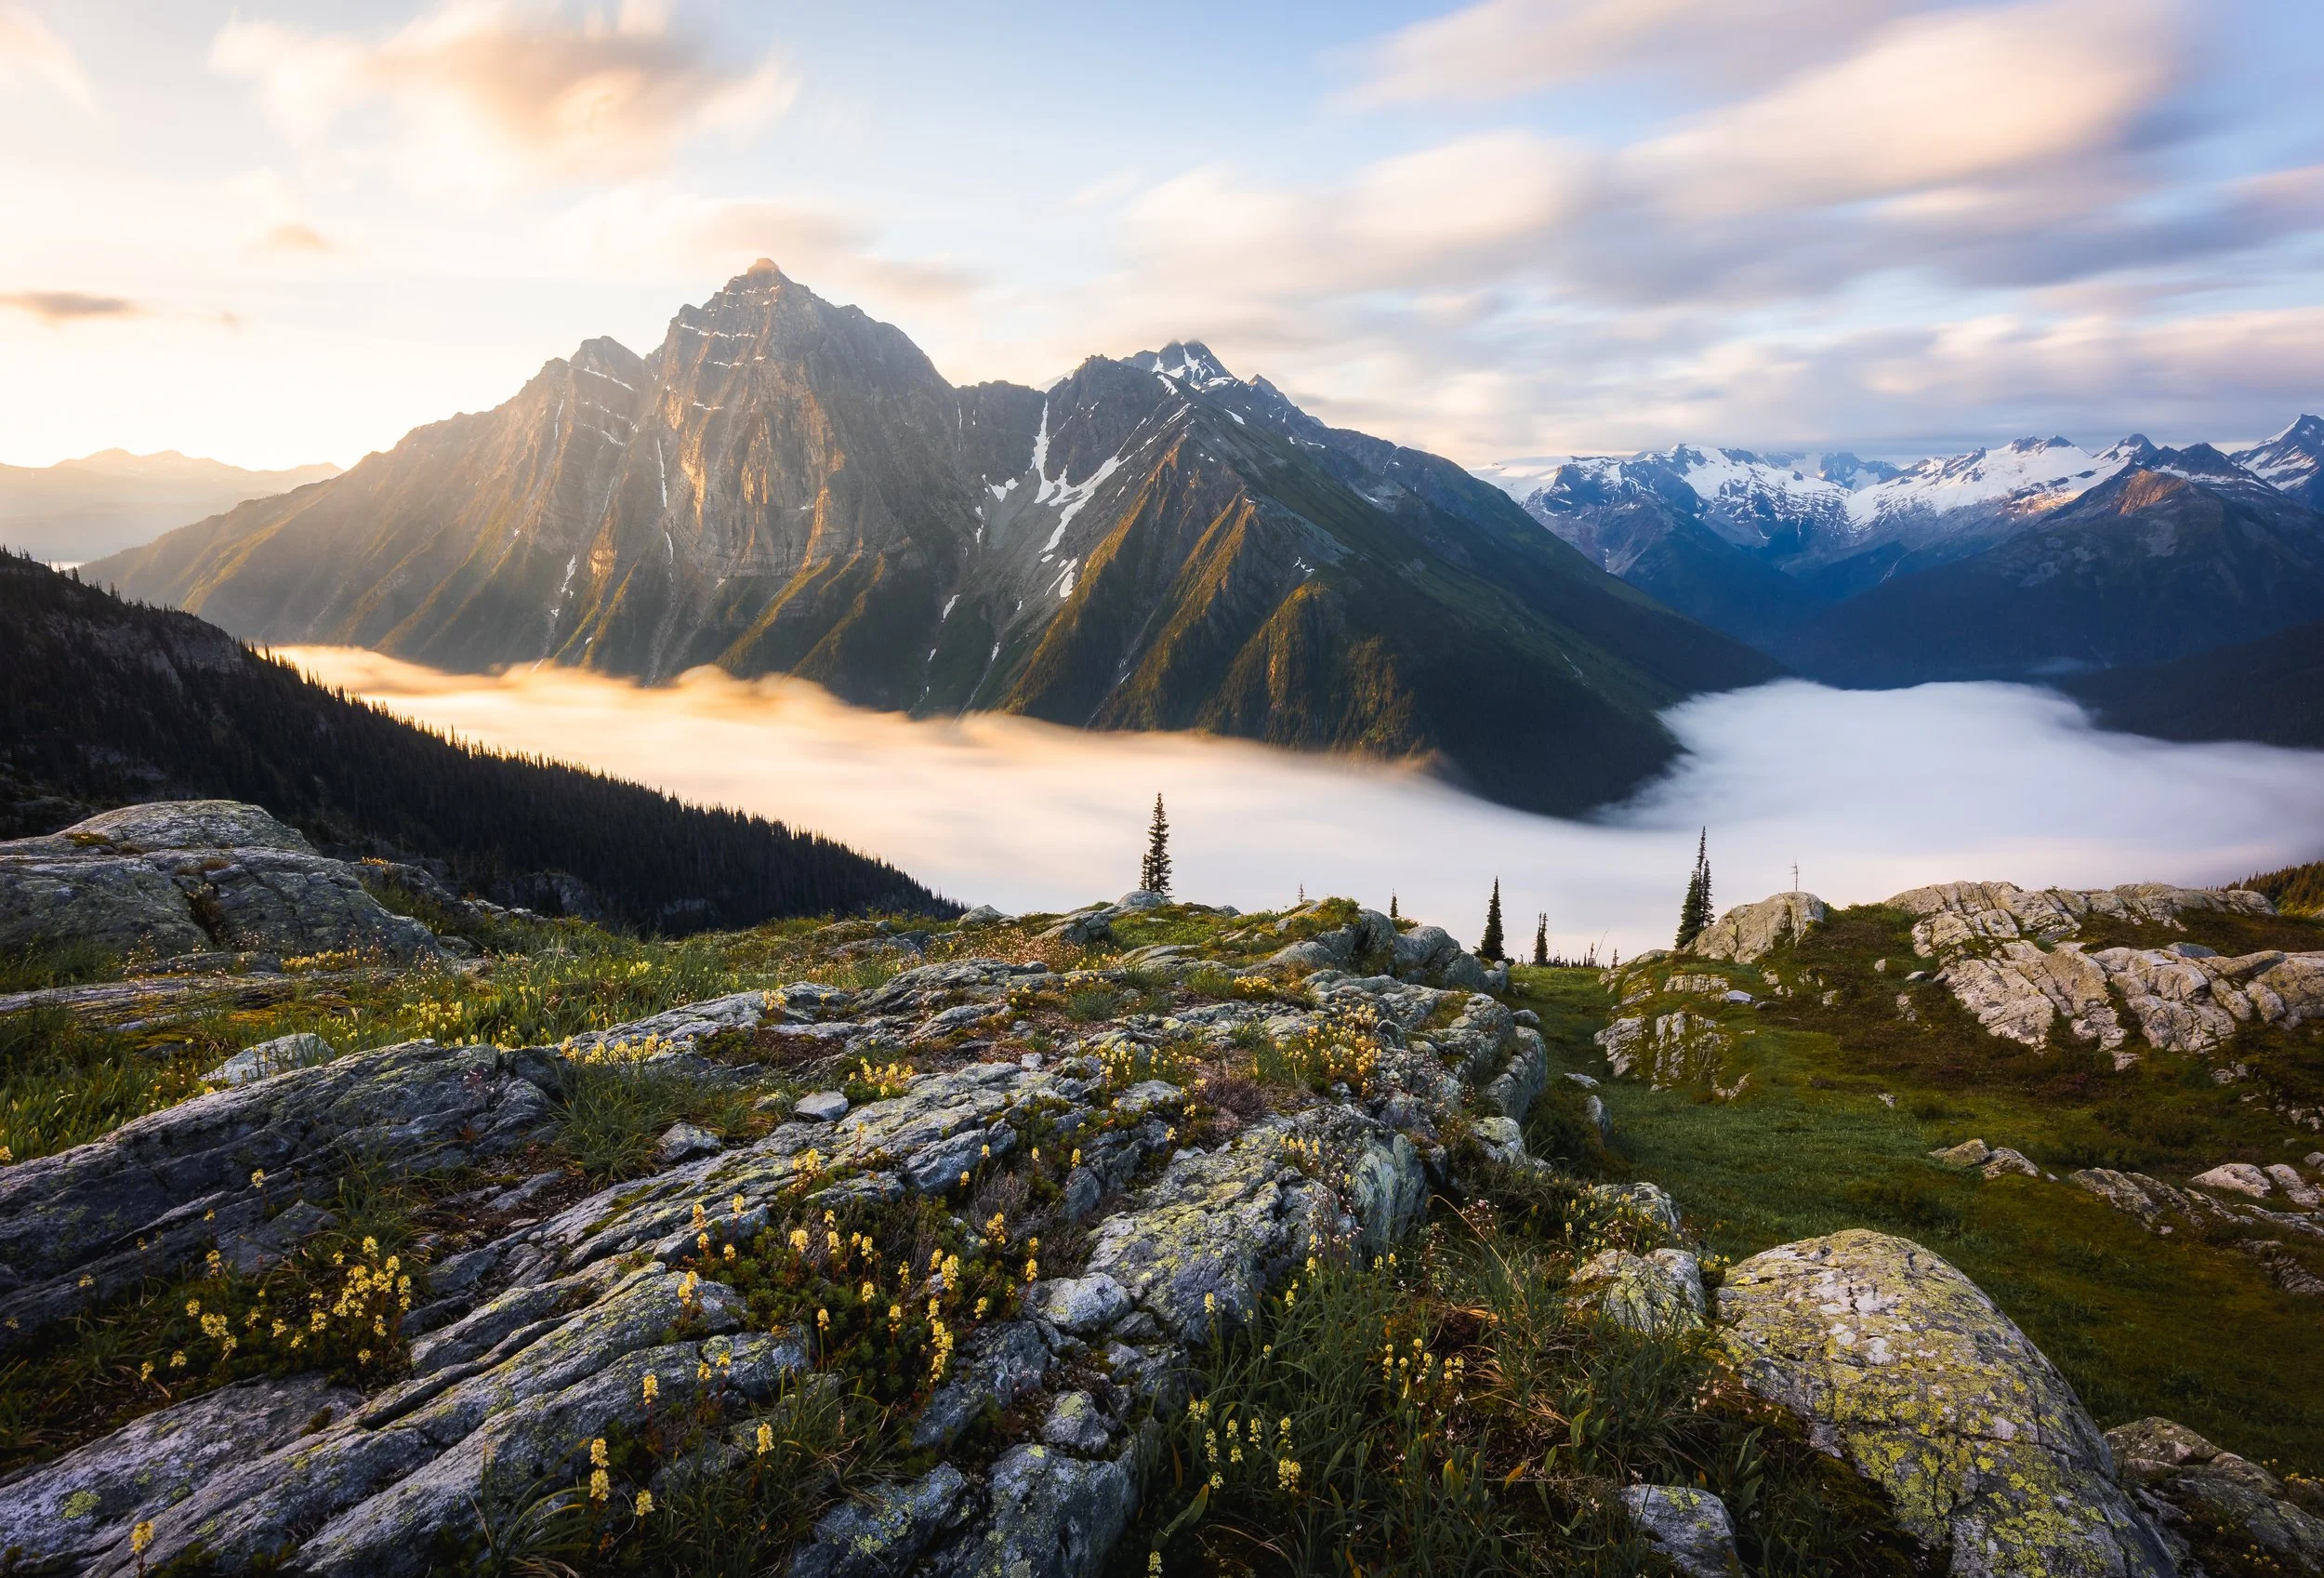
A cloud inversion sits in the valley at sunrise. A reward for our wet and cloudy hike the day before.
Things to know Before You Go
Leave No Trace: When hiking anywhere in the world it’s important that you practice a leave no trace philosophy. This means whatever you hike in to a trail or campground you have to be prepared and able to hike out too.
There won’t be trash cans or waste disposal in the backcountry and you should never throw trash in any out houses or pit toilets.
In recent years, as trails and parks become busier, litter is becoming more of a problem. Don’t add to that problem!
Bears and Wildlife! Wild life is everywhere in the Canadian Rockies, even on trails that are close to town. People and animals have been attacked by bears and other wild life on popular trails in the past so don’t take it for granted!
Most wildlife is looking to avoid human contact so no matter what type of wildlife you see be sure to keep your distance. 30 metres is the minimum recommendation for most species but under any circumstance don’t approach wildlife! Even the cuddliest of critters can be dangerous!
So as always be bear aware, make noise, hike in groups and carry bear spray!
Offline maps knowing where you’re going is super important as to not get lost. I recommend All Trails Plus for finding routes and offline mapping allowing you to safely find your way home.
Interested in other multi-day hikes in the Canadian Rockies or maybe day hikes?
What Gear Should I Take?
Through years of hiking and camping in the Rockies as well as working in outdoor retail and producing gear reviews I’ve dialled in my backcountry kit!
Remember at Lake O’Hara there is a bag weight limit on the bus so you still want to keep your bags a decent size. But having the right gear can make your camping trips much more comfortable and enjoyable. A good sleep, a good feed and a lightweight pack is key to a great day on the trail.
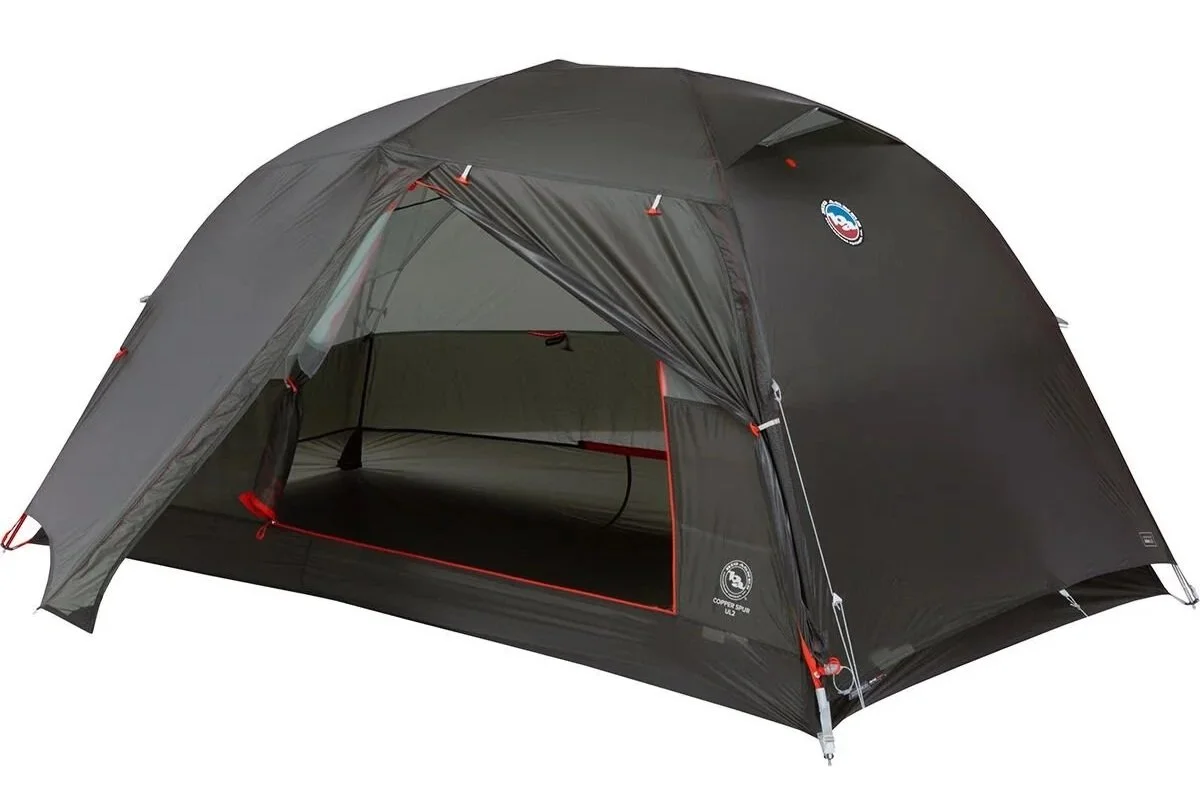
Lightweight Backcountry Tent
I’ve owned the Big Agnes Copper Spur tent for years, in fact I own 2 and it’s never let me down! It’s lightweight, always waterproof and fits perfectly on those backcountry tent pads.
One of the world’s best sellers for good reason
Get it on Backcountry.com
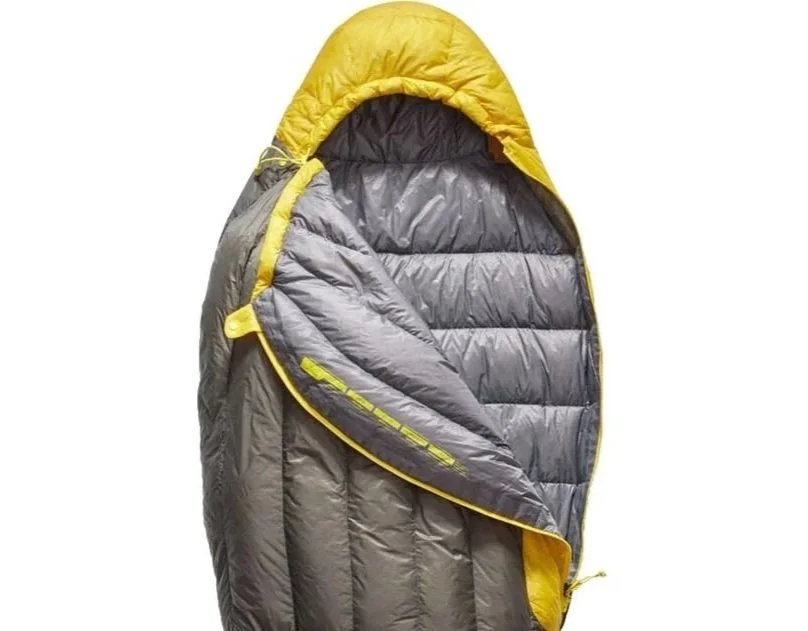
High Quality Sleeping Bag
Getting a high quality down sleeping bag is the best investment I’ve ever made! The Sea to Summit Spark 3 weighs in at 600 grams and packs down to just a few litres whilst keeping me warm down to -8ºC .
Doesn’t take up a lot of room in my bag and keeps be warm!
Get it on Backcountry.com

4 season Sleeping Pad
The Rockies can be cold! Even in the summer the temperature will drop in the mountains. An insulated sleeping pad will help keep the cold off the ground. Both me and my partner use the Nemo Tensor.
Get it on Backcountry.com
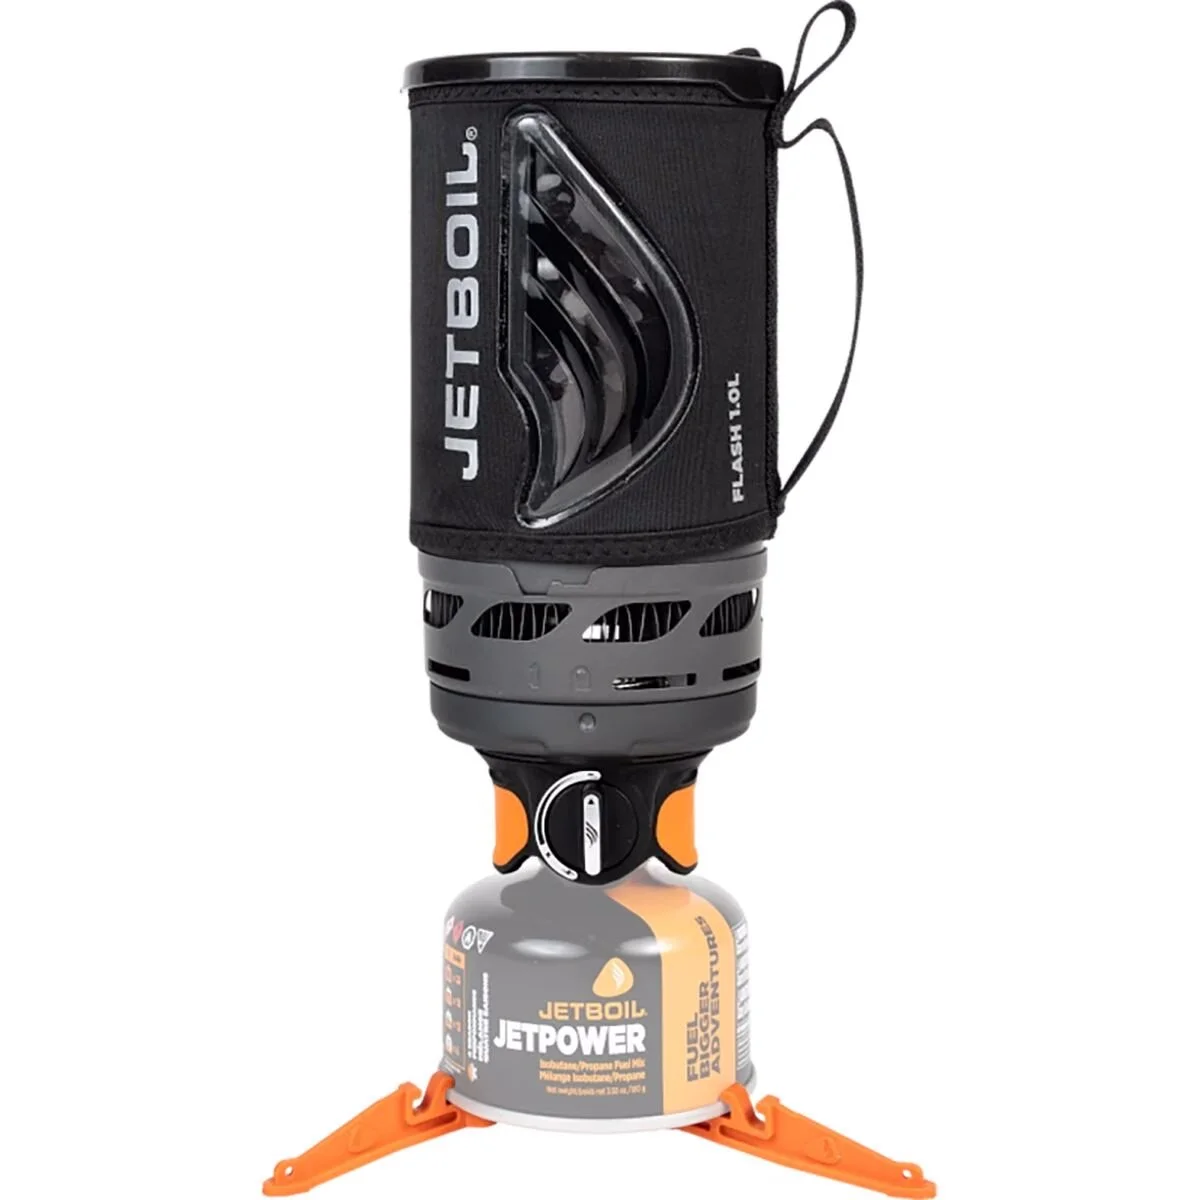
Cooking System
The Jetboil Flash cooking system has become my favourite. It’s incredibly efficient, light and packs down well. You can fire up a hot chocolate on the windiest of ridge lines in just a minute or two!
Get in on Backcountry.com
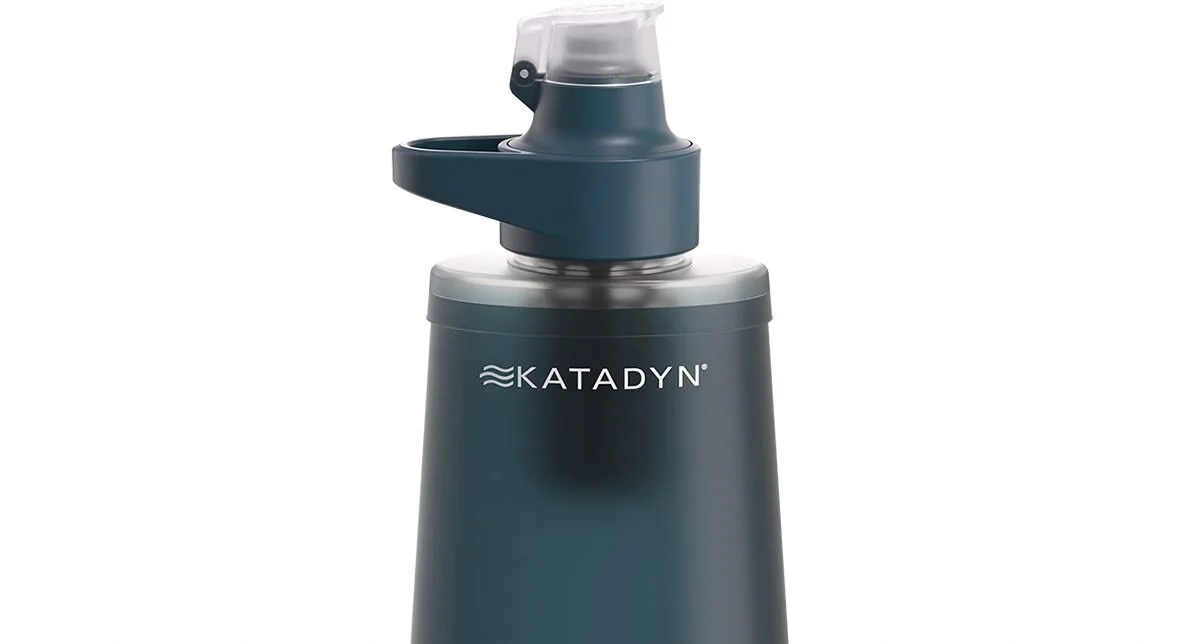
Water Filter
A Katadyn BeFree has to be the easiest filtration system to use. When out on the backcountry you want to be able to filter and refill your water along the way.
This filter packs down small and filters fast. It’s in my bag on every hike!
Get it on Backcountry.com

Capture Clip
Another item that comes on every hike with me and a must own for every photographer.
Keeps your camera close at hand making capturing moments much faster!
Get it on Peakdesign.com