How To Hike To Carnarvon Lake
Carnarvon Lake has it all making it one of the most adventurous hikes in Kanasakis Country! This trail offers deep river crossings, steep scree, waterfalls, chain aided scrambles and unique views over alpine lakes.
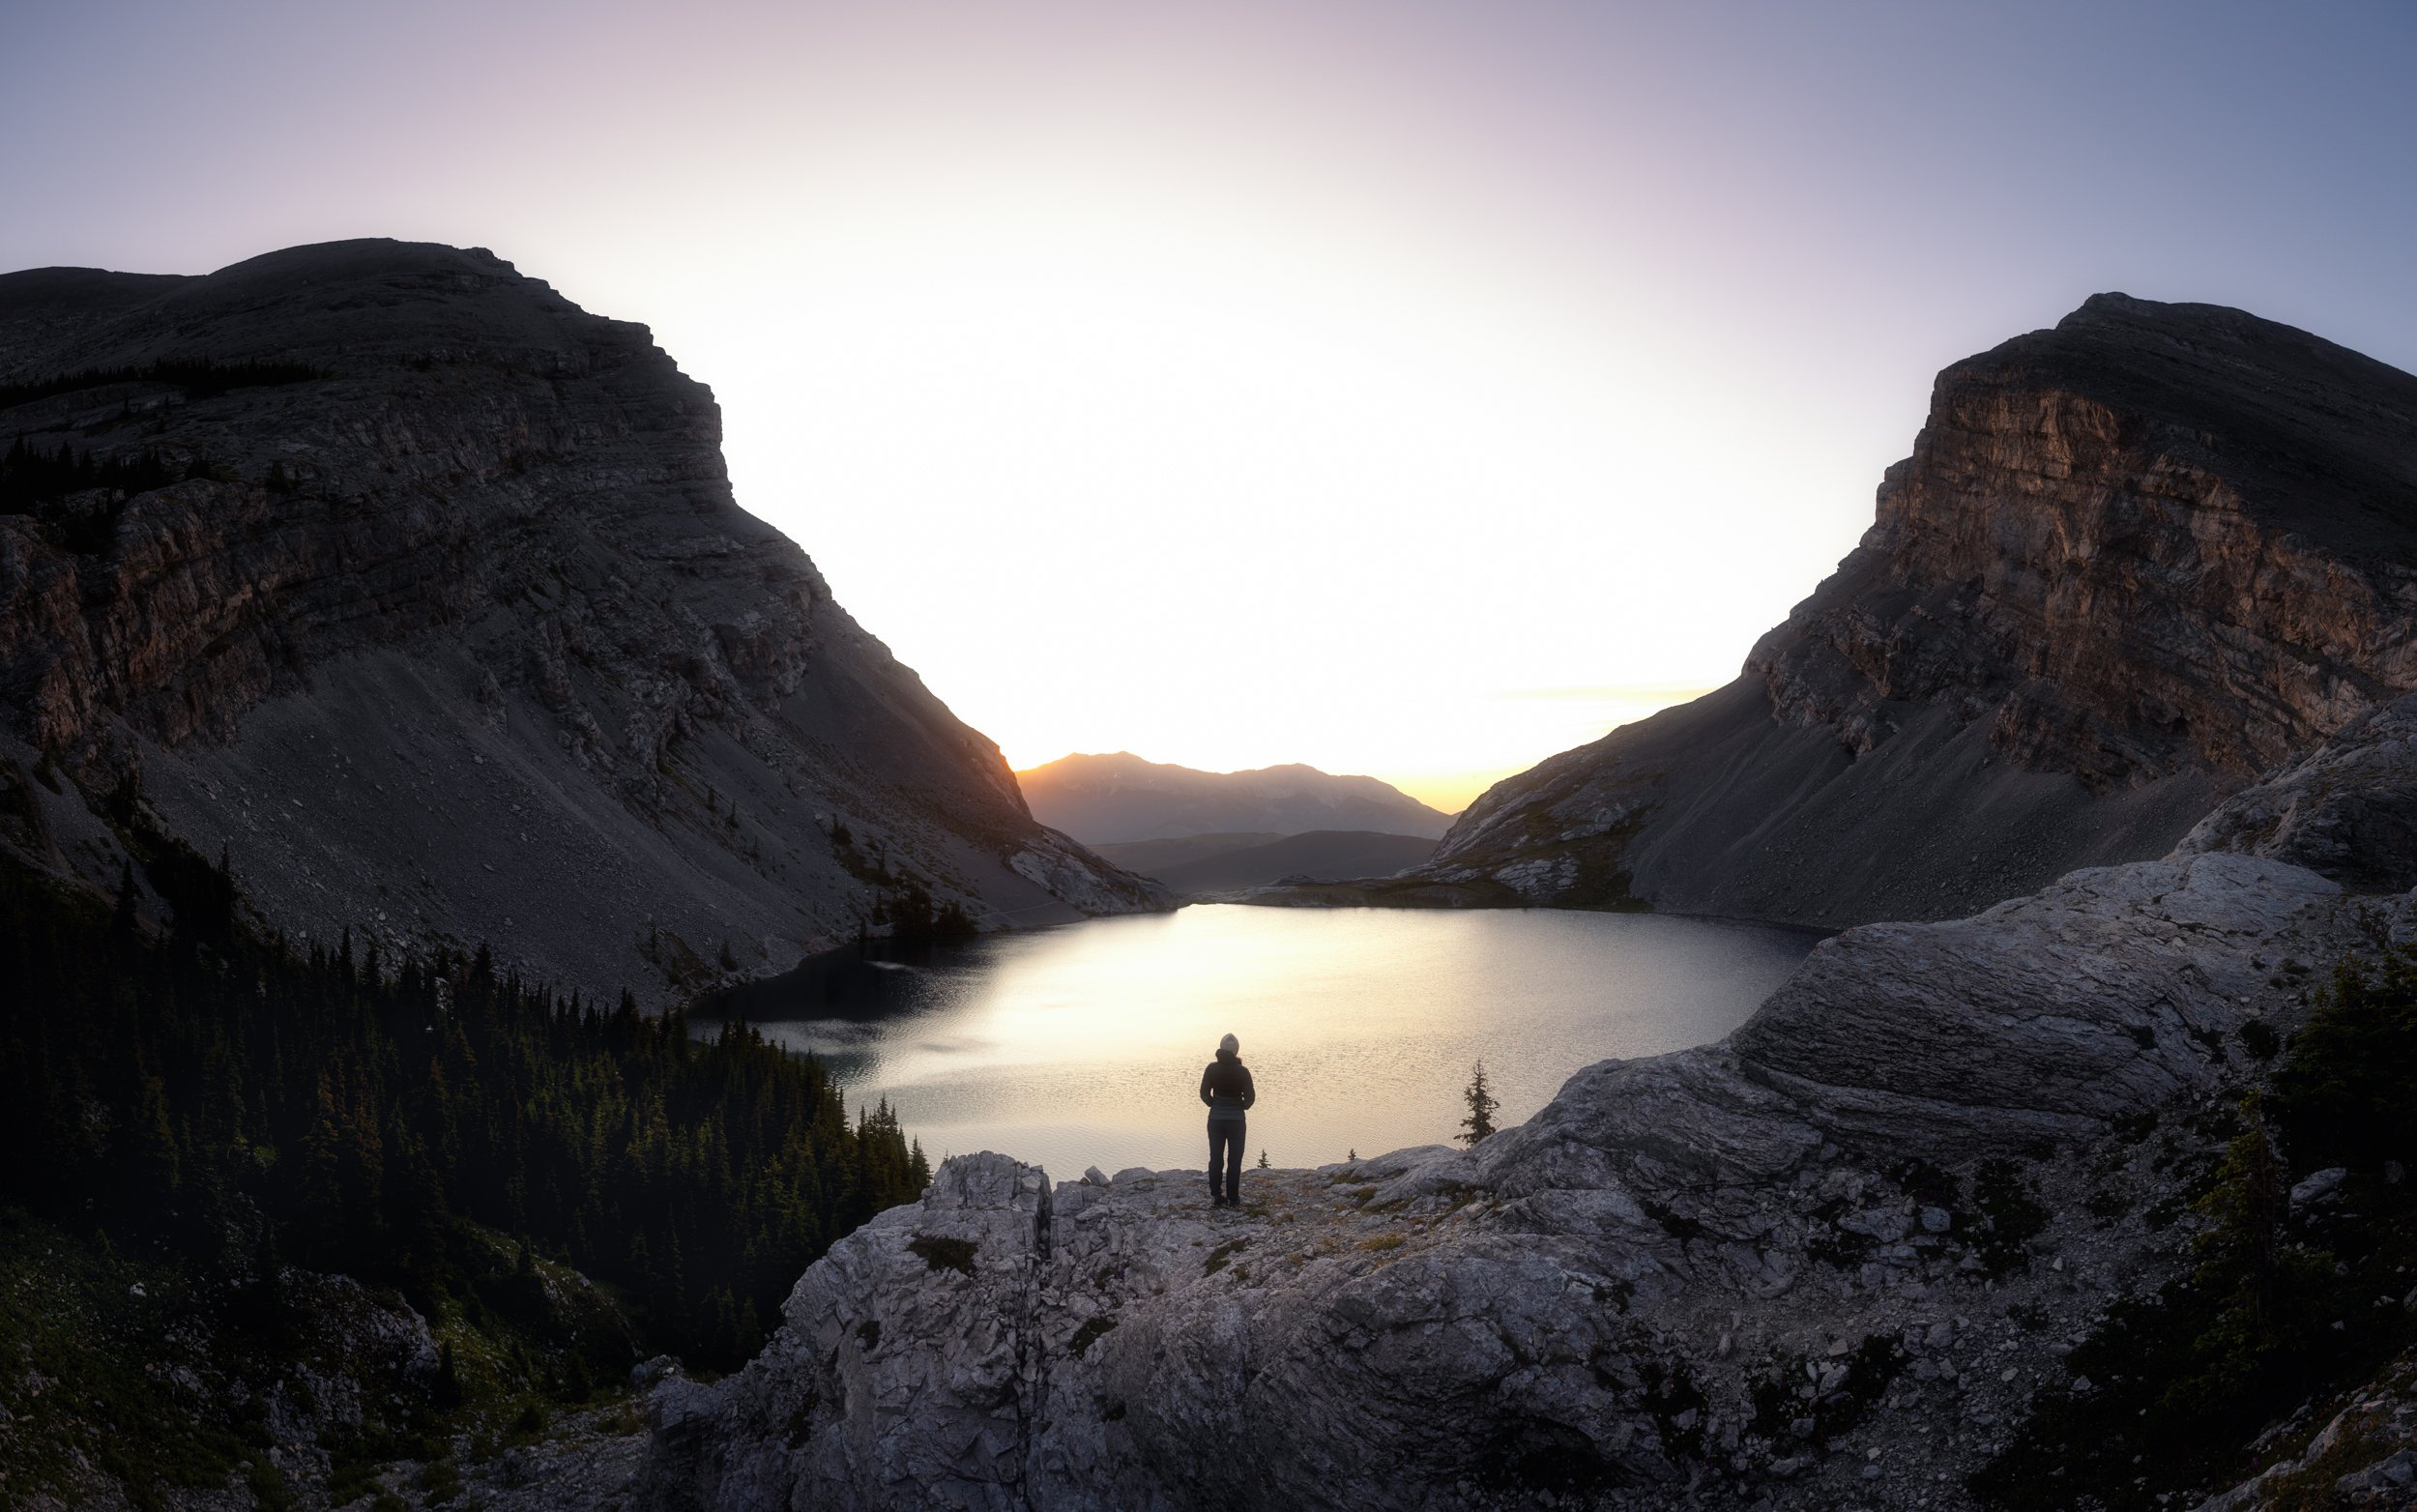
Carnarvon Lake at sunrise
What’s The Best Time Of Year To Hike Carnarvon Lake?
Now with Carnarvon Lake this question is a little more nuanced. The trail starts with quite a large river crossing over the Highwood river so not only should you wait for the snow to melt before attempting this hike but you may also need to wait a littler later in to the summer to allow the river level to subside.
At the start of summer or end of spring the snow melt will increase the rivers depth and flow quite considerably making it impassable. This trail is best tackled towards the middle of summer in July or August.
The good news is that the river crossing is fairly early on in the trail, around 2 km from the trailhead so if you have to turn back at this point you haven’t lost too much time.
My number one tip though is to head out to this trail with a backup plan in mind. Don’t attempt a river crossing you aren’t comfortable with. If it looks too deep or too fast, turn back and hike one of the many other options in Kananaskis Country!
Note: For any trail or camping in Kananaskis you’ll need to get hold of a conservation pass before you go.
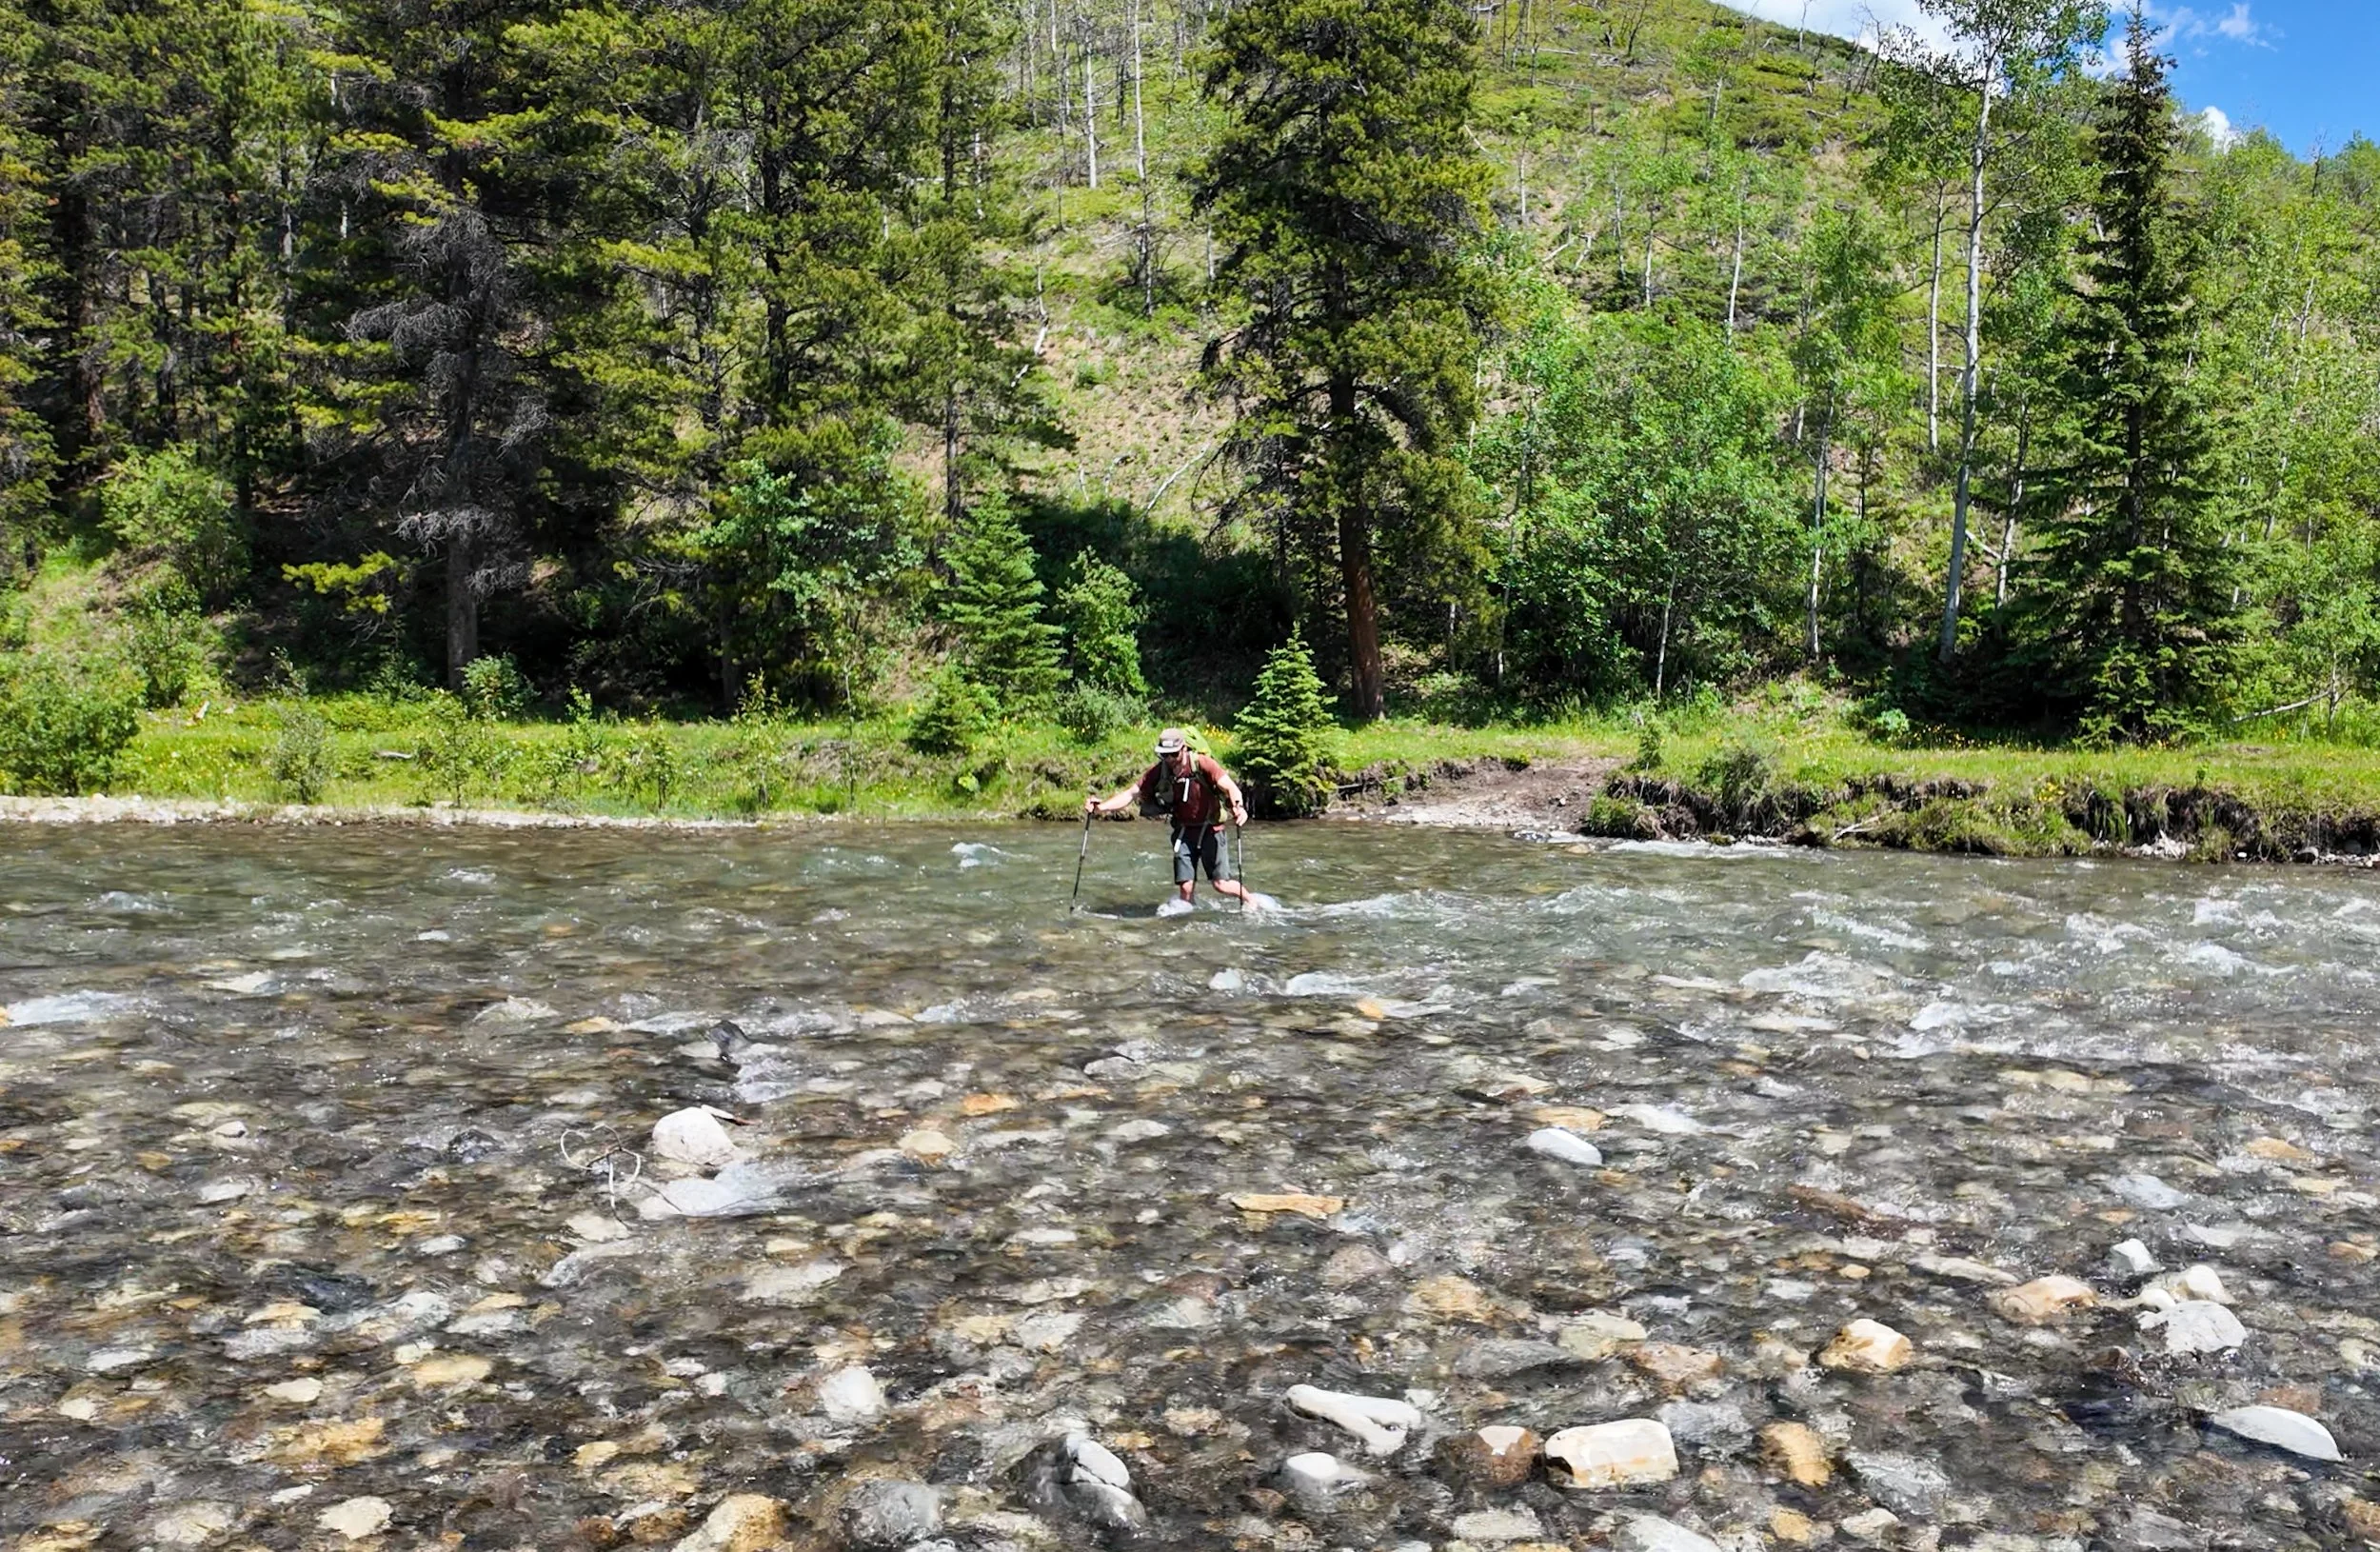
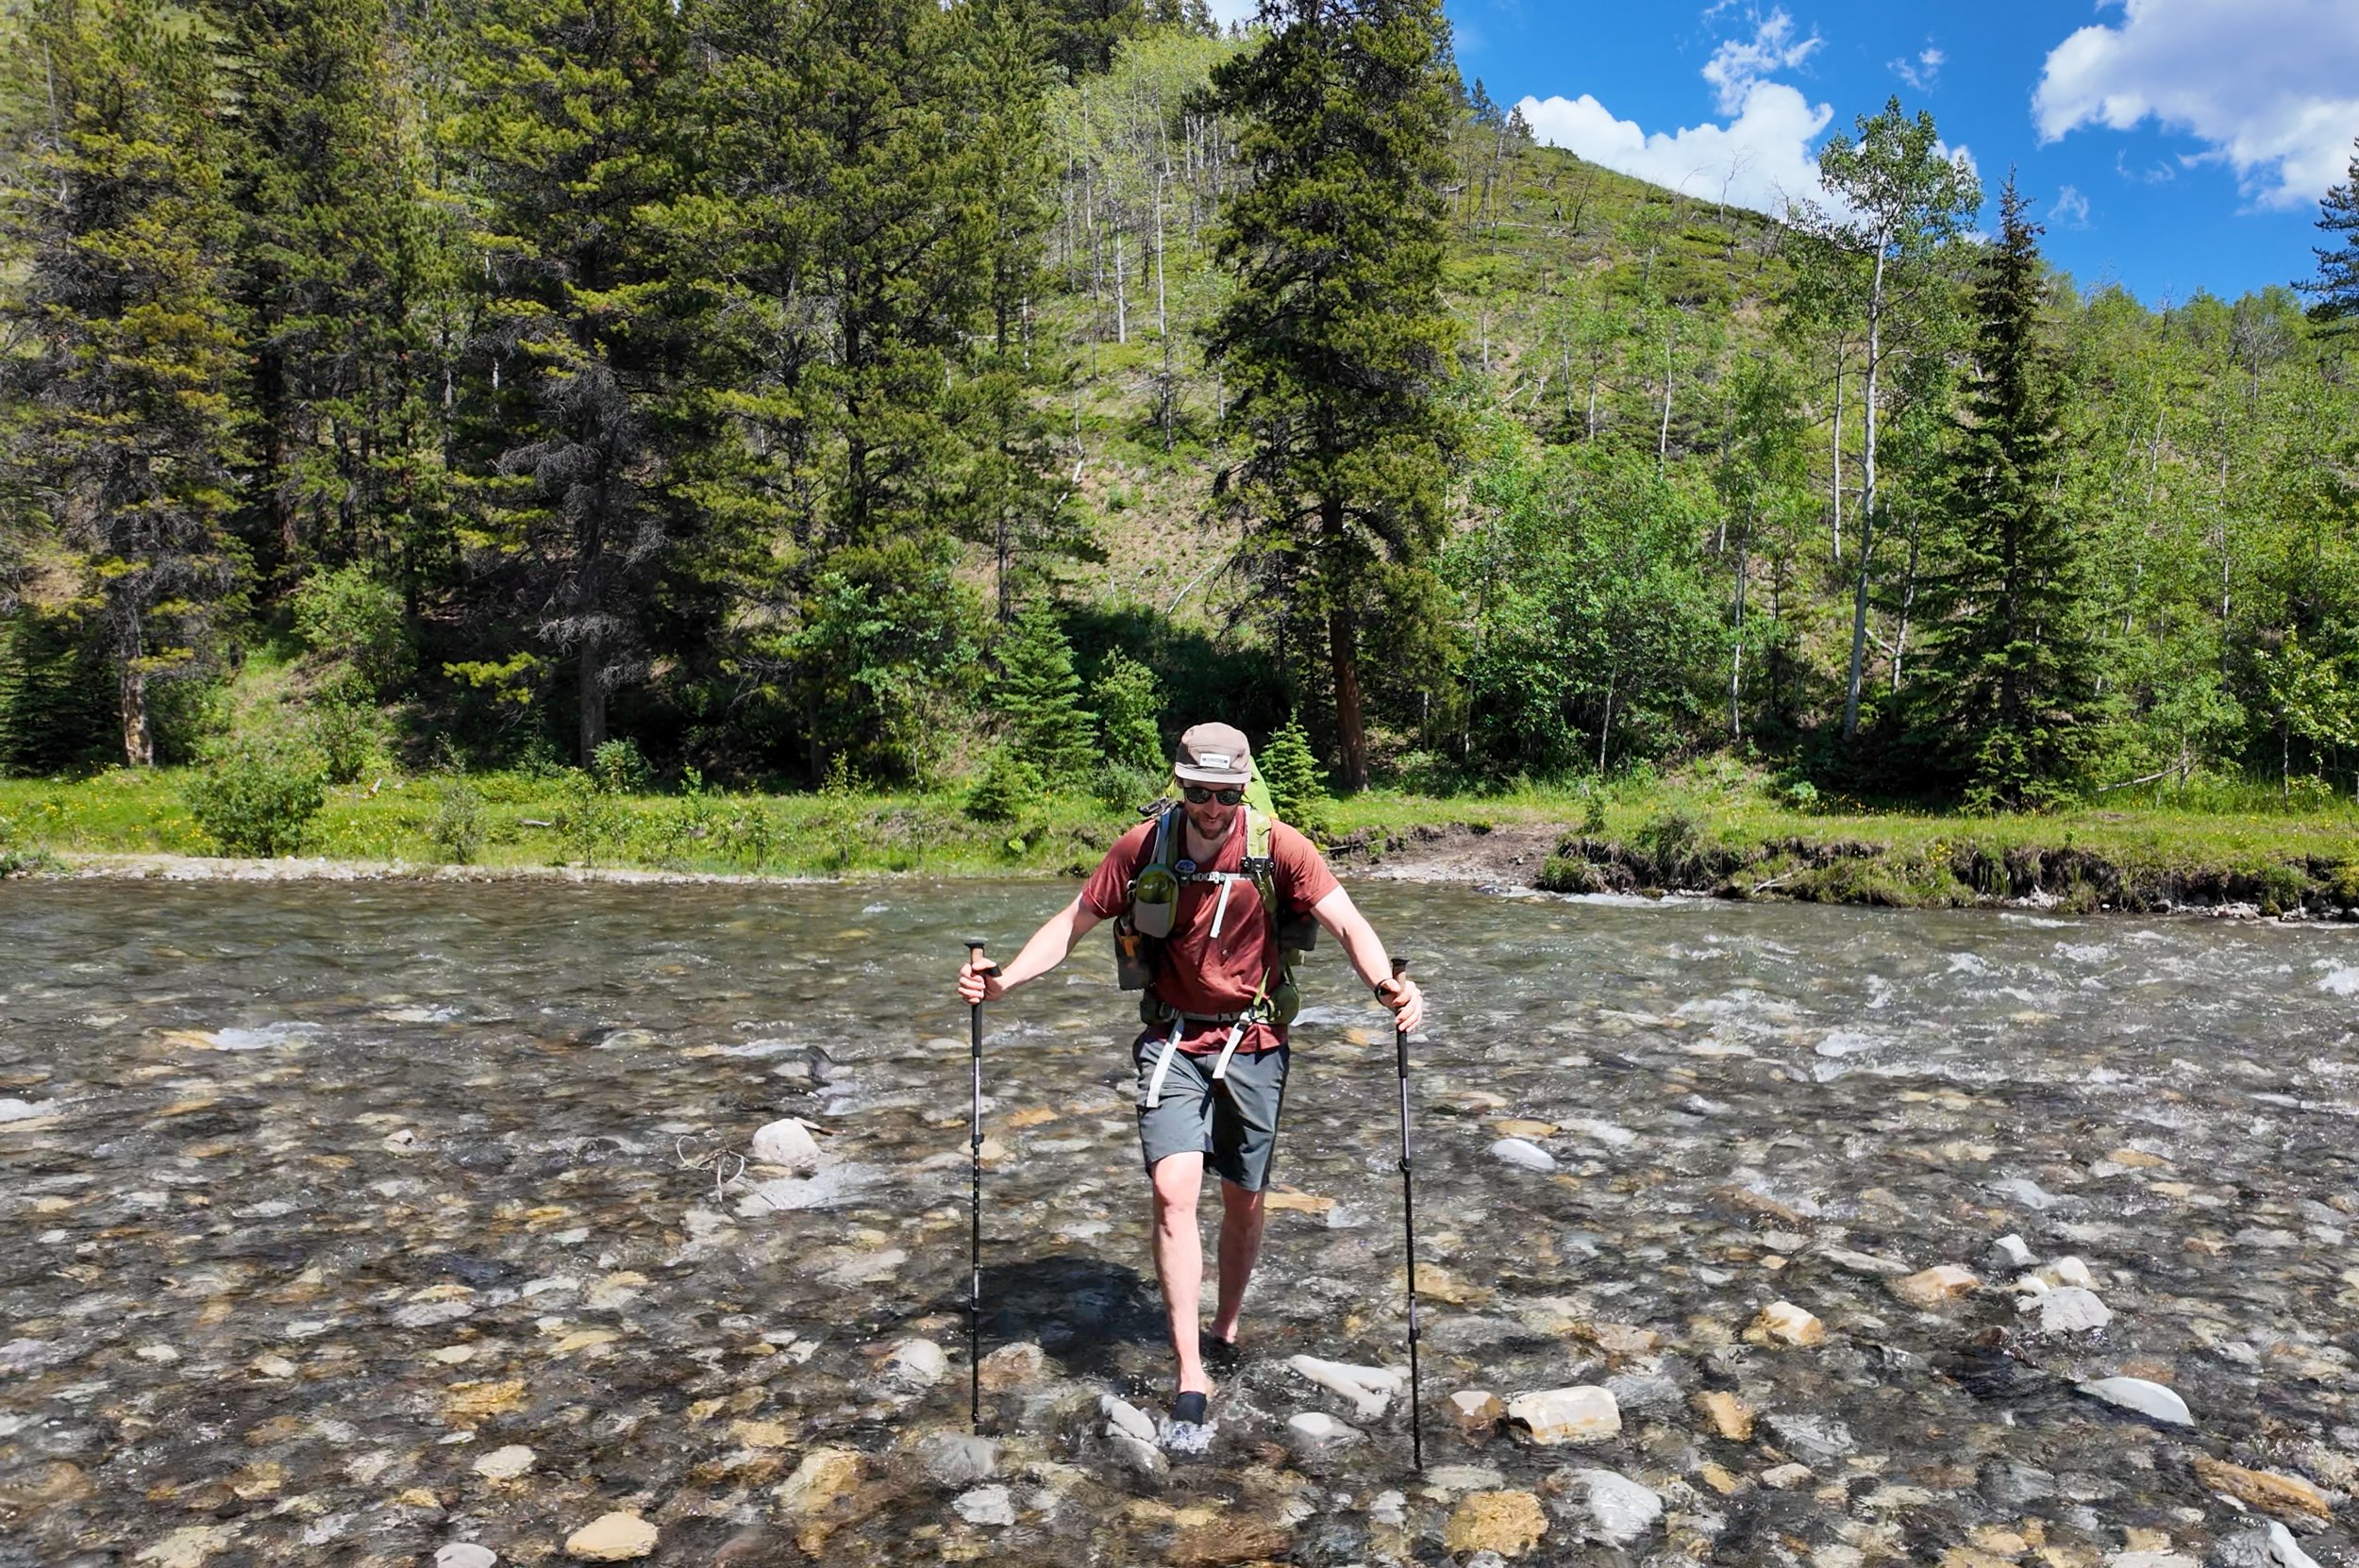
Crossing the lake to Carnarvon Lake in July.
The Stats For Carnarvon Lake
Time: 6 - 8 hours
Distance: 22 km Out and back
Elevation Gain: 900 m
Difficulty: Moderate - I’d say the hike is pretty straight forward from a distance and elevation standpoint but the more technical terrain, exposure and river crossing mean this hike isn’t for everyone.
How To Get To The Carnarvon Lake Trailhead
The trailhead for Carnarvon Lake starts at the Cat Creek Provincial Recreation Area just off of Highway 40 at the south end of Kananaskis.
It’s a 1 hr and 40 minute drive from Calgary going via Highway 22 or in the summer you can drive from Banff taking the Kananaskis junction turning and heading south down Highway 40.
The Hike - Carnarvon Lake
As with pretty much all hikes in Kananaskis Country this hike is an unofficial route as apposed to an ‘official’ trail. What this means is is that it isn’t managed by any governmental body so don’t expect much signage or trail maintenance. The trail remains defined by the hundreds of boots that tread it each year and any flagging or signage are placed by other adventurers.
The River Crossing
The trail starts on a pretty obvious horse trail following parallel to the Highwood River for about 2 km. Here you’ll see several paths leading down off of the bank and to the rivers edge, at this point you’ll need to make a judgment call as to whether you’re able to cross or not.
There are several areas in which you can cross so walk up and down the river to find the safest spot. I’d highly recommend taking a set of water shoes and hiking poles with you to make the crossing. Poles go a long way to help keep balance whilst wading against the current. I’m 6ft 1 and didn’t have any issues crossing at the start of July but I think if it were any deeper Brook, who’s 5ft 4, wouldn’t have been able to make it and we would have had to turn back.
Coming out of the river crossing, it was around my knees at the deepest section. Enough to sweep you off your feet.
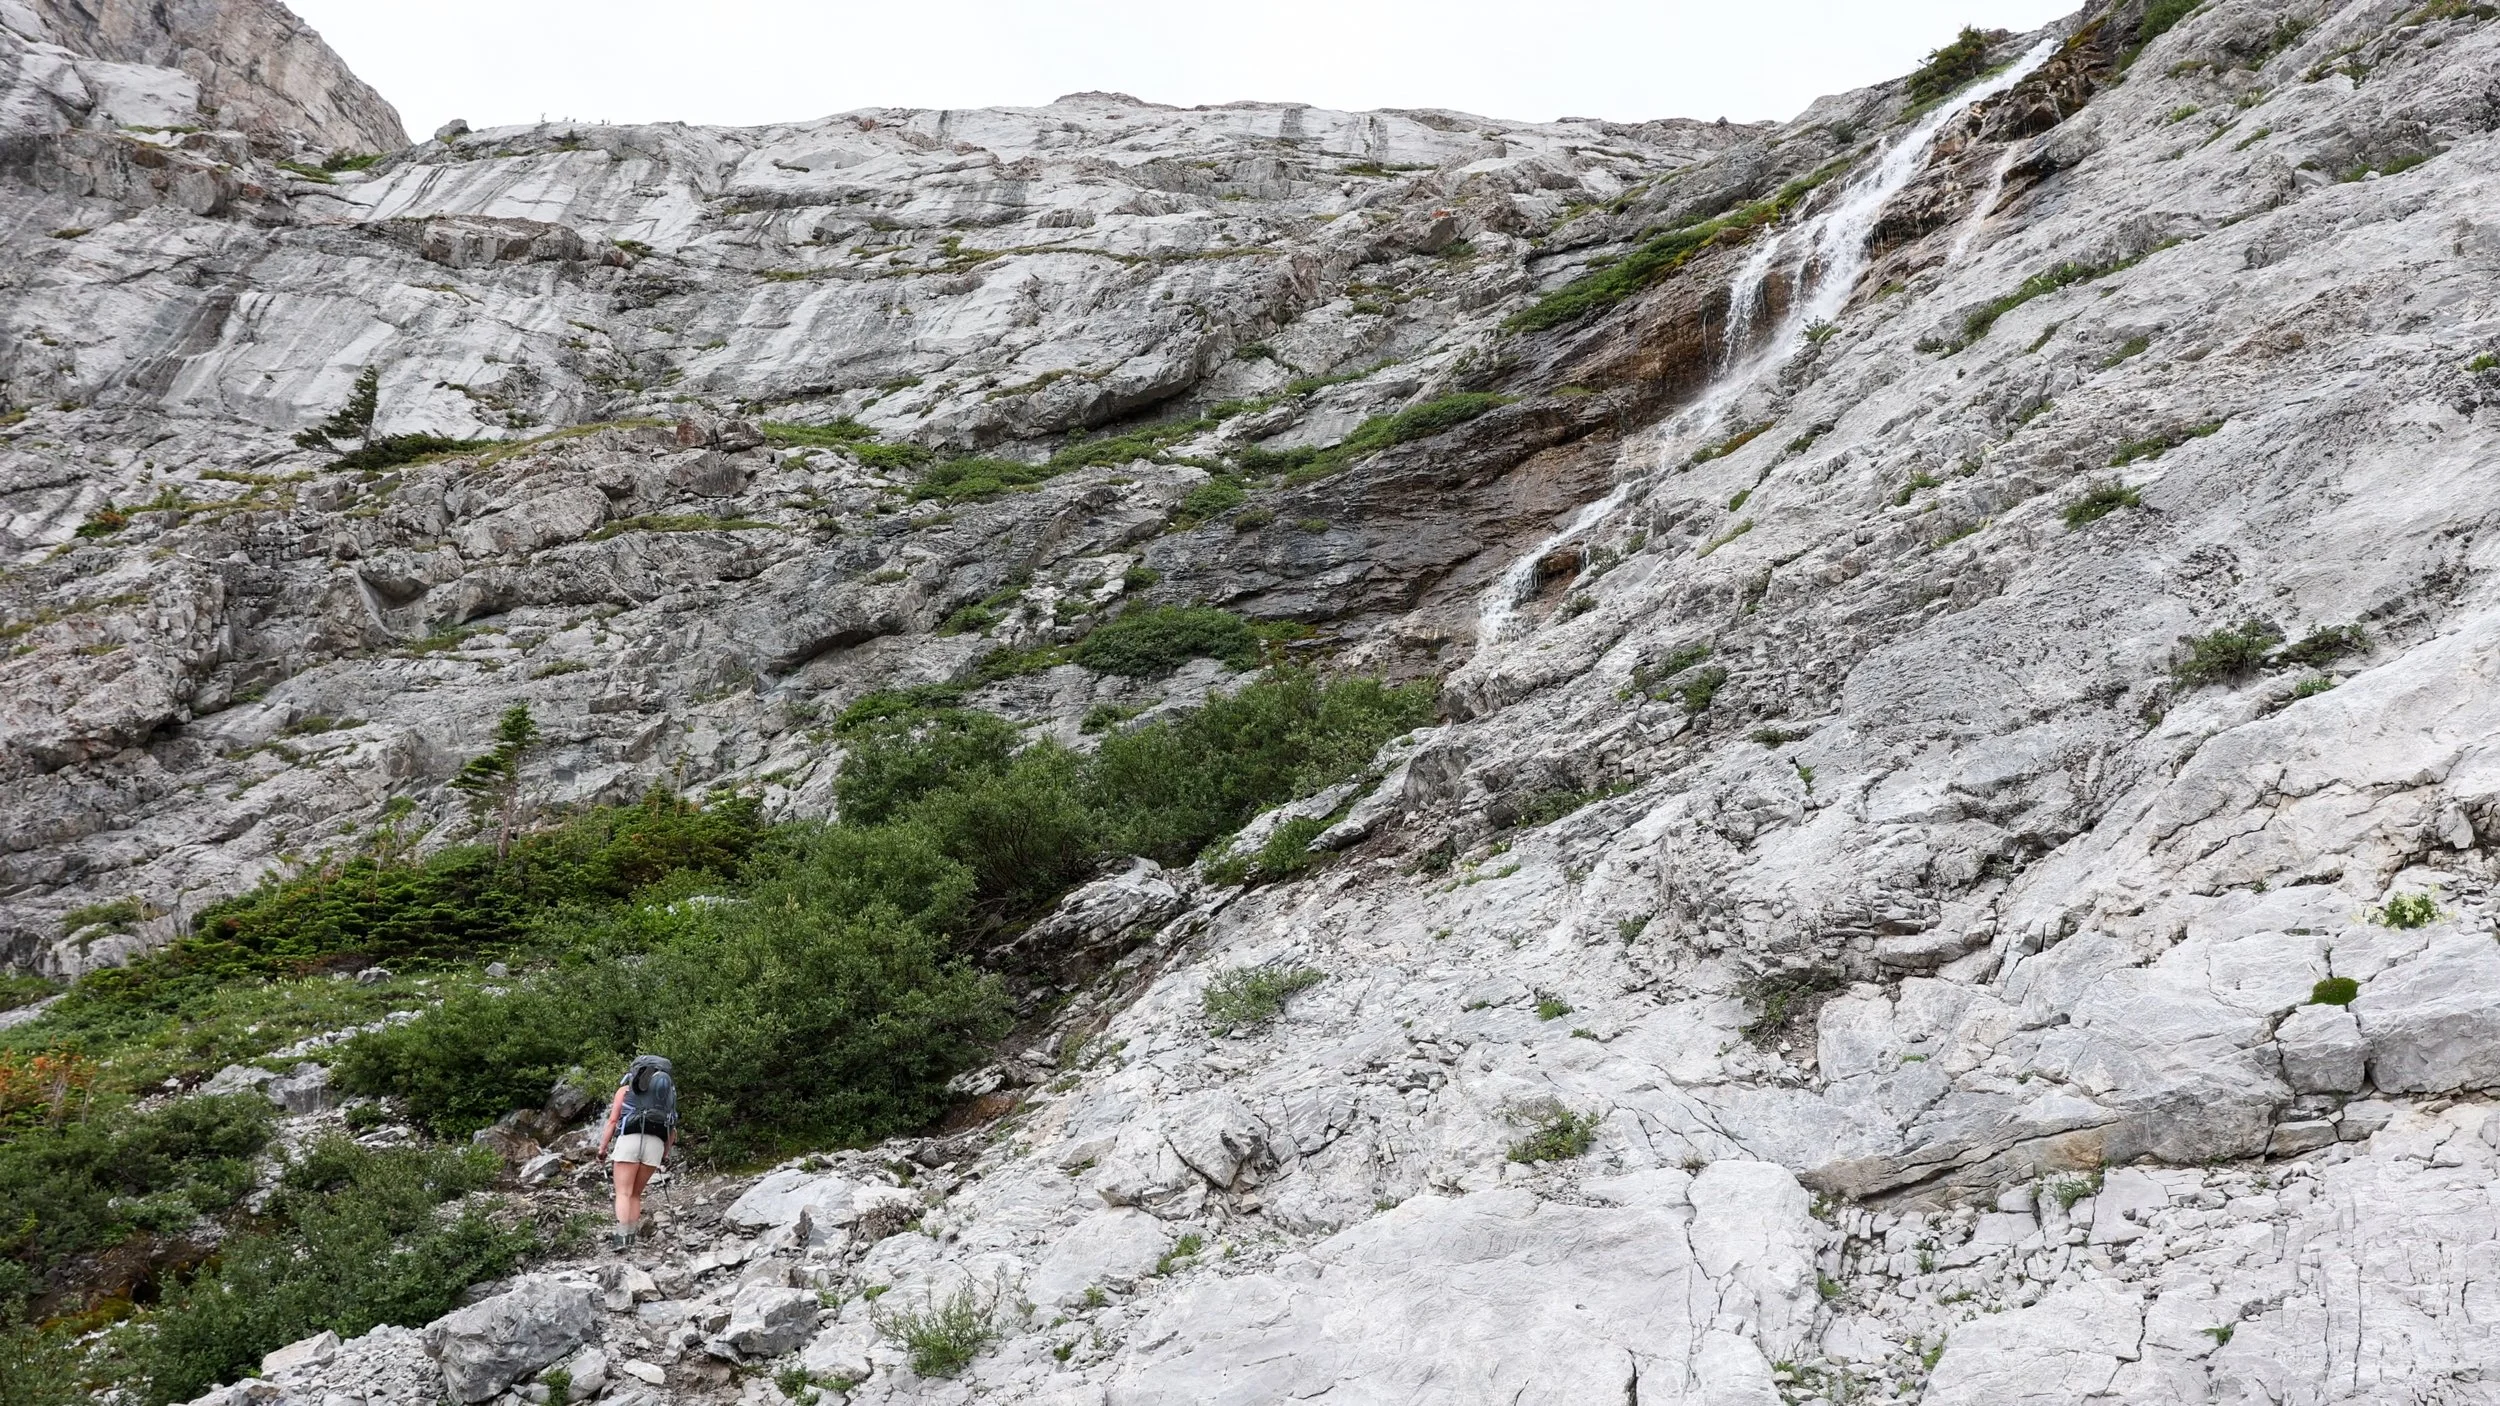
After the river crossing the hardest part of the day is out of the way! The next 7 km of trail covers about 350 m of elevation gain through the trees. The trail is steady and well shaded for the majority of it, perfect if you are tackling this trail on a sweltering summers day like we were!
There are a few braided trails during certain sections which can sew a little doubt in your mind. The most obvious and direct path is the direction you need but if you’re unsure it’s always worth having an offline mapping app.
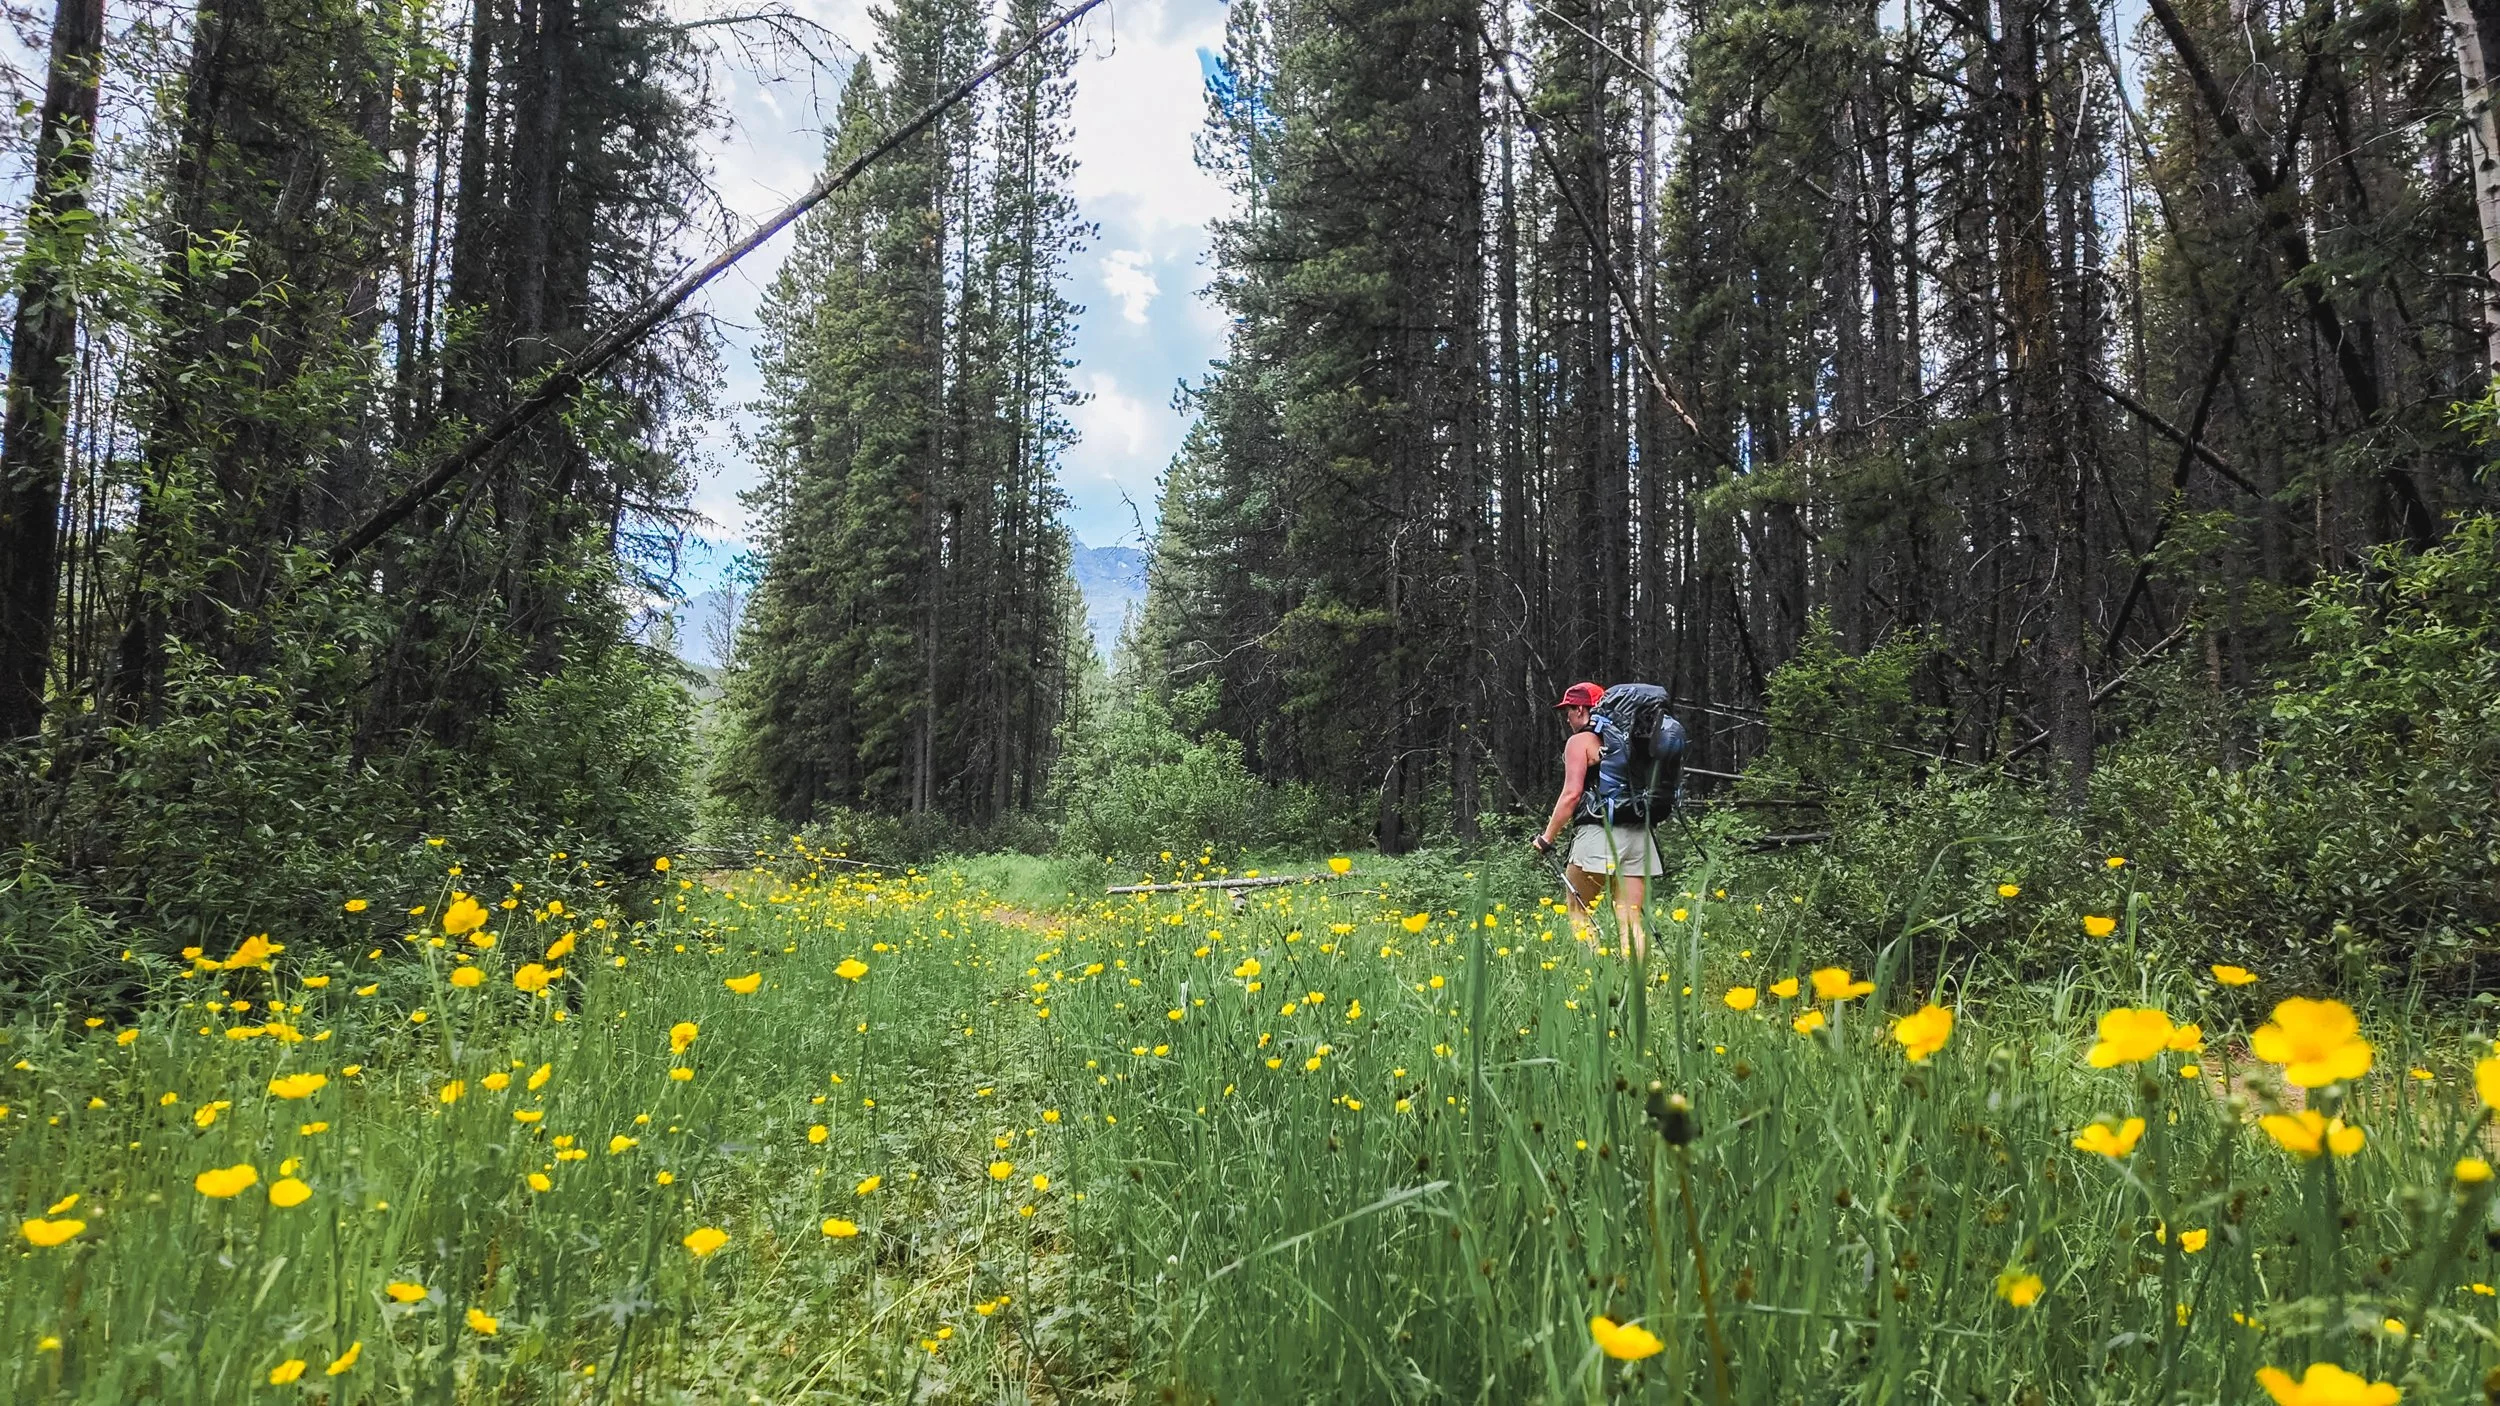
Making our way through the forested trail.
The Chains
Once past the tree line you’ll come across a steep, exposed scree slope that you have to traverse before getting to the waterfall and chains. You can see a small section of that trail towards the top of the picture below.
On the day we hiked here the wind picked up dramatically just before we set off to tackle the most exposed section. We did hesitate for a while deciding whether it was worth the risk, however after waiting out the wind for a little while we safely passed and made the ascent.
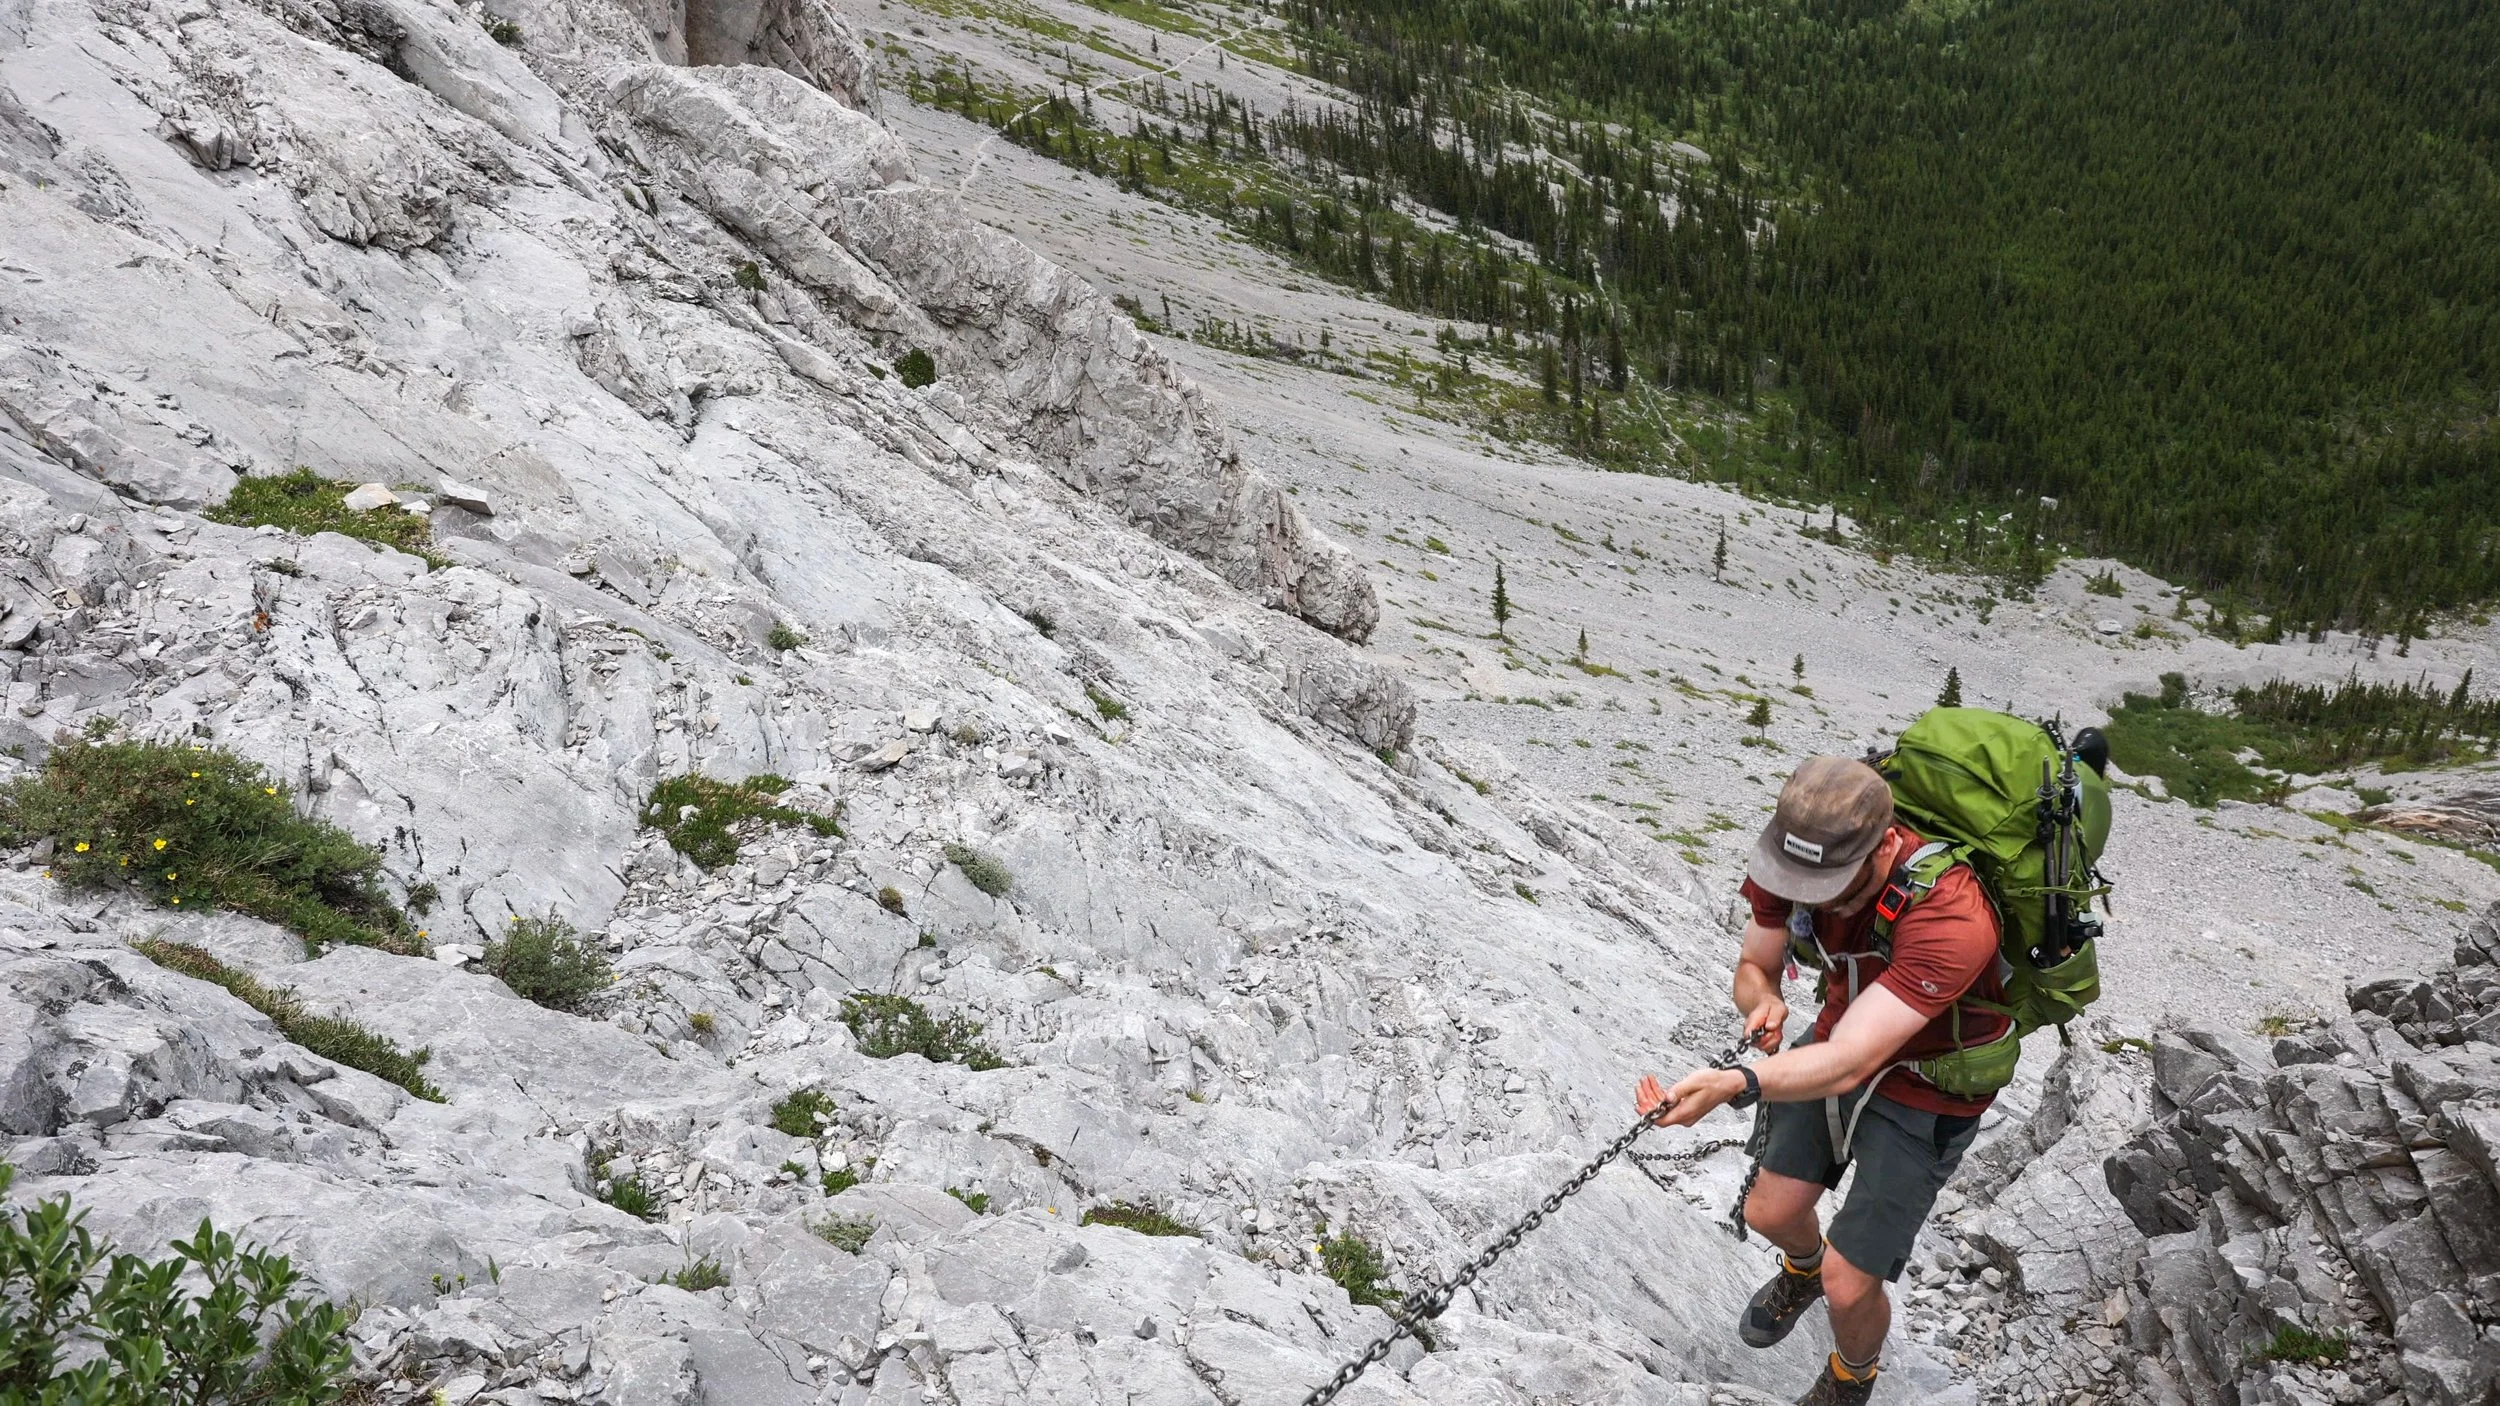
Ascending the chains next to the waterfall
The waterfall you scramble up next to, aided by the chains.
Traversing the scree slope and heading up the chains conquers a good portion of elevation with about 200 ms of gain up to the lake level.
From pictures I’d seen before completing this trail it made the chain section look like a pretty hard and steep scramble, however in reality I don’t think it’s really that bad. Of course you have to have a bit of a head for heights but I would happily of made the scramble without the chains if there didn’t happen to be any there and there was little to no overhead hazard.
This section is short and manageable for most who have already done some venturing in the Rockies.
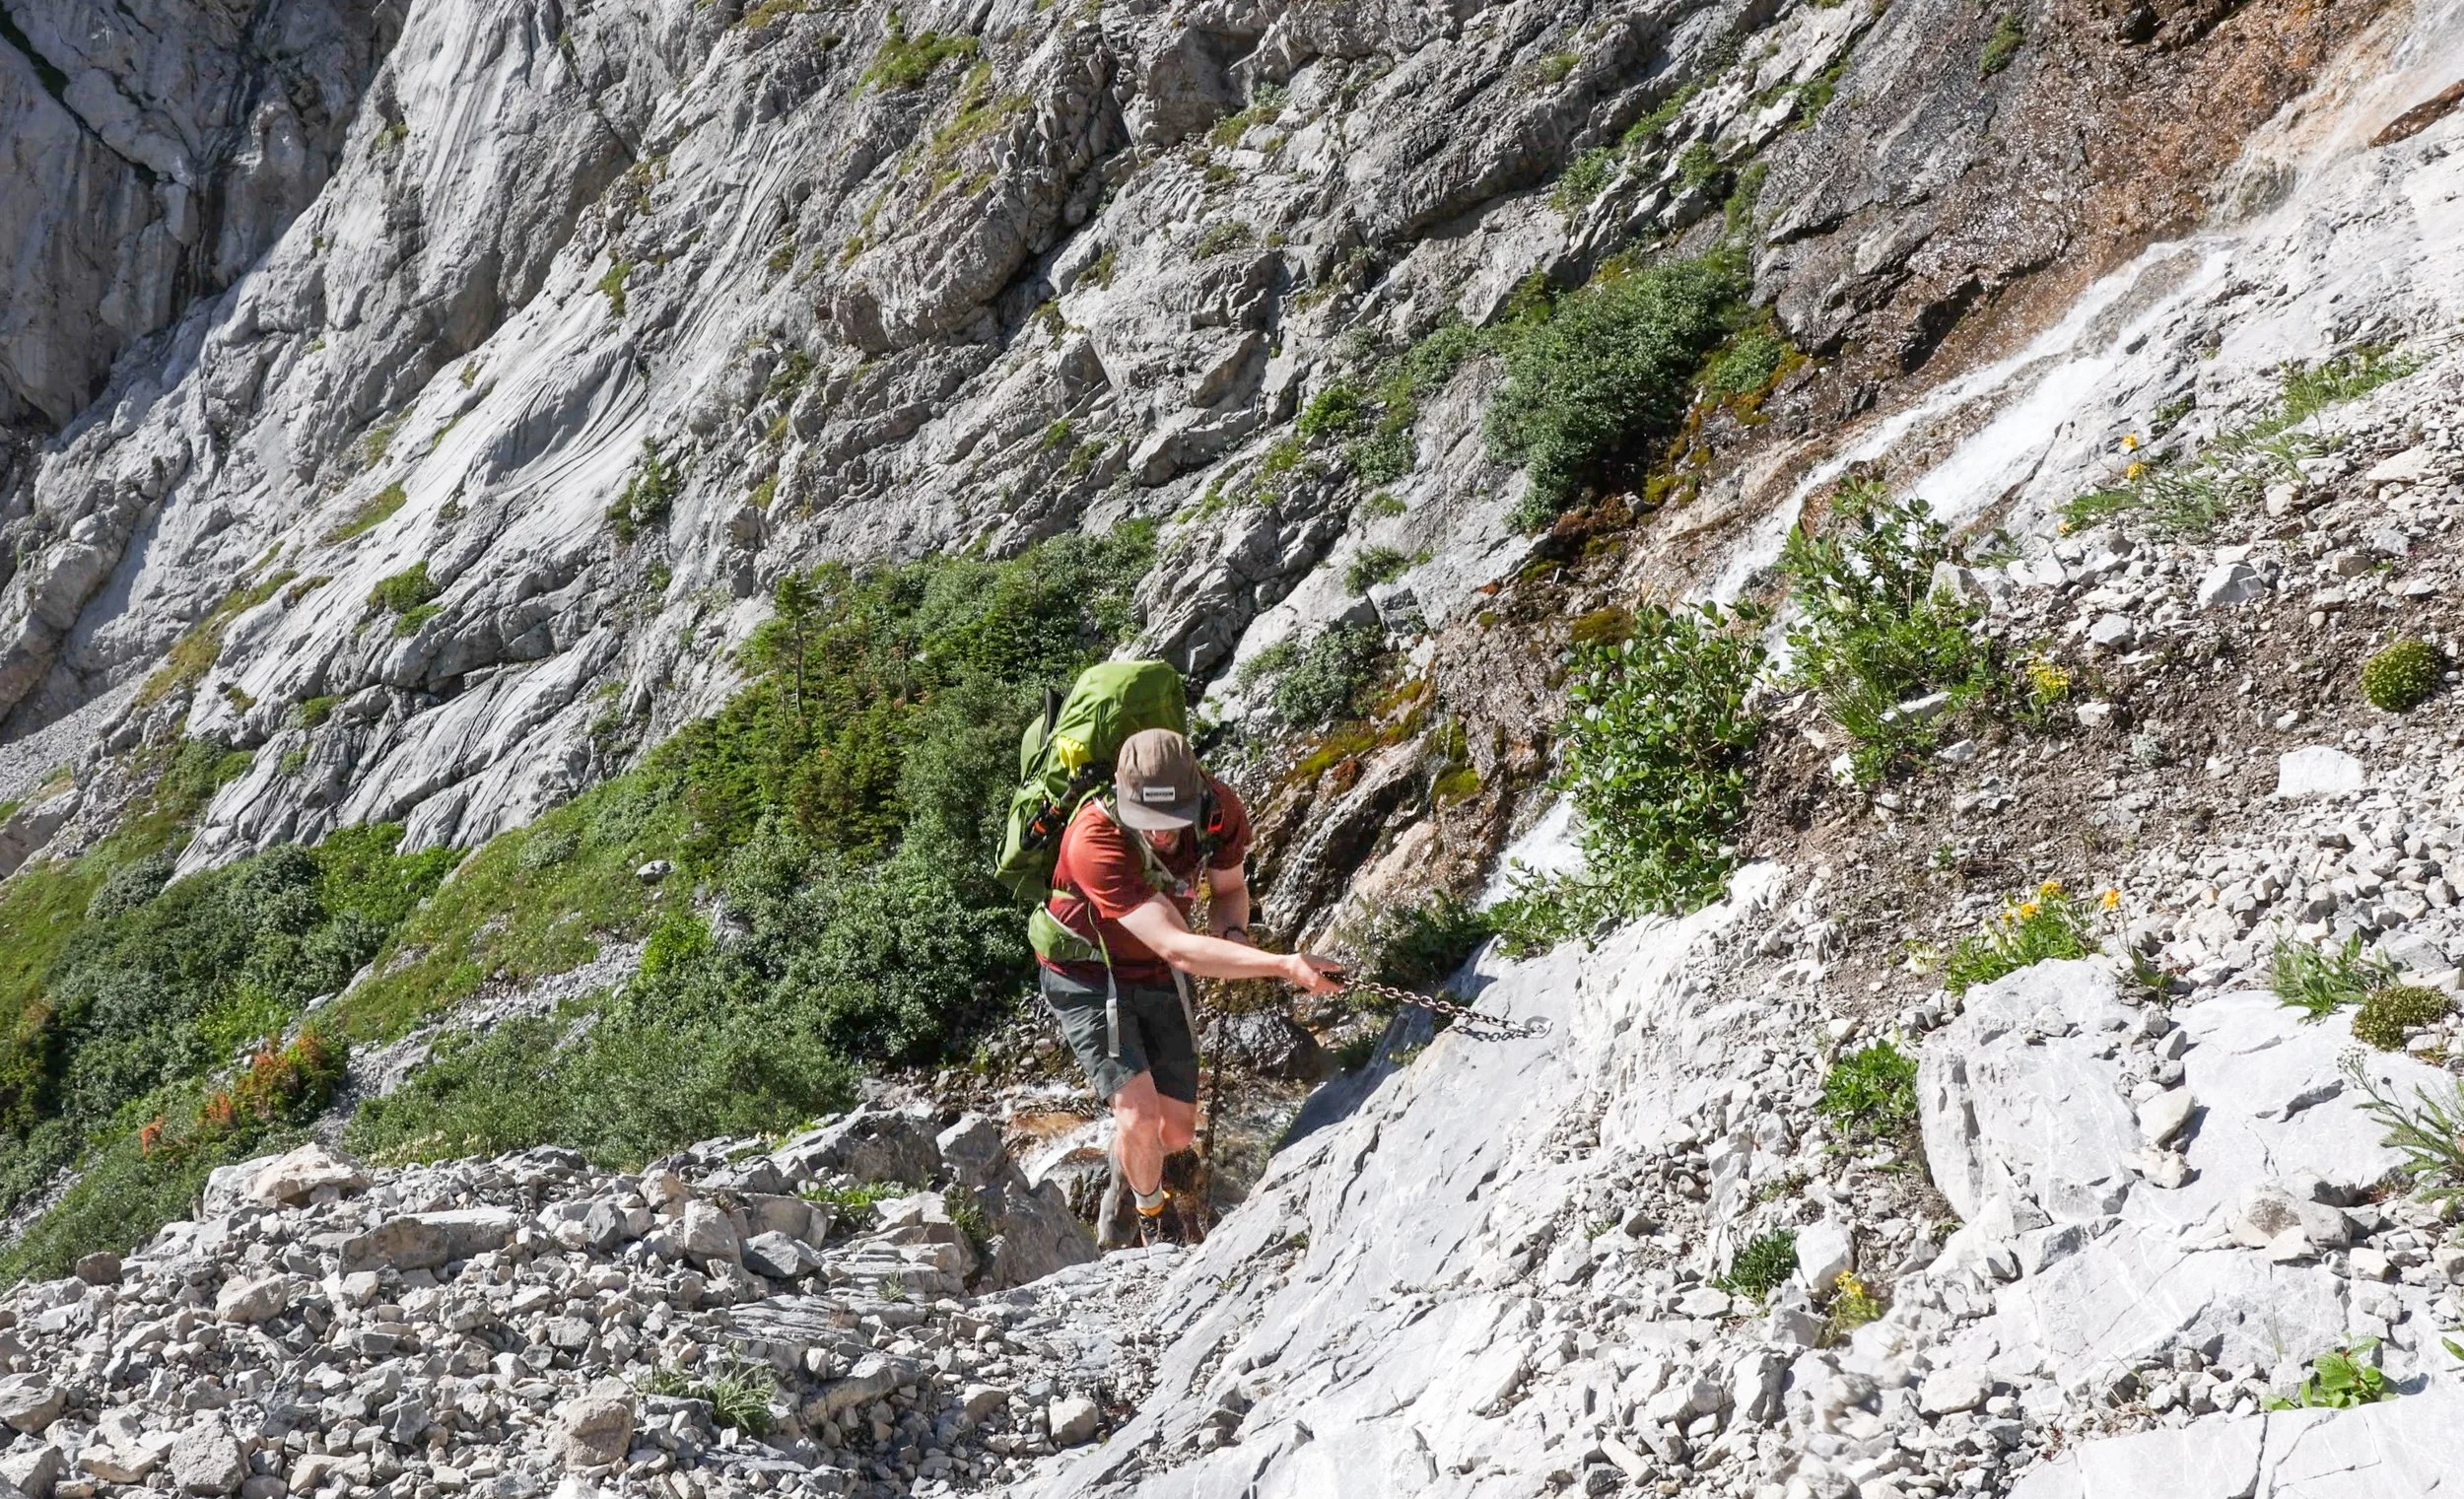
Coming up the last section of chain with the waterfall running behind.
Once at the top you’ll find yourself with views of the deep blue alpine lake surrounded on both sides by a towering headwall. The trail runs around the lake to the other side where there’s a small wooded area.
The main view point though is higher up and there are plenty of route options to take. Once in the wood you’ll see several braided trails heading up the short slope behind the woods which will lead you to that iconic view.
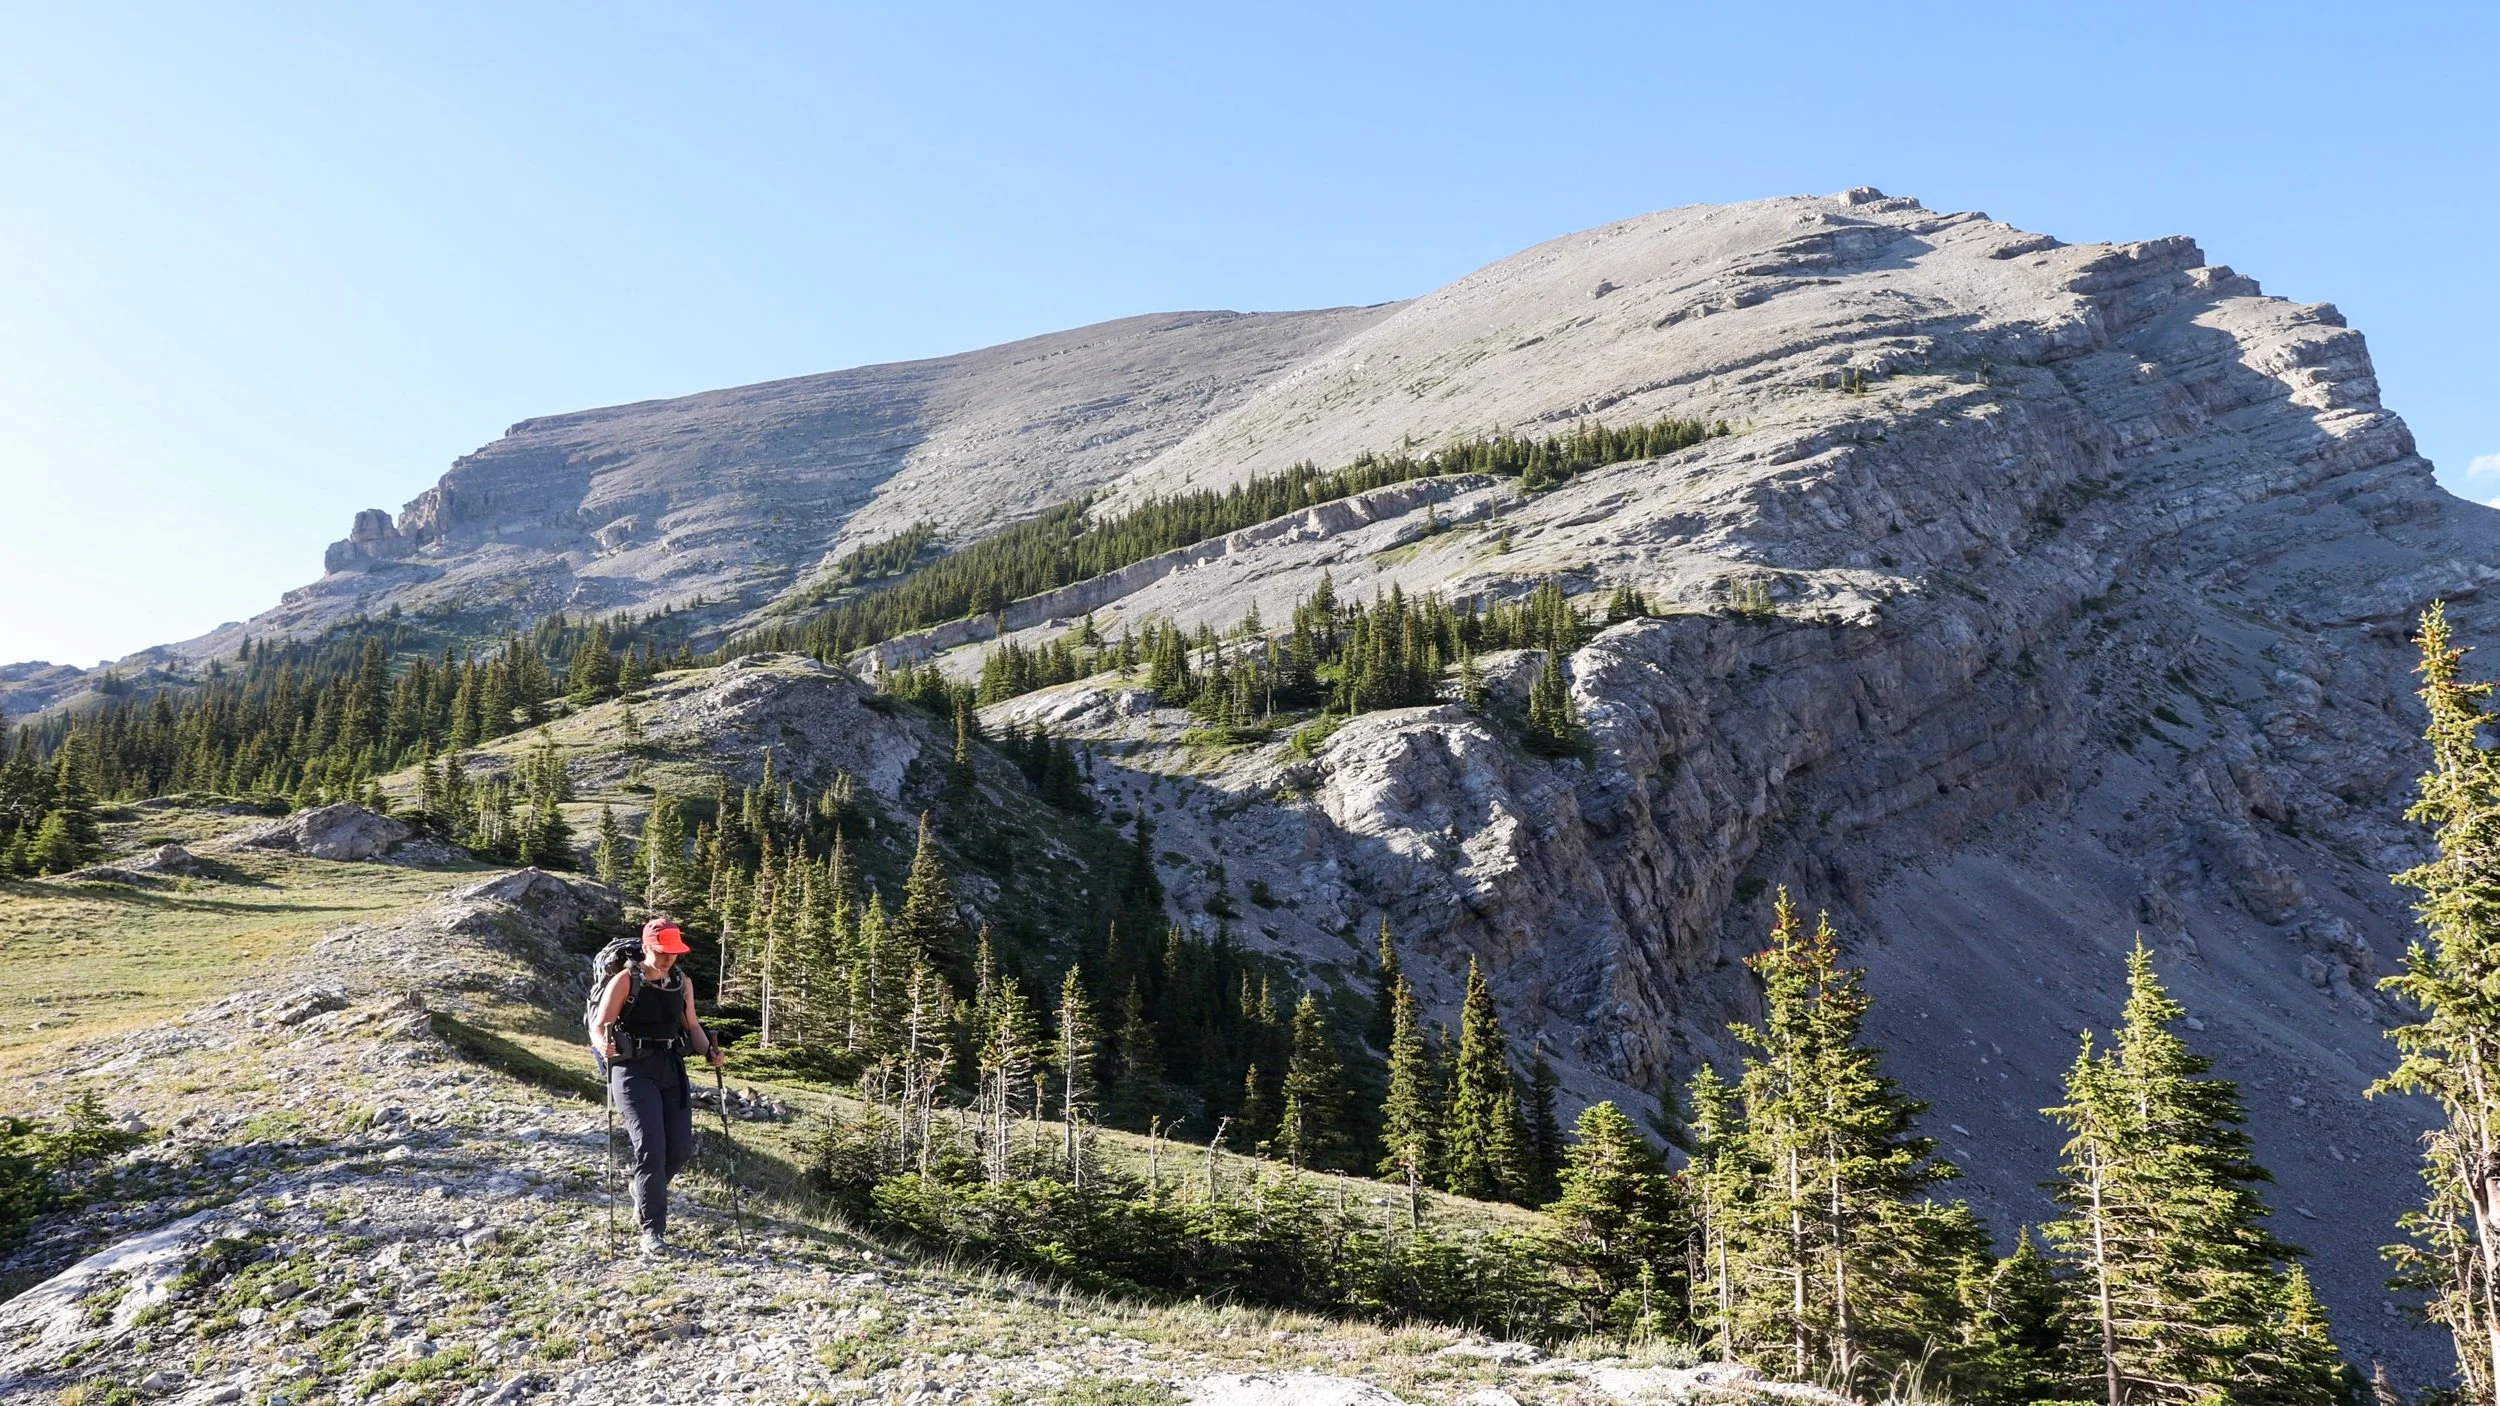
Hiking to the view point

The view point makes a perfect place to stop for some food!
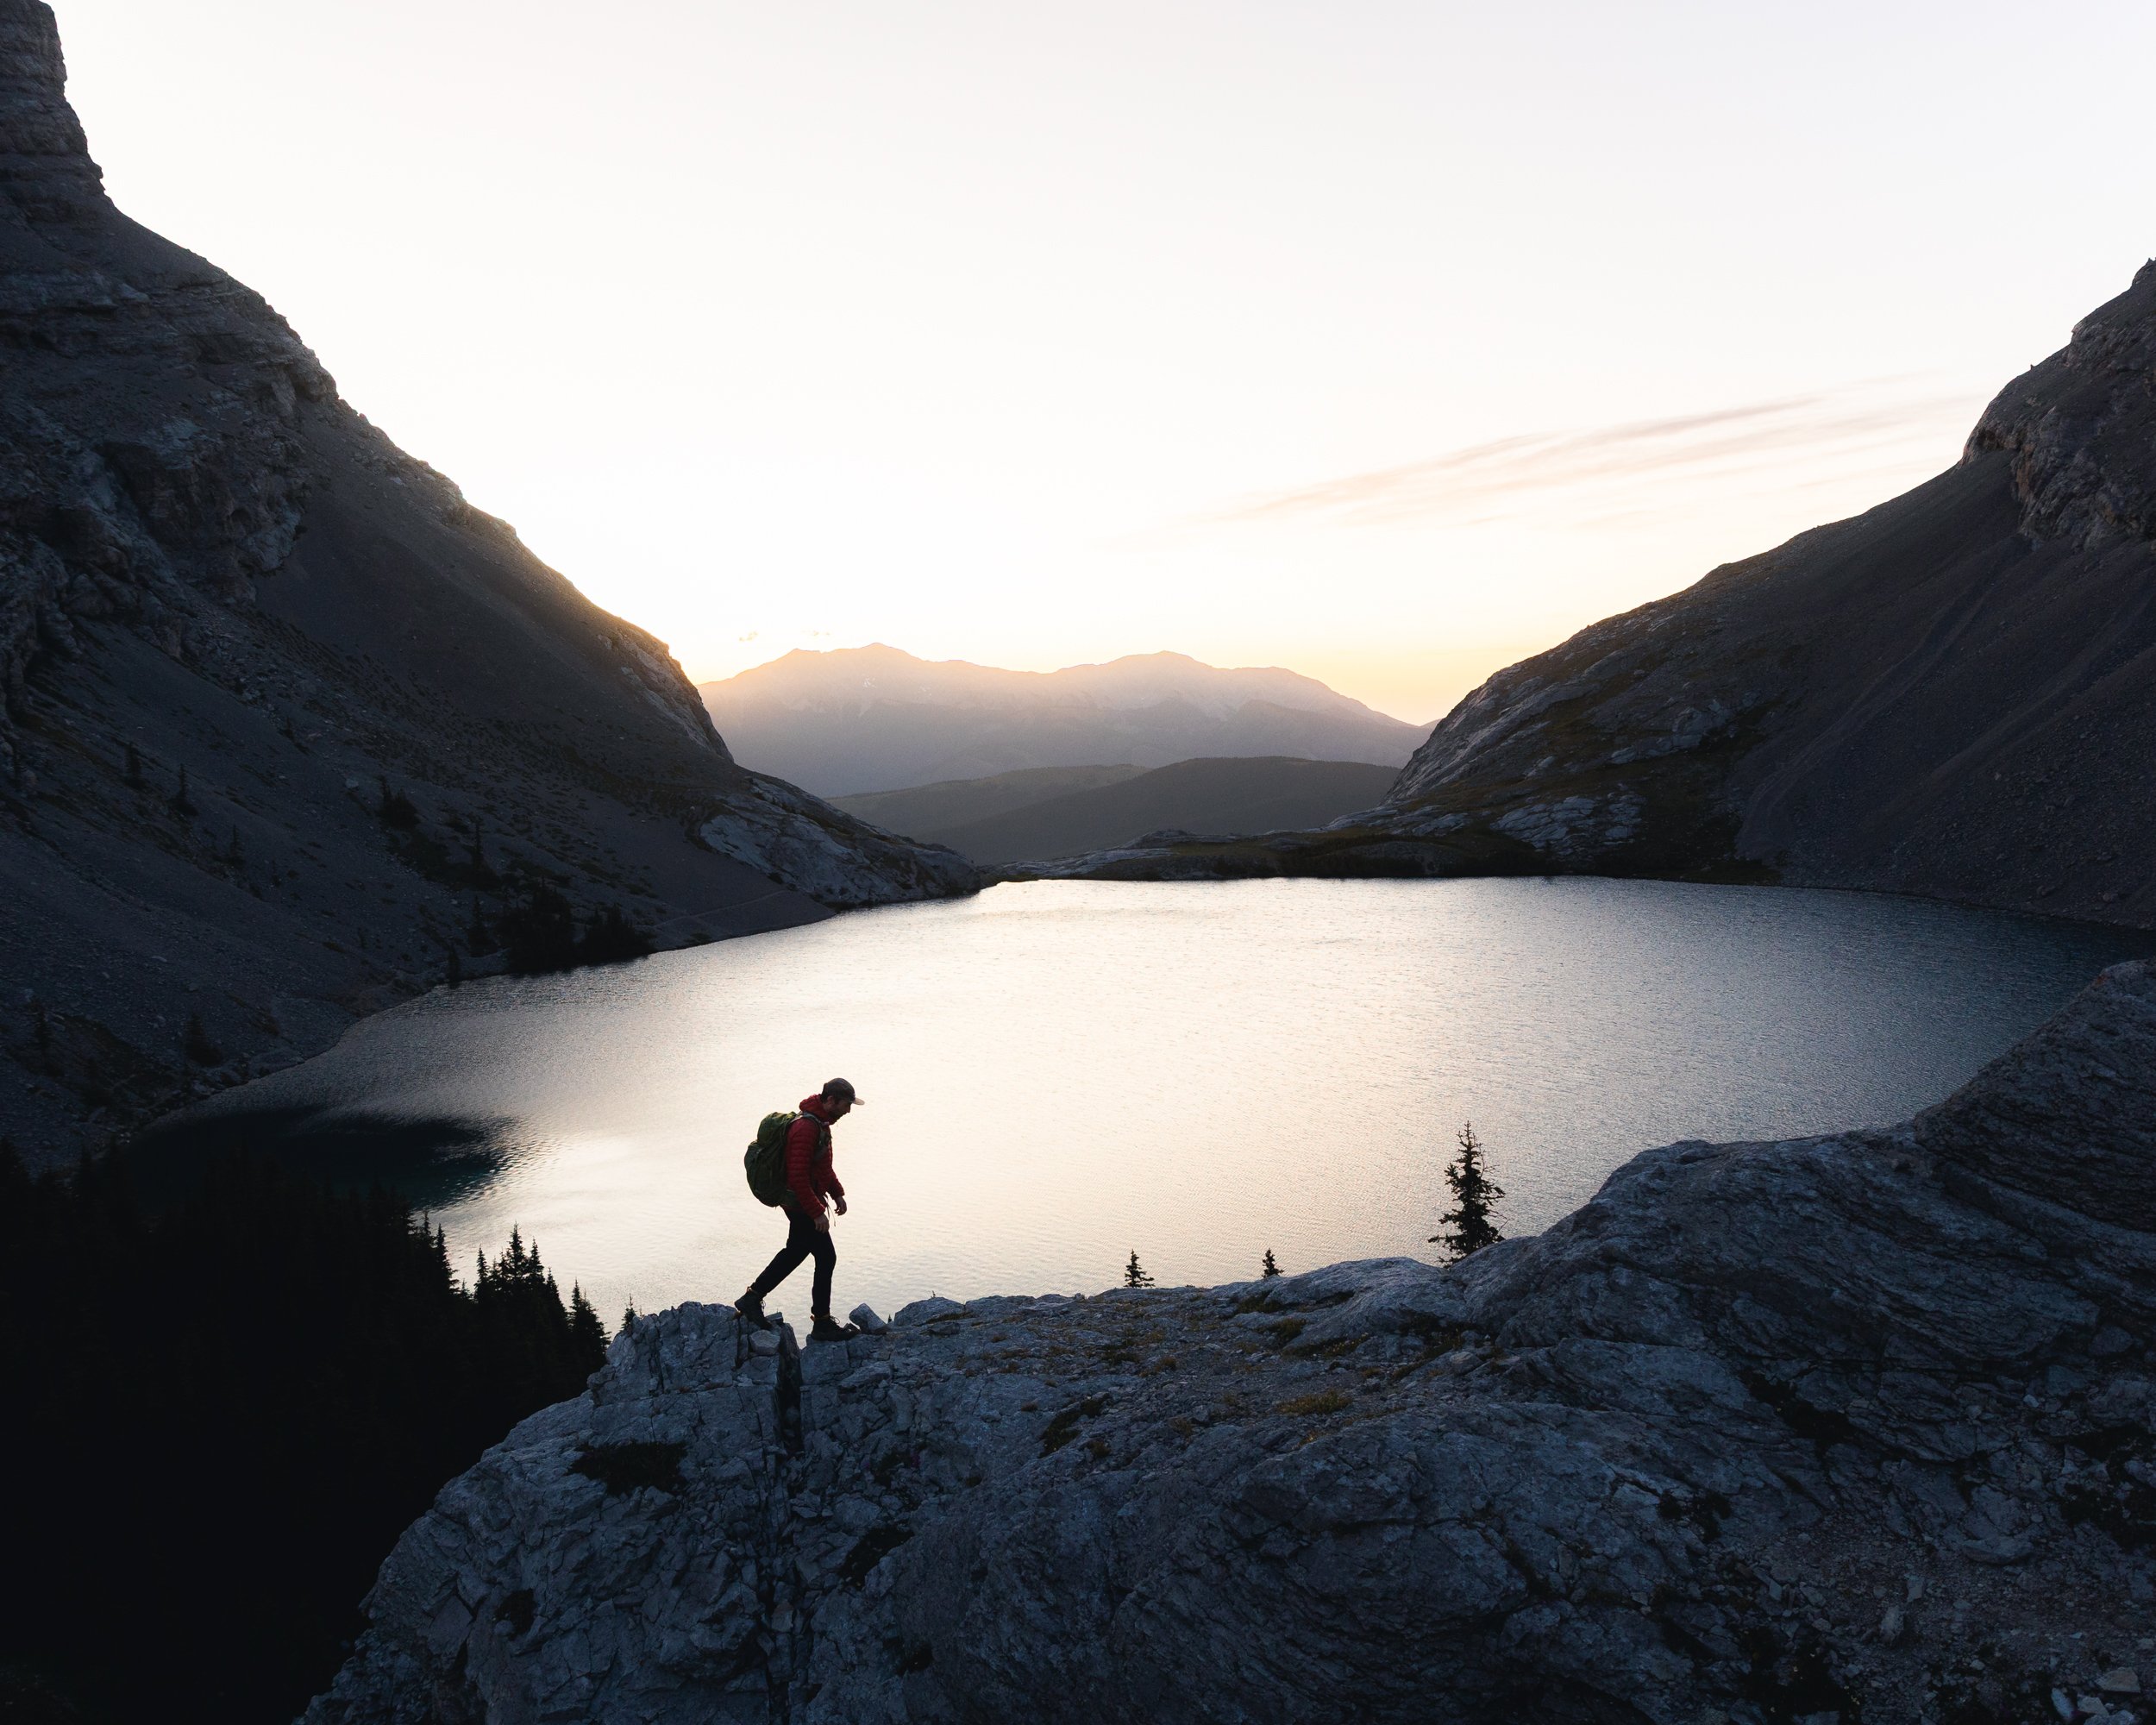
An early morning exploring above Carnarvon Lake
Looking for More Hikes in Kananaskis?
Tent Ridge offers stunning views, ridge line hiking and incredible fall colour.
East End of Rundle has to be one of my favourite for sunset photography.
Sarrail Ridge has to be one of the best views in Kananaskis Country!
Yates Mountain offers a great early season warm up to the hiking season!
Pipers Passis a lesser known unofficial trail.
Things to know Before You Go
Parks and Conservation Passes: Whether you’re hiking in a national park in Canada or certain provincial parks you’ll most likely need some kind of conservation pass. A Discovery Passwill cover you for the year for all national parks in Canada whilst the Kananaskis Conservation Passcovers the provincial and wildland parks in the Kananaskis region.
Check Trail Conditions Before You Go: Trail conditions in the Rockies can change month to month and year to year. Trails close for wildlife, weather and avalanche hazards. Be sure to double check trail conditions before heading out to avoid any disappointment. You can do so here!
Leave No Trace: When hiking anywhere in the world it’s important that you practice a leave no trace philosophy. This means whatever you hike in to a trail or campground you have to be able to hike out too. There won’t be trash cans or waste disposal in the backcountry and you should never throw trash in any out houses or pit toilets. In recent years, as trails and parks become busier, litter is becoming more of a problem. Don’t add to that problem!
Bears and Wildlife! Wild life is everywhere in the Canadian Rockies, even on trails that are close to town. People and animals have been attacked by bears and other wild life on popular trails in the past so don’t take it for granted.
Most wildlife is looking to avoid human contact so no matter what type of wildlife you see be sure to keep your distance. 30 metres is the minimum recommendation for most species but under any circumstance don’t approach wildlife. Even the cuddliest of critters can be dangerous!
So as always be bear aware, make noise, hike in groups, carry bear spray and, if they’re allowed on trail, keep your dog on a leash!
Offline maps knowing where you’re going is super important as to not get lost. I recommend All Trails Plus for finding routes and offline mapping allowing you to safely find your way home.
Interested in other multi-day hikes in the Canadian Rockies or maybe day hikes?
Gear Recommendations
After 10 years living in the Canadian Rockies, years working in retail and years reviewing outdoor gear I’ve dialled in my backcountry kit! And on all day hikes there are definitely a few things I always take with me to make my trip safer, easier and more enjoyable.

Merino Socks
Merino socks are a must for any hike. They keep you dryer, warmer and smelling better!
Once you go merino you never go back!
My socks are now 100% Smartwool!
Get them at Smartwool.com
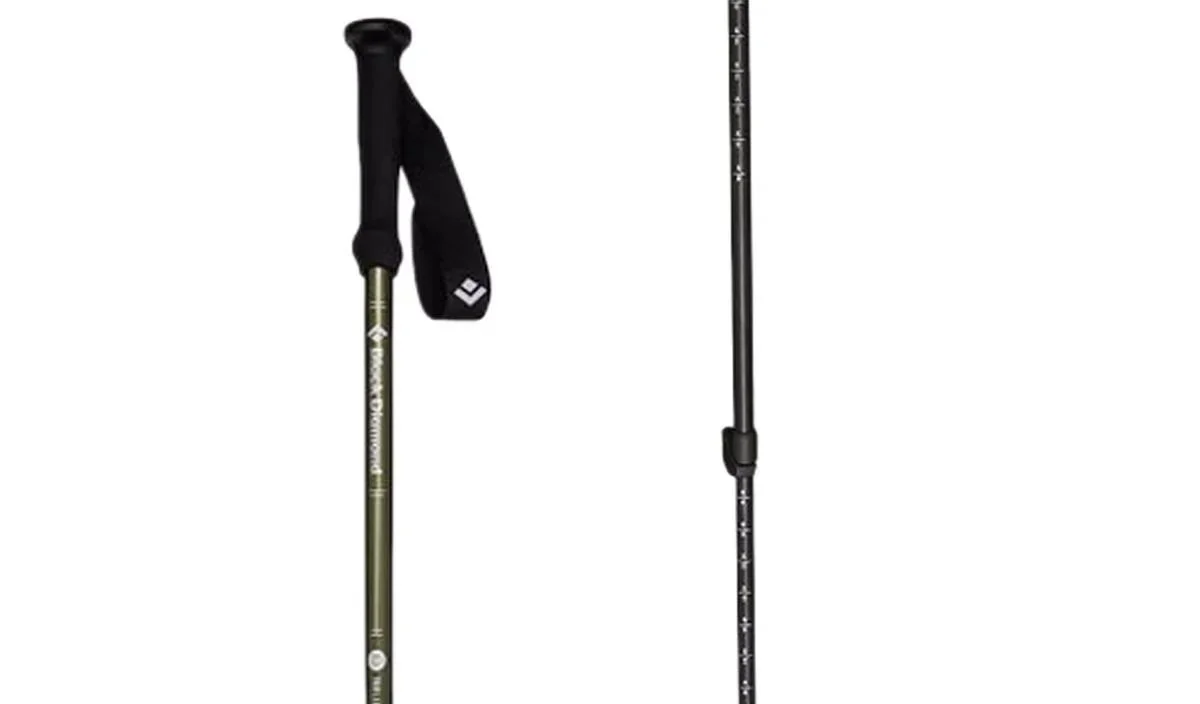
Hiking Poles
Poles are often overlooked by new hikers and seen as unnecessary. However once you use them you’ll never go back! They make you more efficient and take the weight of your knees!
Get it on Backcountry.com

Down Jacket
No matter what the weather I carry a lightweight down jacket. The Arcteryx Cerium is light and very warm! Perfect for keeping you toasty when you take a break or if you were injured and awaiting help.
Get it on REI.com
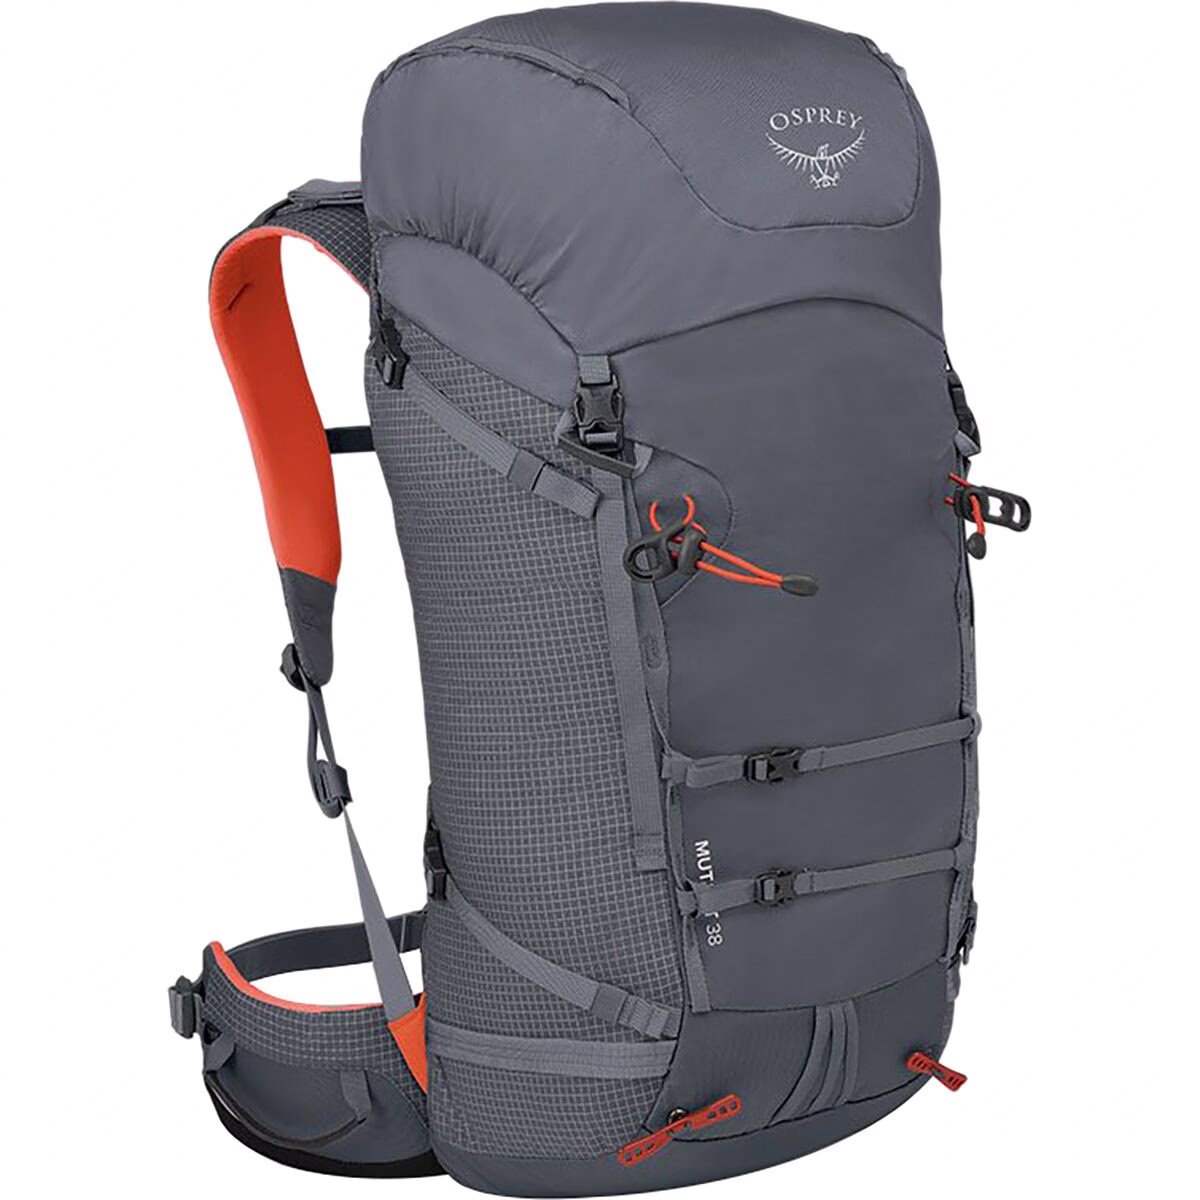
Comfortable Day Pack
The Osprey Mutant is my favourite day bag. Even though it’s designed more for scrambling or mountaineering this bag is one of the most comfortable bags I own and has enough space for everything I need.
Get it on Backcountry.com
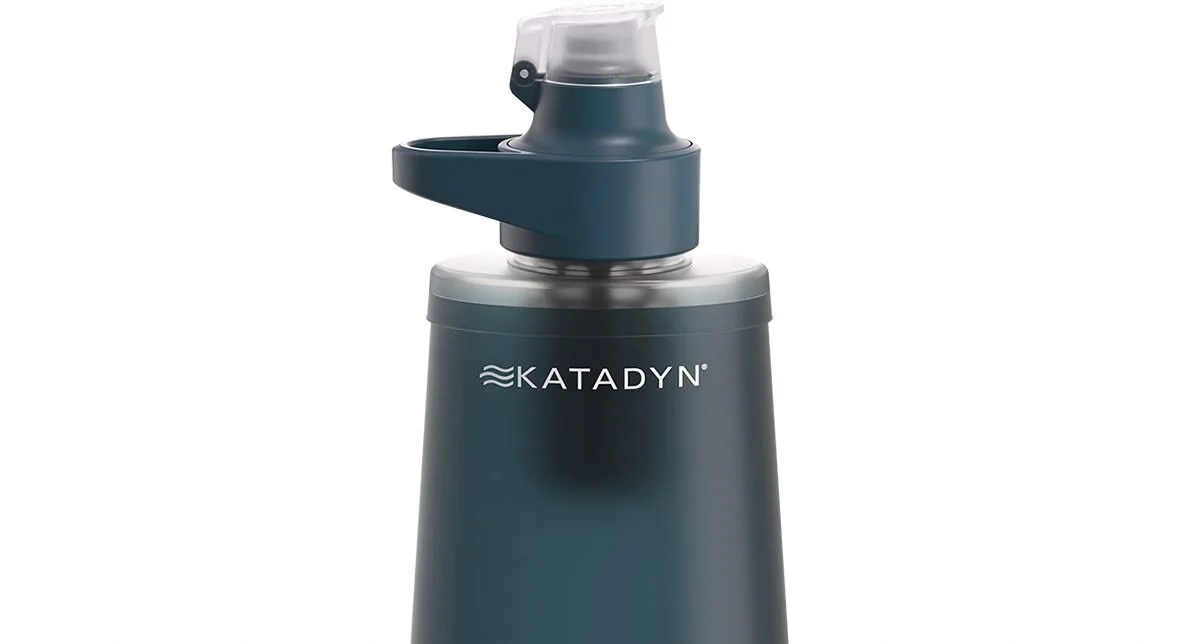
Water Filter
A Katadyn BeFree has to be the easiest filtration system to use. When out on the backcountry you want to be able to filter and refill your water along the way.
This filter packs down small and filters fast. It’s in my bag on every hike!
Get it on Backcountry.com

Capture Clip
Another item that comes on every hike with me and a must own for every photographer.
Keeps your camera close at hand making capturing moments much faster!
Get it on Peakdesign.com