Tent Ridge - 10 km of stunning Kananaskis Views
Tent Ridge is up there with the best of the best when it comes to Kananaskis trails. The views of layered mountain peaks and ridges lined with trees surround you on all sides. This is one of my favourite hikes in the area and to be honest the only negative I have to say is I wish it was longer!
What Time of Year To Hike Tent Ridge?
As with most hikes in the Kananaskis region they are best done in the summer months. Trails tend to come in to condition towards the start of June and remain suitable for hiking until the start of October depending on snowfall.
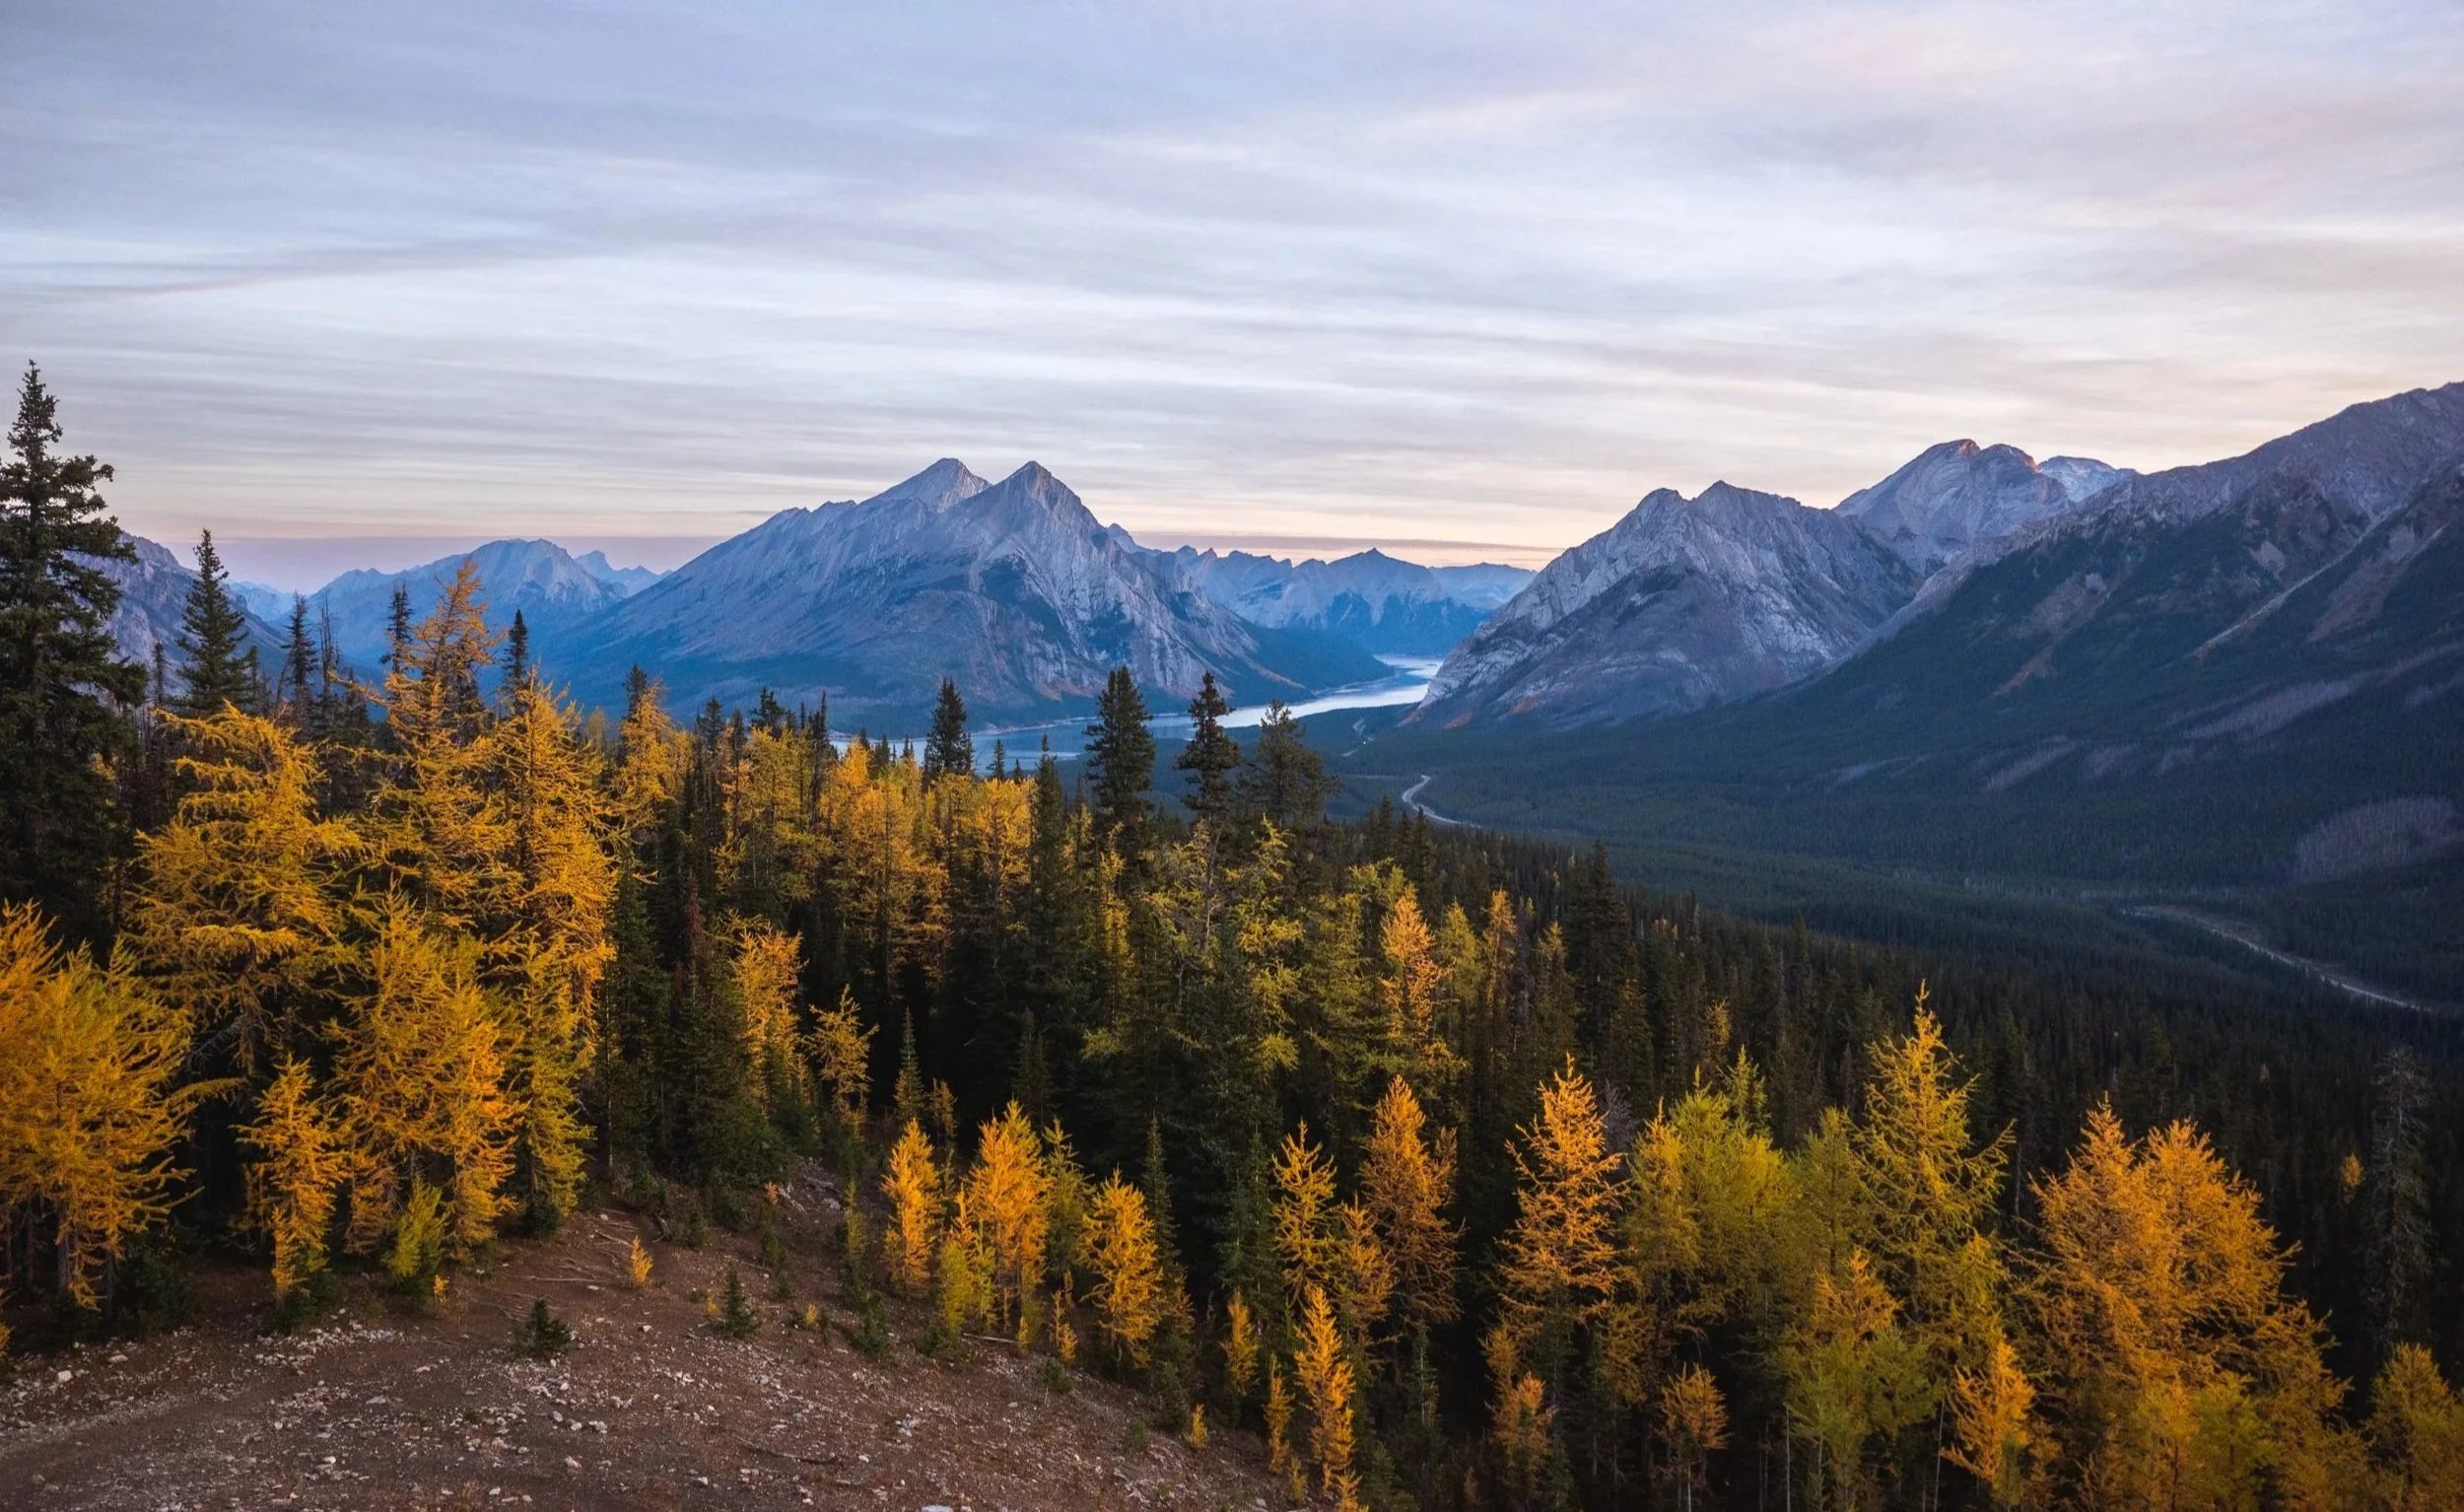
Tent Ridge is also a fantastic fall hike with the valleys and ridge lines lined with yellow larch trees. Mid September until the start of October is my favourite time of year to hike anywhere in the Rockies due to the lower temps, frosty mornings and fall colours.
You can always use the weather station on Tent Ridge itself to get a good idea of condition and wind!
A Winter Warning
As the years go on these trails become more and more popular and end up on people’s bucket lists, a lot of this is due to social media. Because of this a lot of hikers feel they have to complete these trails no matter what time of year they’re visiting. As a result less experienced hikers seem to be pushing further and further in to winter and taking bigger risks to complete Tent Ridge.
During winter this trail is an avalanche risk not only that but there are steep, exposed sections of trail where one wrong foot could be a matter of life or death. Tackling what might be an easy scramble in the summer becomes a much more difficult and riskier venture when the trail is covered in snow. At a minimum for a winter hike like this you’d need crampons and an ice axe to self arrest if you fall as well as avalanche awareness.
I do not recommend hiking this trail during winter unless you are experienced as it becomes a completely different beast.
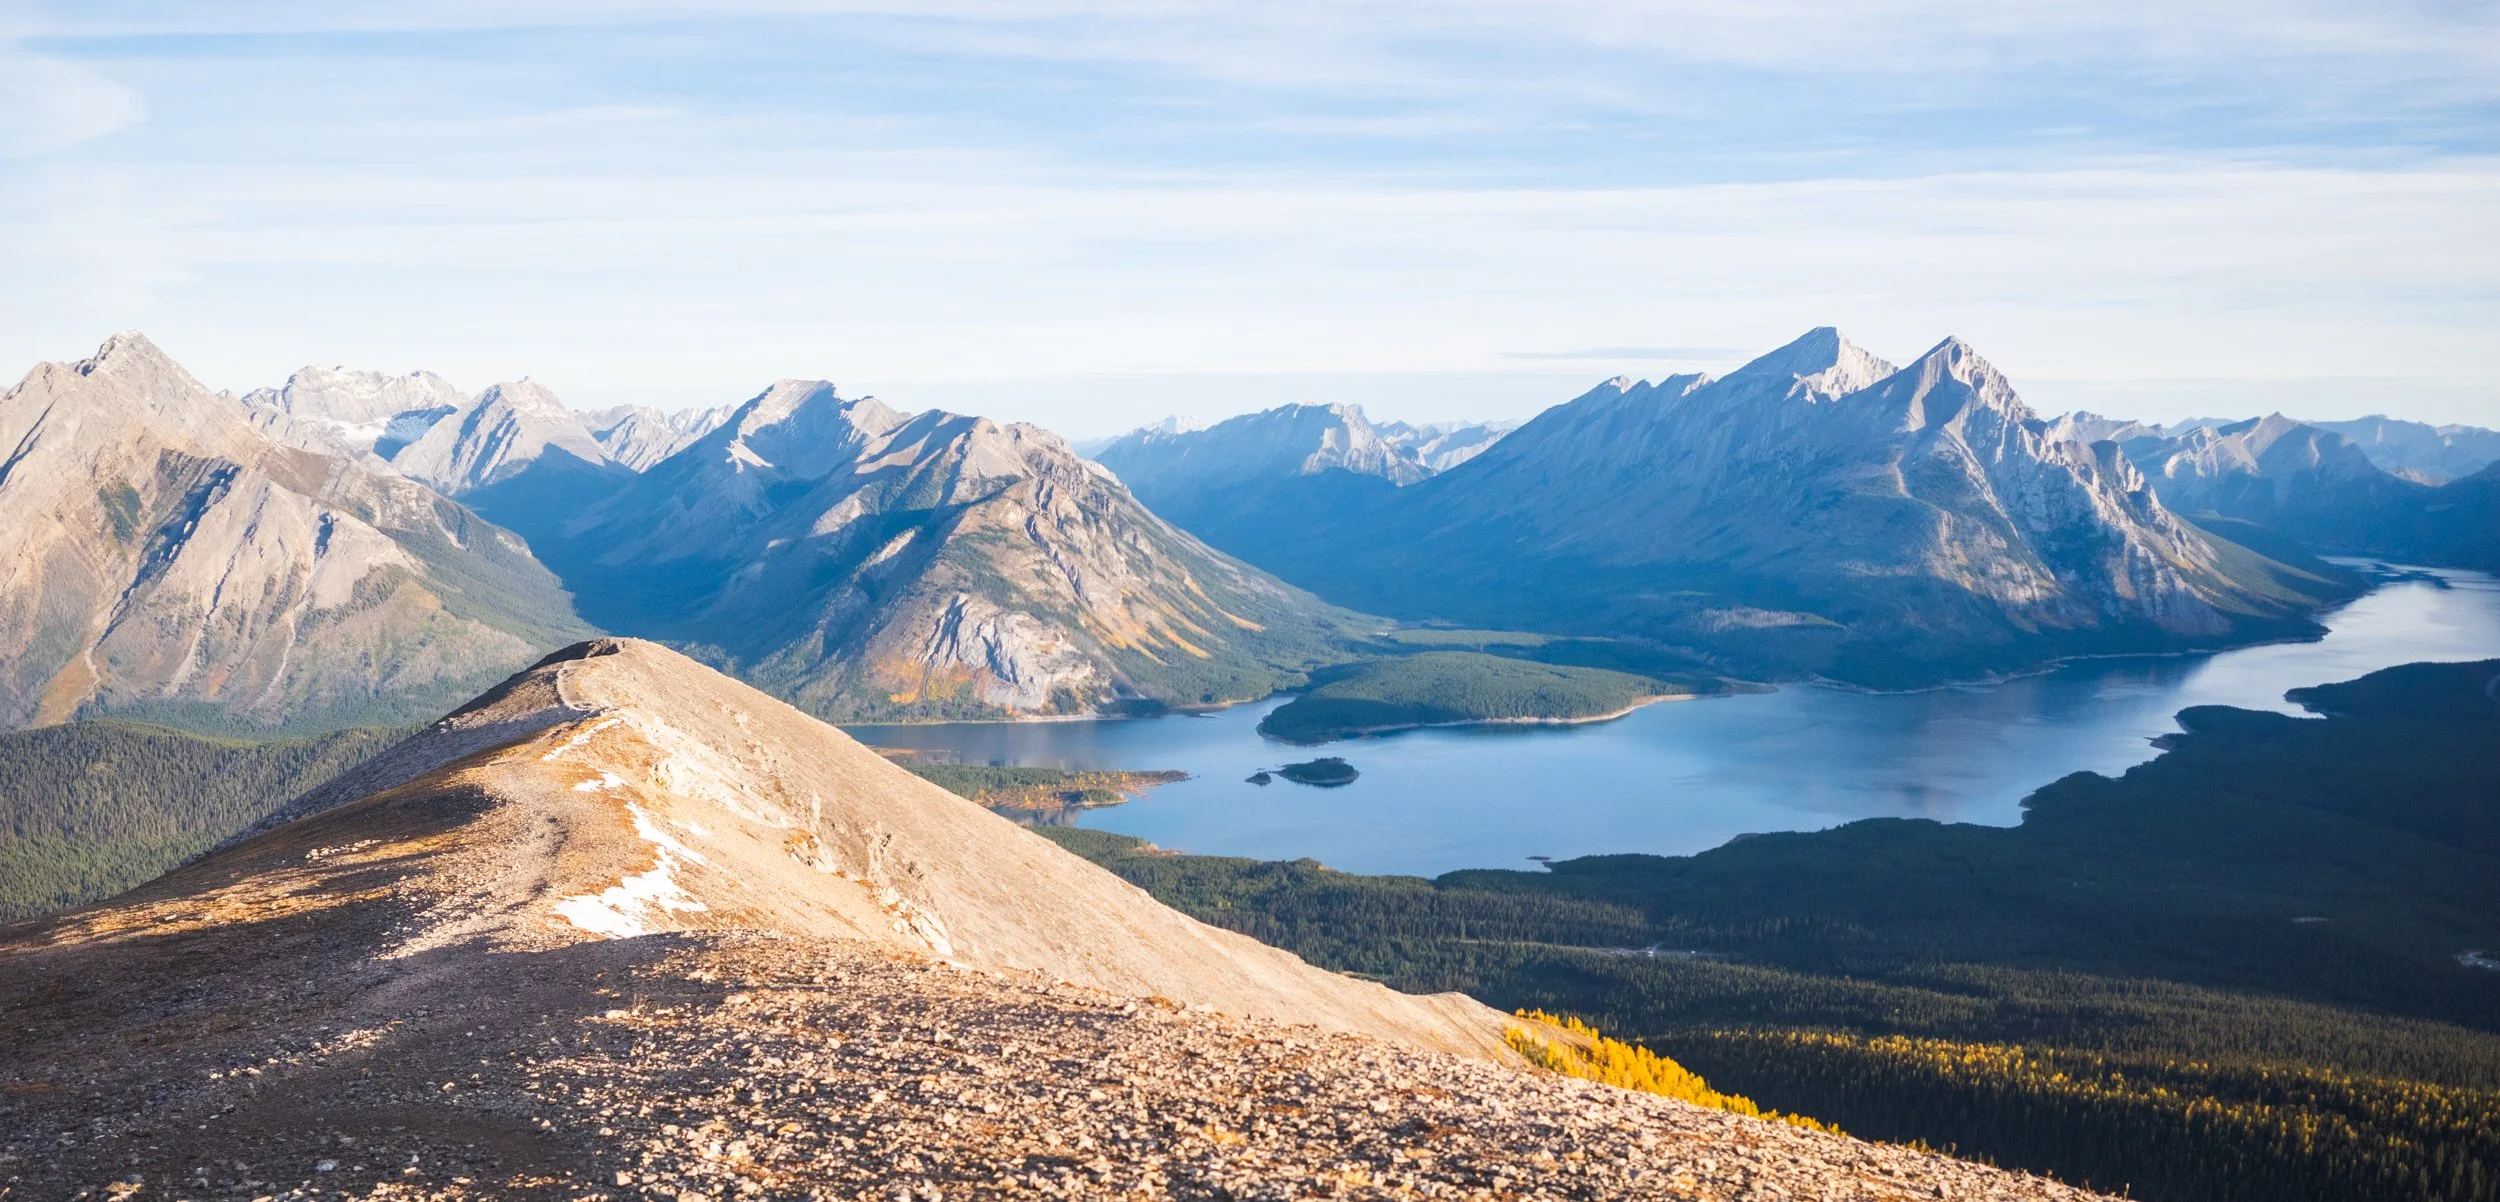
Early morning views over Tent Ridge trail towards Spray lakes.
How to Get to Tent Ridge Trailhead
Tent Ridge trailhead is on Mount Shark Road just off the 742 about an hour from Canmore. From the town of Canmore follow signs to Kananaskis and you’ll join the 742 as you drive between Ha Ling Peak and East End of Rundle. Take a right just before Engadine Lodge and right at the fork. There is a decent sized car park at the side of the road.
Which Way Around Should I Hike?
Heading down the steeper scramble section that you’d hike up if going clockwise.
Tent ridge is a horse shoe loop starting and ending close to the main car park so can be completed in either direction. I’ve completed the trail in both directions and while in all honesty I feel like either way makes for a beautiful hike the majority of people will hike Tent Ridge clockwise.
Hiking clockwise means you tackle the steepest most exposed part of the trail whilst heading up hill. Steep scrambles are often easier and safer on the way up than on the way down so I’d recommend heading round clockwise for an easier ascent.
This is the most exposed part of the trail too so it’s better to see it from the bottom and not hike up than to see it from the top and not want to hike down. It would be a long walk back the way you came!
If you’re worried about directions check out the map here on All Trails or download the map offline via All Trails Plus.
The Stats
Time: 2 - 6 hours this is a popular trail which a wide range of hikers try to complete. I’ve completed this trail as a run in under 2 hours but going slow and steady with breaks for snacks and lunch most people are looking closer to 6 hours altogether.
Distance: 10 km
Elevation Gain: 850 m
The Hike
To complete this hike clockwise you’ll need to head back down the road you drove up on foot for about 200m before you take a right on to the obvious trail heading in to the woods.
You’ll hike through the woods for about 2 km with a pretty constant uphill grade until you make your way out when the pine trees open up on to a small meadow. The meadow is however short lived when the trail trends to the left back into the trees.
Just out of the trees and you’re already rewarded with amazing views!
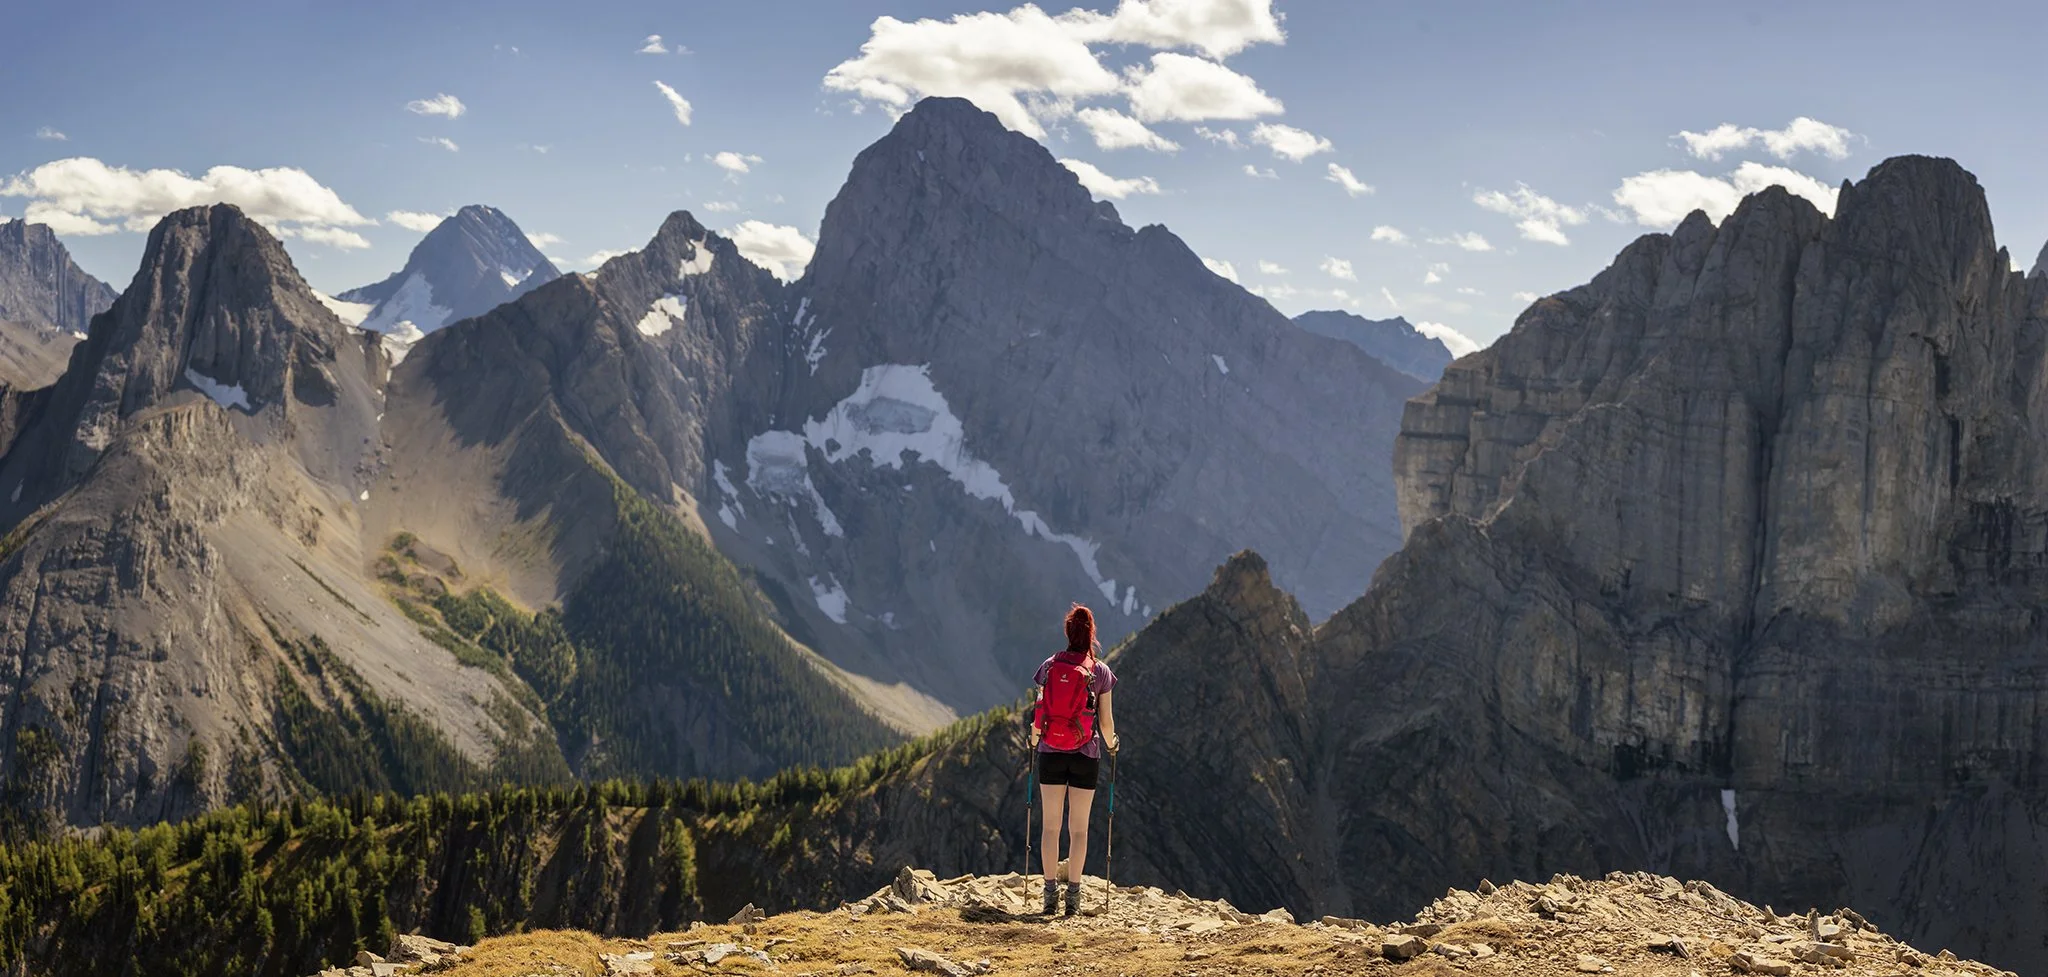
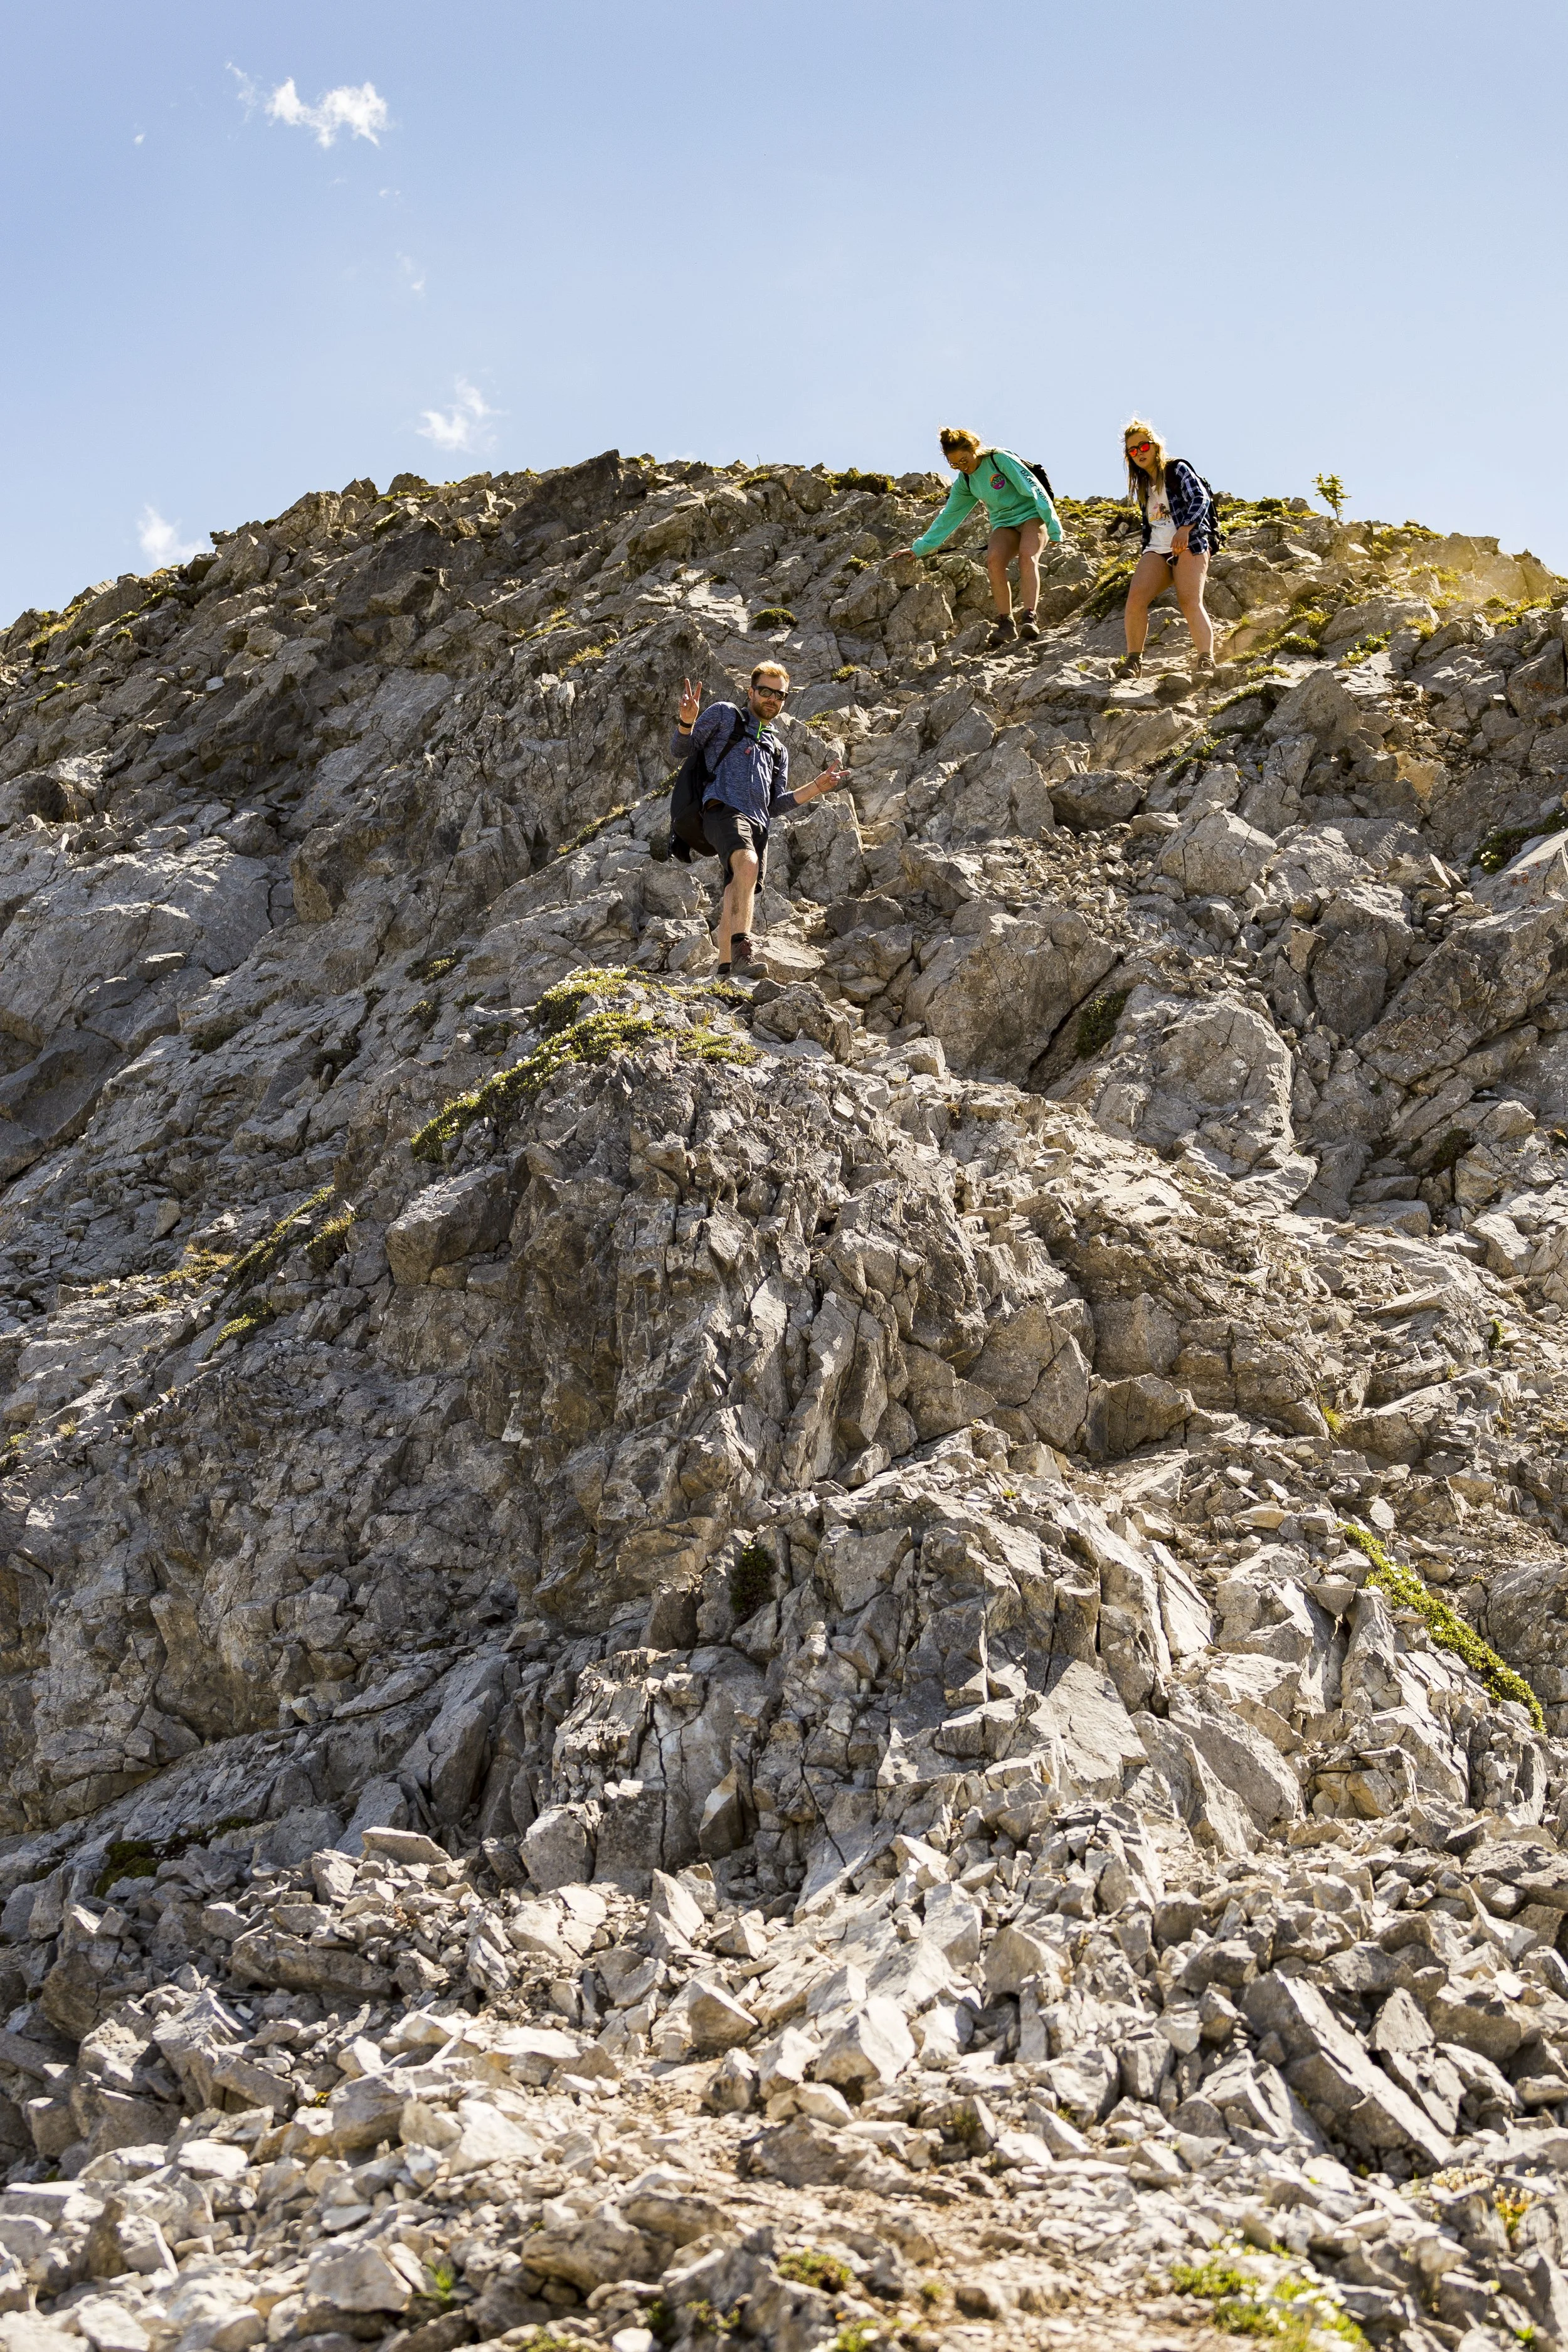
Once the trees open up you’re at the start of the first elevation gain push covering about 250 m of gain in 1 km. This section is also home of the main scramble mentioned before. If you’re a regular hiker in the Rockies I don’t think this will phase you much at all. However if you aren’t good with heights and exposure you may find this section a little trickier.
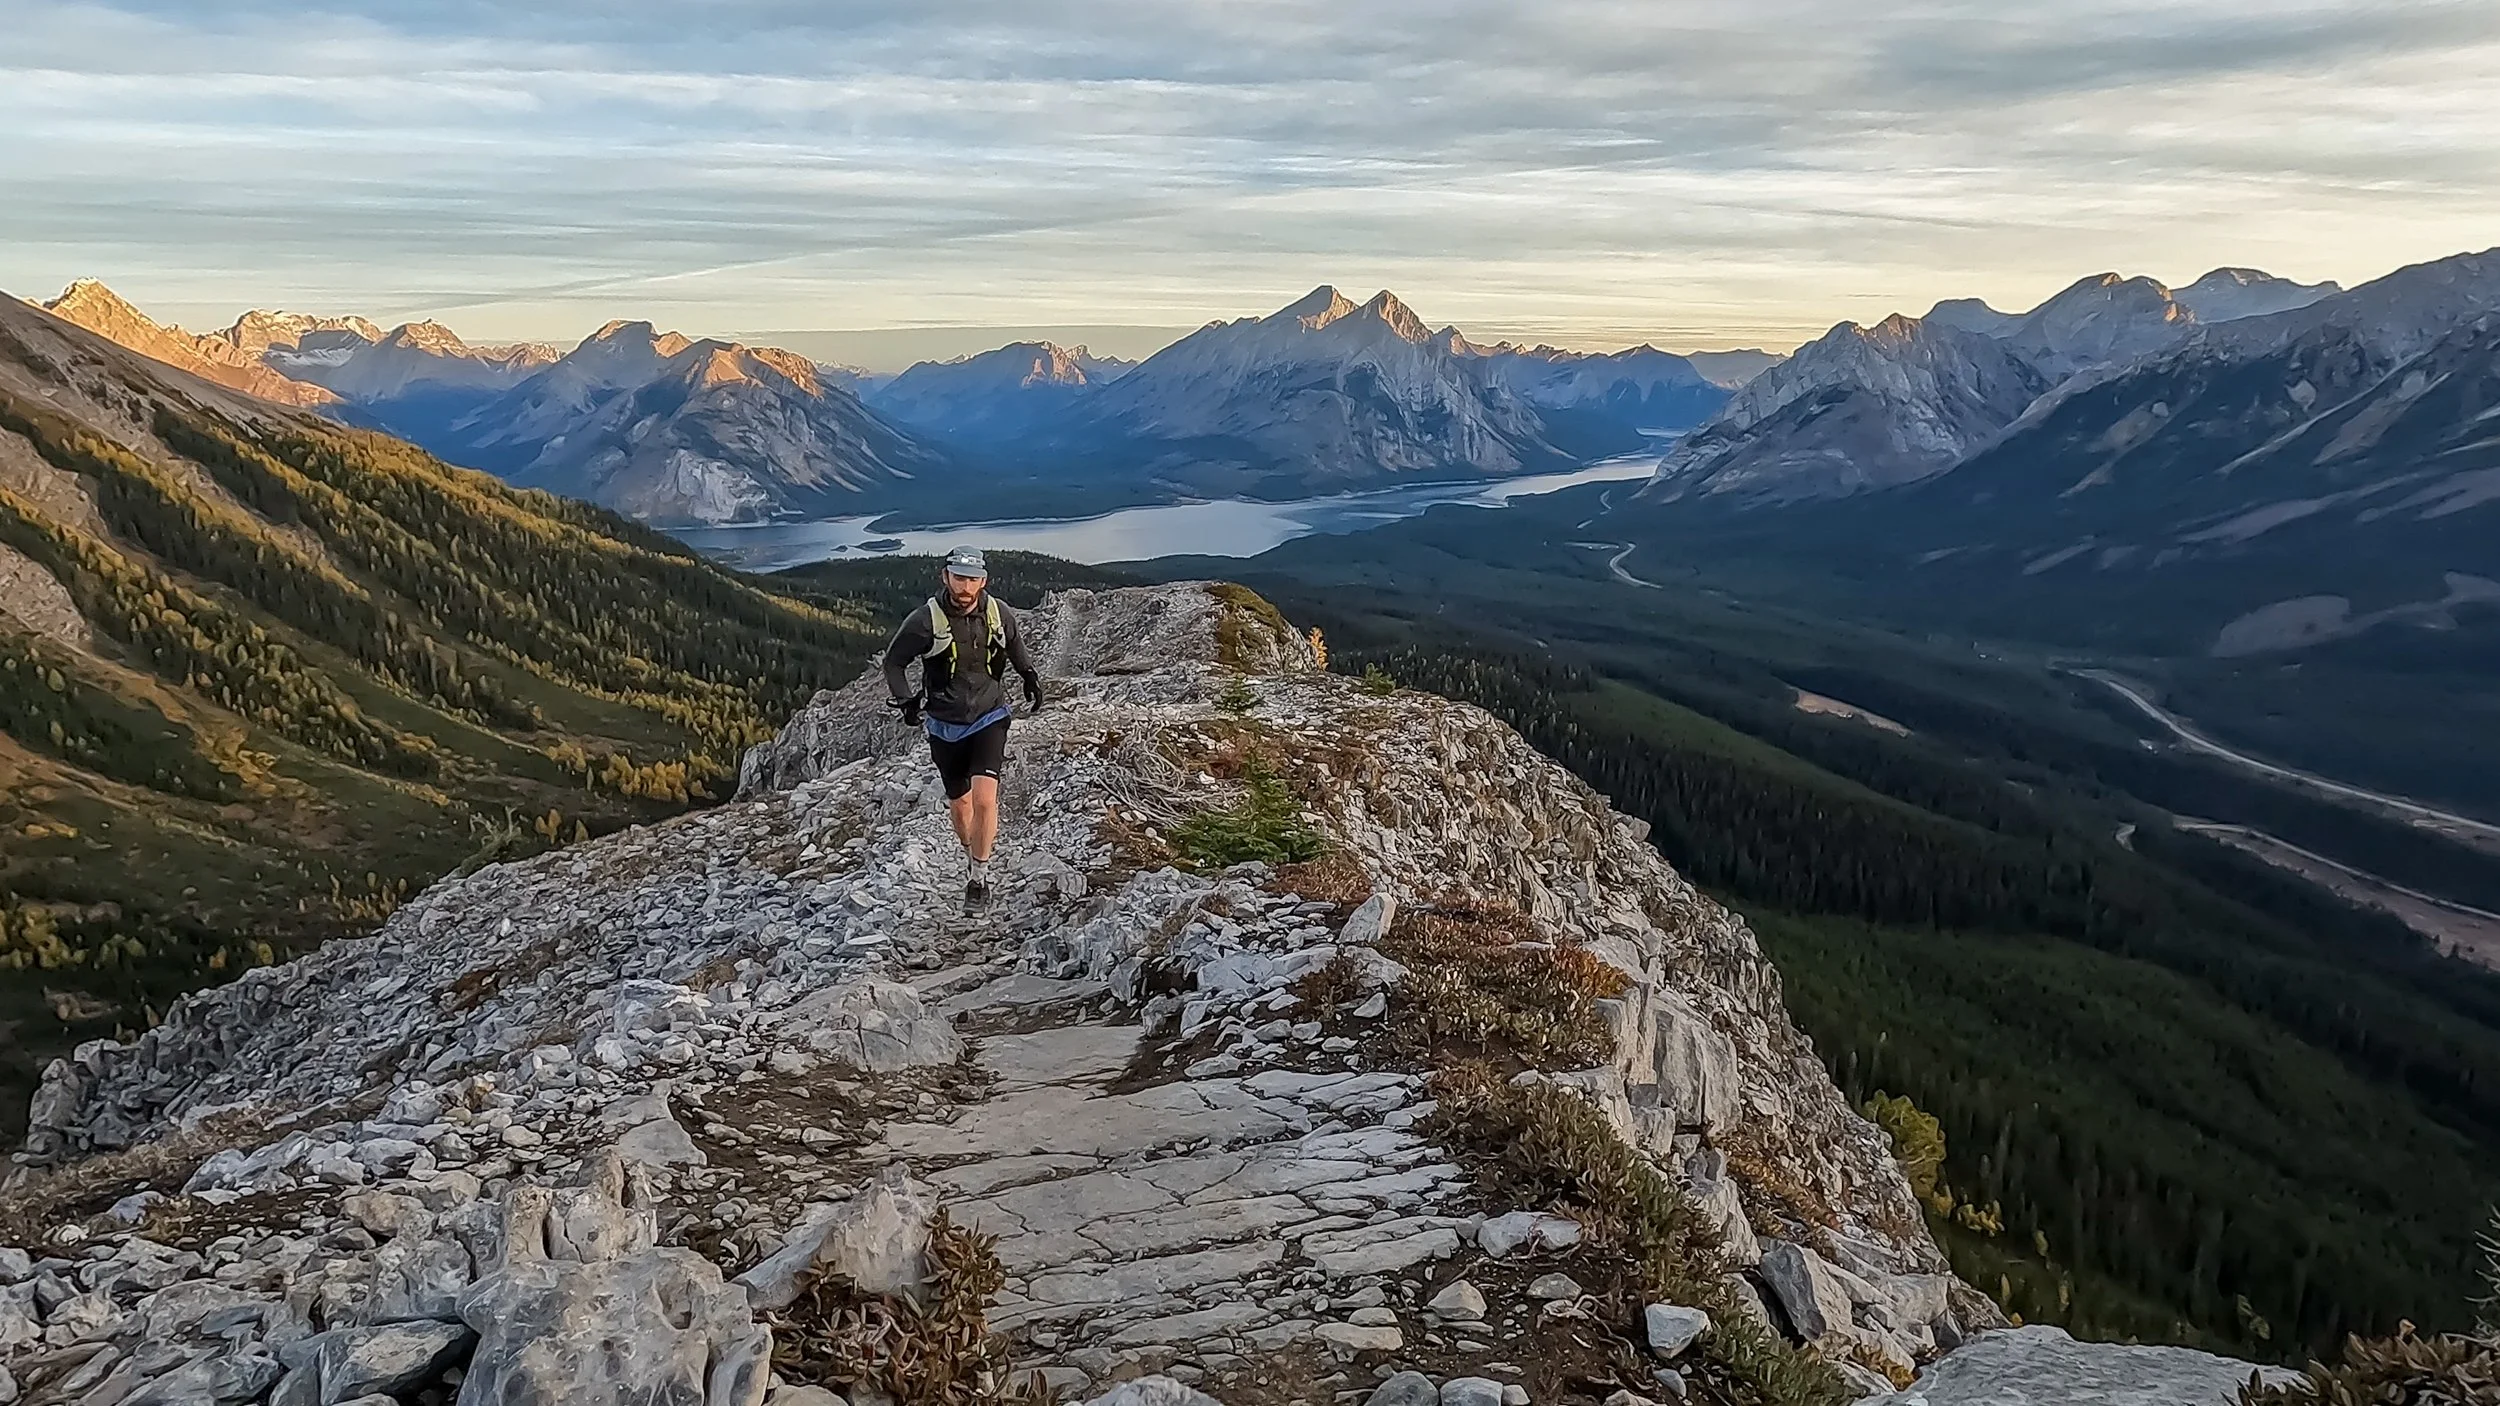
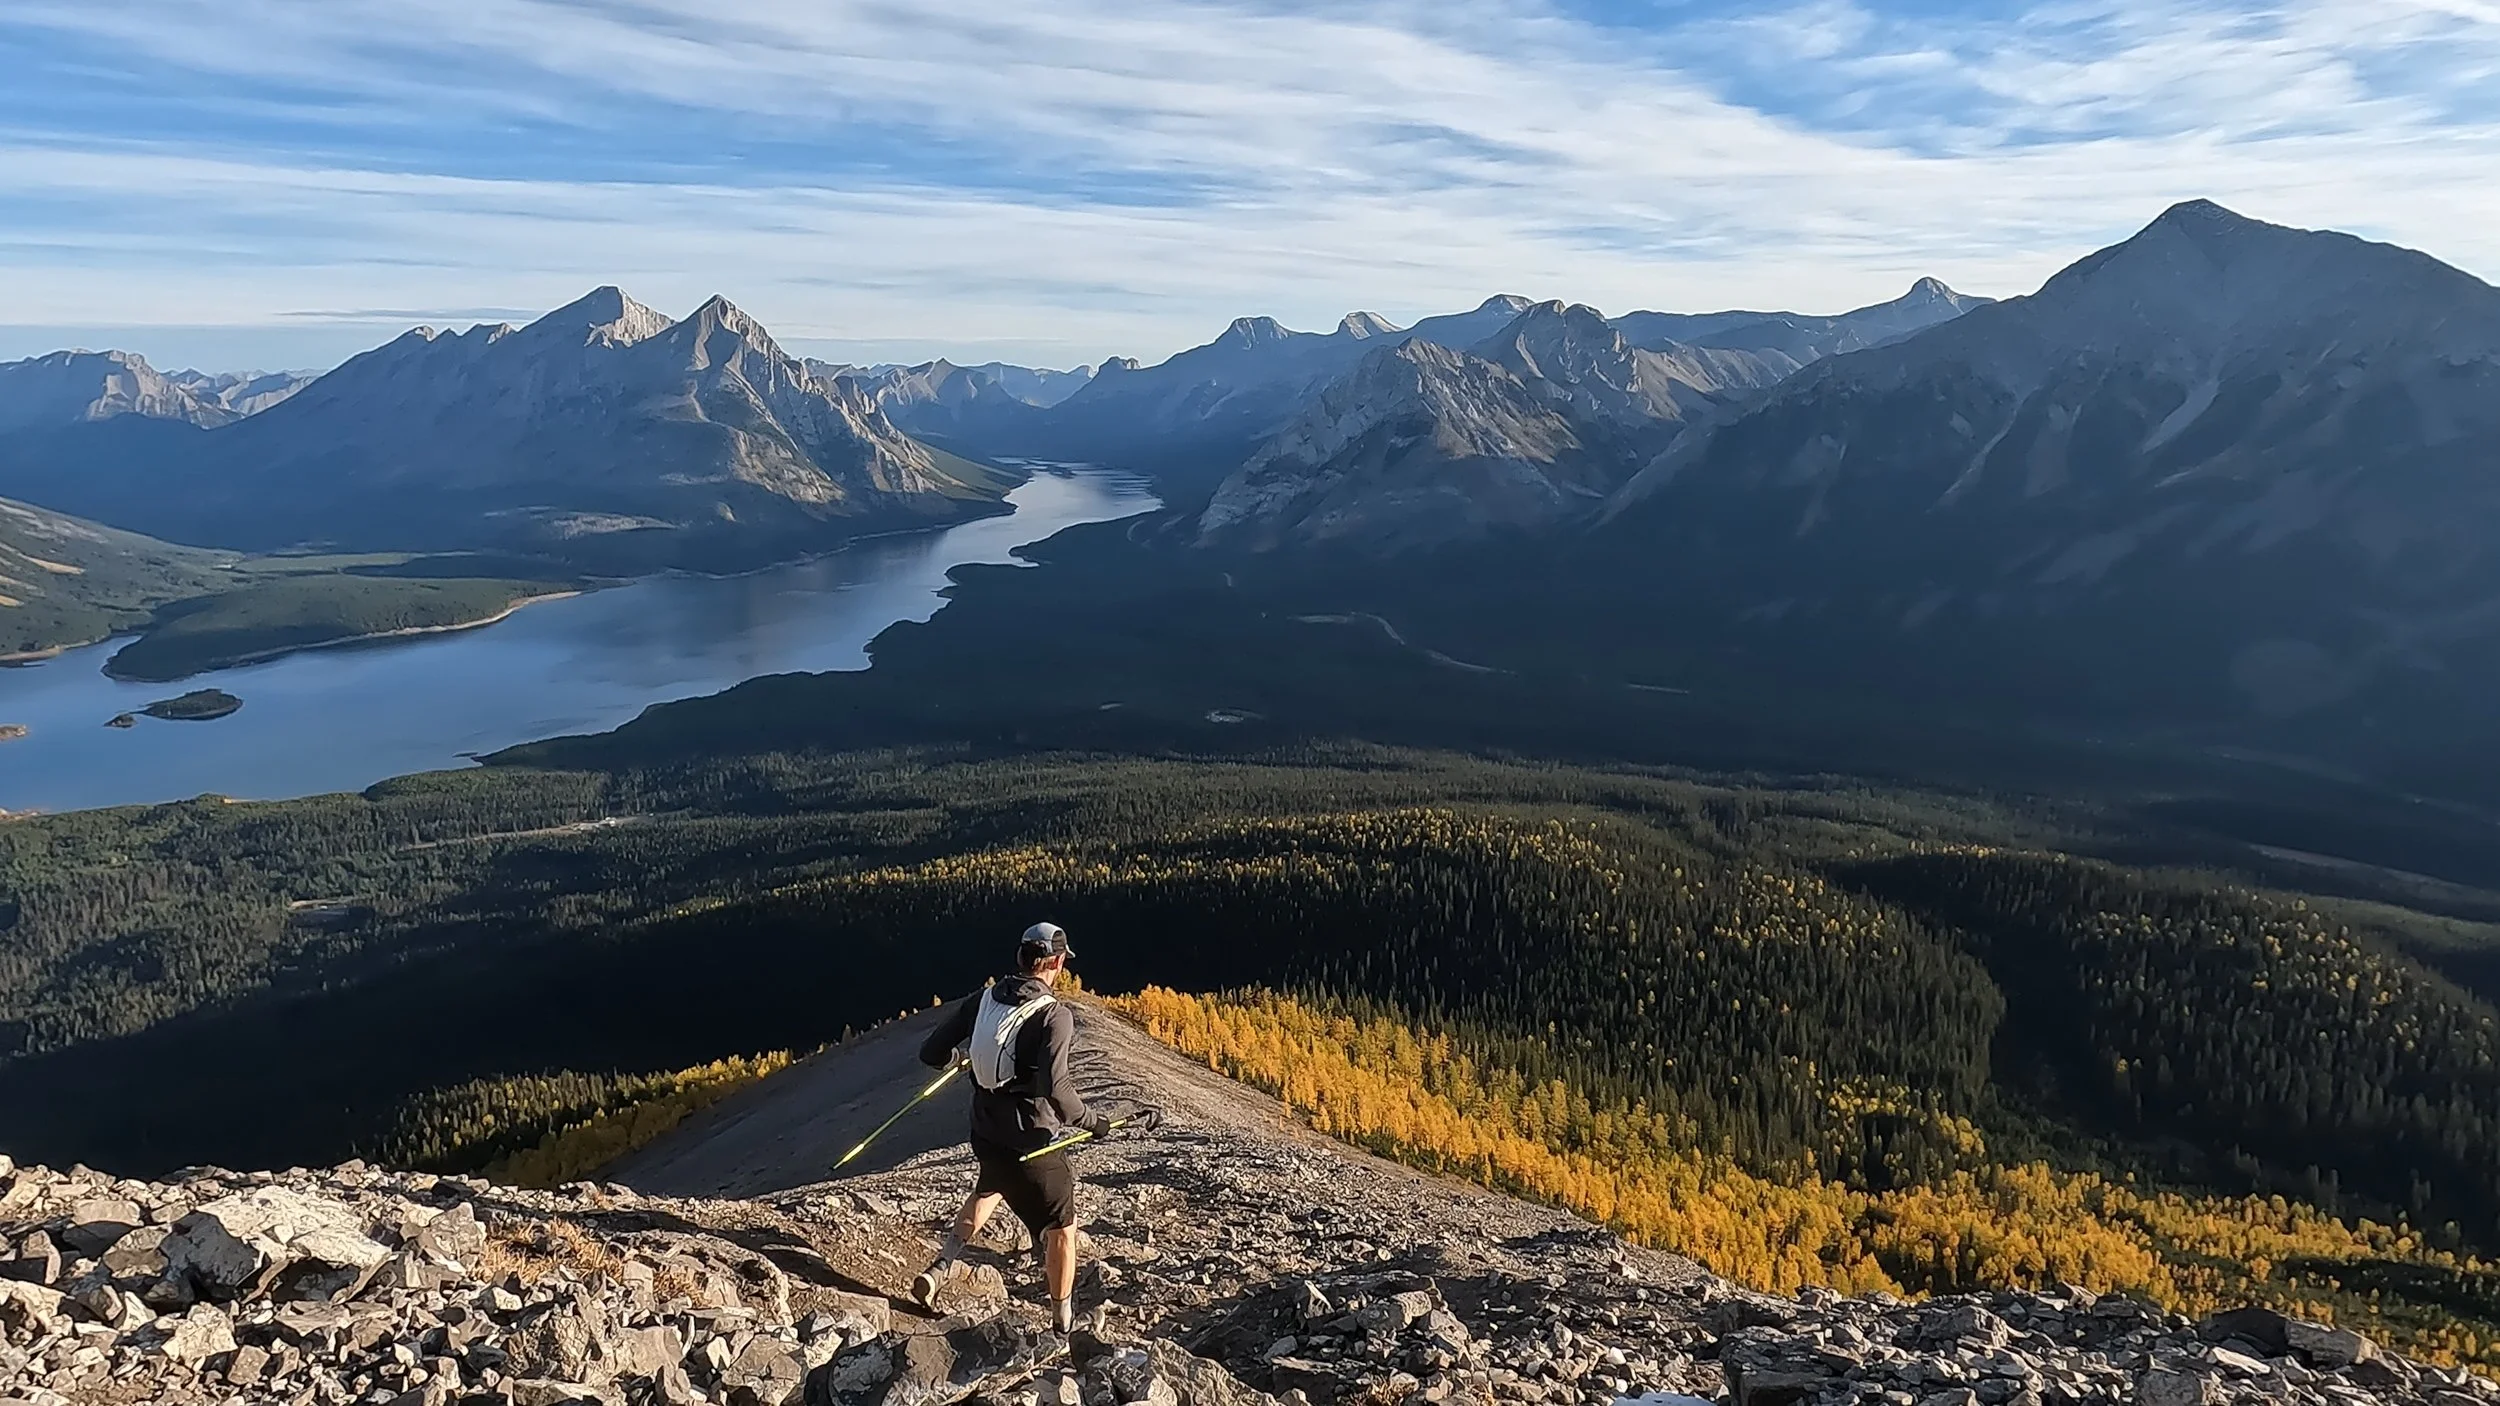
At the top of the scramble running the first section of ridge just after dawn.
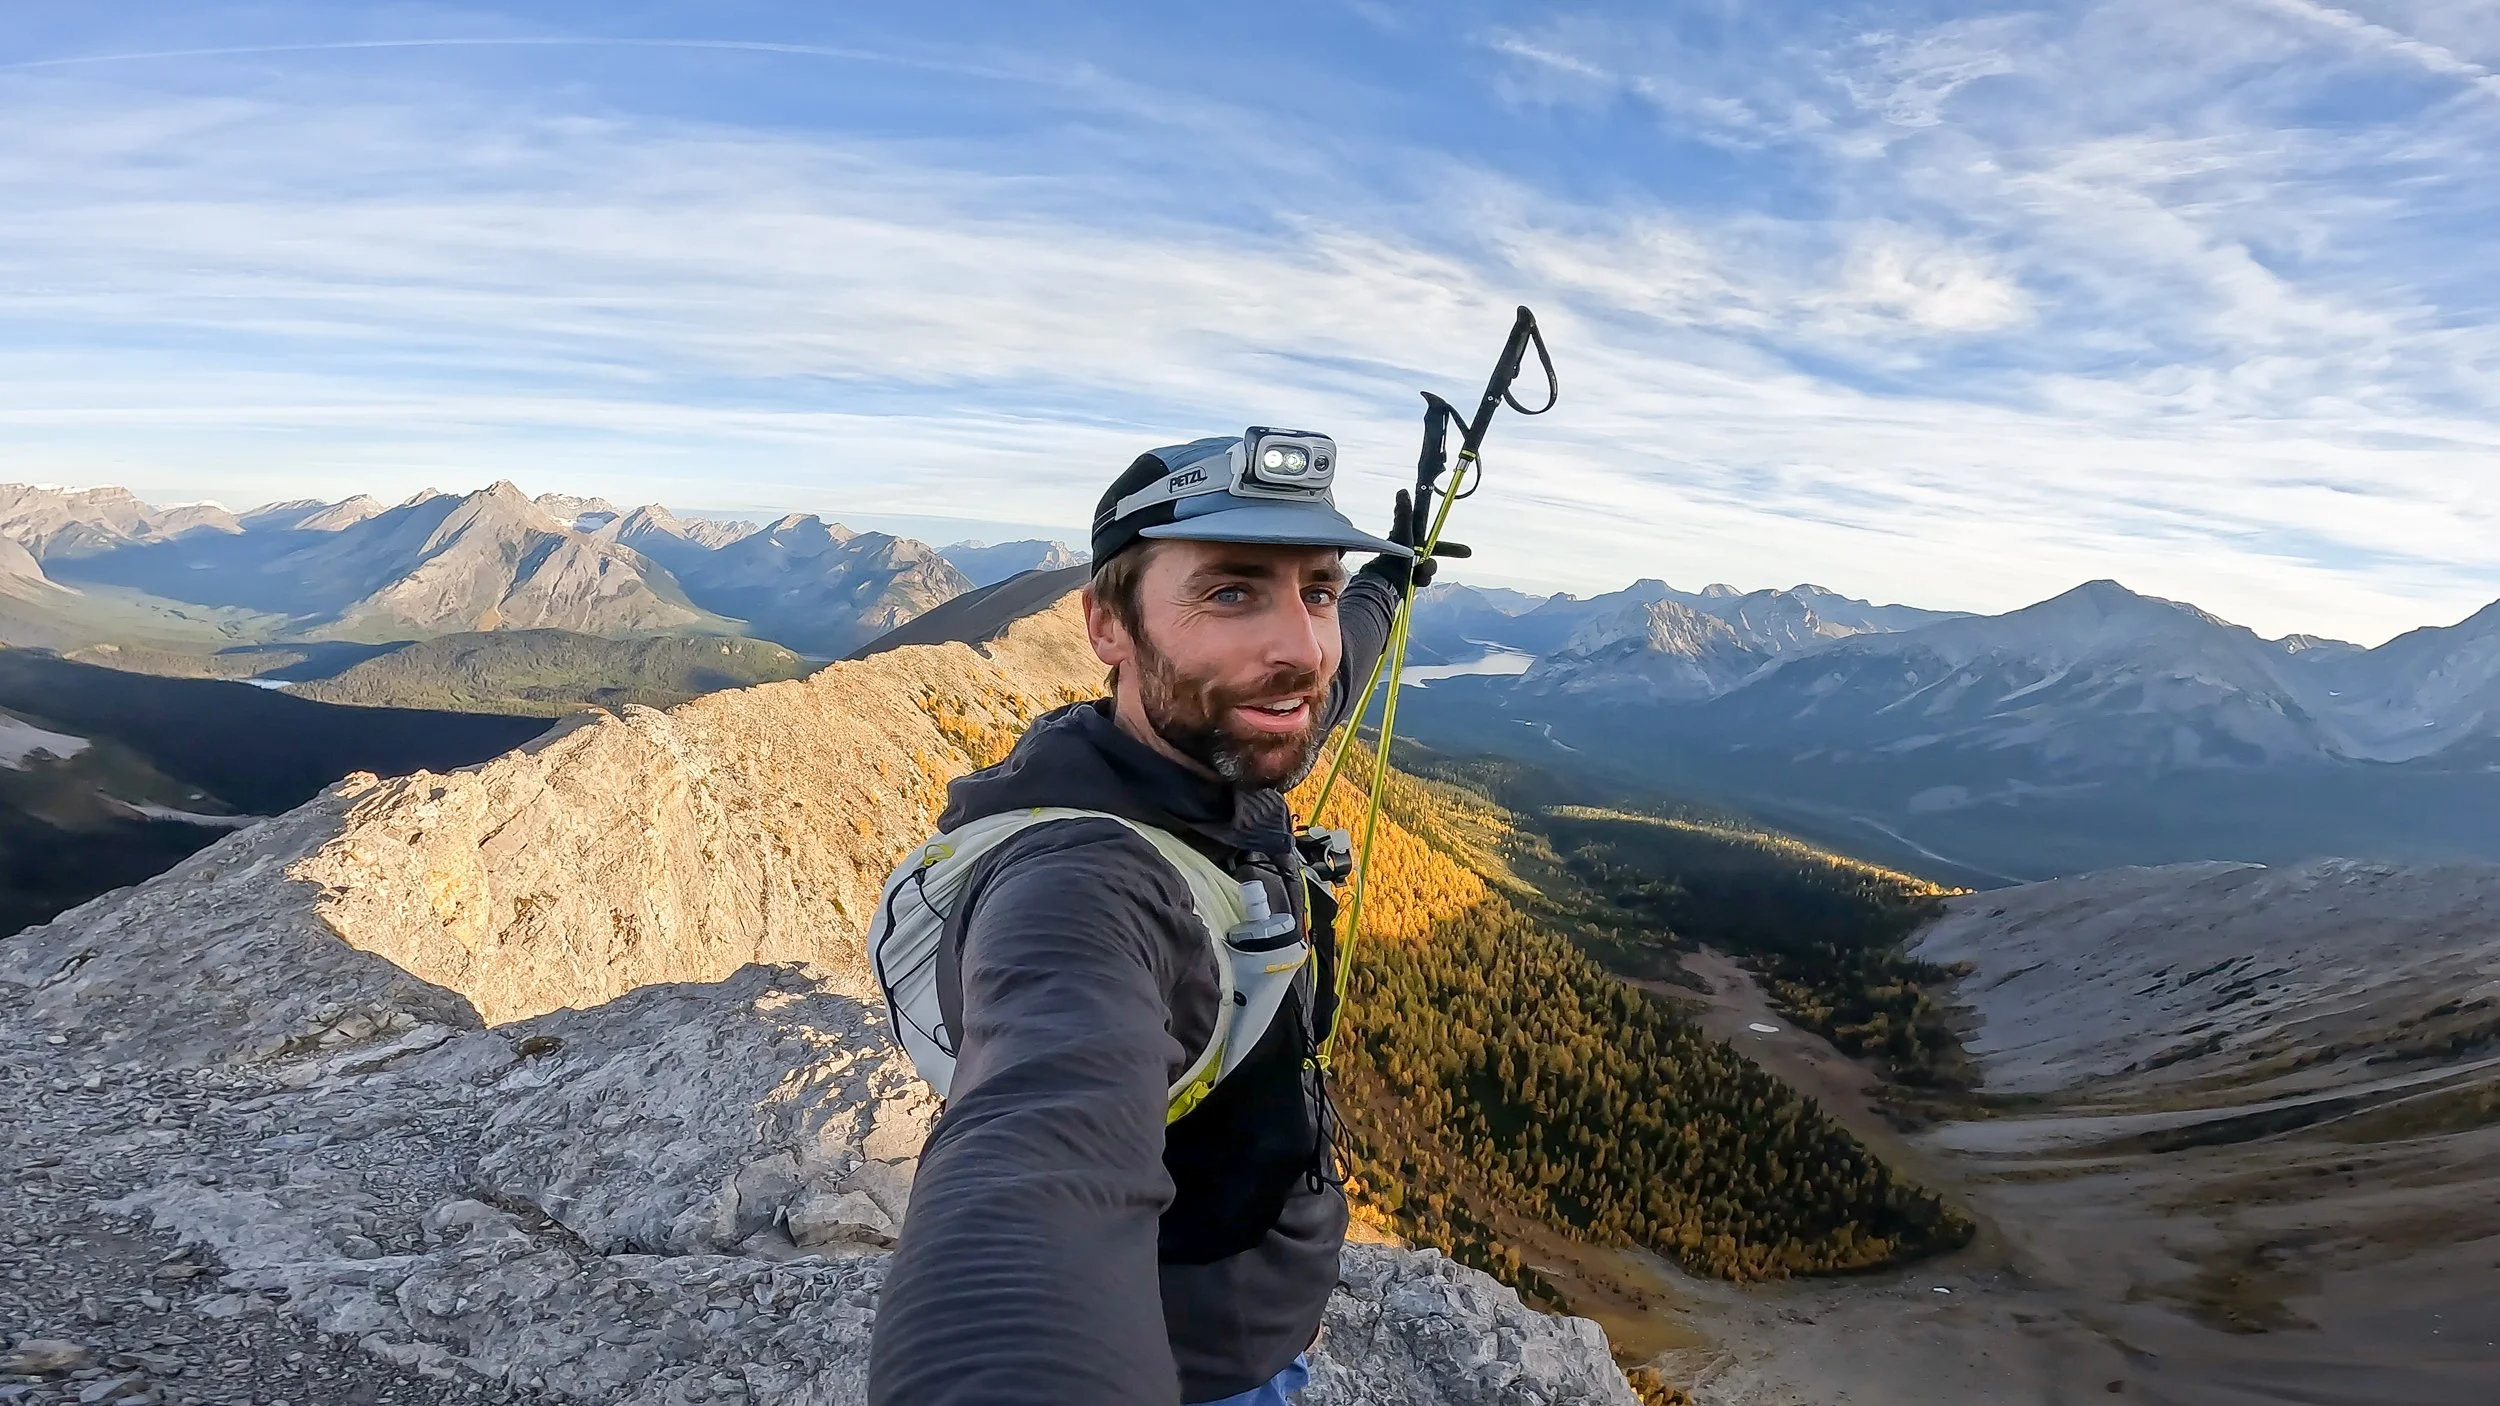
At the top of your first climb you’ll find a weather station. Not only is it a great little spot to grab a snack and take in the views but you can also use it to check weather conditions before you head out!
From here you can see the rest of the ridge line you’re about to hike around!
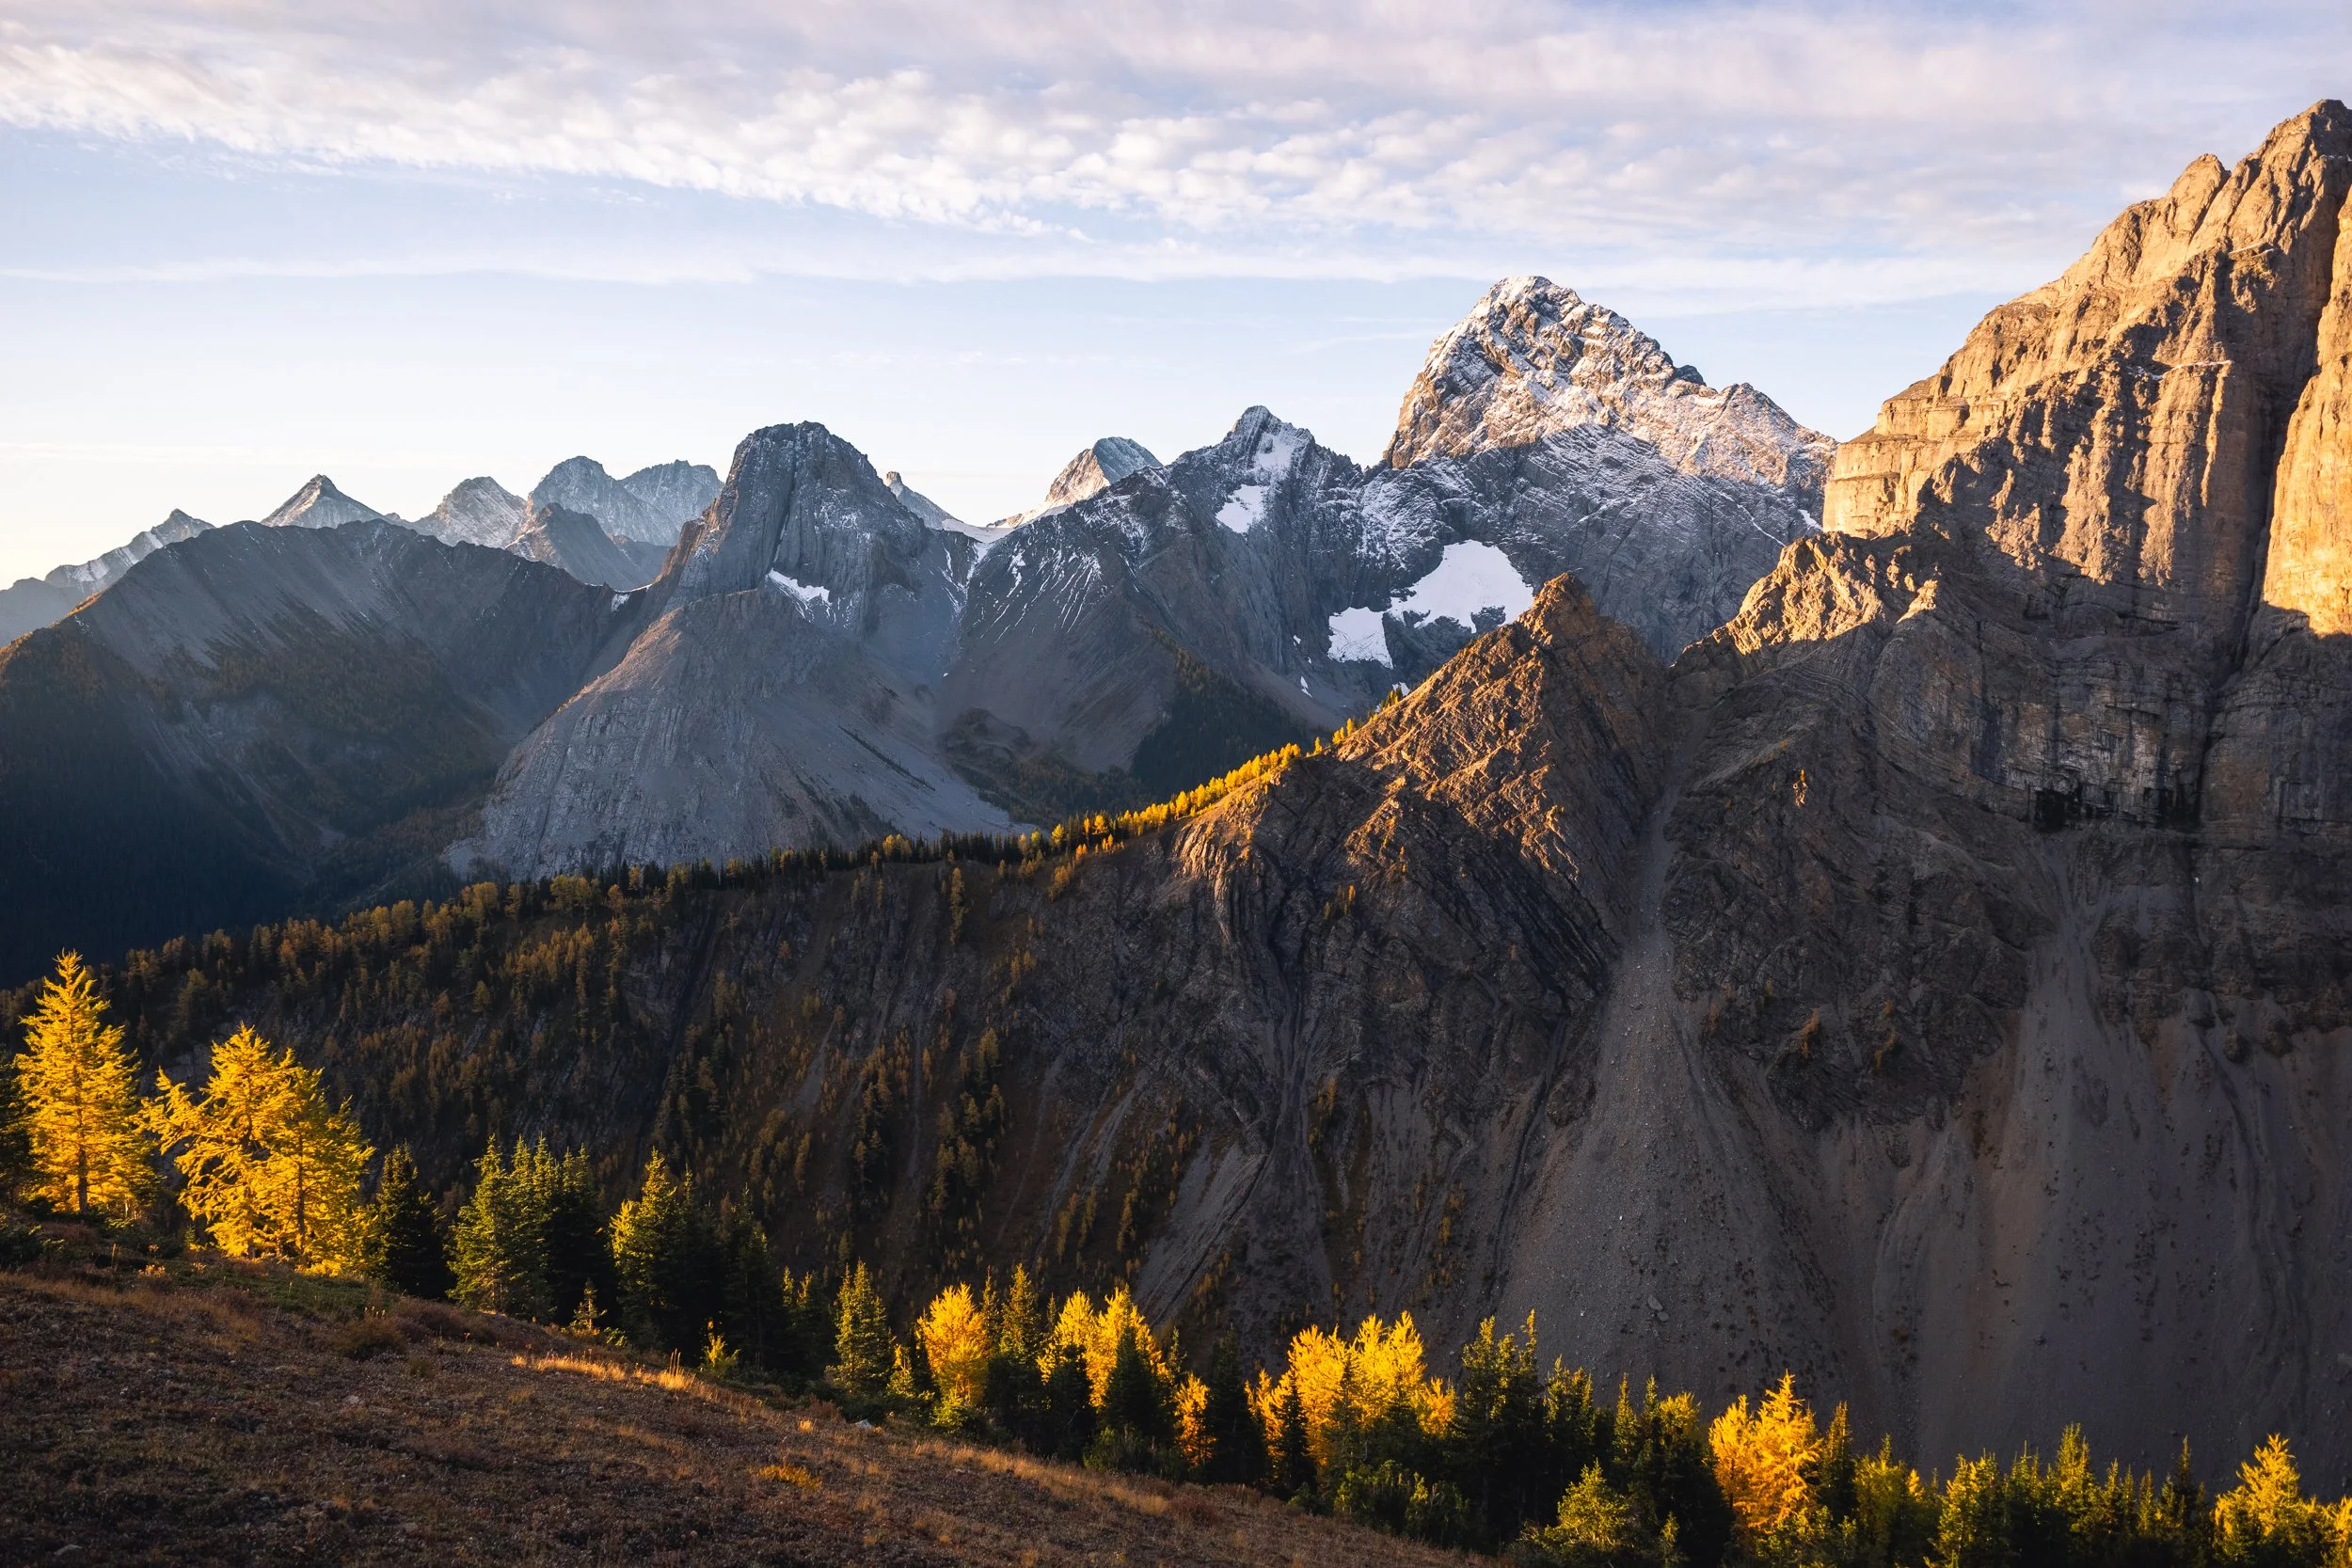
Views out the back of tent ridge from close to the weather station.
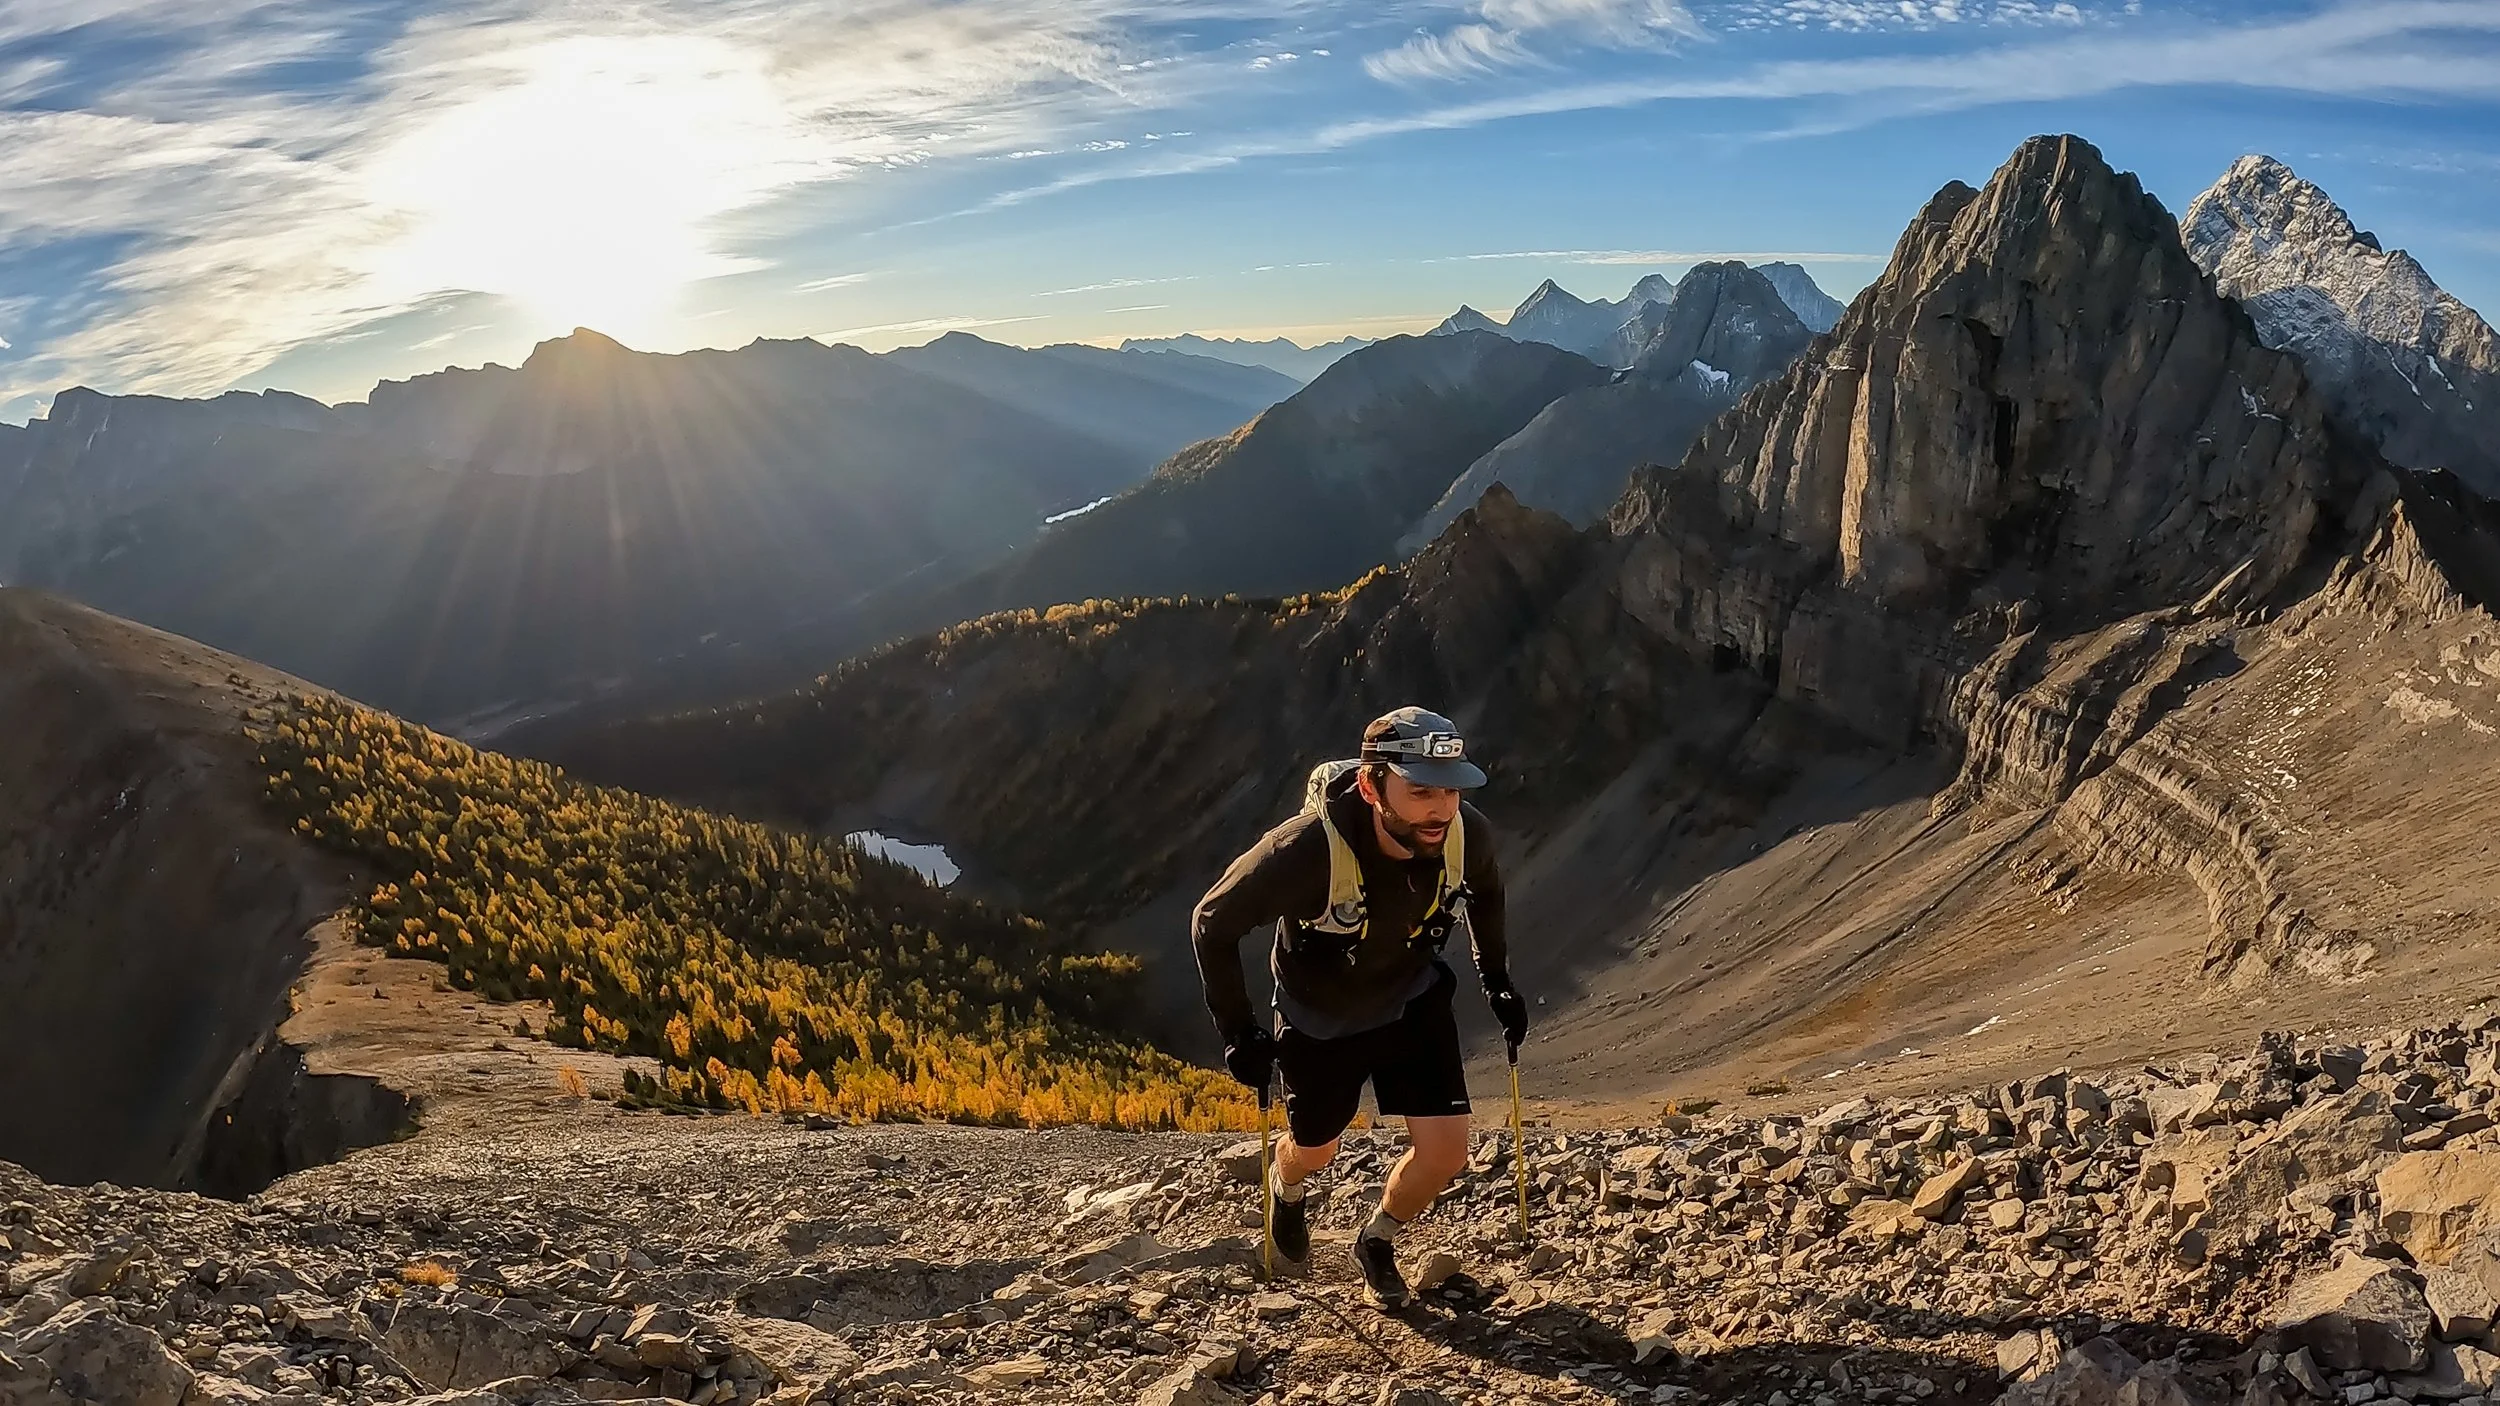
Just after the weather station the ridge line descends past golden larch trees before heading straight back up with a sharp and steep 150 m of elevation gain up to Tent Ridge summit.
On the top of the second summit with the stunning larch tree filled valley below and the second half of the ridge on the left. Keep an eye out below as in the past I’ve watched grizzly bears meander around in the meadow below. The perfect, safe distance to watch bears from!
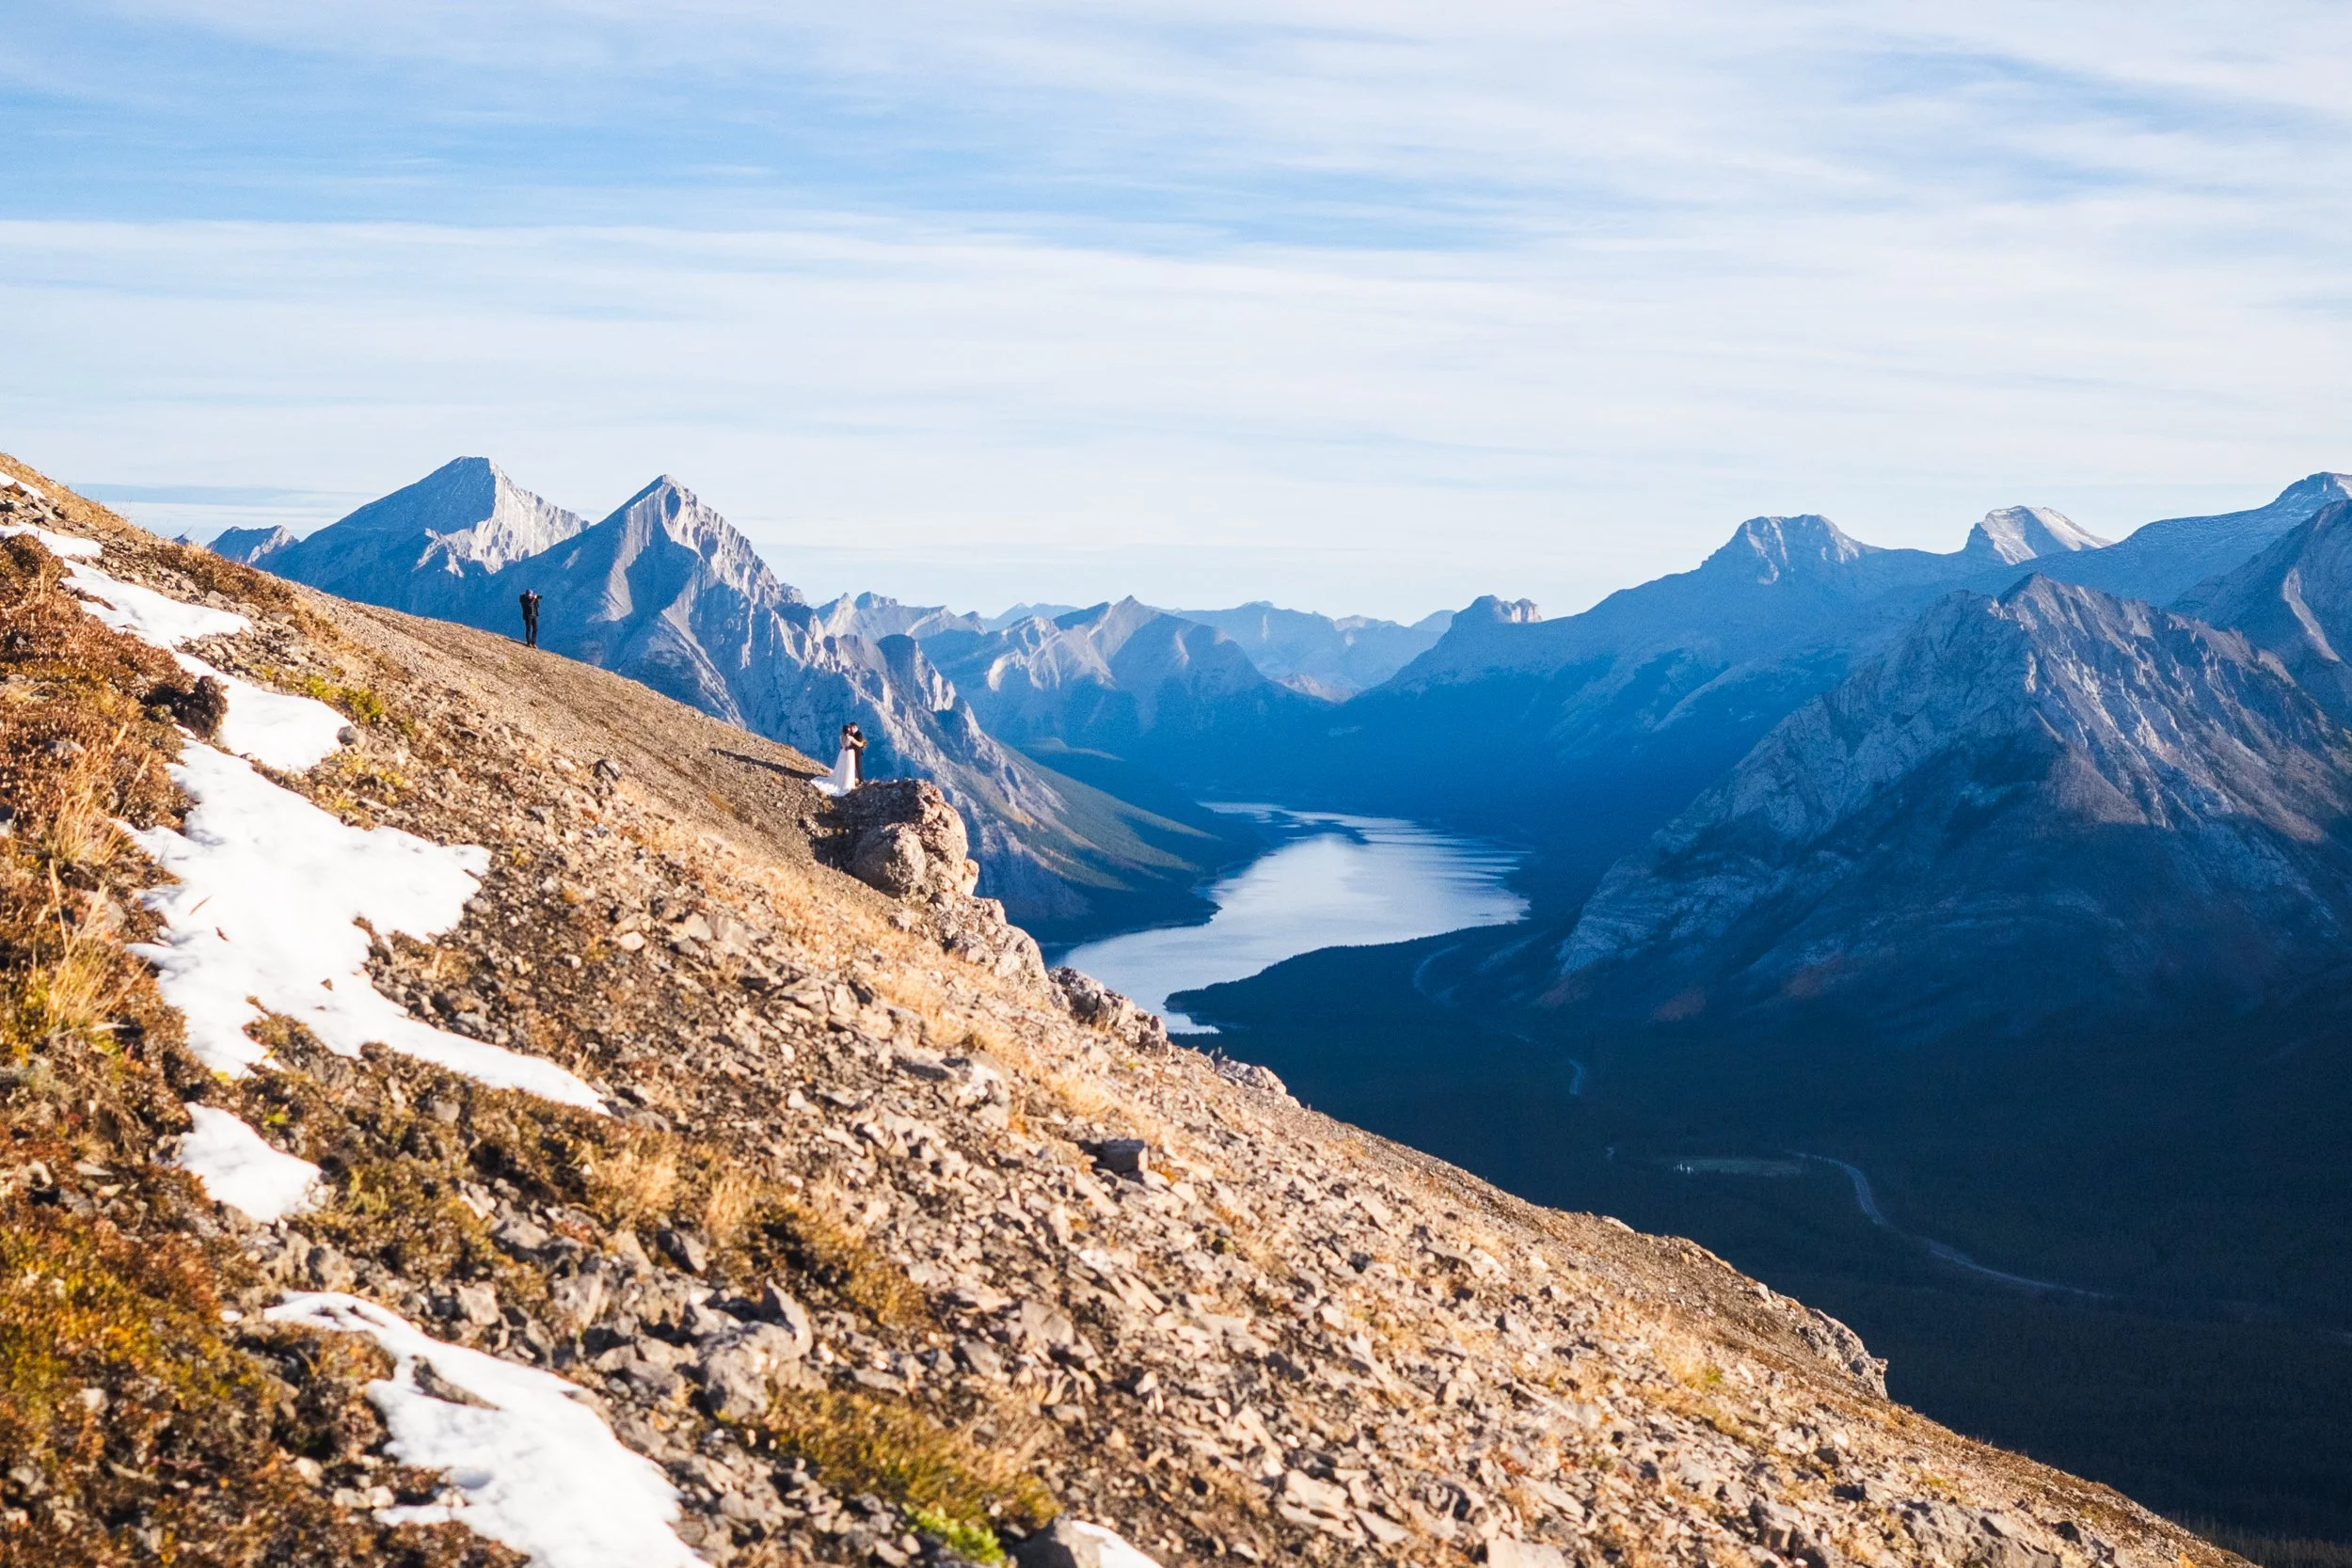
A wedding shoot on the second half of tent ridge.
The ridge from the summit to the last decent is approximately 2 km with a nice steady downhill. It’s a welcome break from the uphill you’ve already completed and is a fantastic ridge to trail run!
As you head along the ridge you get some incredible views of Spray Lakes and it’s surrounding mountain peaks. It makes for an amazing backdrop for pictures or, of course, wedding photos!
From the the top it’s about 800 metres of downhill back in to the forest. The trail is steep and made up of tight switch backs on loose rock and scree so a decent pair of boots is definitely worth while.
The trail descends about 650 metres from this point back down to the road. Shortly after the scree you’ll be back in the forest for your last couple of kms until you pop out back on to the road just a little north of the car park.
Things to know
Bears! I’ve seen bears on this trail and they regularly frequent the meadow and forests at the start of the hike. So as always be bear aware, make noise, hike in groups and carry bear spray! Once on the ridge the risk of bears is very minimal but not zero!
Offline maps knowing where you’re going is super important as to not get lost. I recommend All Trails Plus for finding routes and offline mapping allowing you to safely find your way home.
Interested in other day hikes in the Canadian Rockies or maybe multi-day hikes?
Gear Recommendations
After 10 years living in the Canadian Rockies, years working in retail and years reviewing outdoor gear I’ve dialled in my backcountry kit! And on all day hikes there are definitely a few things I always take with me to make my trip safer, easier and more enjoyable.

Merino Socks
Merino socks are a must for any hike. They keep you dryer, warmer and smelling better!
Once you go merino you never go back!
My socks are now 100% Smartwool!
Get them at Smartwool.com
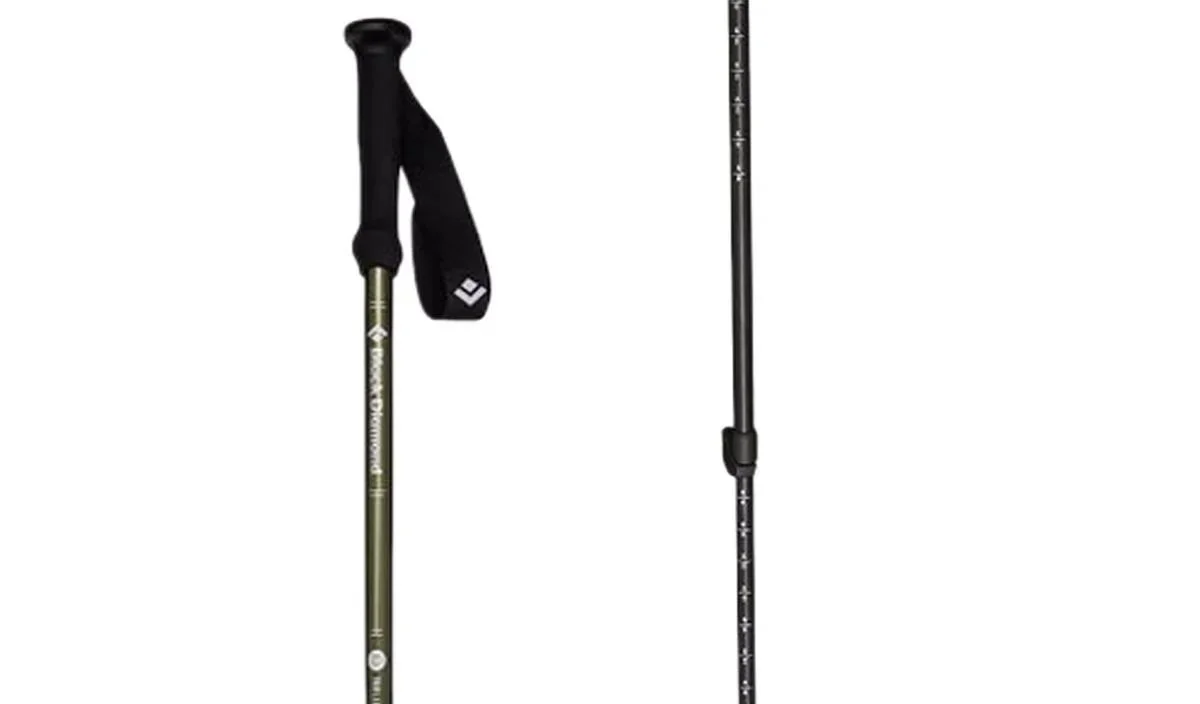
Hiking Poles
Poles are often overlooked by new hikers and seen as unnecessary. However once you use them you’ll never go back! They make you more efficient and take the weight of your knees!
Get it on Backcountry.com

Down Jacket
No matter what the weather I carry a lightweight down jacket. The Arcteryx Cerium is light and very warm! Perfect for keeping you toasty when you take a break or if you were injured and awaiting help.
Get it on REI.com
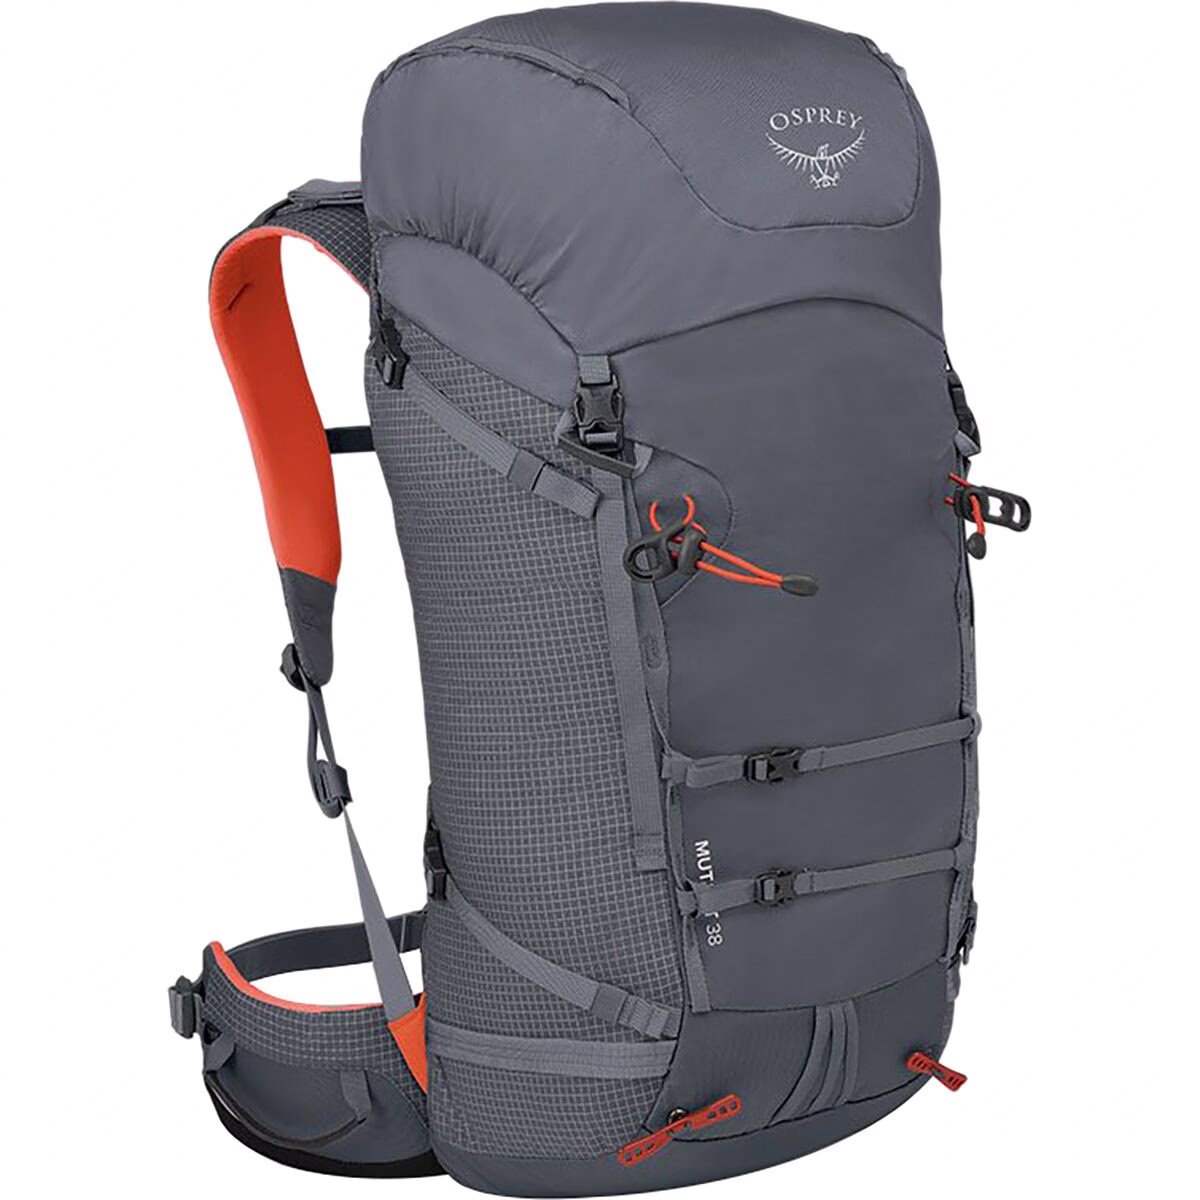
Comfortable Day Pack
The Osprey Mutant is my favourite day bag. Even though it’s designed more for scrambling or mountaineering this bag is one of the most comfortable bags I own and has enough space for everything I need.
Get it on Backcountry.com
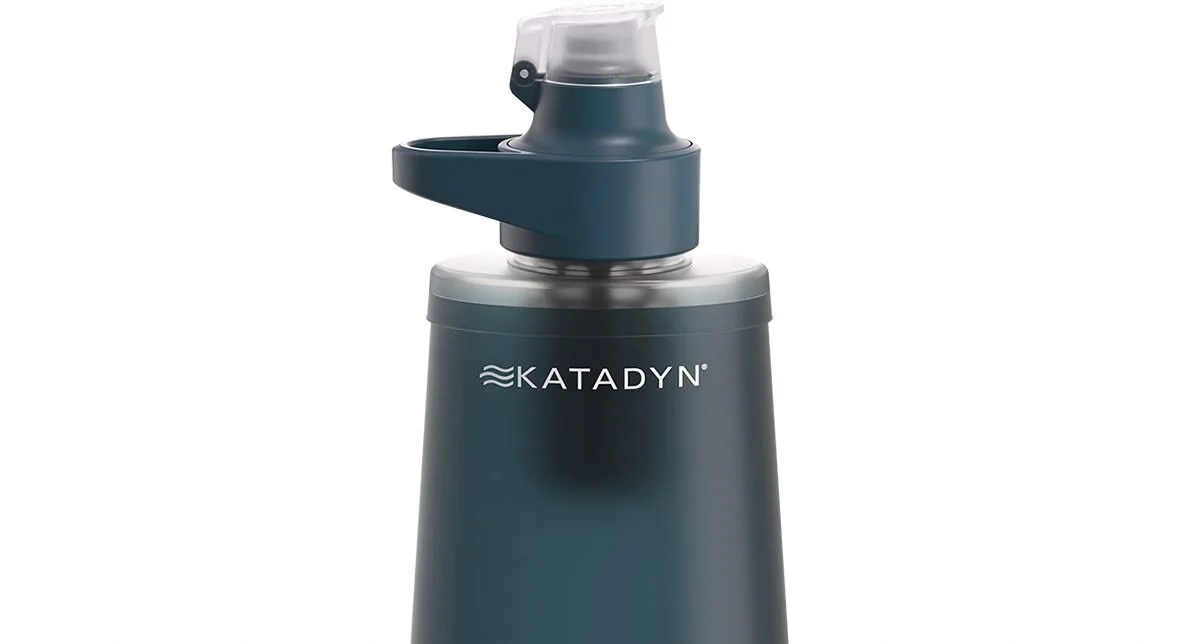
Water Filter
A Katadyn BeFree has to be the easiest filtration system to use. When out on the backcountry you want to be able to filter and refill your water along the way.
This filter packs down small and filters fast. It’s in my bag on every hike!
Get it on Backcountry.com

Capture Clip
Another item that comes on every hike with me and a must own for every photographer.
Keeps your camera close at hand making capturing moments much faster!
Get it on Peakdesign.com