Smutwood Peak - The Best Hike in Kananaskis?
Smutwood Peak has to be the best hikes in Kananaskis. There, I said it! It’s grown in popularity over the years for good reason. The summit of Smutwood sits between Mount Birdwood and Mount Smuts with views that can only be rivalled by middle earth! With it’s elevation gain and technical terrain this hike isn’t for everyone, but my god are your efforts rewarded!
After 10 years of living and hiking in the Rockies this is one hike that I’ve probably repeated the most out of any in Kananaskis and it’s because of these views!
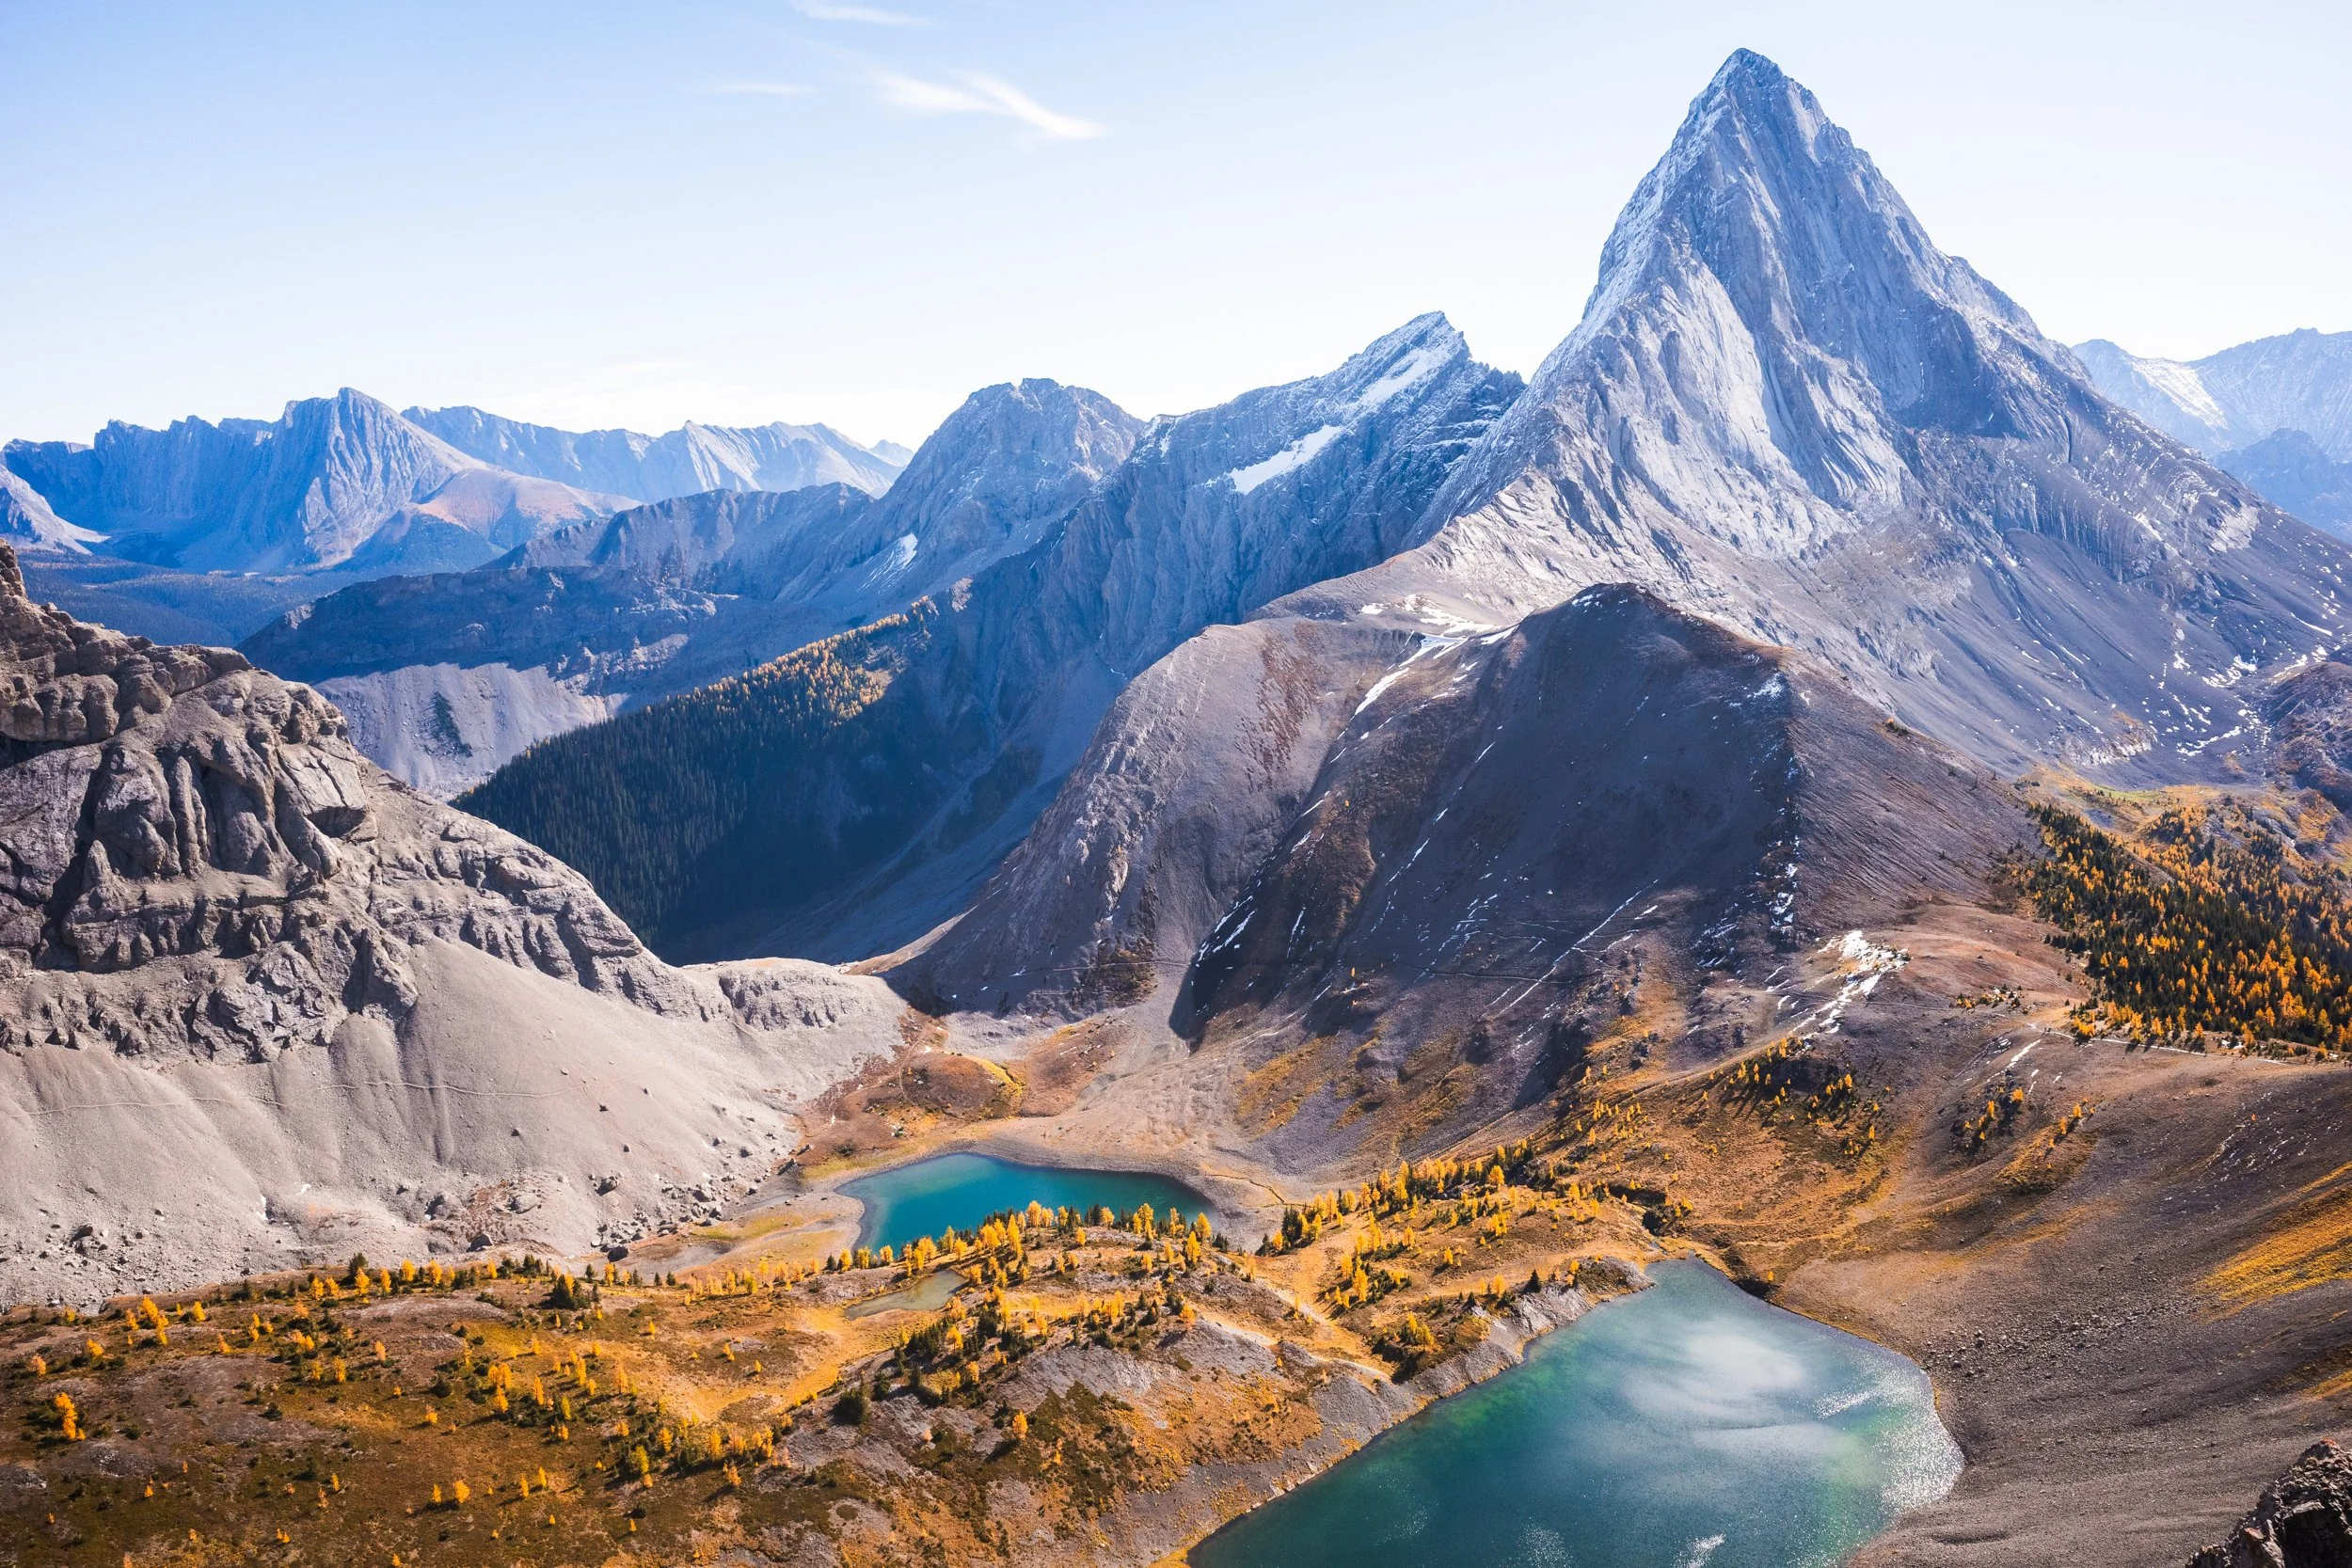
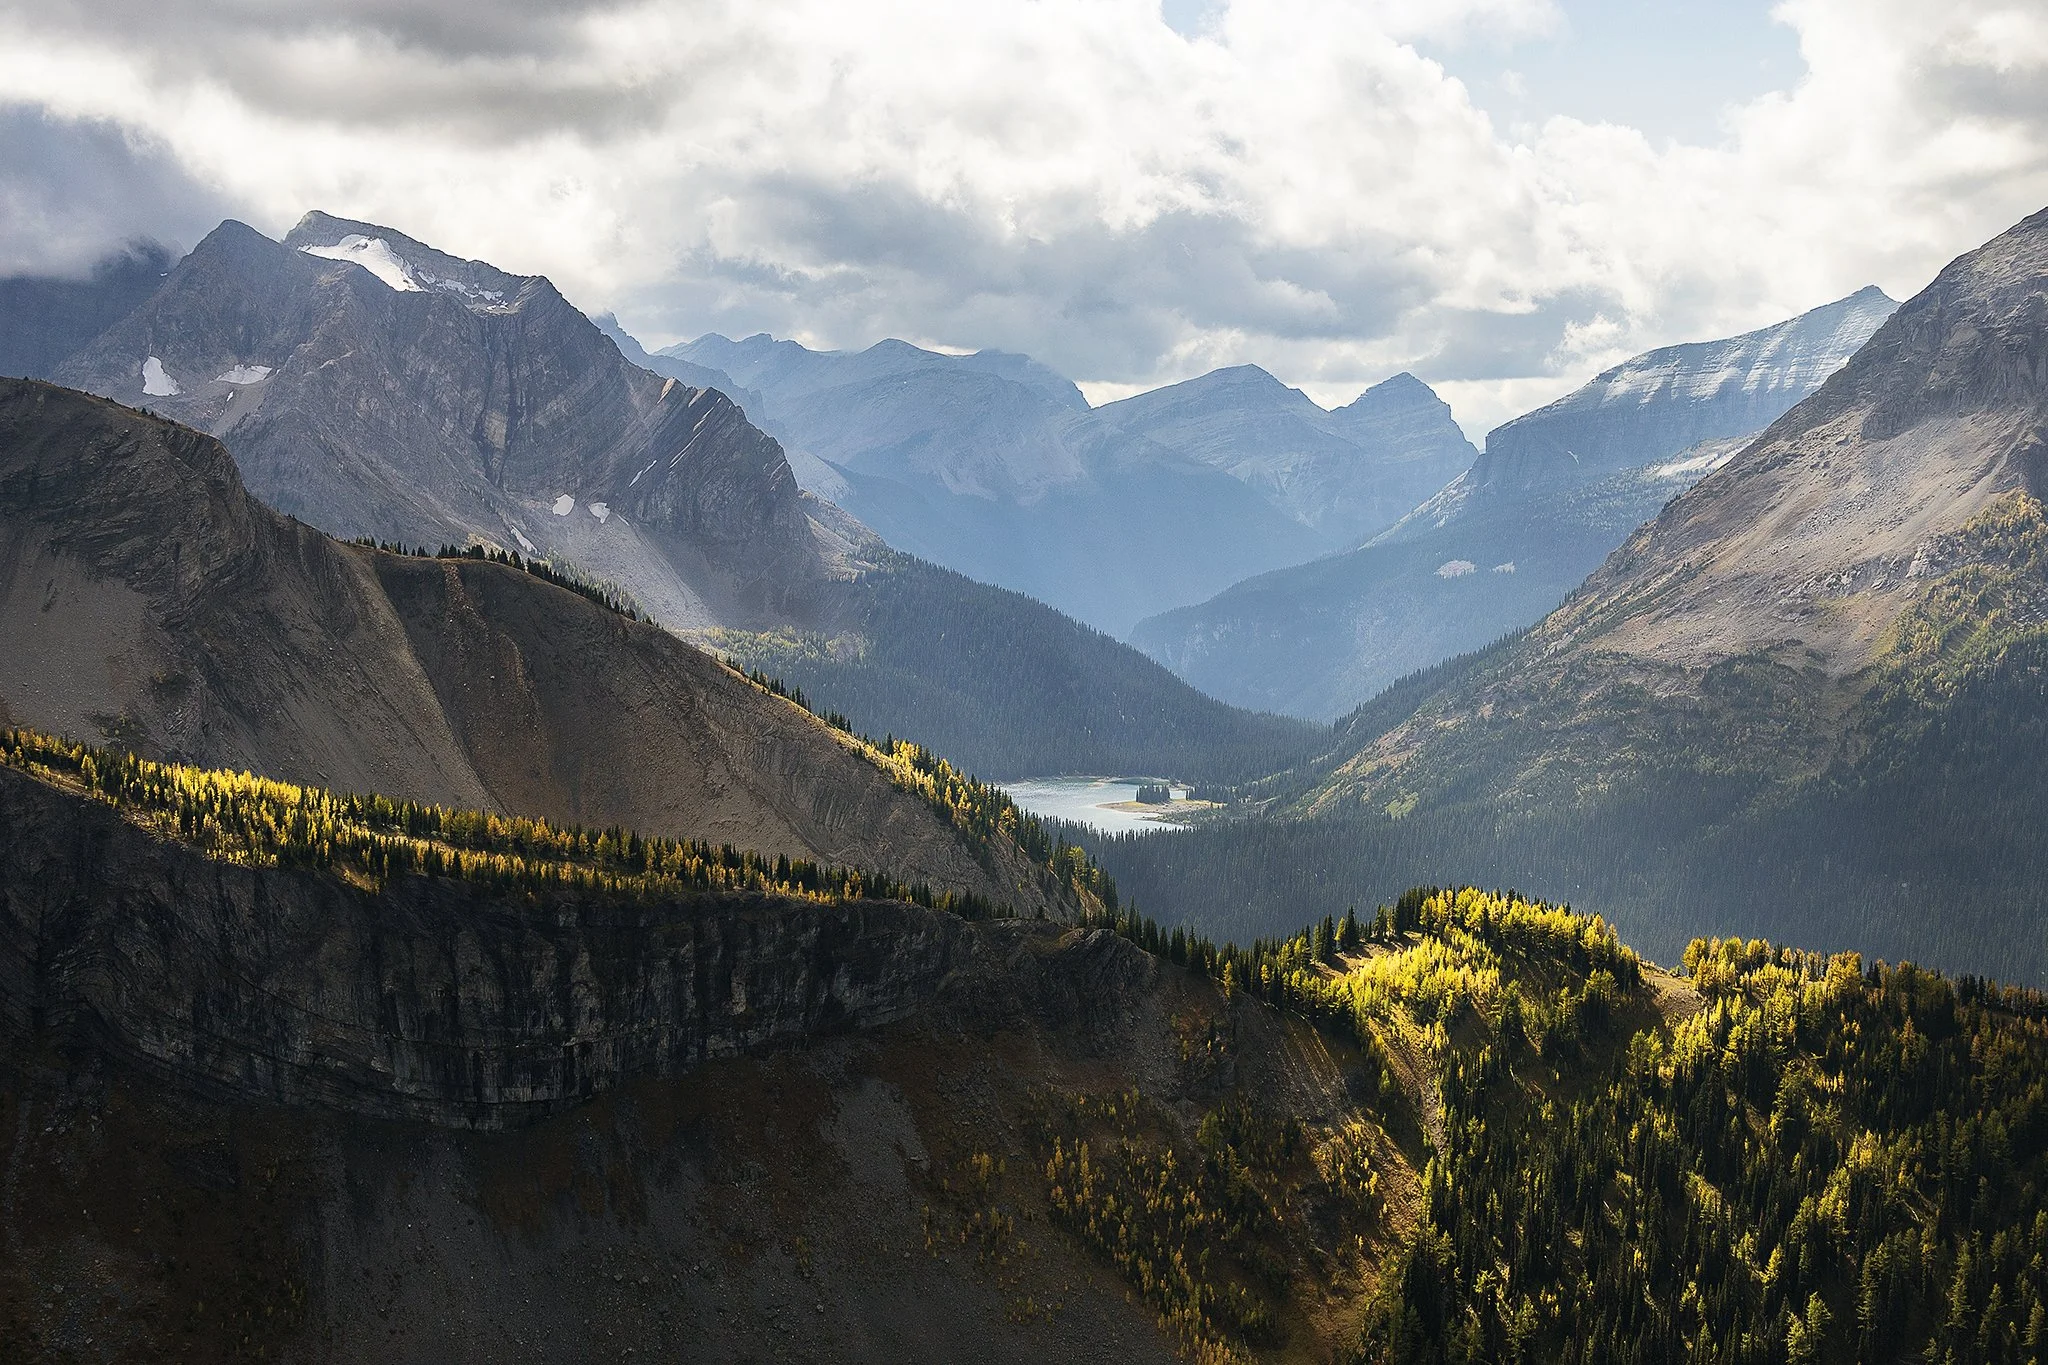
The view from the summit.
The Stats
Time: 7 - 9 hours depending on fitness level and ability to tear yourself away from these views!
Distance: 18 - 20 km out and back (Some places say less but I always record more towards 20 km)
Elevation Gain: 950 m
How To Get To Mount Smutwood Trailhead?
The trail starts just off of the Highway 742 in Kananaskis country.
From Canmore follow signs to the Nordic Centre/Kananaskis and keep going on to the gravel road. This is the 742, it winds in between East End of Rundle and Ha Ling Peak past the Goat Creek car park. After around a 30 minute drive down this road take a right just before the Engadine Lodge and then a left at the fork
If coming from Calgary you’ll most likely leave Highway 1 at the Kananaskis junction and drive Highway 40 to the Kananaskis Lakes turning. After turning towards the lake take the next right, this is the 742. Turn left just after Engadine Lodge and then left at the fork.
There is a small car park at the trailhead. I’ve never had too much of an issue parking but at peak seasons and on weekends this car park will fill up. Some overflow parking is possible along the road but could easily queue up a km or two down the road so best to get there early!
If you’re worried about getting lost be sure to check out All Trails Plus where you can download maps for offline use.
The Hike
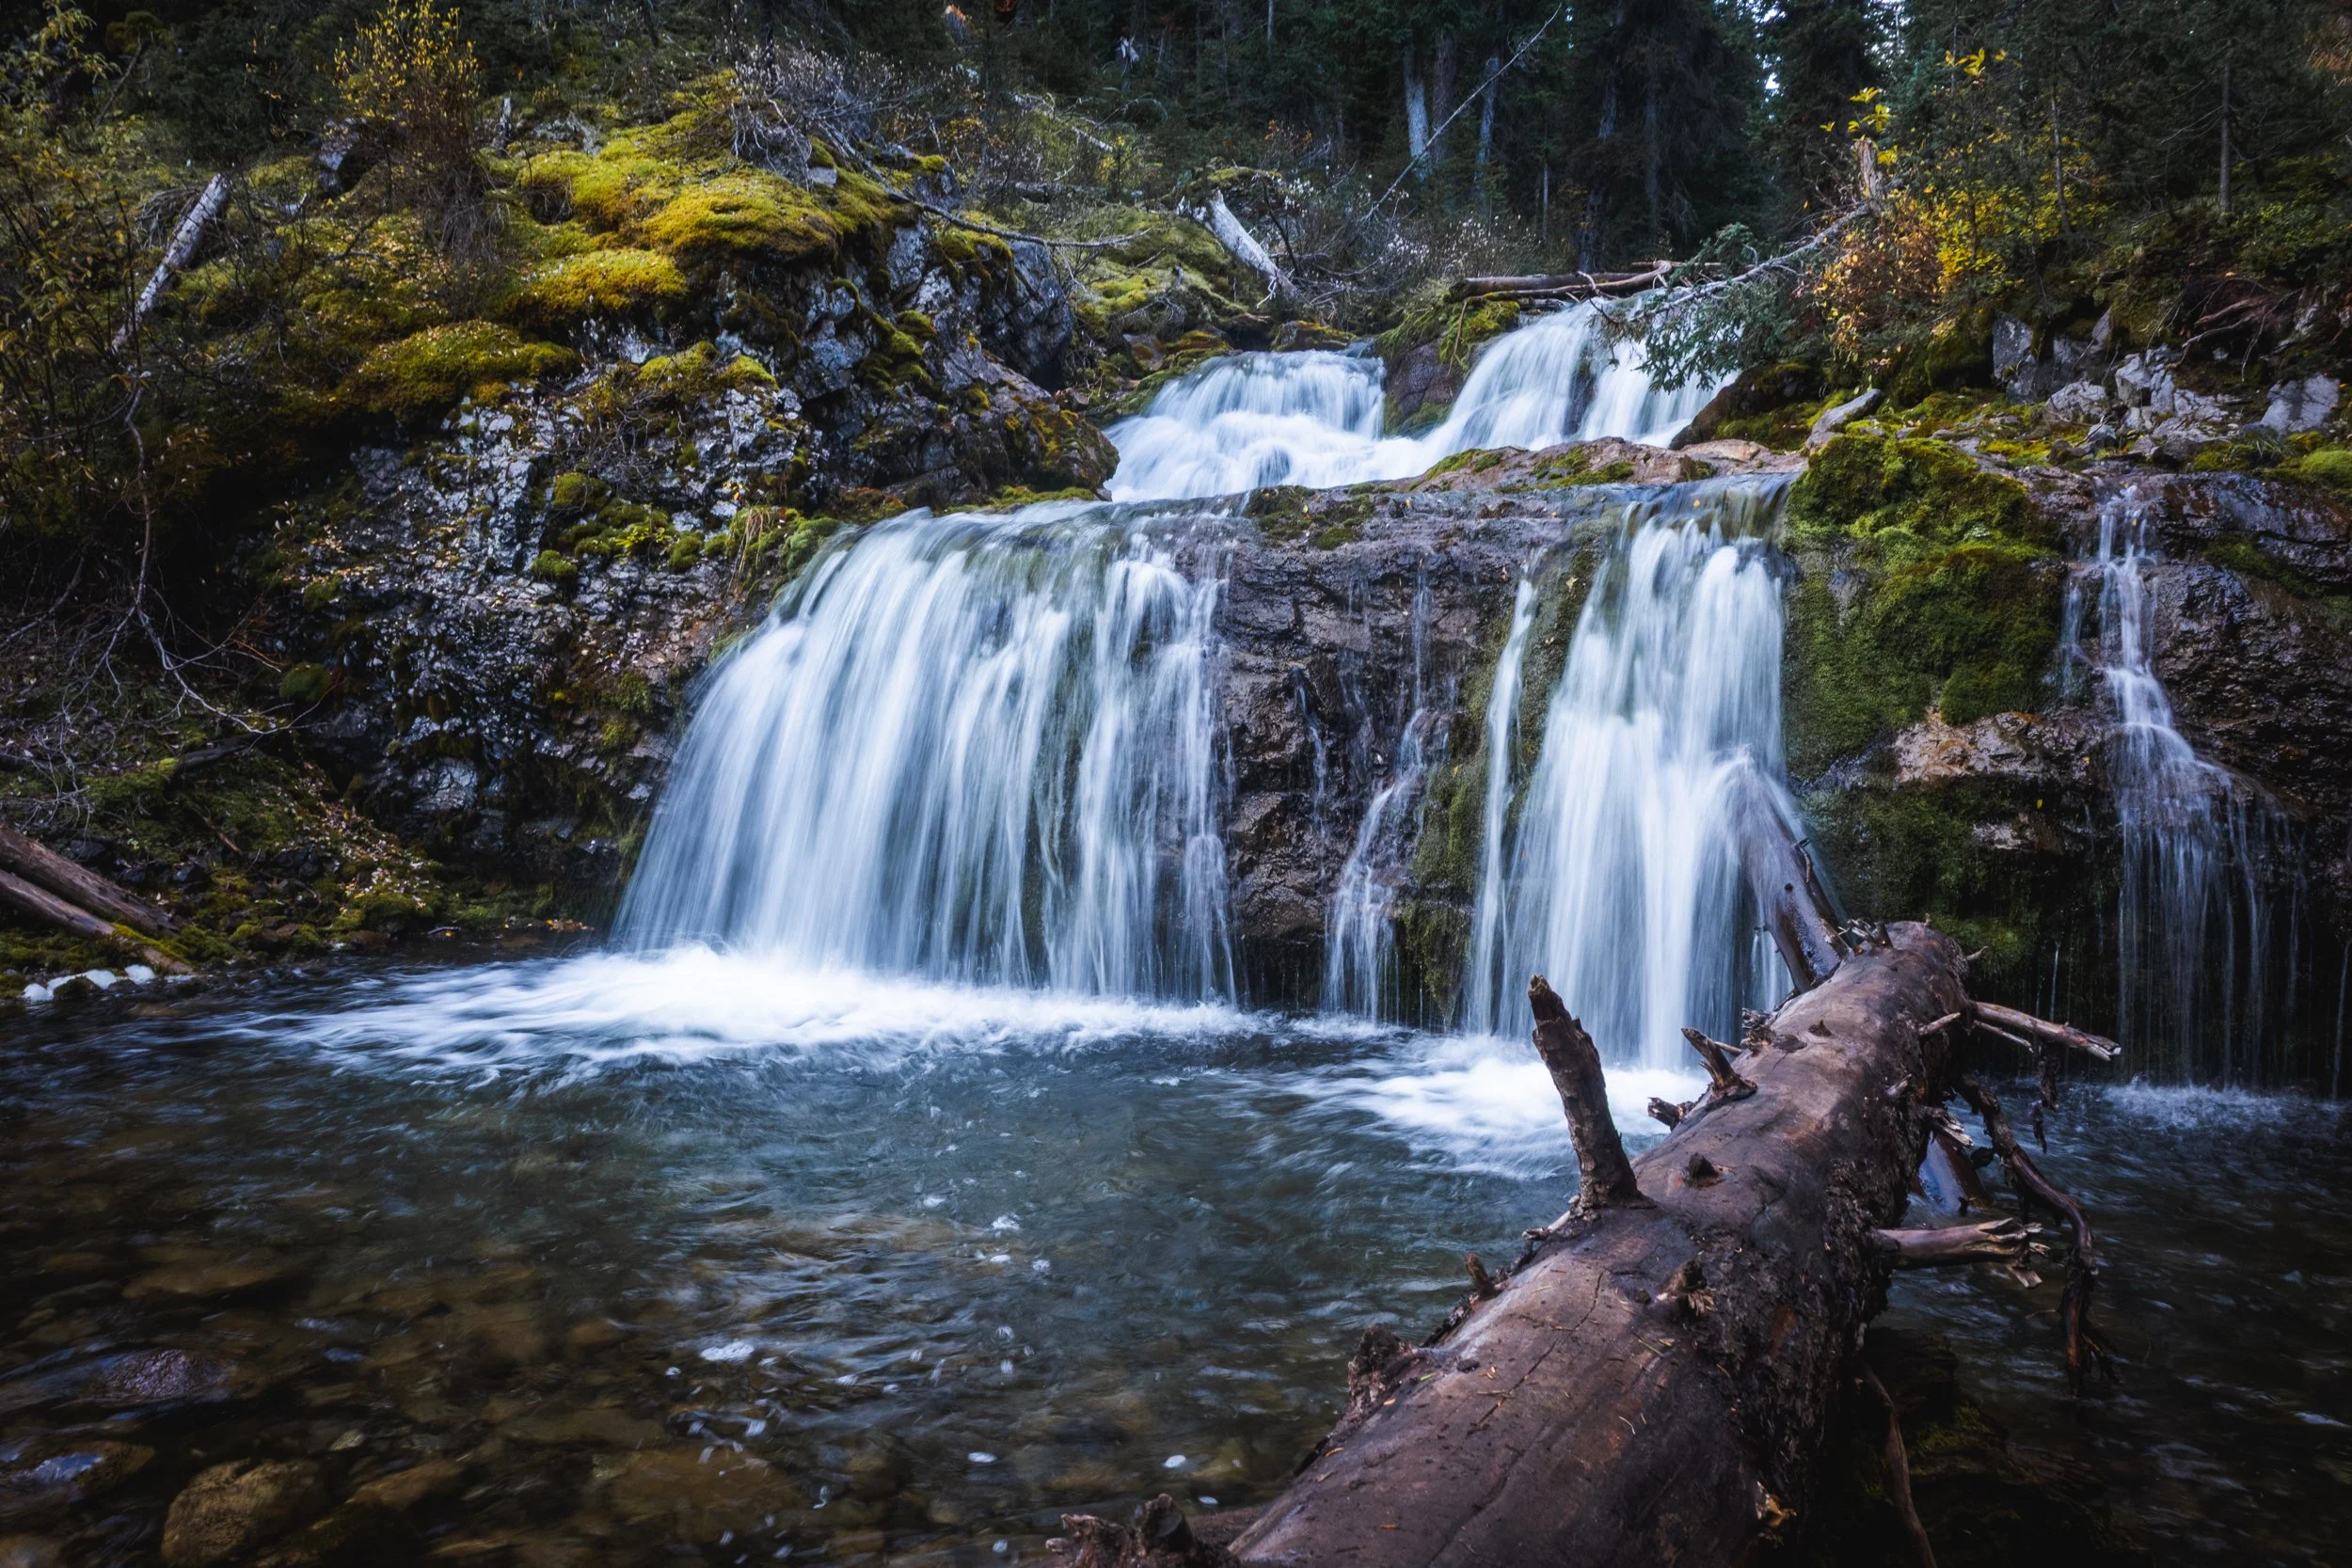
One of the good things about the Smutwood trail is that it starts off pretty relaxed with almost no elevation gain. You’ll start off the first 2.5 km on a logging road before it narrows as you enter the forest. Before long your first reward awaits you in the way of a stunning waterfall hidden in amongst the foliage.
After you follow the trail for around another km the forest opens up and the trail follows alongside Commonwealth Creek and in to a stunning alpine meadow.
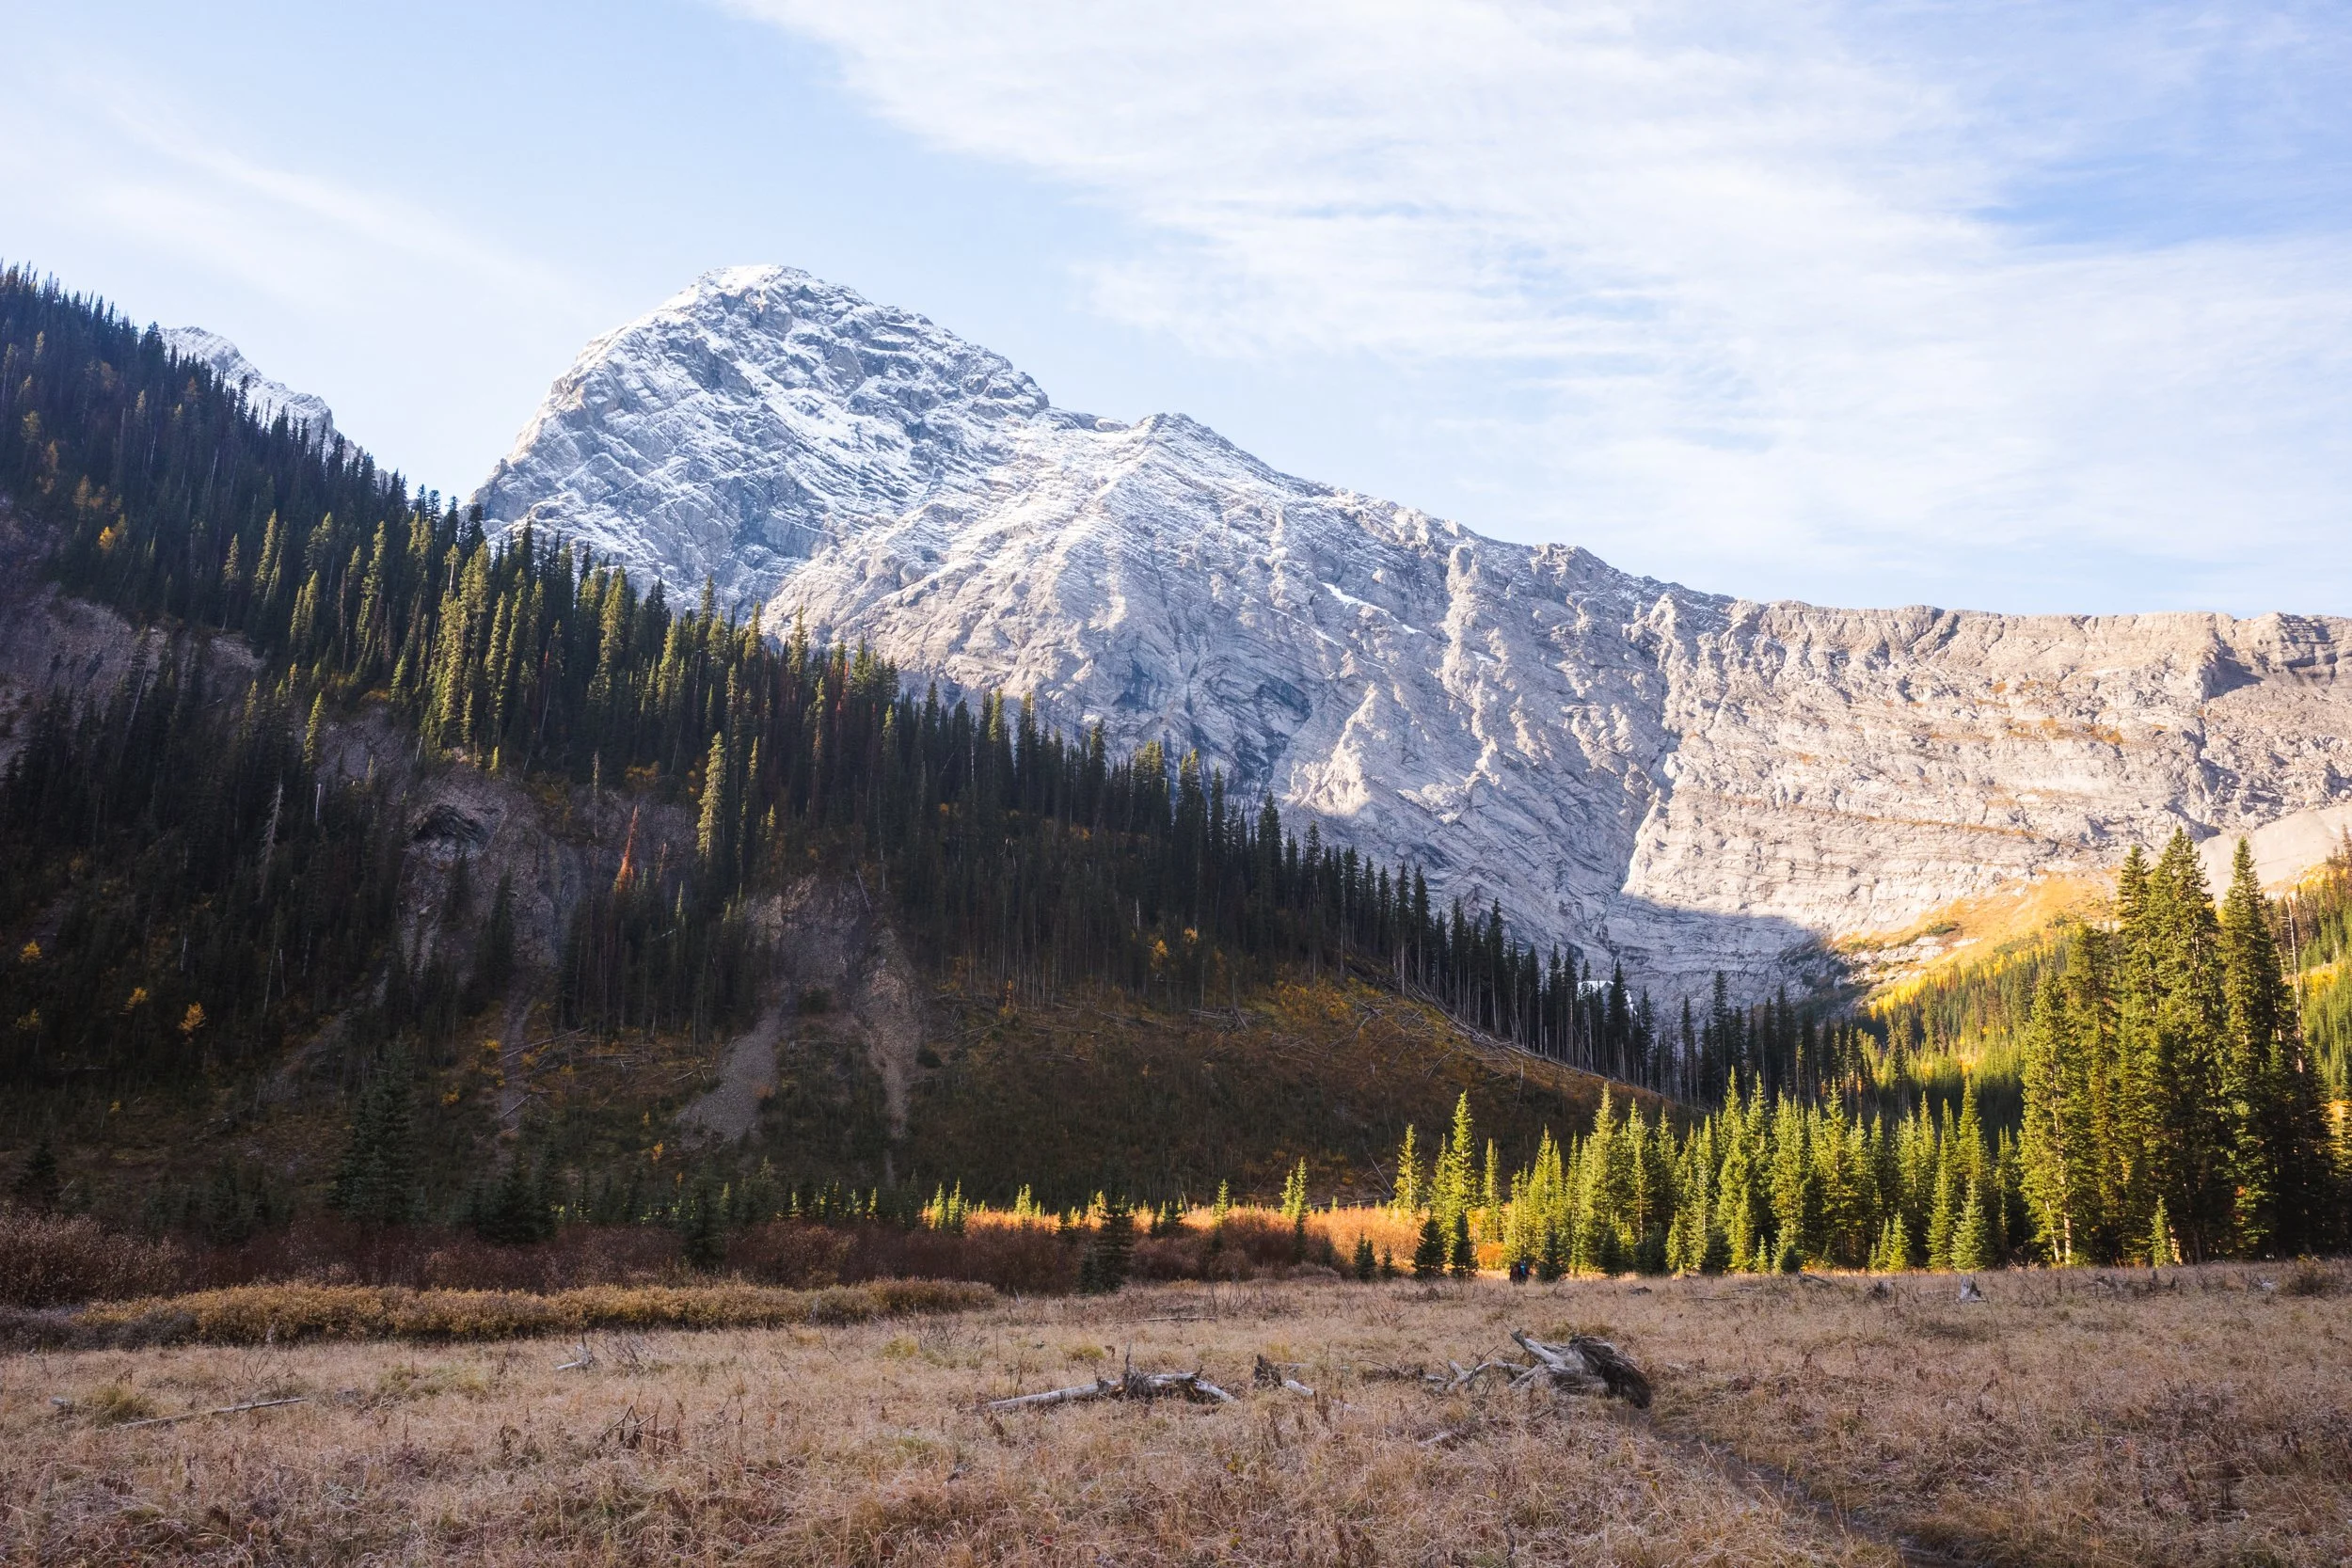
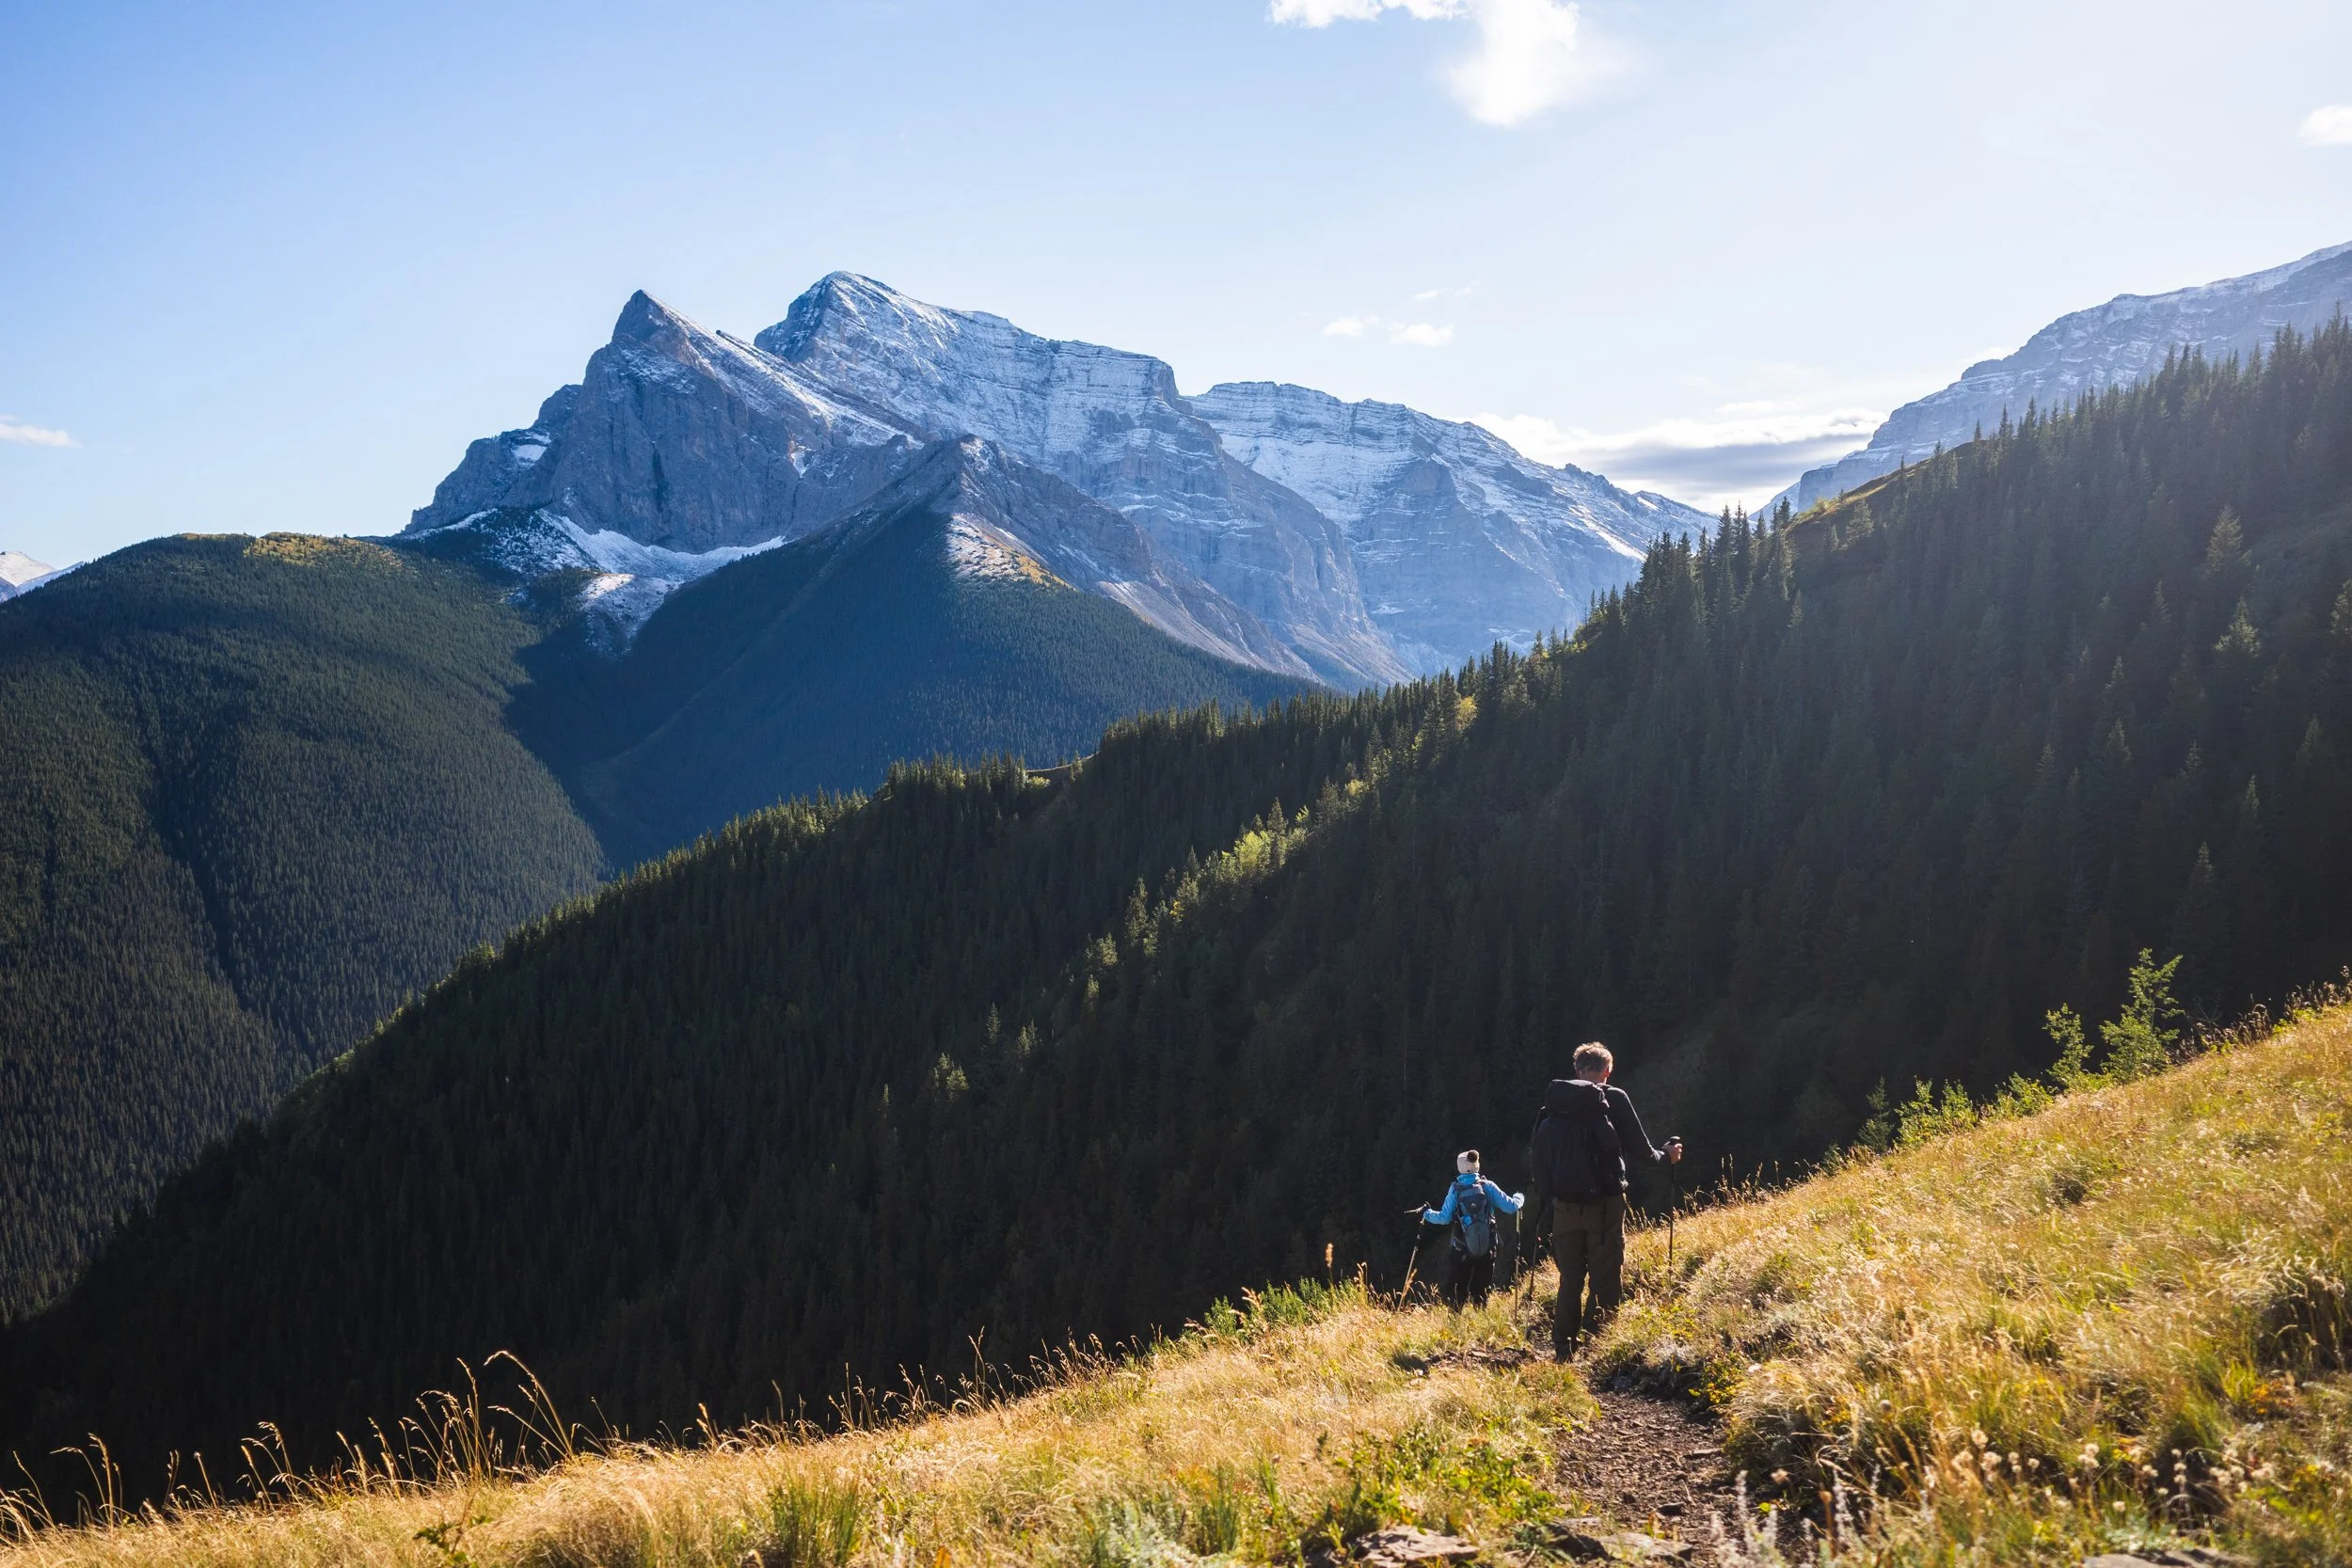
The headwall at the end of the meadow is an impressive and daunting sight. The trail trends up to the right in this picture. That’s where most the elevation gain begins.
A downside to that flat start is that all the elevation gain comes at once and it’s at around the 6 km mark where it all begins. Sections of this trail are very steep and the terrain can be slippery scree, dirt and gravel. I’d highly recommend a decent pair of boots and hiking poles. Inexperienced hikers, influenced by Instagram often try to tackle this trail without being prepared, the trail is more work and more technical than a lot of people expect so you’ll want some good, sturdy footwear.

Coming up after just having tackled the first section of elevation gain.
After that initial push up hill at the 6 km mark the trail temporarily flattens out before continuing up at a more manageable grade.
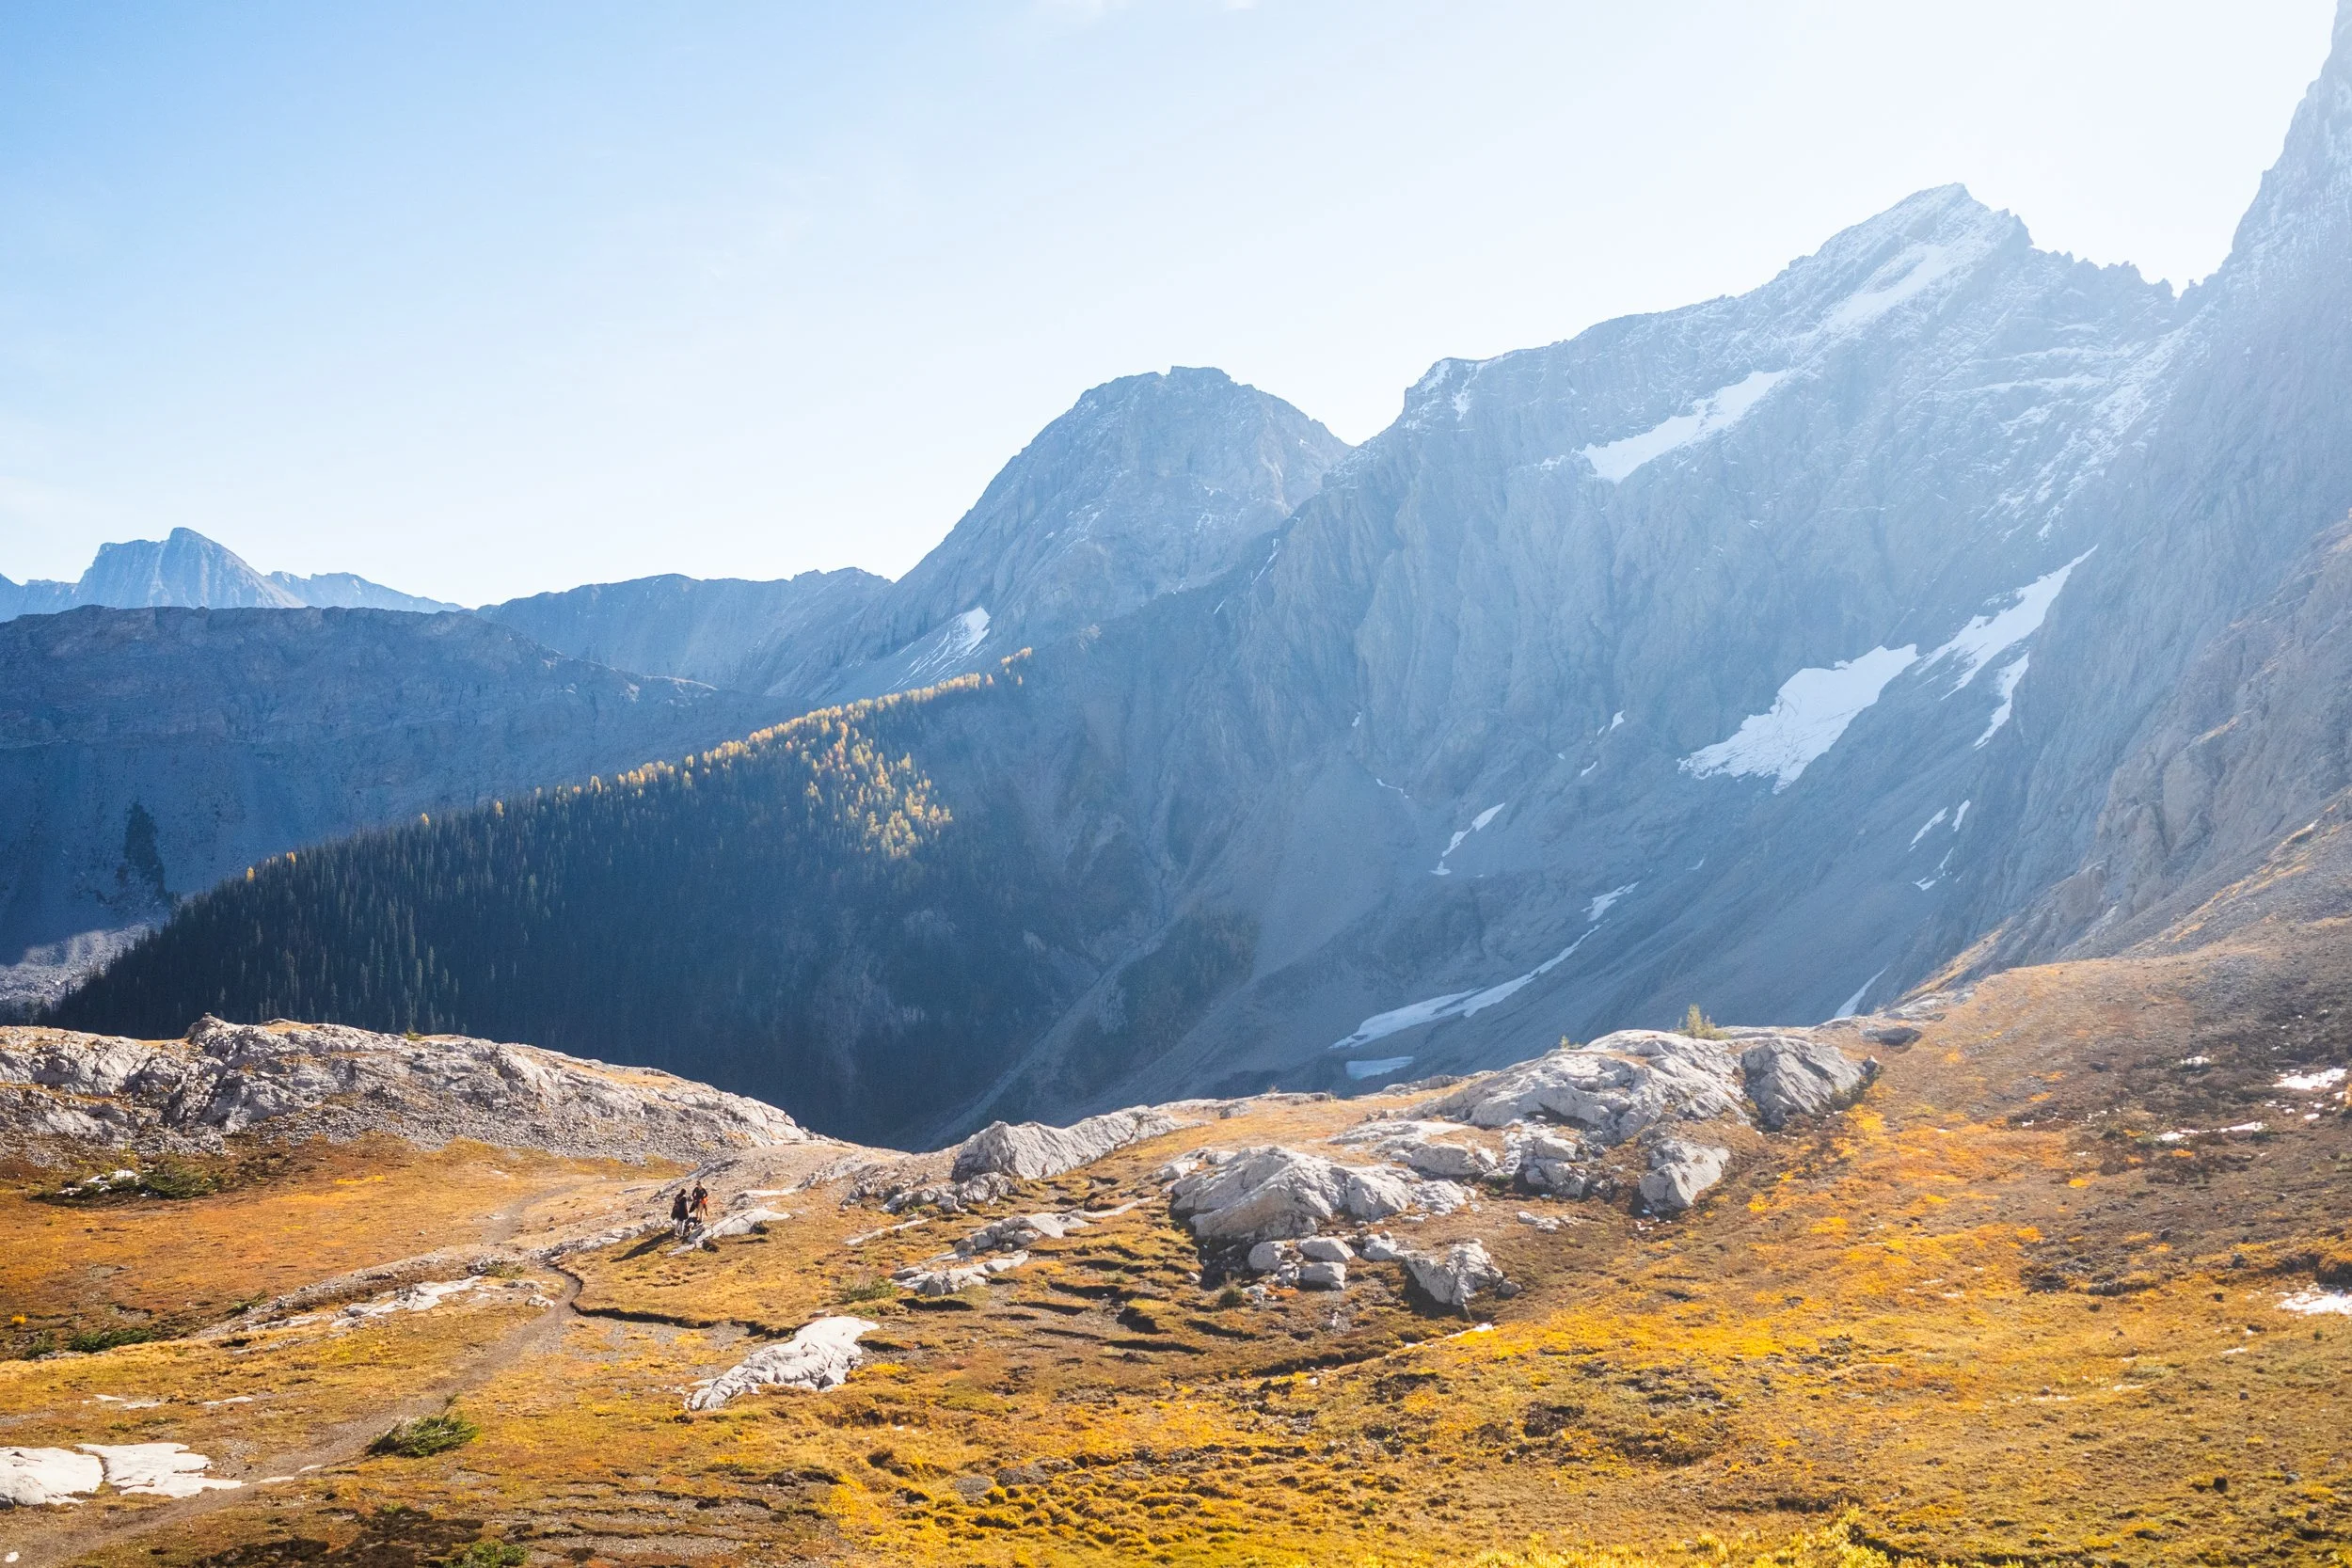
A short, flatter section in the second half of the trail. A perfect spot for a break and a snack!
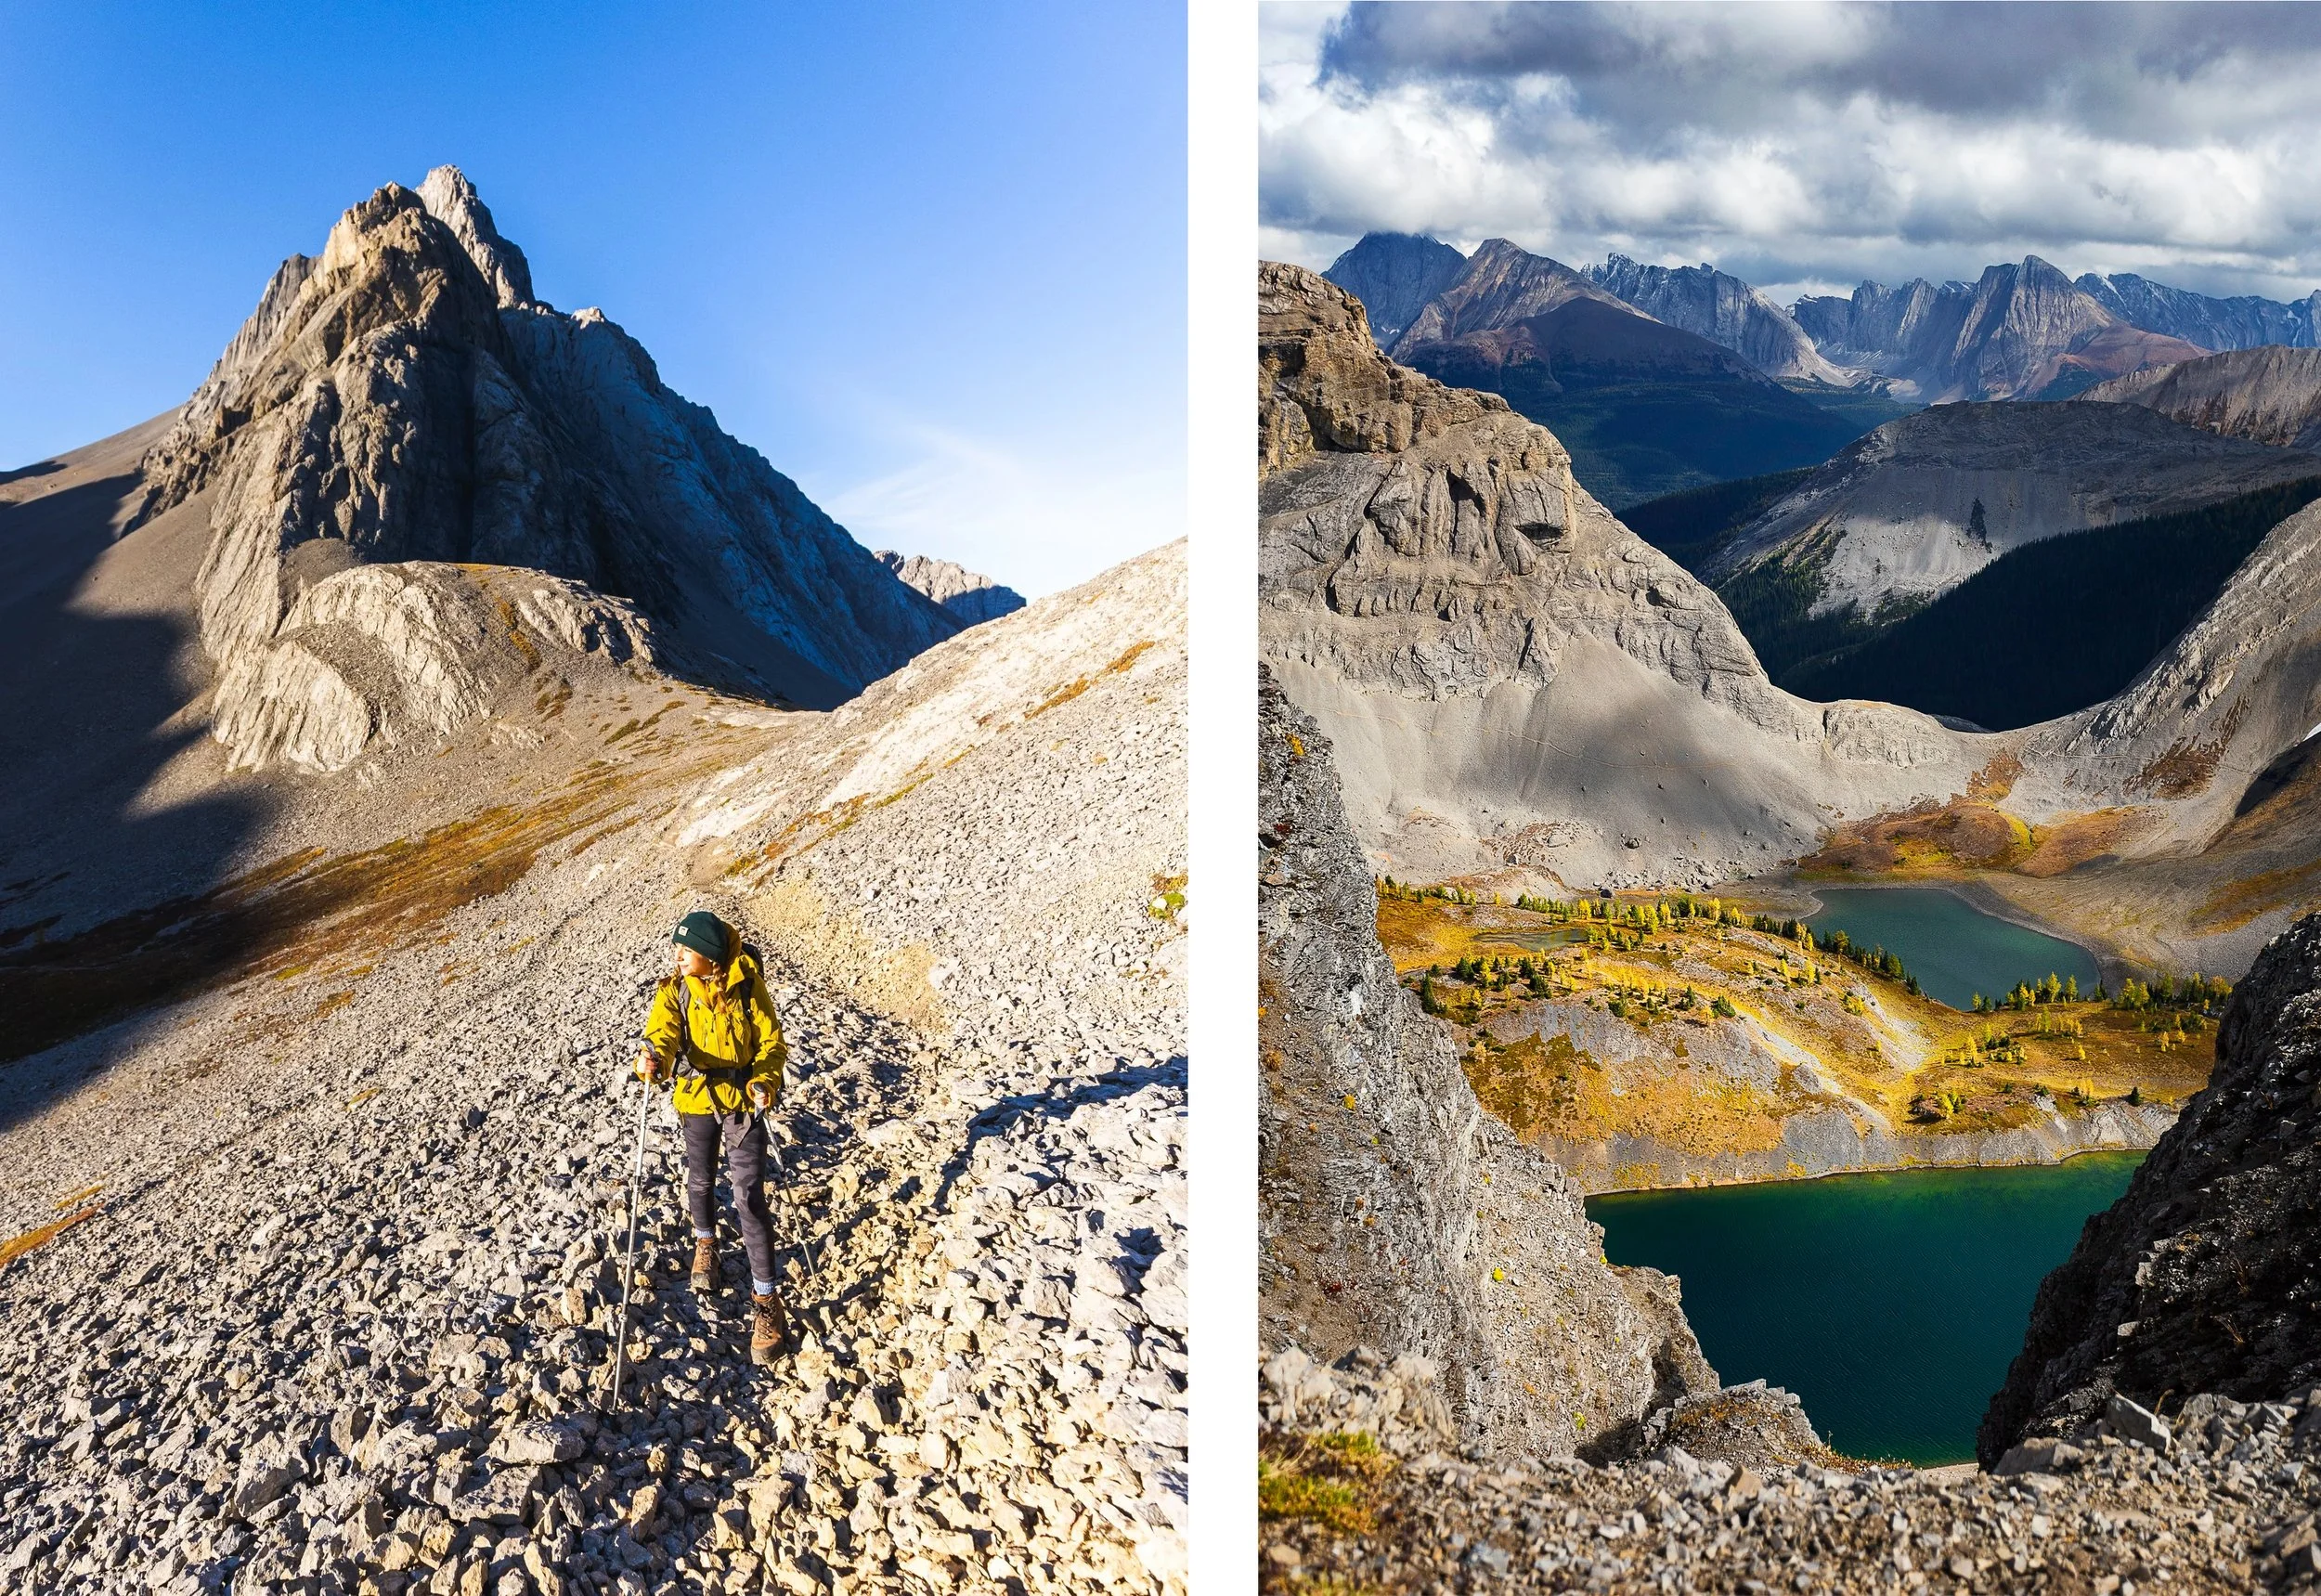
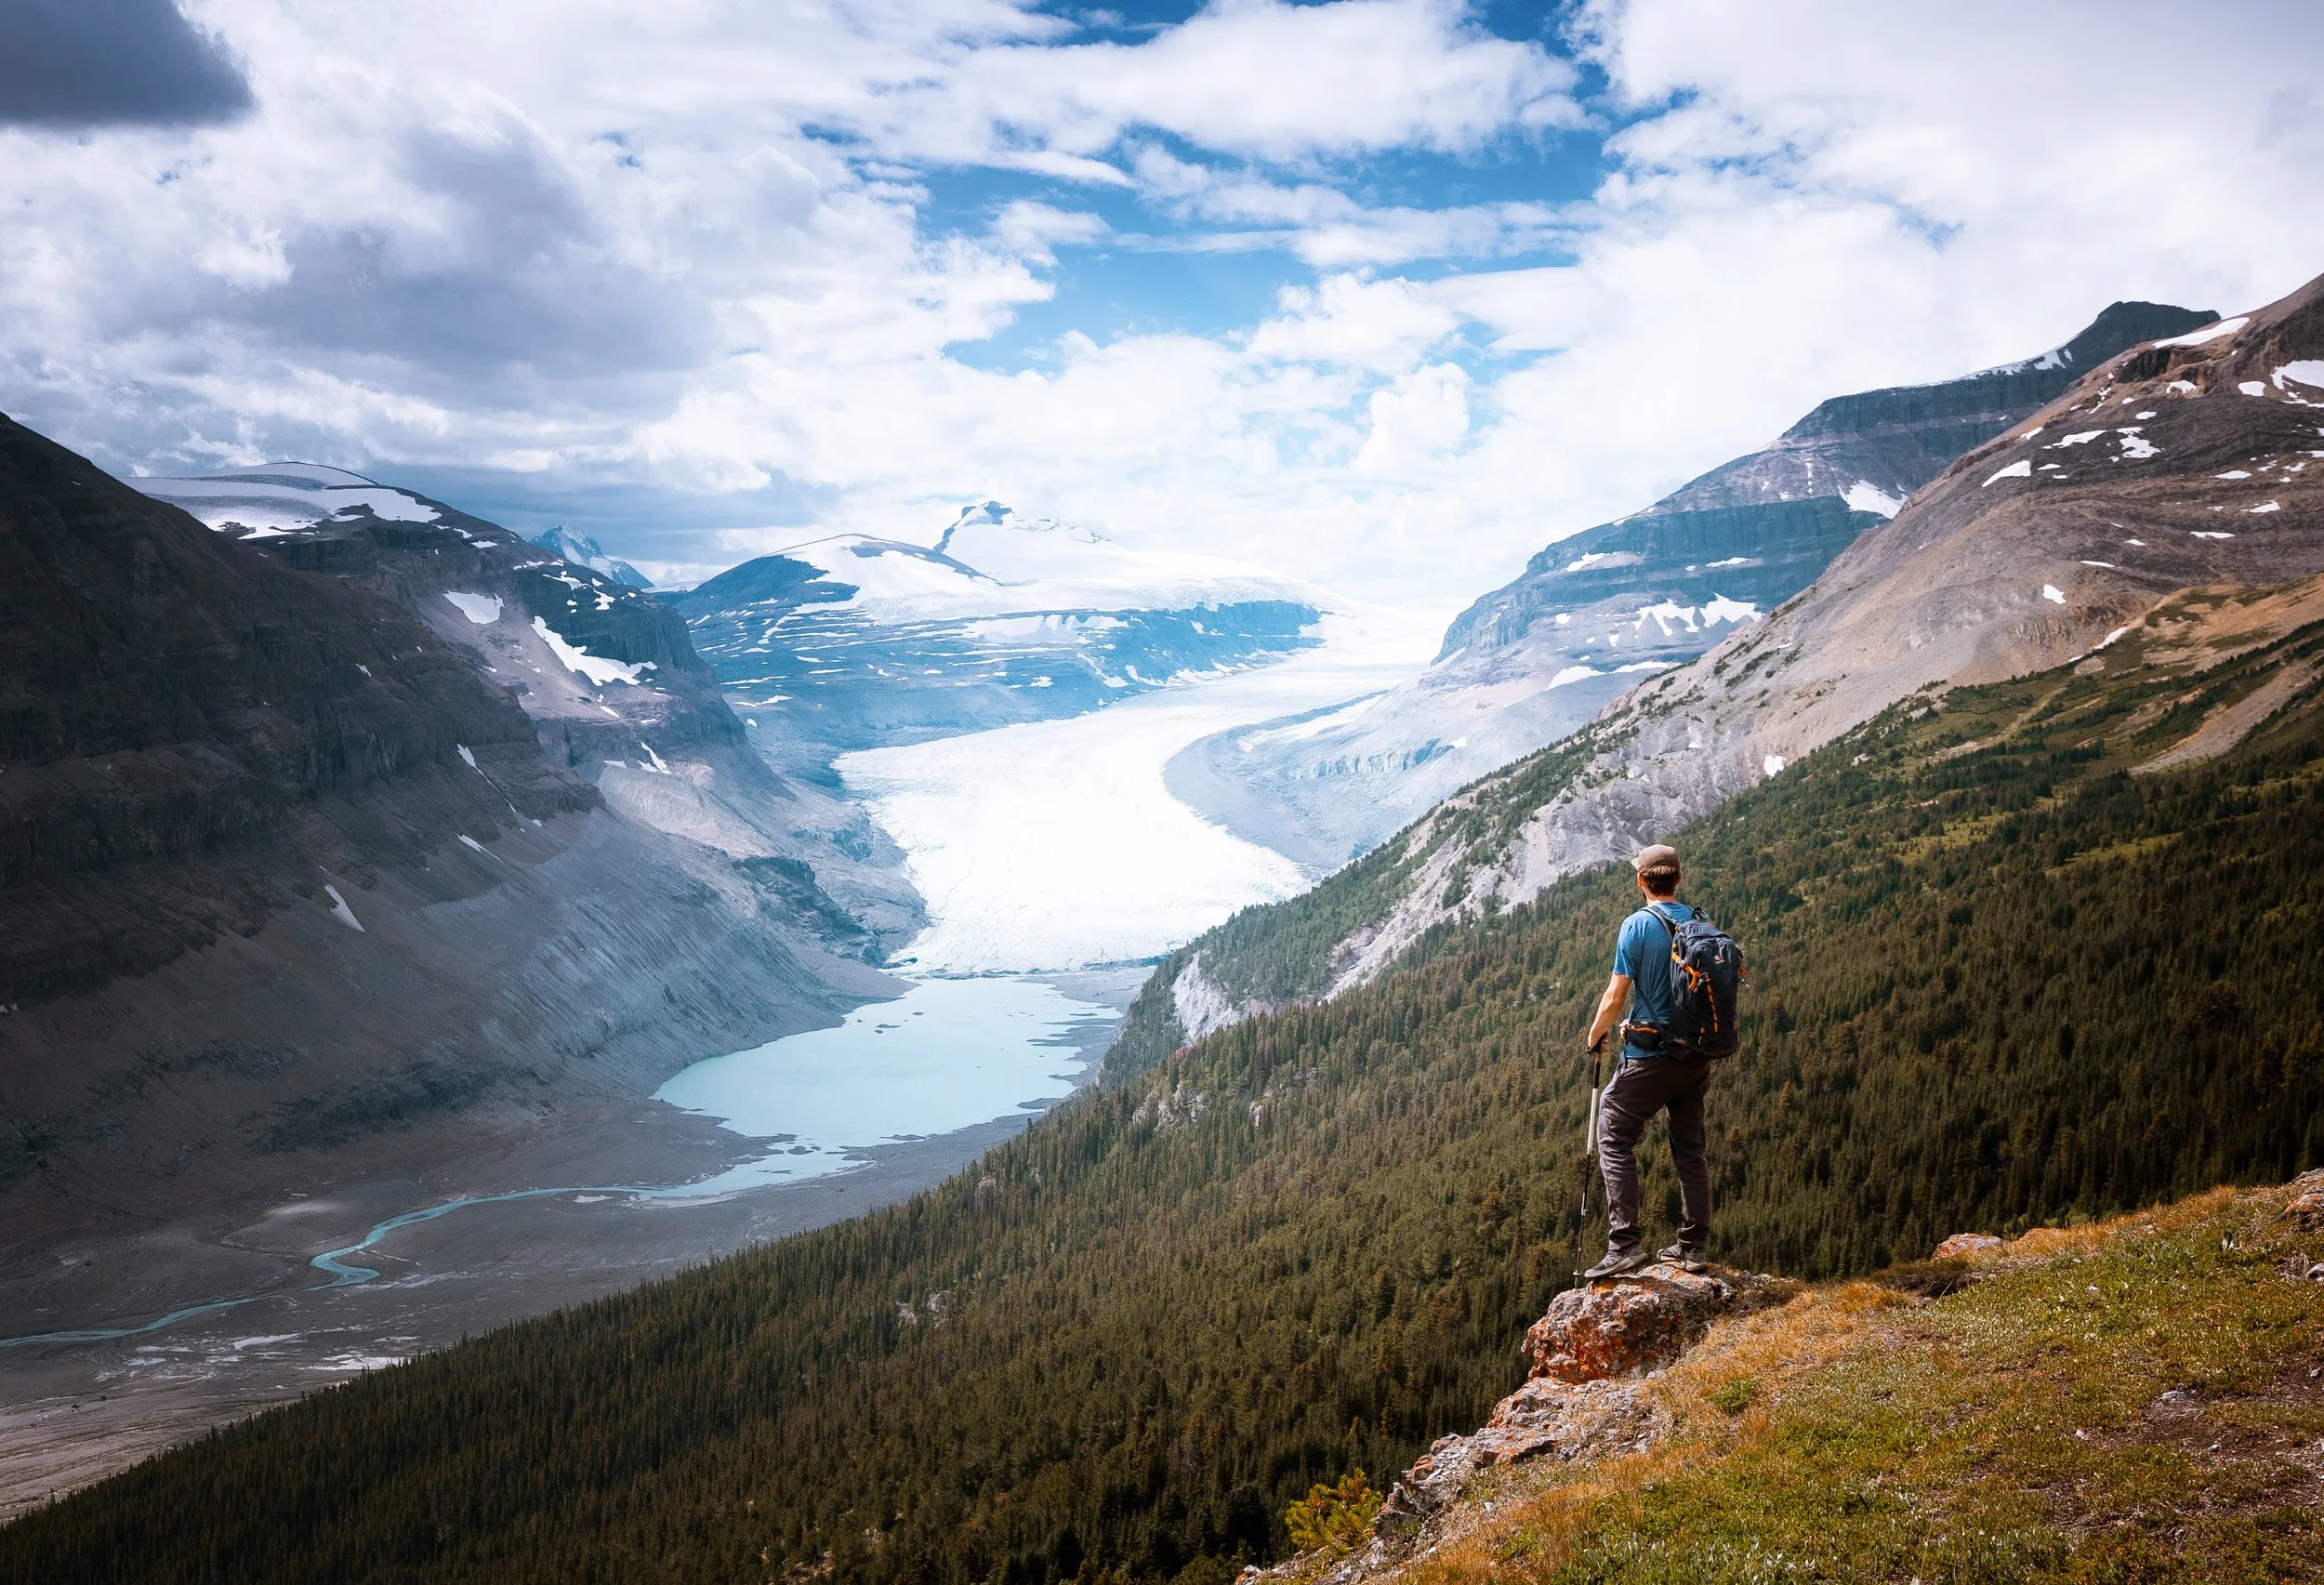
Left: Hiking the traverse. Right: The alpine lakes as seen from above.
After a another steep but short uphill the trail traverses past Mount Birdwood on your left and two alpine lakes on your right. The lakes and this area in general are home to grizzly bears. In fact this trail has seen multiple hikers being bluff charged by large bears over the years. Because of this I wouldn’t recommend straying off the trail towards the lakes.
There are a few trails that do branch off and run past these lakes and lead up to the summit of Mount Smuts. Mount Smuts is a much more technical summit with some sustained scrambling up the ridge and is a completely different type of objective to Smutwood so it’s best not to head that way unless that’s what you’re looking for!
From the lakes you have around 1.3 km left with 250 metres of elevation gain and a short section of hands on scrambling towards the very end to gain the true summit. One of the biggest challenges of this section is not getting distracted and stopping! The views get ever more impressive as you make your way up and along the ridge line of Smutwood pass.
I’ve hiked this trail for sunset several times and gotten so distracted that I simply haven’t made the true summit before the sun’s come down!
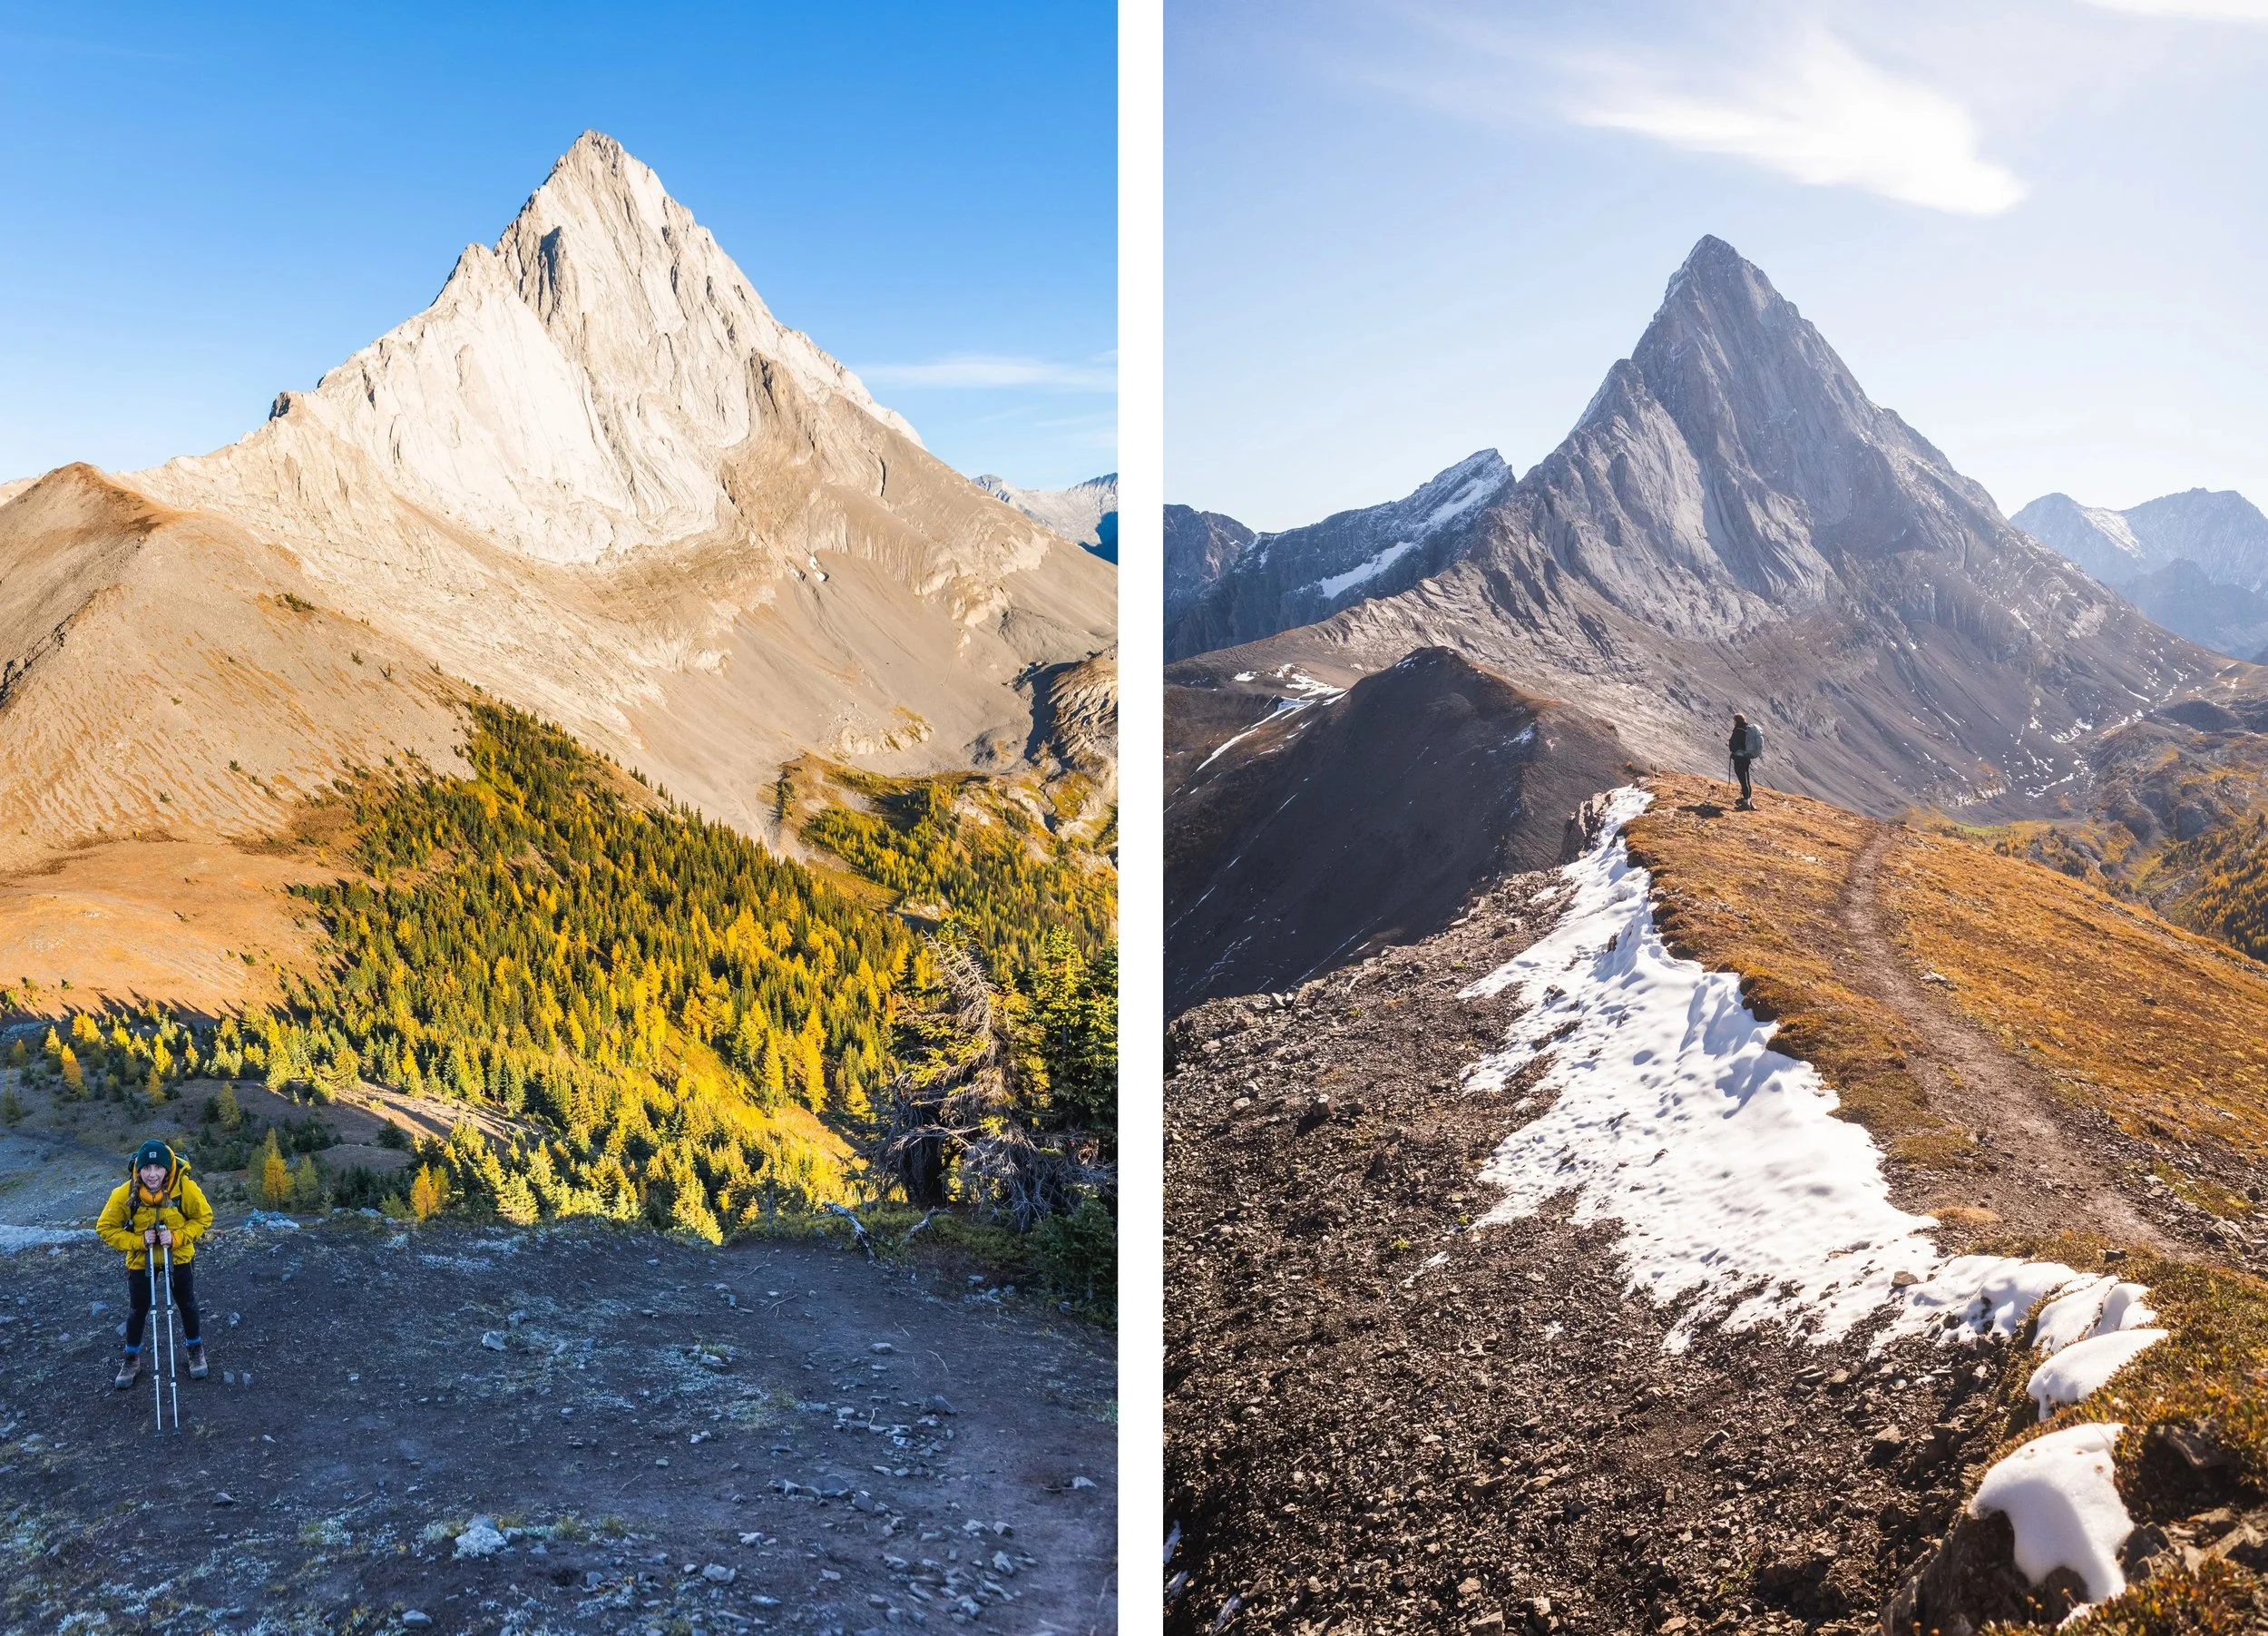
Admiring the view and taking a break along the initial part of the ridge incline.
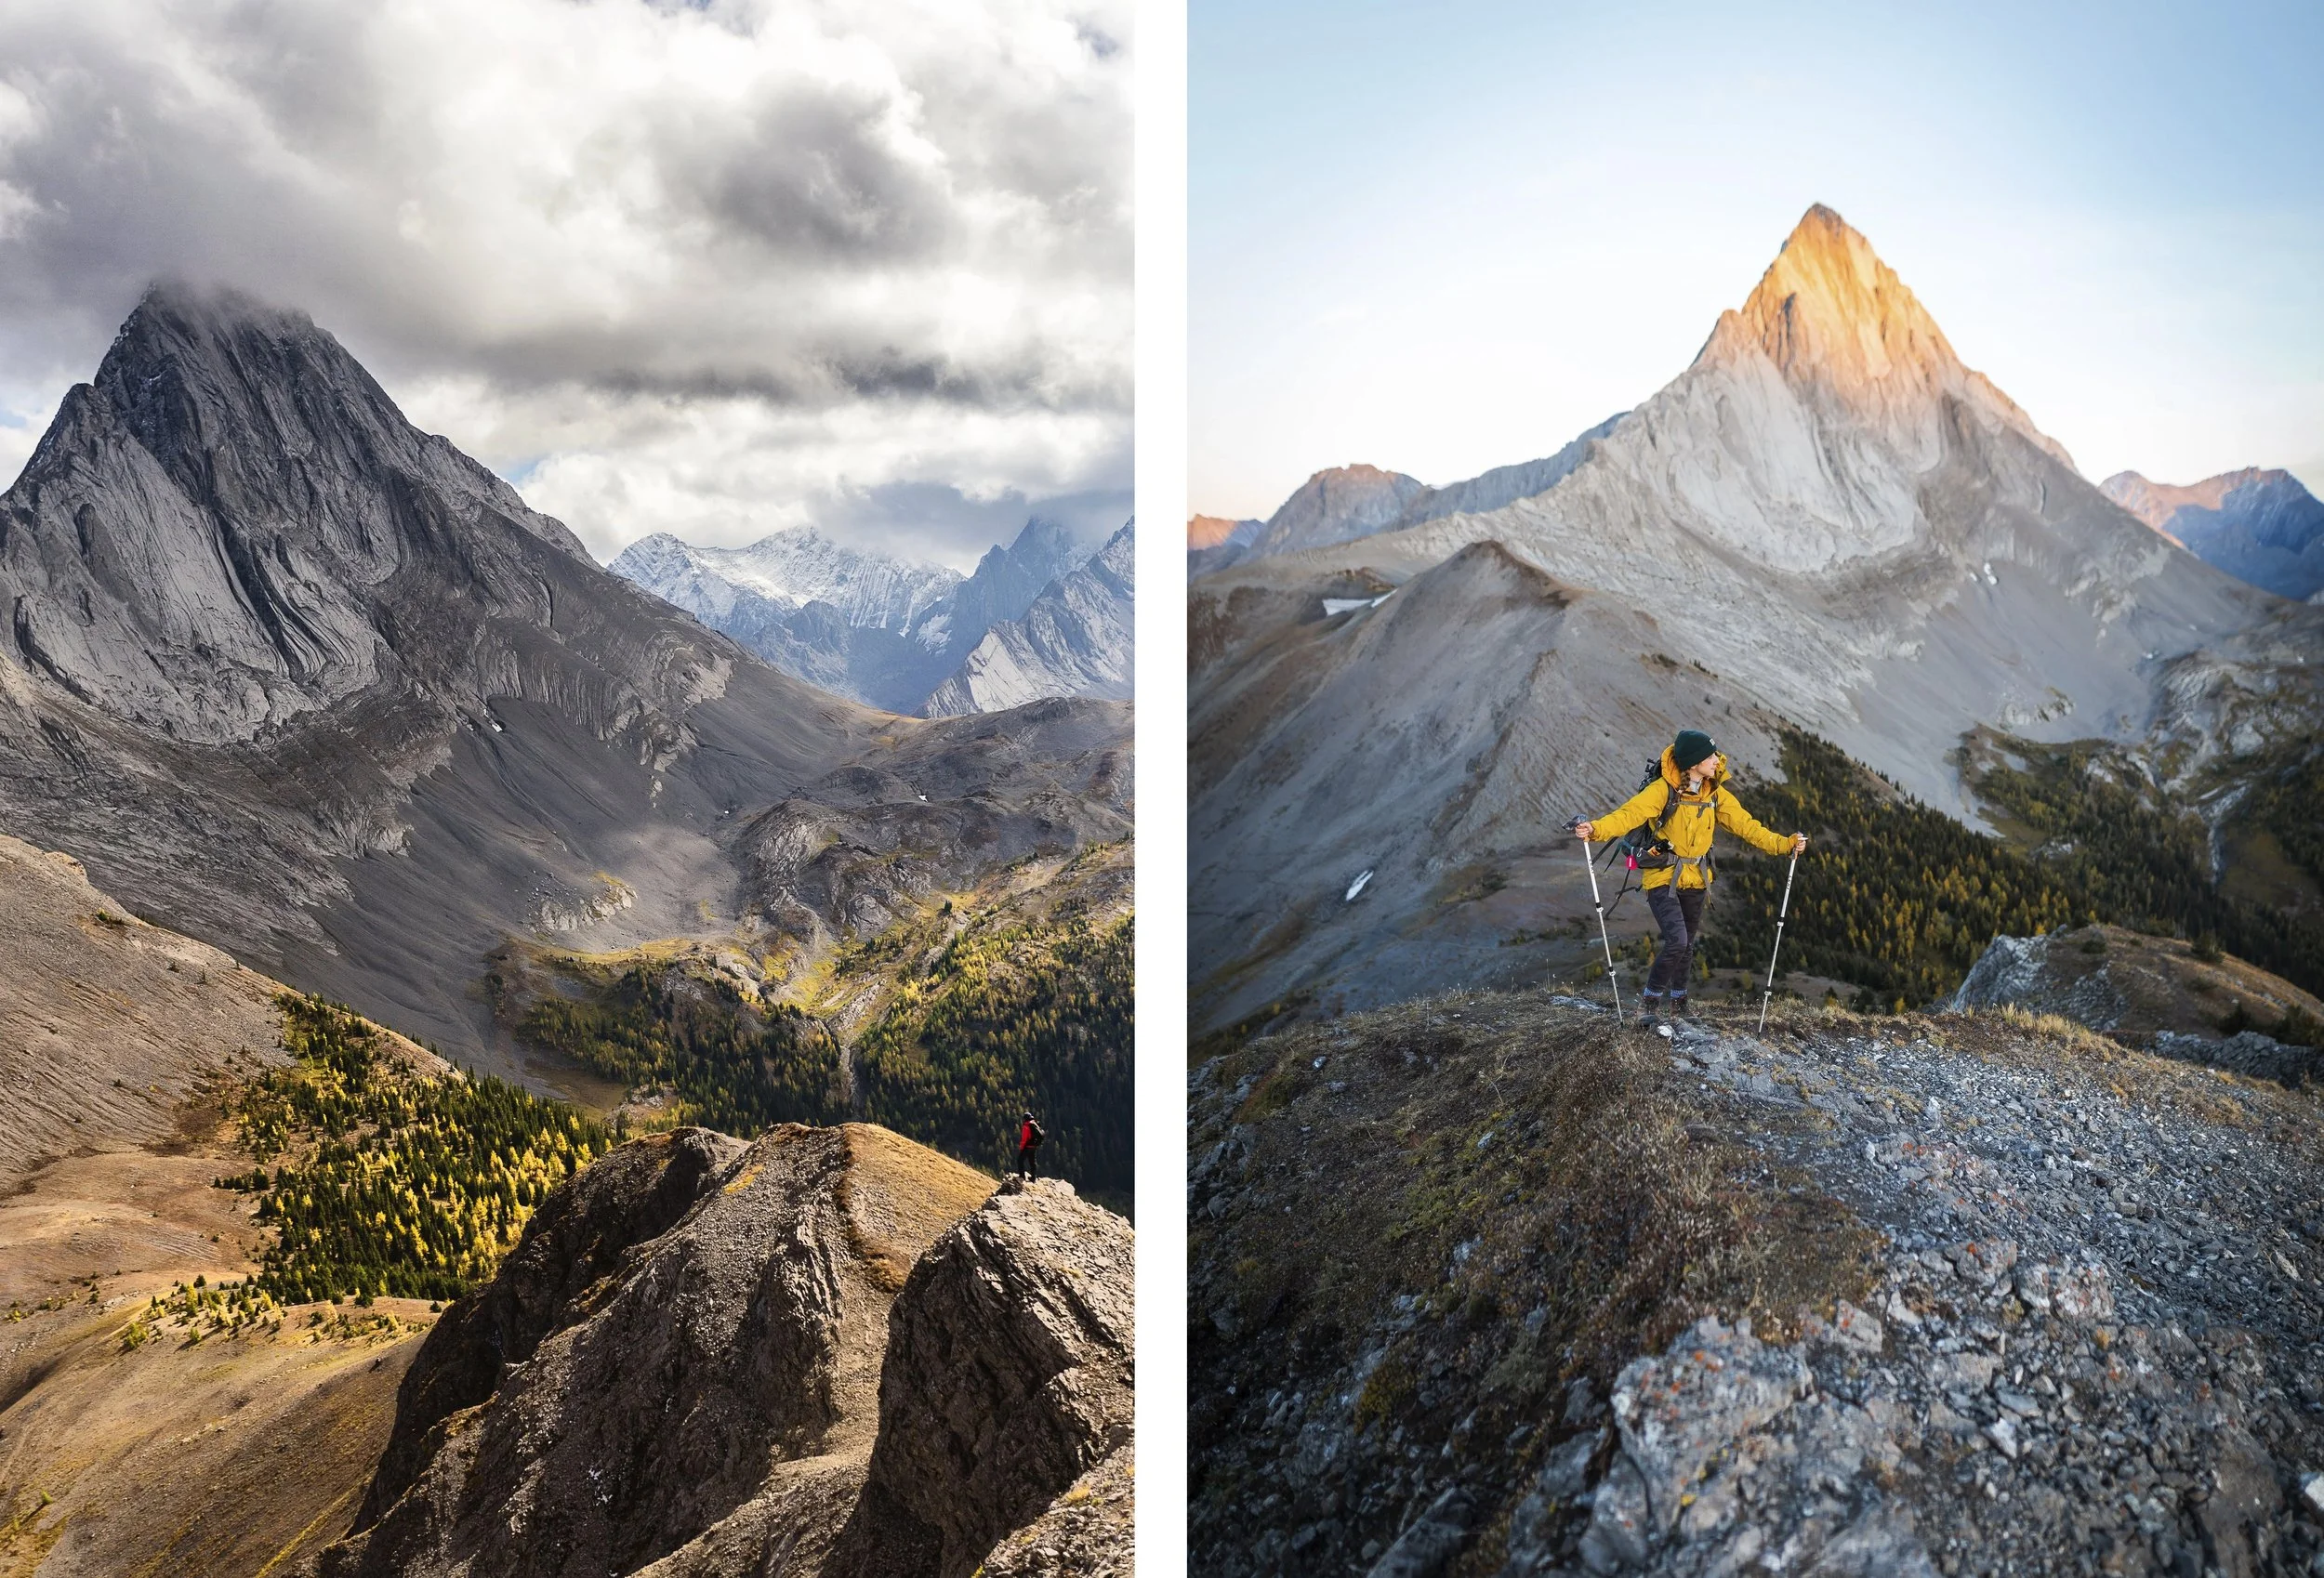
Closer to the top the views improve even further as the evening sun grazes the summit of Mount Birdwood illuminating it in golden light.
Pushing further on on the trail to the true summit brings you round for even better views of Mount Birdwood and the lakes below. (Who’d have thought that was even possible!)
The summit views once again!
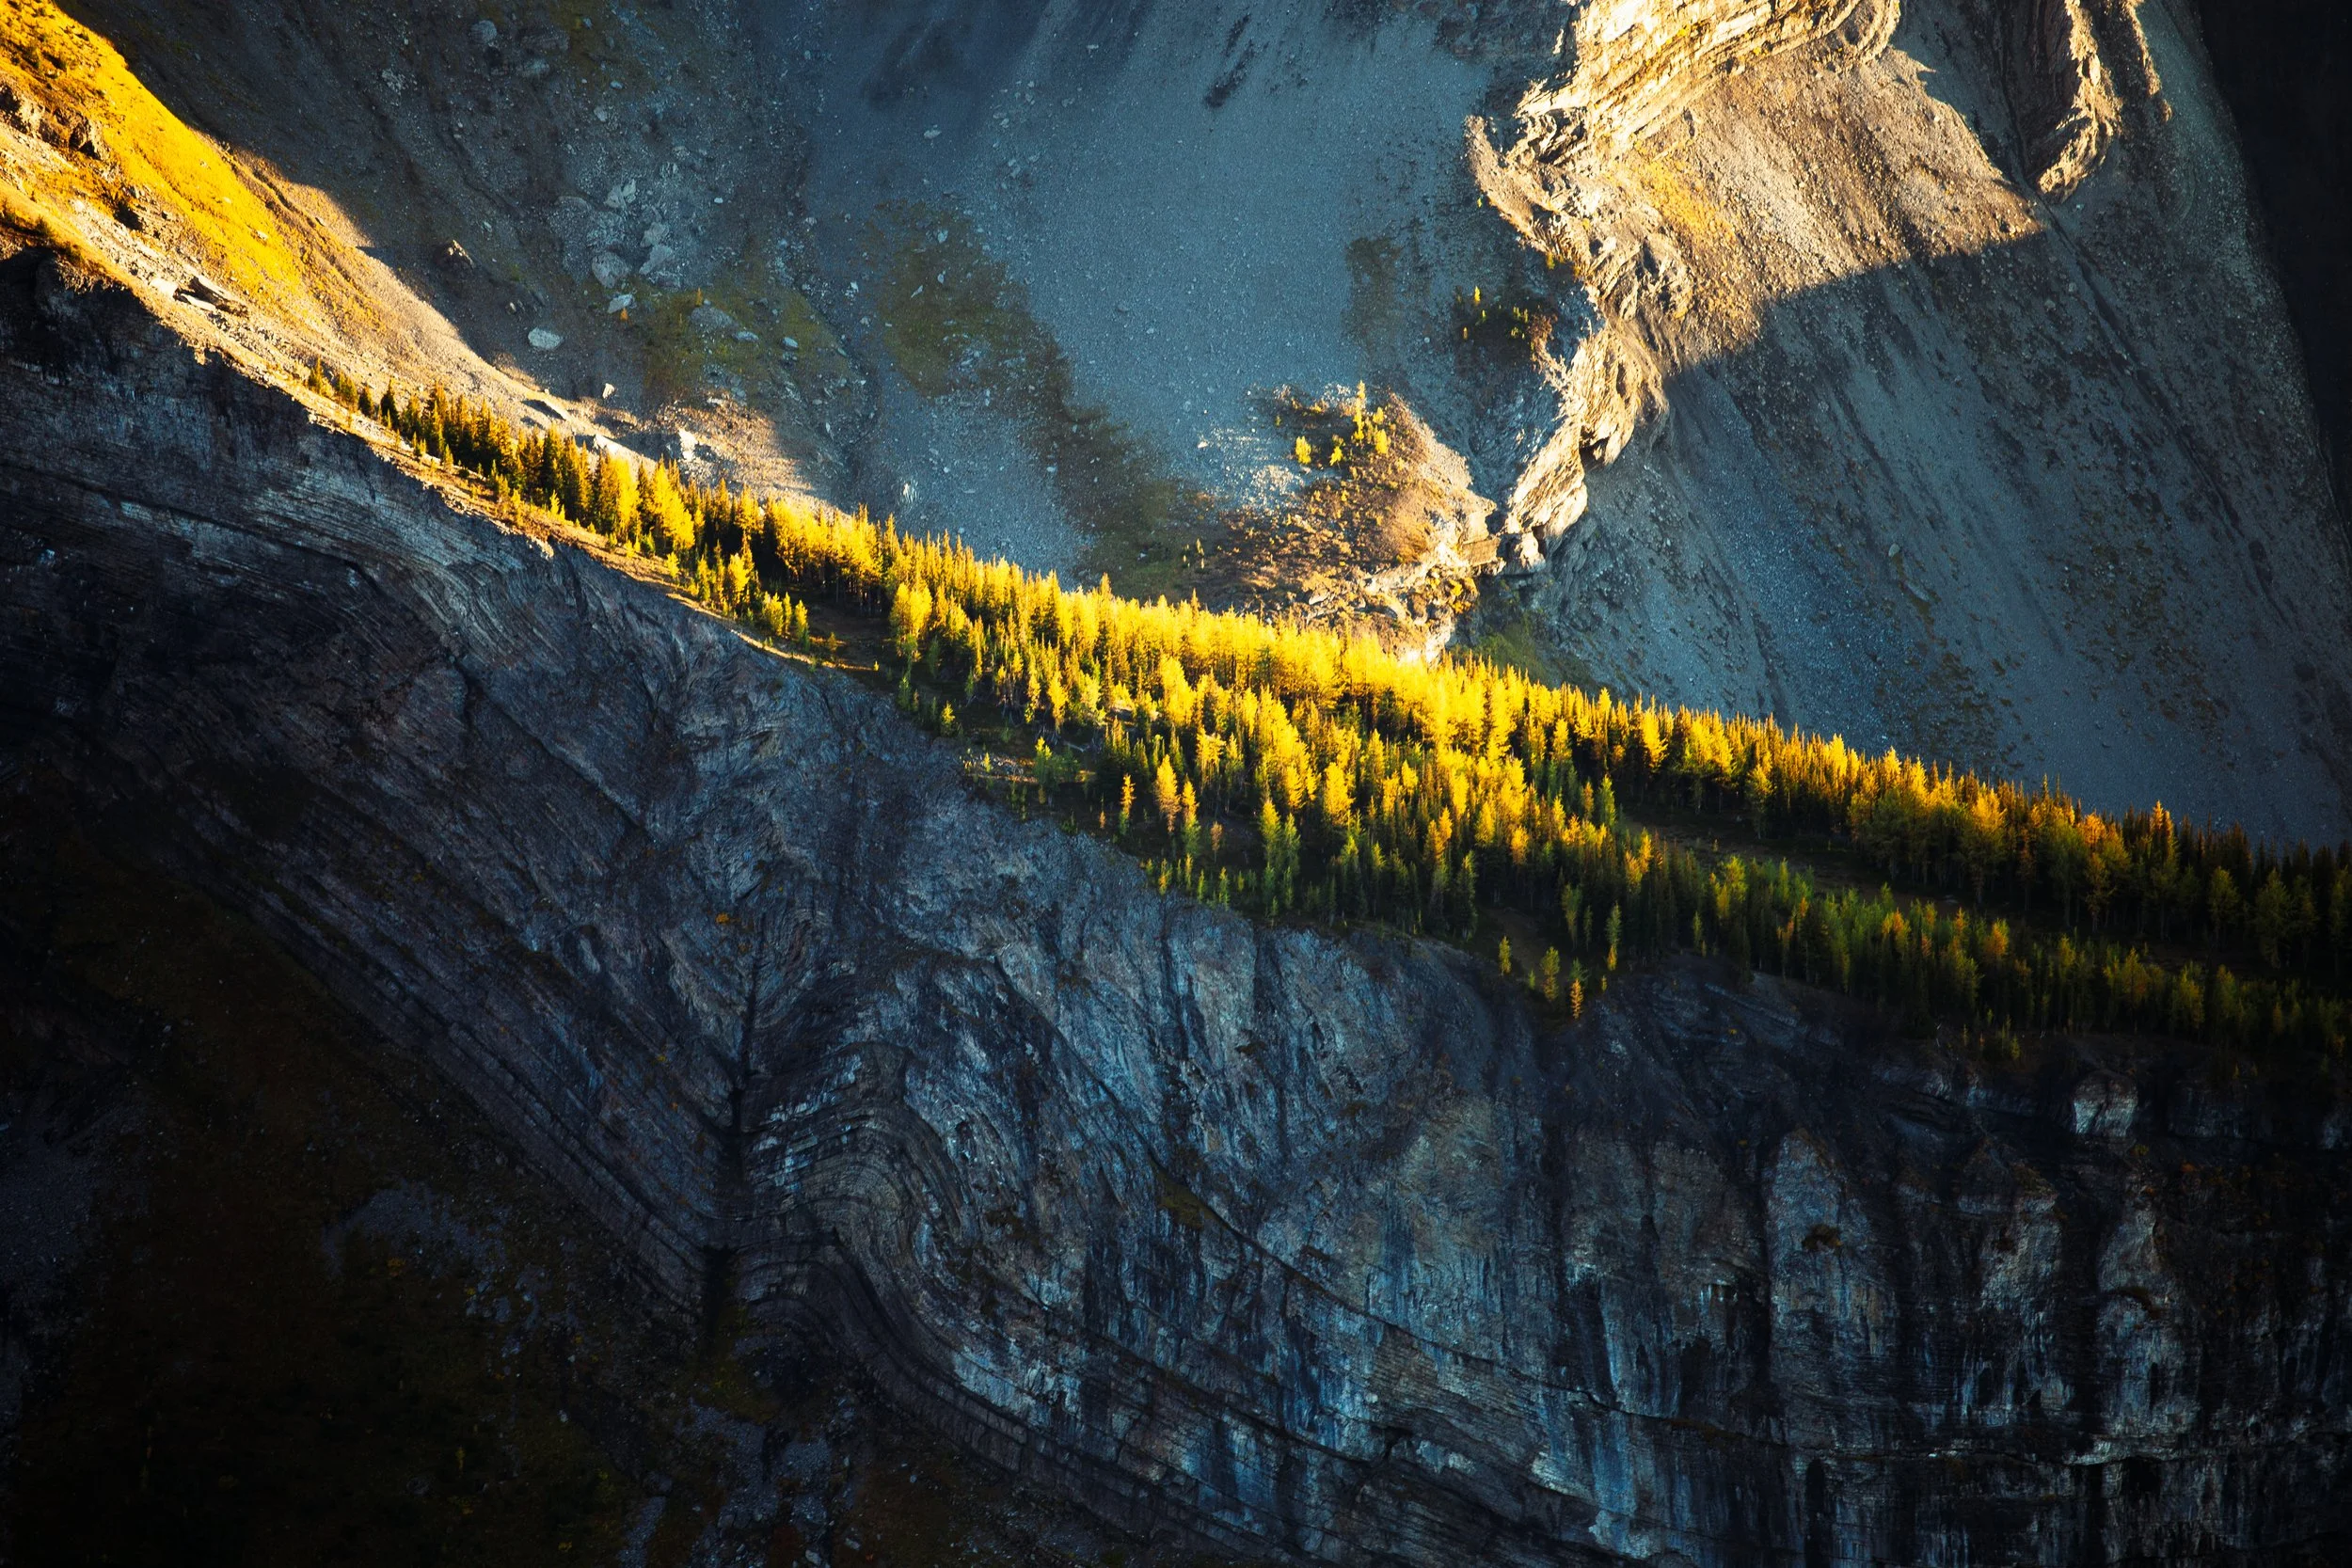
The way back down is simply a case of following your footsteps back to where you started but not before getting out the camera! It’s easy to be blinded by the views towards Birdwood and completely neglect the valley on the other side. If you’re a photographer I highly recommend getting out that long lens and taking advantage of the layers and textures in the distant mountains.
When’s Best To Hike Smutwood Peak?
As most hikes in Kananaskis this hike is best tackled in summer after the snow has melted. In most years trails come in to condition around mid June with certain trails coming in a little earlier but this can of course change year on year. In general the hiking season in Kananaskis is June to end of September.
This trails is honestly stunning at any time of summer but having the ridge lines lined with golden larches does give late September the edge. It’s a great early fall hike as if you don’t time it quite well enough to get that prime yellow colour in the larch trees you’re sure to still have an incredible day out!
It seems to be more and more common for people to attempt this hike pushing further in to winter. Partly because now it’s so popular on social media people see it as a must do no matter when they’re in the area. I would not recommend attempting this hike for most people in the winter months. Having snow, avalanche danger and steep terrain leads to a whole other level of risk management, ability and equipment requirements. Hikes become mountaineering or ski touring objectives in this part of the Rockies during winter.
Gear Recommendations
After 10 years living in the Canadian Rockies, years working in retail and years reviewing outdoor gear I’ve dialled in my backcountry kit! And on all day hikes there are definitely a few things I always take with me to make my trip safer, easier and more enjoyable.
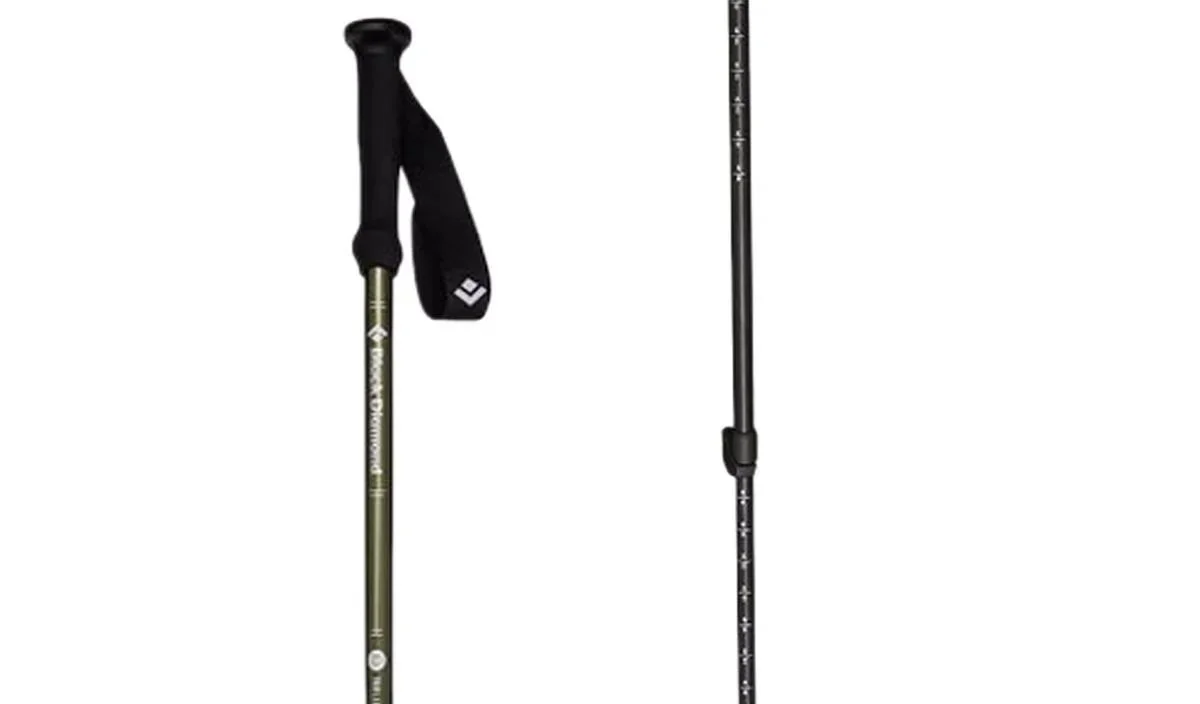
Hiking Poles
Poles are often overlooked by new hikers and seen as unnecessary. However once you use them you’ll never go back! They make you more efficient and take the weight of your knees!
Get it on Backcountry.com

Merino Socks
Merino socks are a must for any hike. They keep you dryer, warmer and smelling better!
Once you go merino you never go back!
My socks are now 100% Smartwool!
Get them at Smartwool.com

Down Jacket
No matter what the weather I carry a lightweight down jacket. The Arcteryx Cerium is light and very warm! Perfect for keeping you toasty when you take a break or if you were injured and awaiting help.
Get it on REI.com
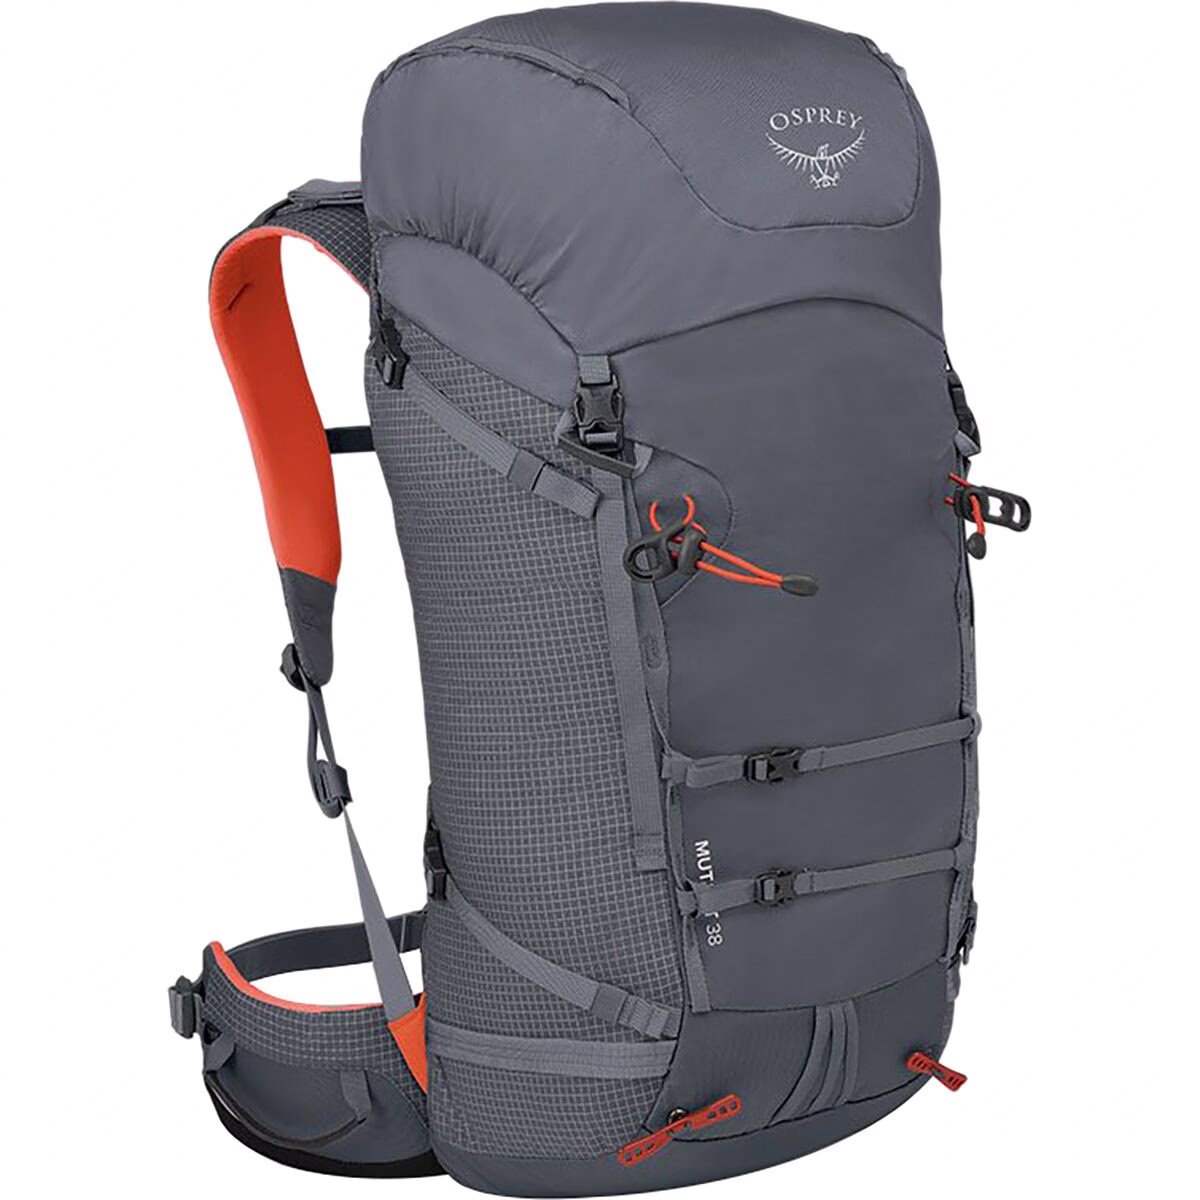
Comfortable Day Bag
The Osprey Mutant is my favourite day bag. Even though it’s designed more for scrambling or mountaineering this bag is one of the most comfortable bags I own and has enough space for everything I need.
Get it on Backcountry.com
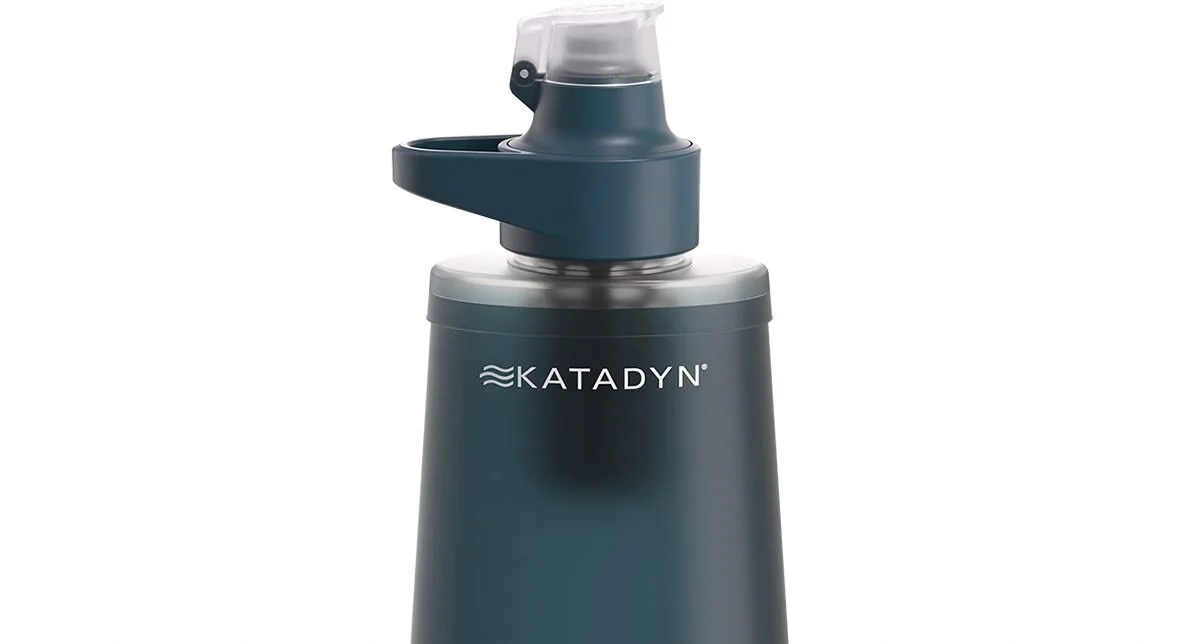
Water Filter
A Katadyn BeFree has to be the easiest filtration system to use. When out on the backcountry you want to be able to filter and refill your water along the way.
This filter packs down small and filters fast. It’s in my bag on every hike!
Get it on Backcountry.com

Capture Clip
Another item that comes on every hike with me and a must own for every photographer.
Keeps your camera close at hand making capturing moments much faster!
Get it on Peakdesign.com
Things to Know Before You Go
Leave No Trace: When hiking anywhere in the world it’s important that you practice a leave no trace philosophy. This means whatever you hike in to a trail or campground you have to be able to hike out too. There won’t be trash cans or waste disposal in the backcountry and you should never throw trash in any out houses or pit toilets. In recent years, as trails and parks become busier, litter is becoming more of a problem. Don’t add to that problem!
Don’t mistake Smutwood for Mount Smuts! It’s common to see people talking about summiting Mount Smuts when they mean hiking Smutwood online. These are two very different objectives with Mount Smuts being a much more technical and sustained scramble. Don’t get them confused as you’ll get a bit of a shock if you’re just out for a more casual day hike!
Some Scrambling: There is a short section of scrambling up an exposed face to make the true summit on this trail. If you aren’t good with heights or comfortable using your hands to aid yourself on an ascent then the last section of this trail may not be for you. The good news is you can easily hike the first 90% of this trail without coming across that sort of terrain. If a scramble isn’t for you stop and enjoy the views a little earlier, they are still fantastic!
Bears! As I mentioned before this area is home to grizzly bears and sightings are common. The trail is closed a couple of times a year due to encounters with bears. In fact on our way out on one occasion we had to duck under some closed tape as the trail had been closed whilst we were on it due to reports of an aggressive bear! Luckily one we didn’t personally encounter. So as always be bear aware, make noise, hike in groups and always carry bear spray!
Offline maps knowing where you’re going is super important as to not get lost. I recommend All Trails Plus for finding routes and offline mapping allowing you to safely find your way home. You can always grab a free trial!
Looking for more day hikes in the Canadian Rockies? or maybe multi-day hikes?
Watch The Video
Featured Posts
Canyon Creek Ice cave is a uniquely different adventure and well worth the effort, especially if traveling by bike!