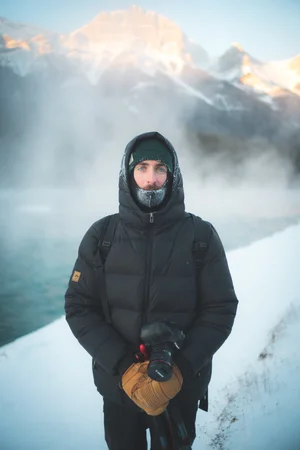
Yamnuska - More Than A Hike!
Yamnuska is one of the most easily accessible trails for hikers heading in to the mountains from Calgary, and it doesn’t disappoint!
I originally hiked Yamnuska back in the summer of 2018 and since then things have changed! Not only with the actual trail but also with how I feel about the level of exposure this hike throws at you!
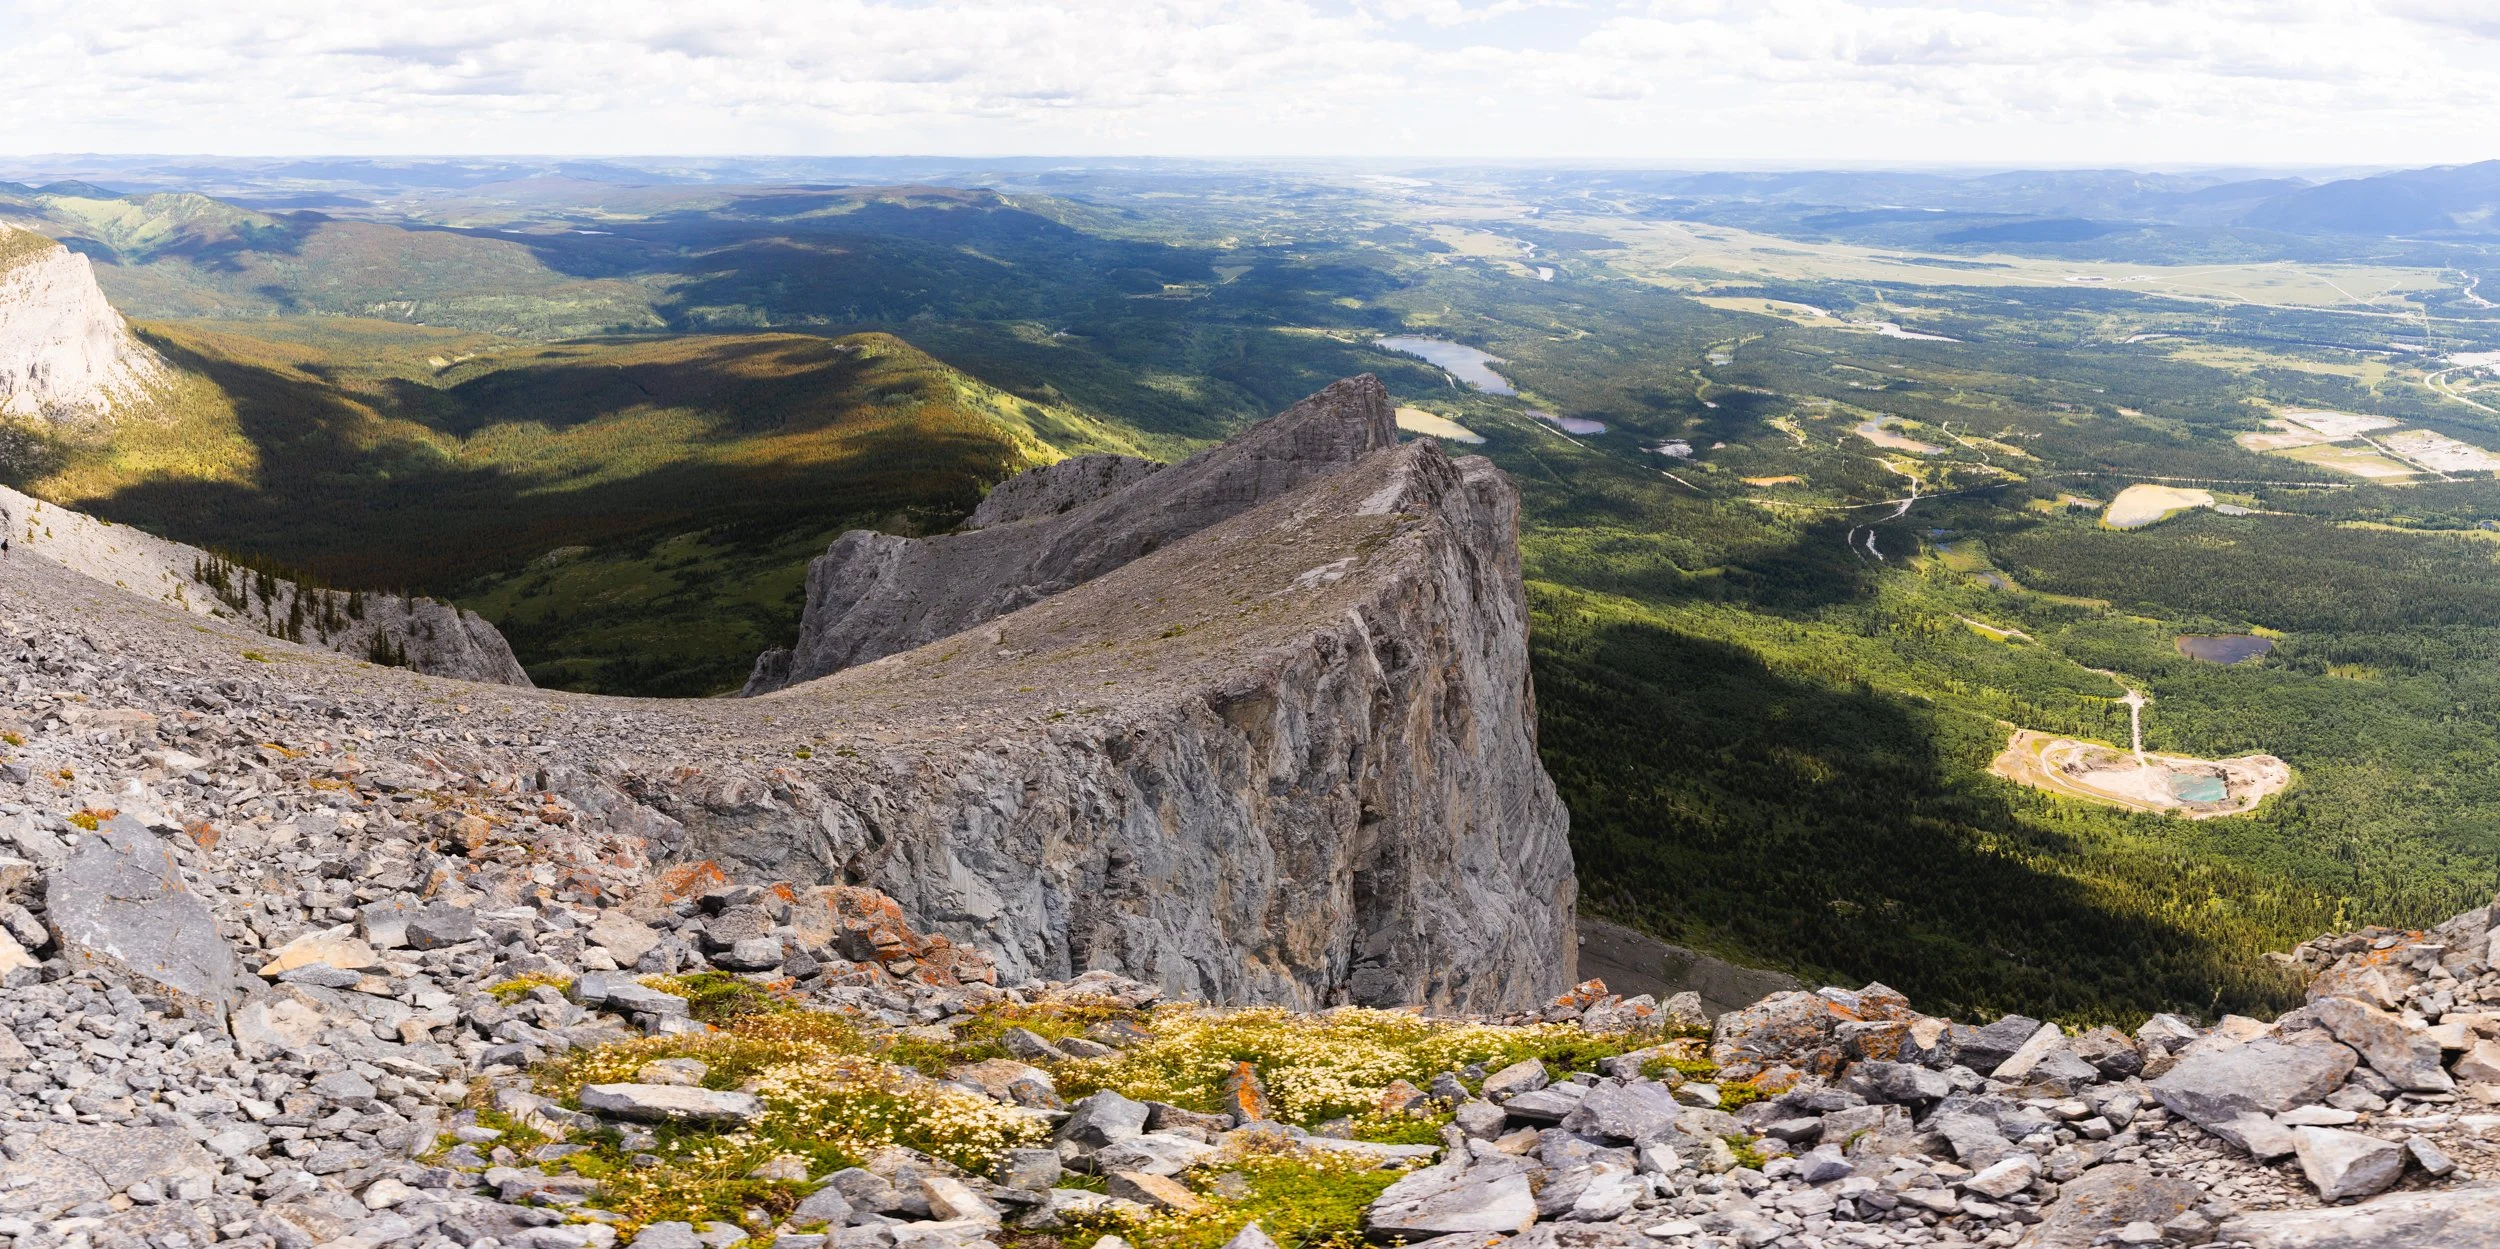
Yamnuska has it all, exposure, chains, adventure, elevation gain and some great views. It’s a hike that is often considered by entry level hikers but even though the terrain is now well marked it is beyond a beginner hike!
How to Get to the Yamnuska Trailhead
From Highway 1 take the exit to Seebe and drive over the Kananaskis river and on past the Brewster’s Kananaskis golf course. Take a right when you hit the Bow Valley Parkway and then the first left on to a gravel road.
Here you’ll find the trailhead parking with space for plenty of cars as well as a toilet block.
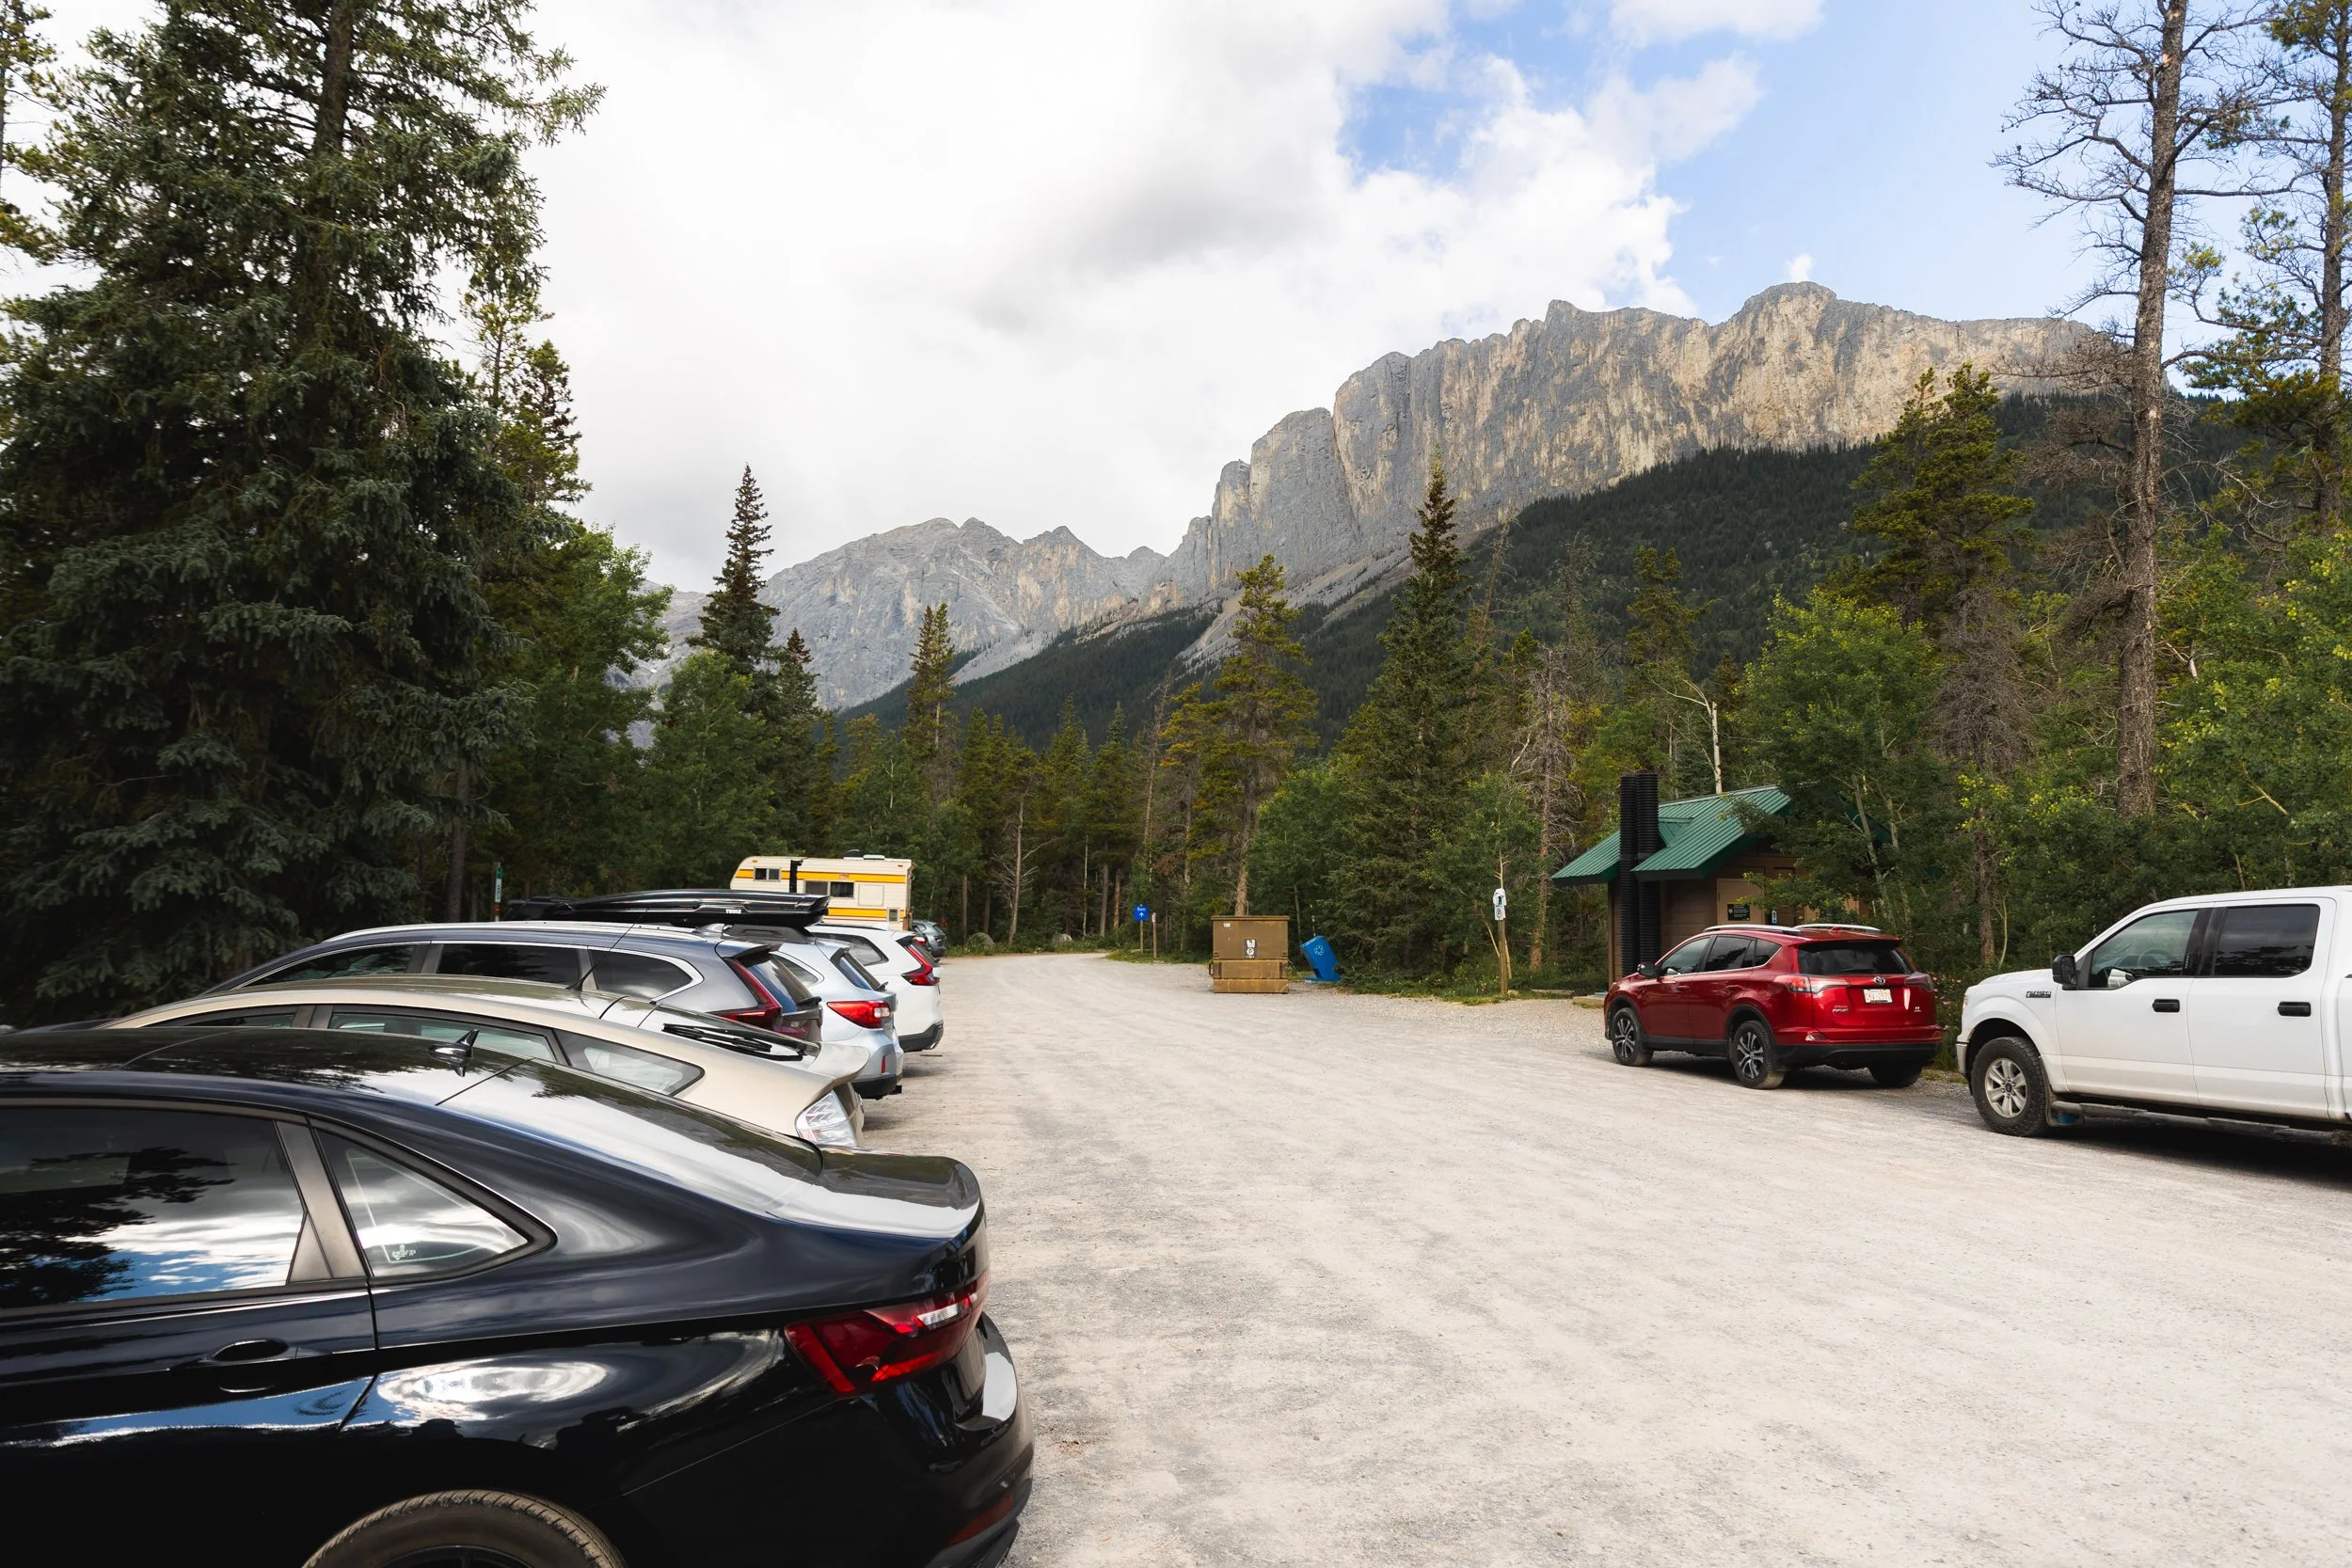
Parking is plentiful but can fill up on a busy weekend. From the trailhead you can see the highest point of your hike in the distance and the top of the Yamnuska headwall.
When’s the Best Time of Year to Hike Yamnuska?
Yamnuska is one of the last summits on the east side of the Rockies before the sprawling prairies take over and stretch on for hundreds of kilometres.
Given it’s position on the very edge of the vast range of the Canadian Rockies this trail is one of the first to come in to season. Often Yamnuska will be one of the earlier trails to be hikeable at the start of summer, I’d recommend hiking this trail from June until the end of September weather permitting.
In the middle of summer the start of the trail is covered with wild flowers whilst in fall the aspen forest glows bright yellow.
I wouldn’t however recommend hiking this trail in bad weather or with snow coverage.
Given it’s proximity to Calgary this trail has become popular with beginner hikers and keen adventurers however sections of this trail are steep and exposed. These sections could be very treacherous in snow or rain, in fact as the years go by the rock on the scrambles become more and more worn by the thousands of boots that tread the trail each year. As time goes on the rock becomes more polished and slippery and accidents have happened on this trail in the past, so know your limits and the conditions!
A great way to double check conditions on trail is to check recent reviews on AllTrails where you can occasionally get up to date pictures and reviews of the trails you’re trying to tackle.
Before You Get Started
Now I don’t say these things to put you off as Yamnuska is a trail that’s very achievable for a lot of people but I do think it’s important to point out that this isn’t a straight forward trail and there is some risk involved.
Firstly this trail has no shade throughout the scramble sections and nowhere to fill up water. You’ll want to take plenty with you, especially on a hot day!
This is a scramble, not a hike! There are sections where you will need to use your hands and climb up and down to navigate the trail safely.
There are some really exposed sections. Areas where if you slipped it would be catastrophic. A head for heights is a must.
There are now several decent options. Some safer than others, more on that later.
The main wall of Yamnuska has over 150 climbing routes on it’s face. Don’t throw rocks off!
This isn’t a beginner hike! Even though the trail is now well marked route finding skills and a head for exposure are still very important on this trail. Even though it’s easily accessible I wouldn’t have this on your list as your first ever hike!
The Stats
Time: 4 - 5 hours
Distance: 10 km
Elevation Gain: 900 m
Difficulty: Hard, mainly for it’s technical aspects and exposure.
In 2021 this trail went through renovations adding signage and improving the trail throughout with it being well maintained up to Raven’s End as well as a new decent option that avoids the famous scree runout.
These changes came after a series of accidents in 2020, including one unfortunate fatality after a man lost his footing on the steep scree descent and took a tumble hitting his head. There are of course risks on any hike so be sure you are willing and prepared to take them before you head out.
The Hike
I’d hiked the Yamnuska trail a couple of times previously around 8 years ago, this time however we headed out on a Saturday morning to find a newly renovated trail and plenty of hikers.
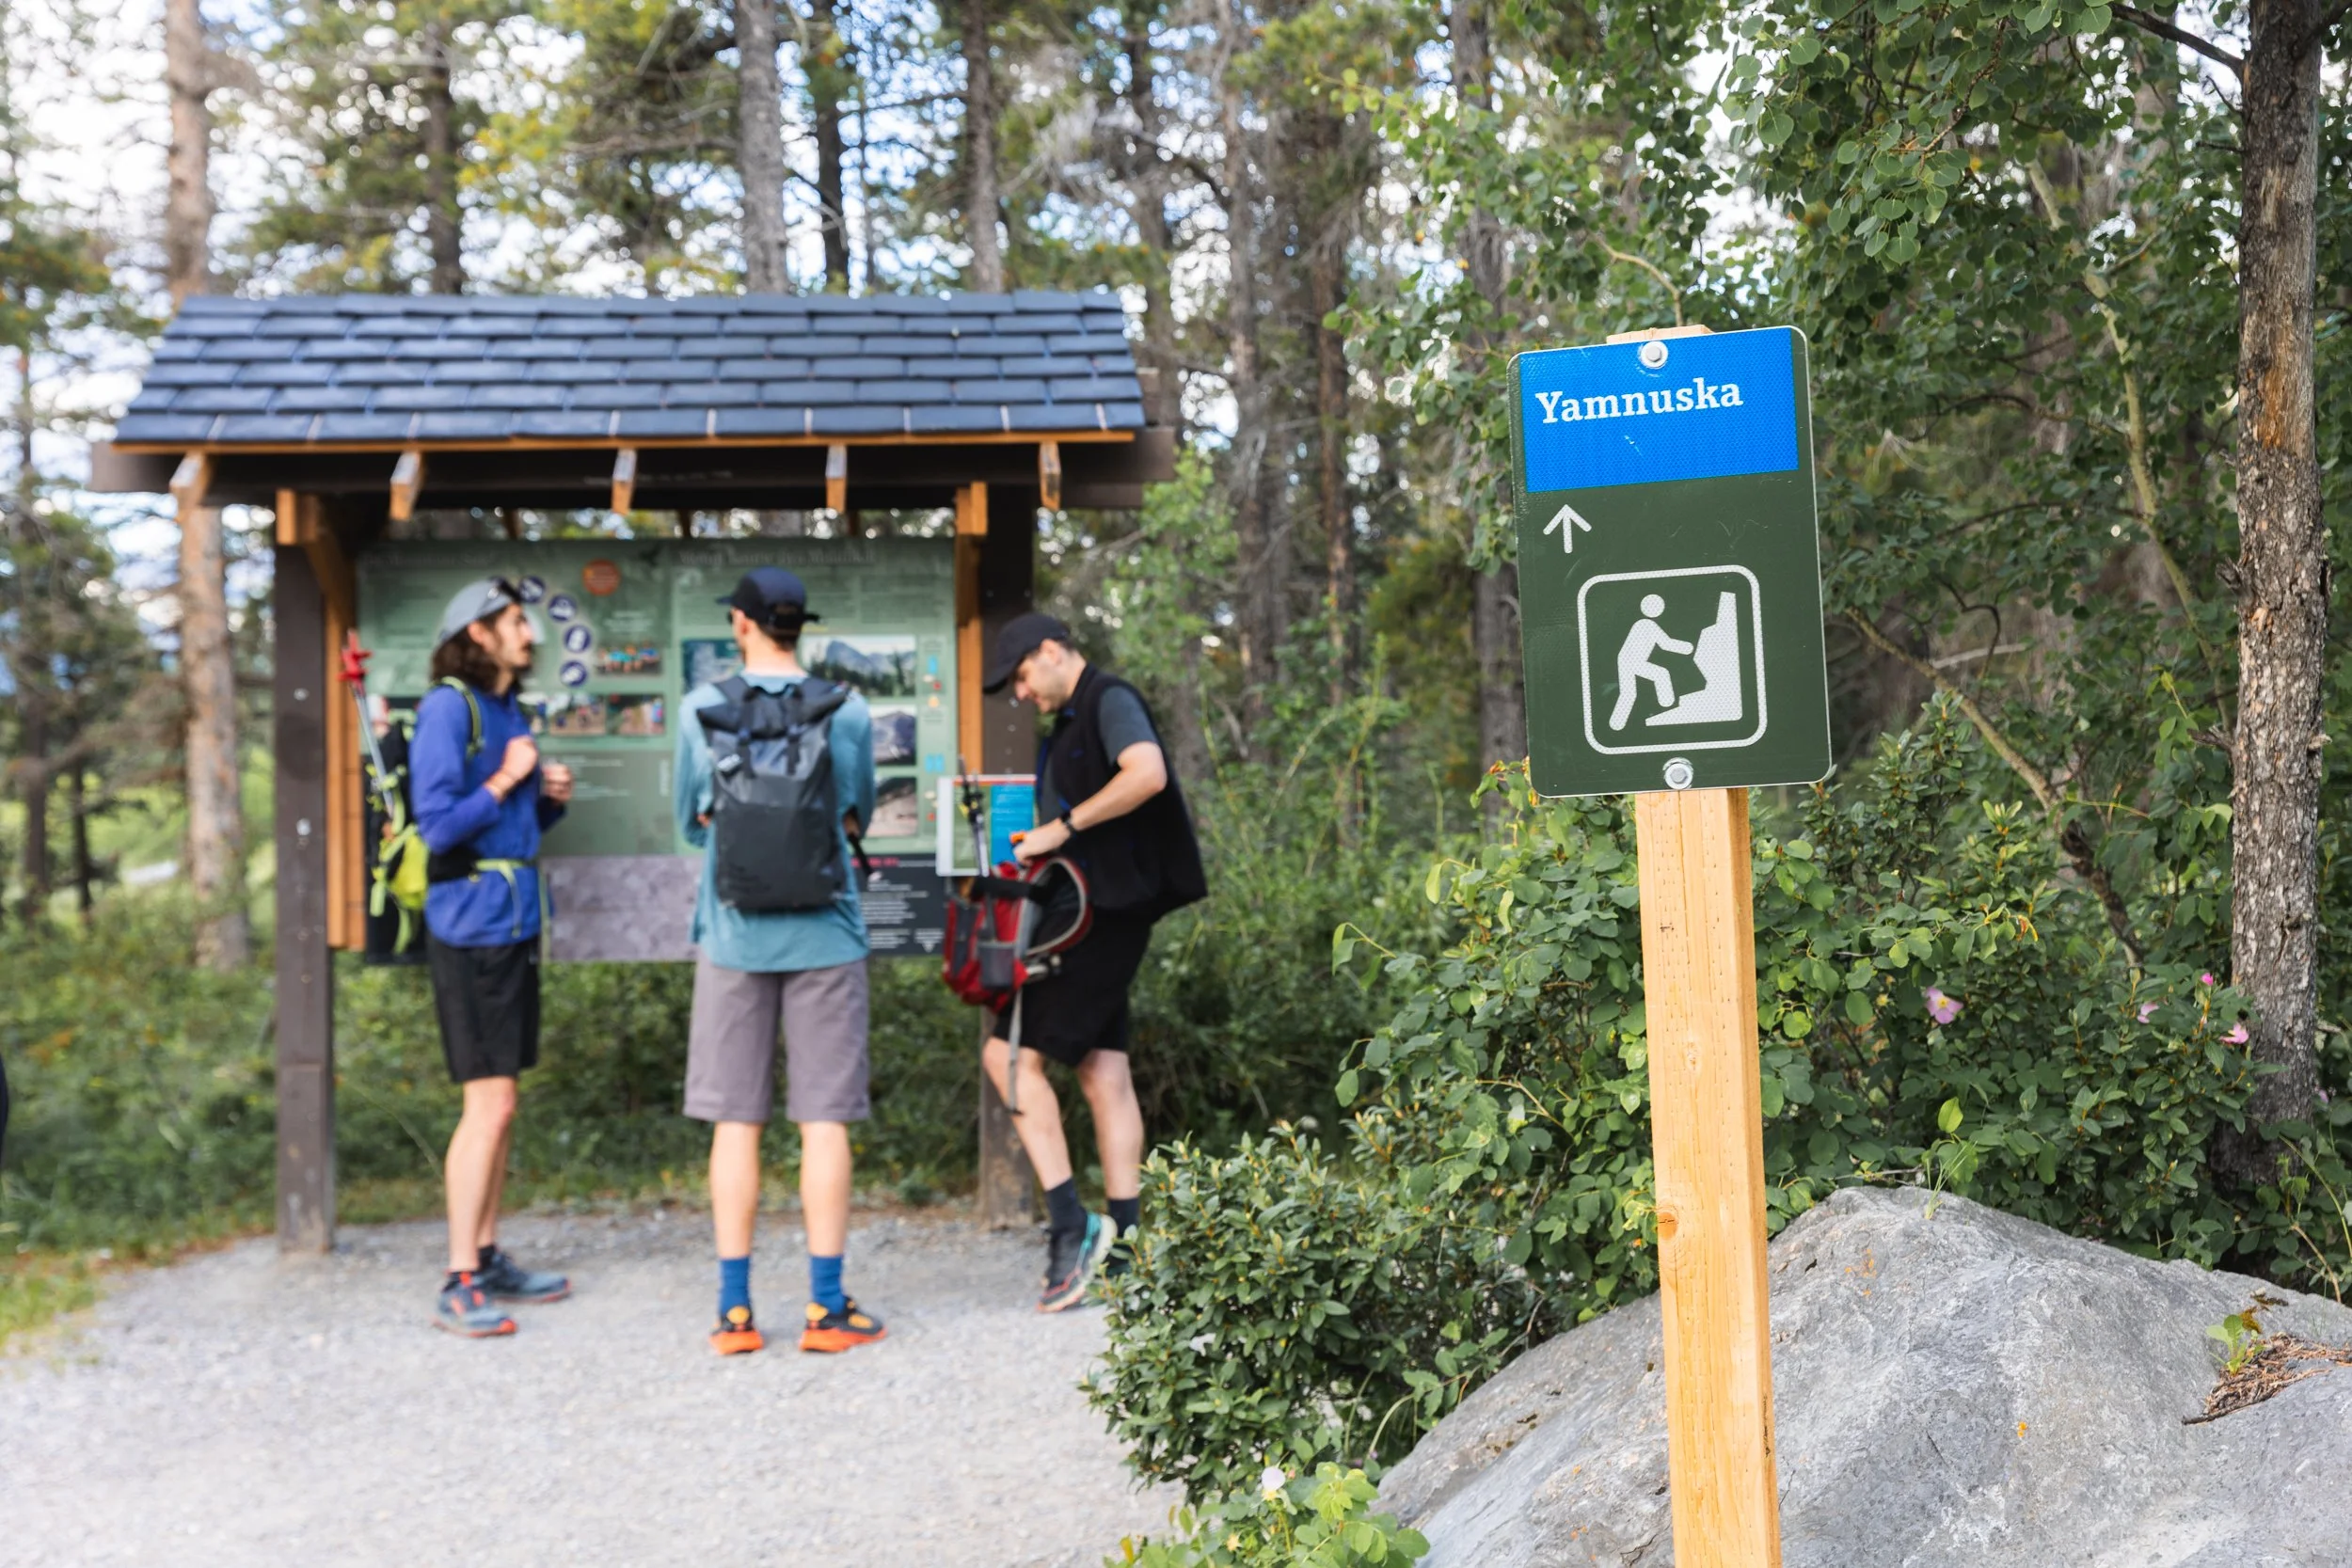
The now well marked trailhead
The trail starts with a well maintained and defined path that winds it’s way through aspen forests, trails that are phenomenal during fall.
Immediately you can see the results of the 2021 renovations and the signage that not only guides you along the way but provides plenty of warning.
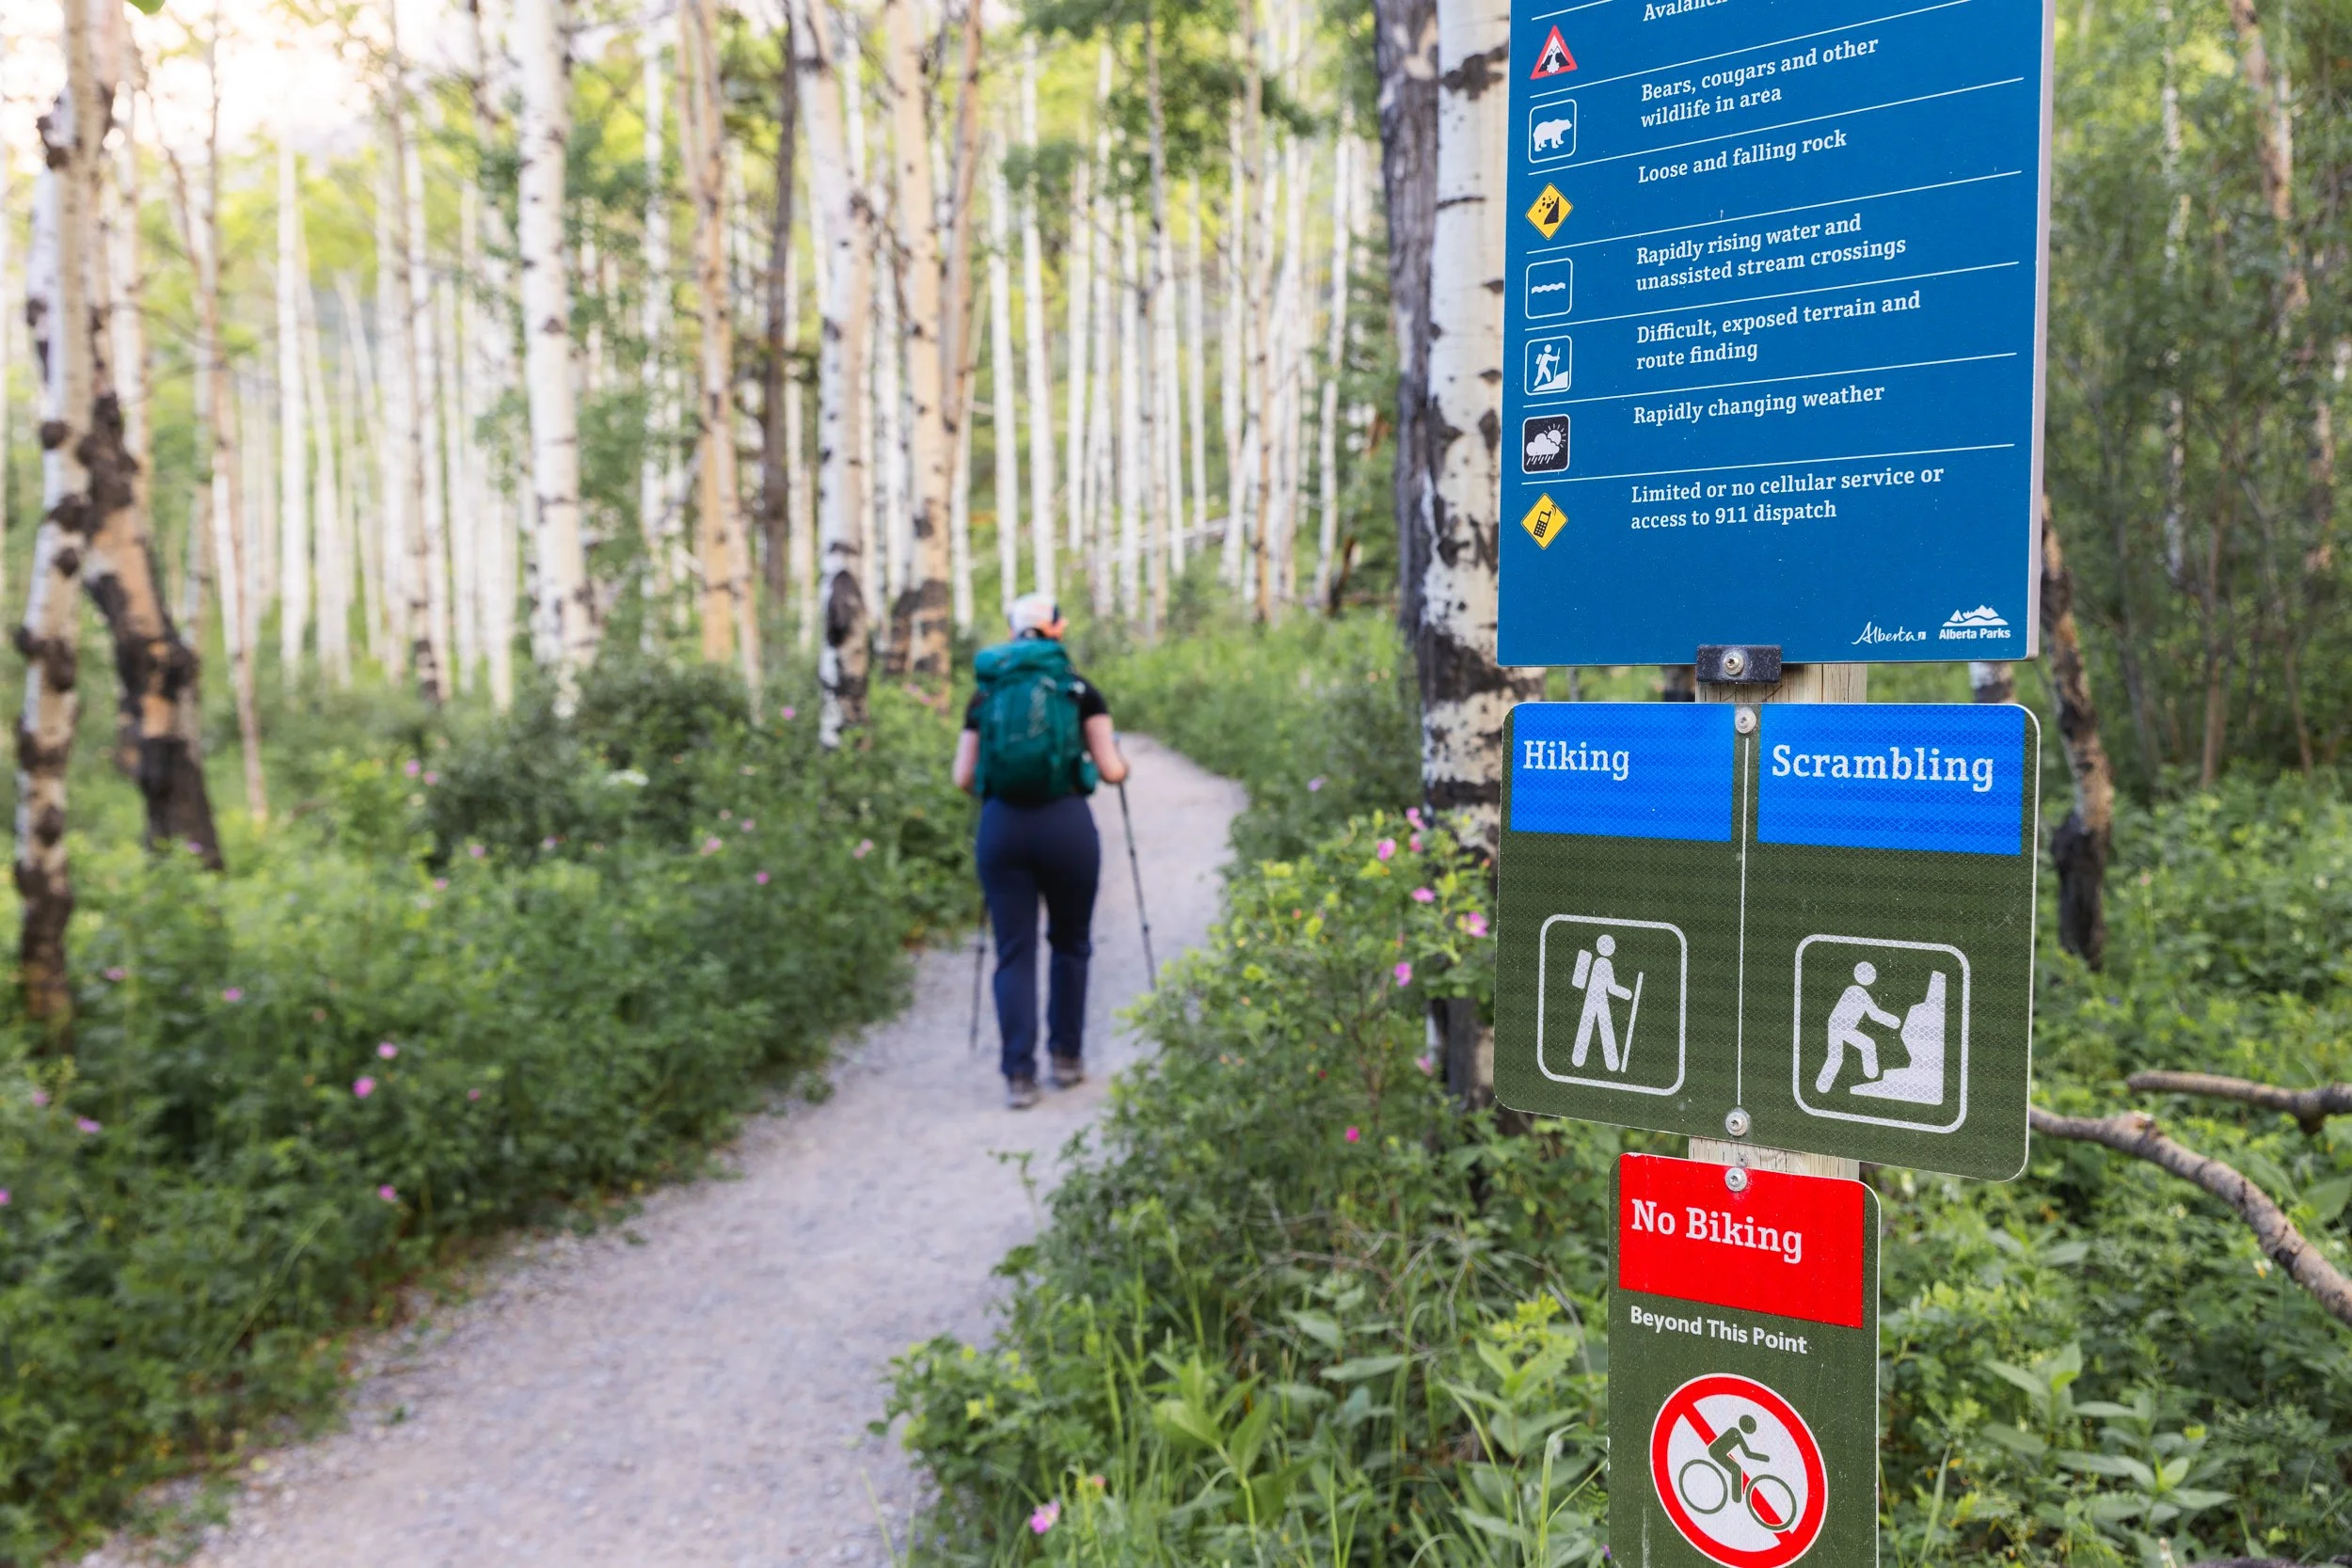
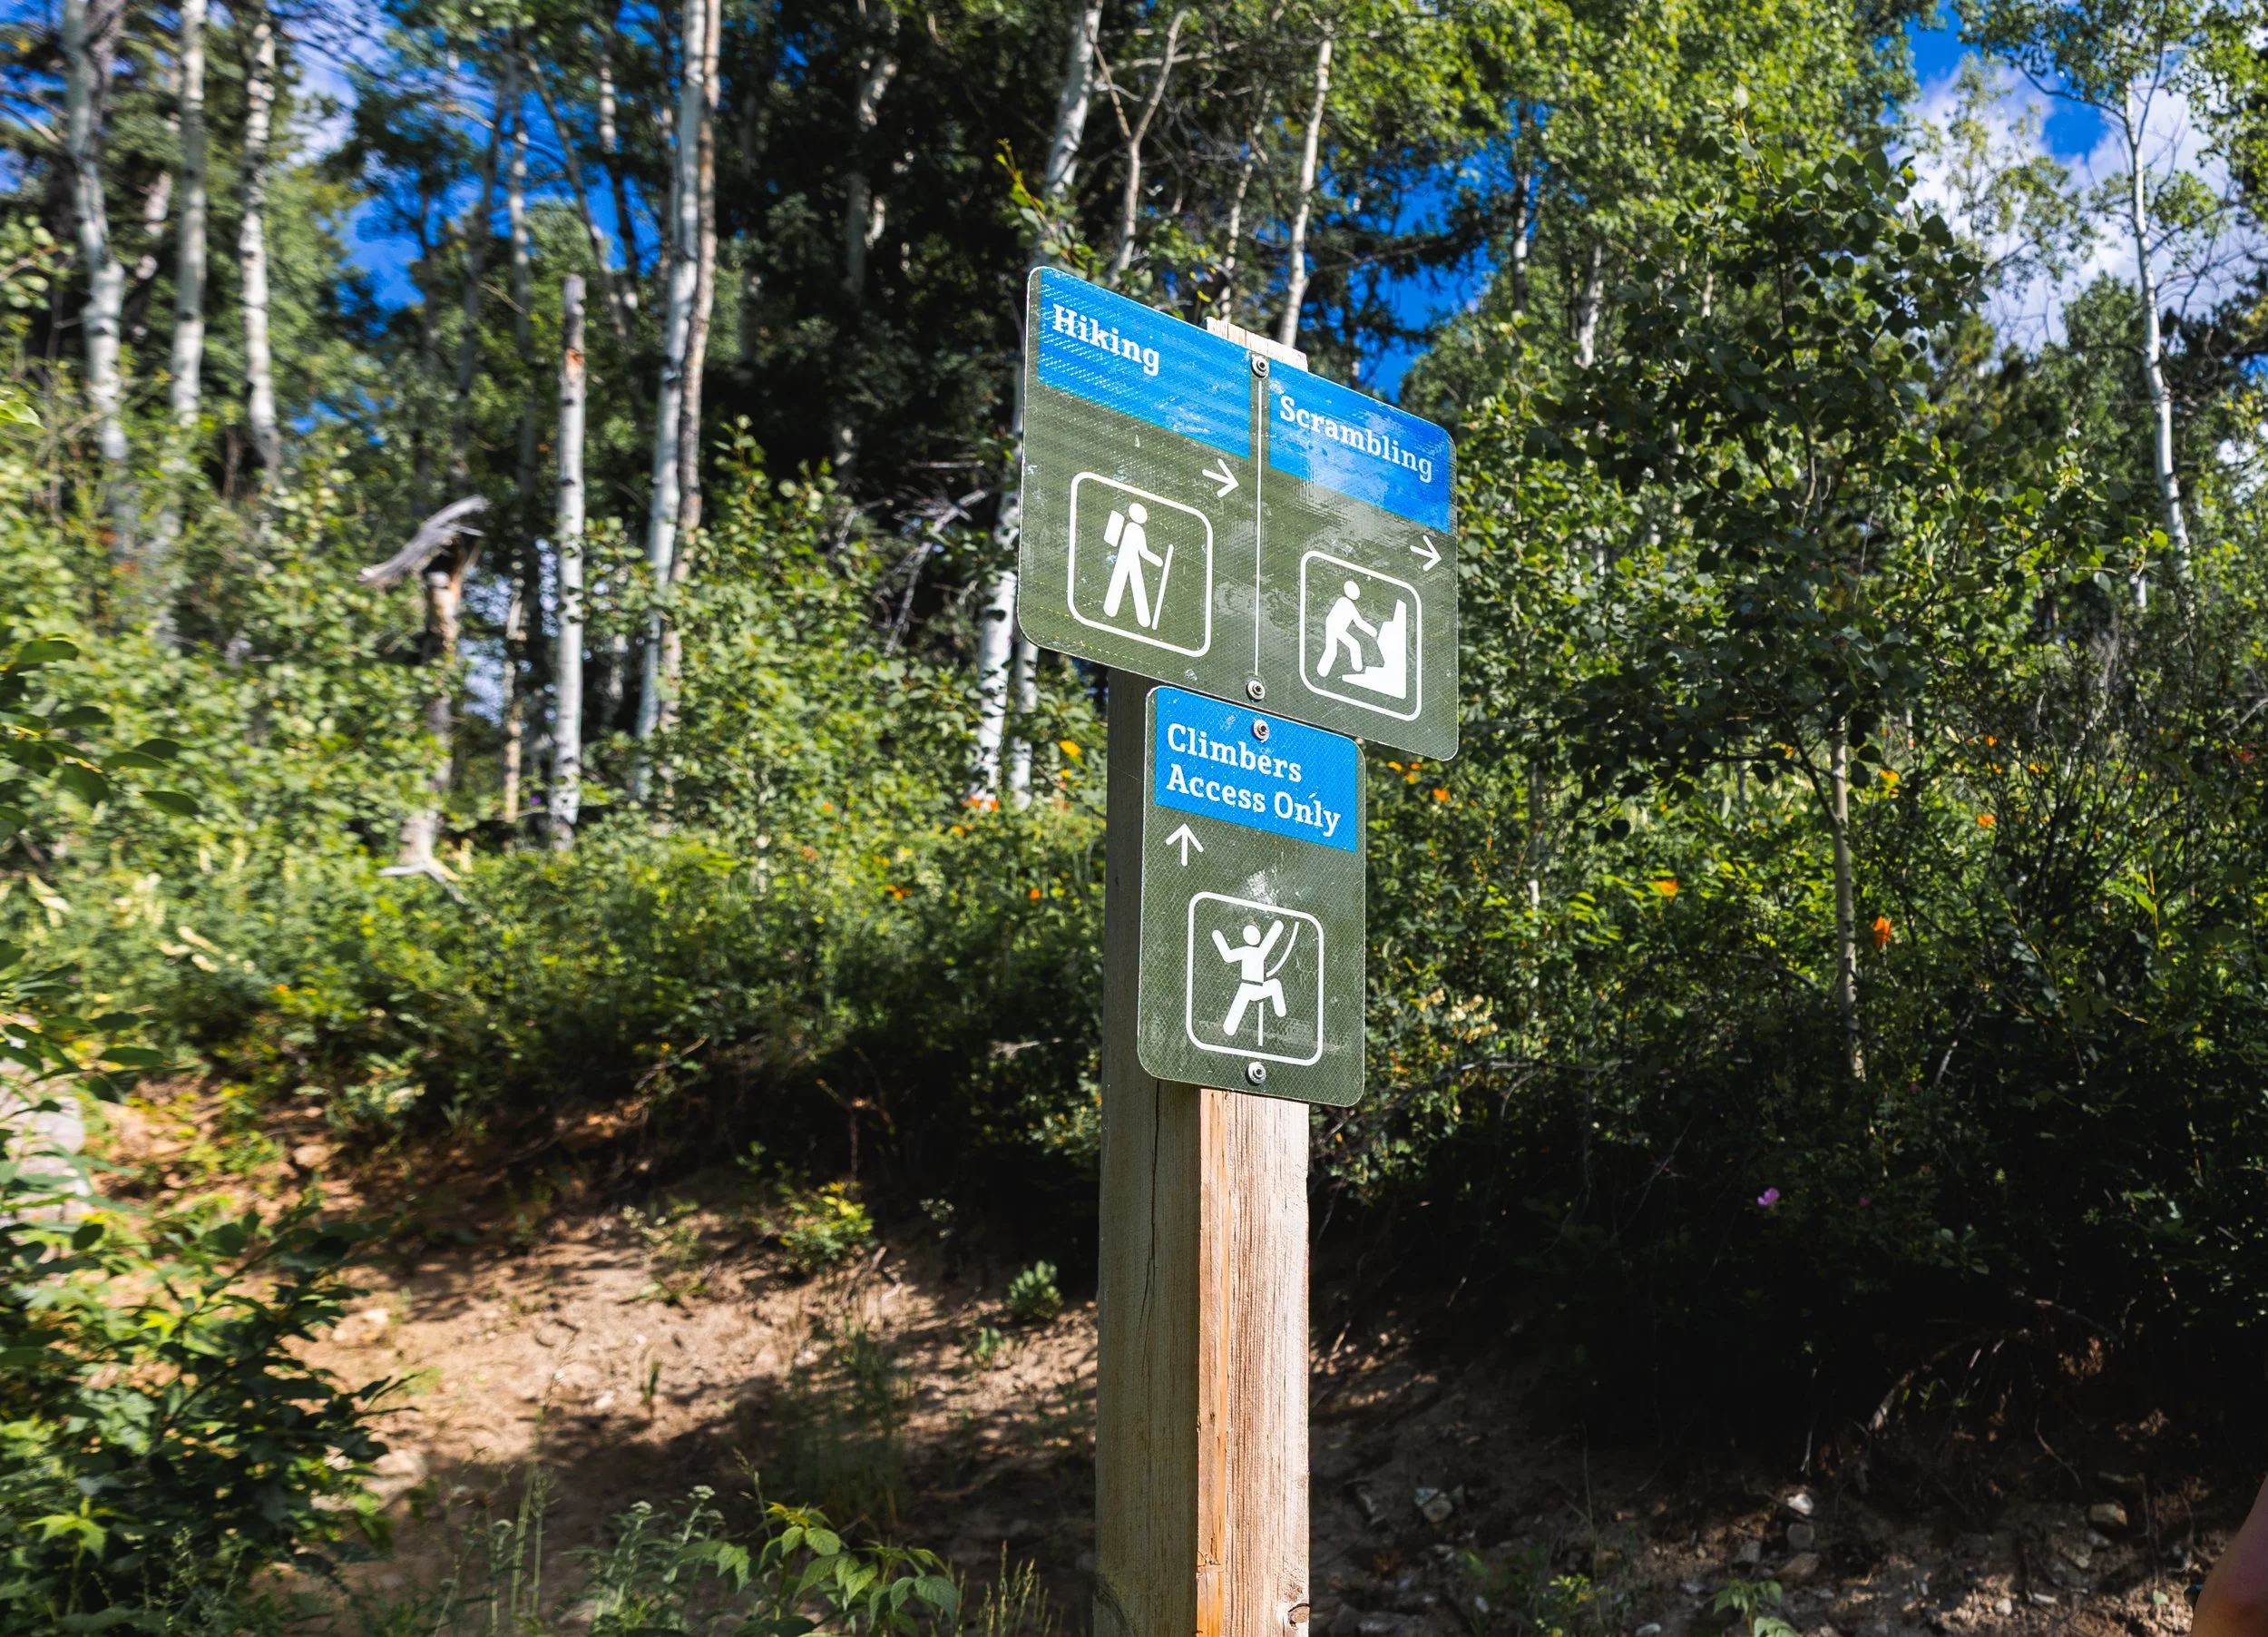
After an easy 1 km you’ll get to your first cross roads. As you can see from below the trail is again very well signposted directing you to the right.
The trail is now designed to usher hikers in a counter clockwise direction and in all honesty this is just want makes perfect sense!
Having everyone walk the trail in the same direction helps reduce rock fall hazards as well as having hikers crossing each other during technical scrambles or on exposed ridges.
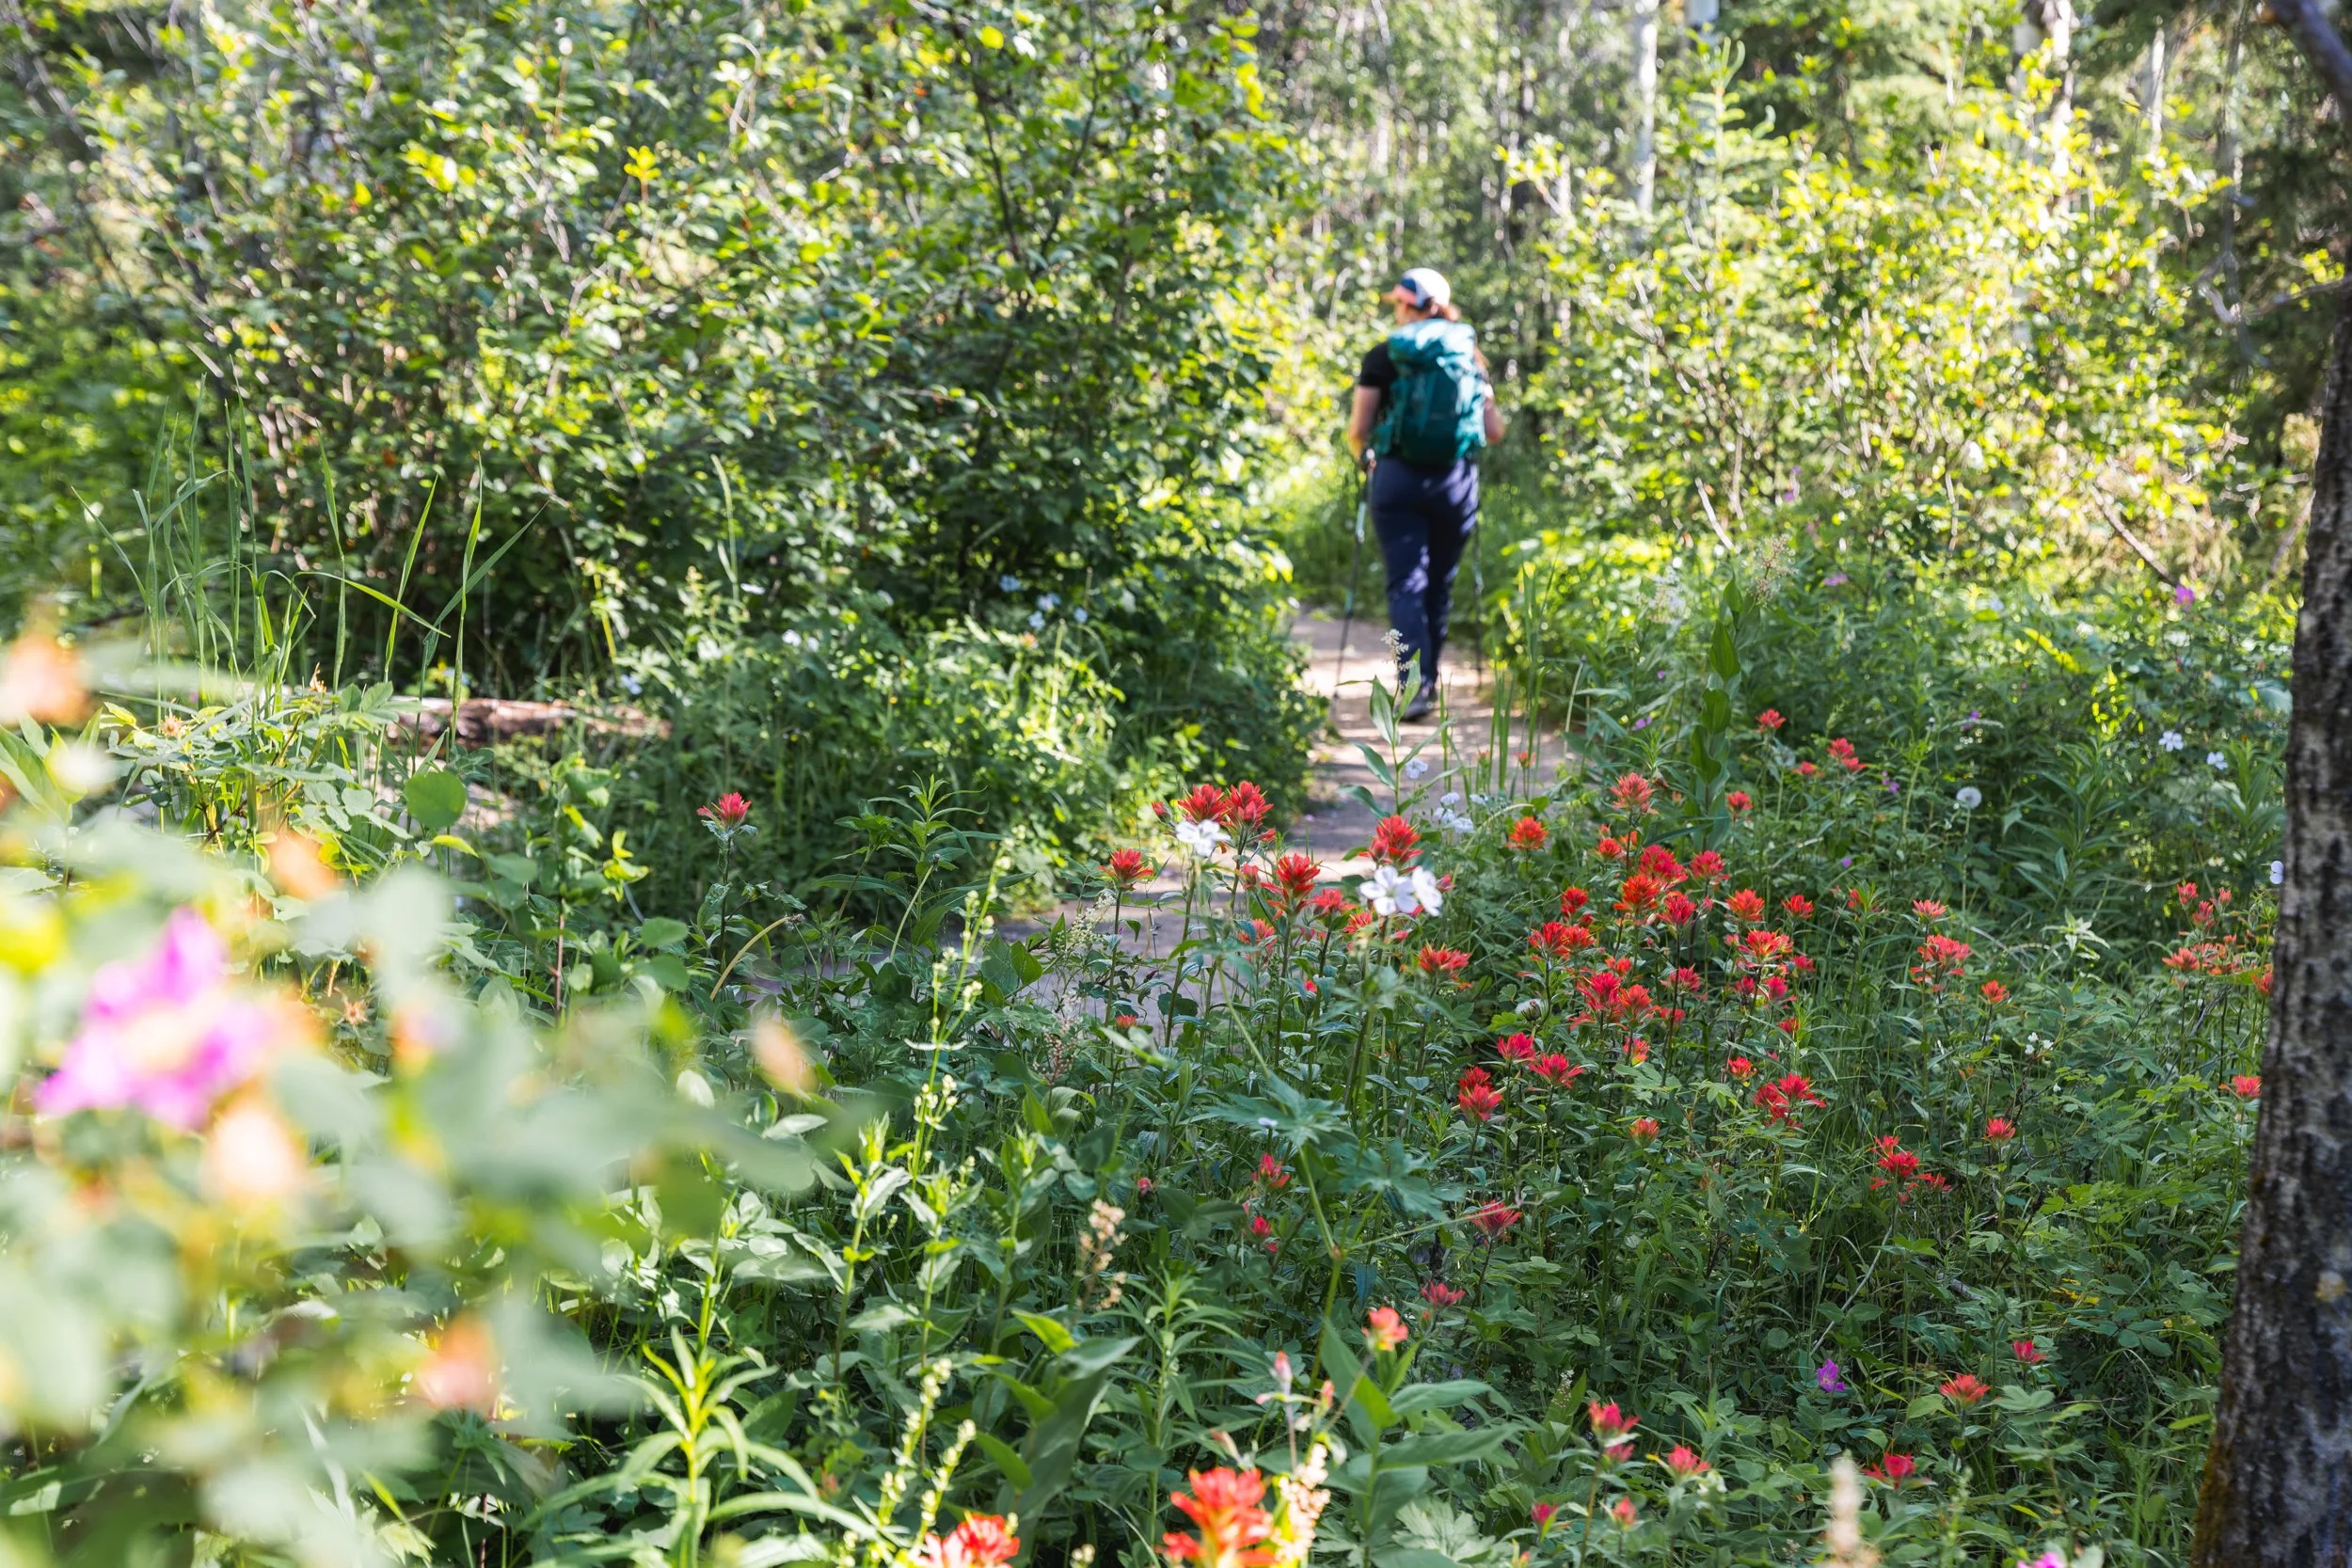
Wild flowers litter the forest floor at the start of July.
The trail is consistently steep from after the 1st km and continues like that all the way to the summit. There are however some small reprieves in the way of great view points to have a rest and take it all in.
The first comes at just after the 2 km mark with views towards the heart of Kananaskis.
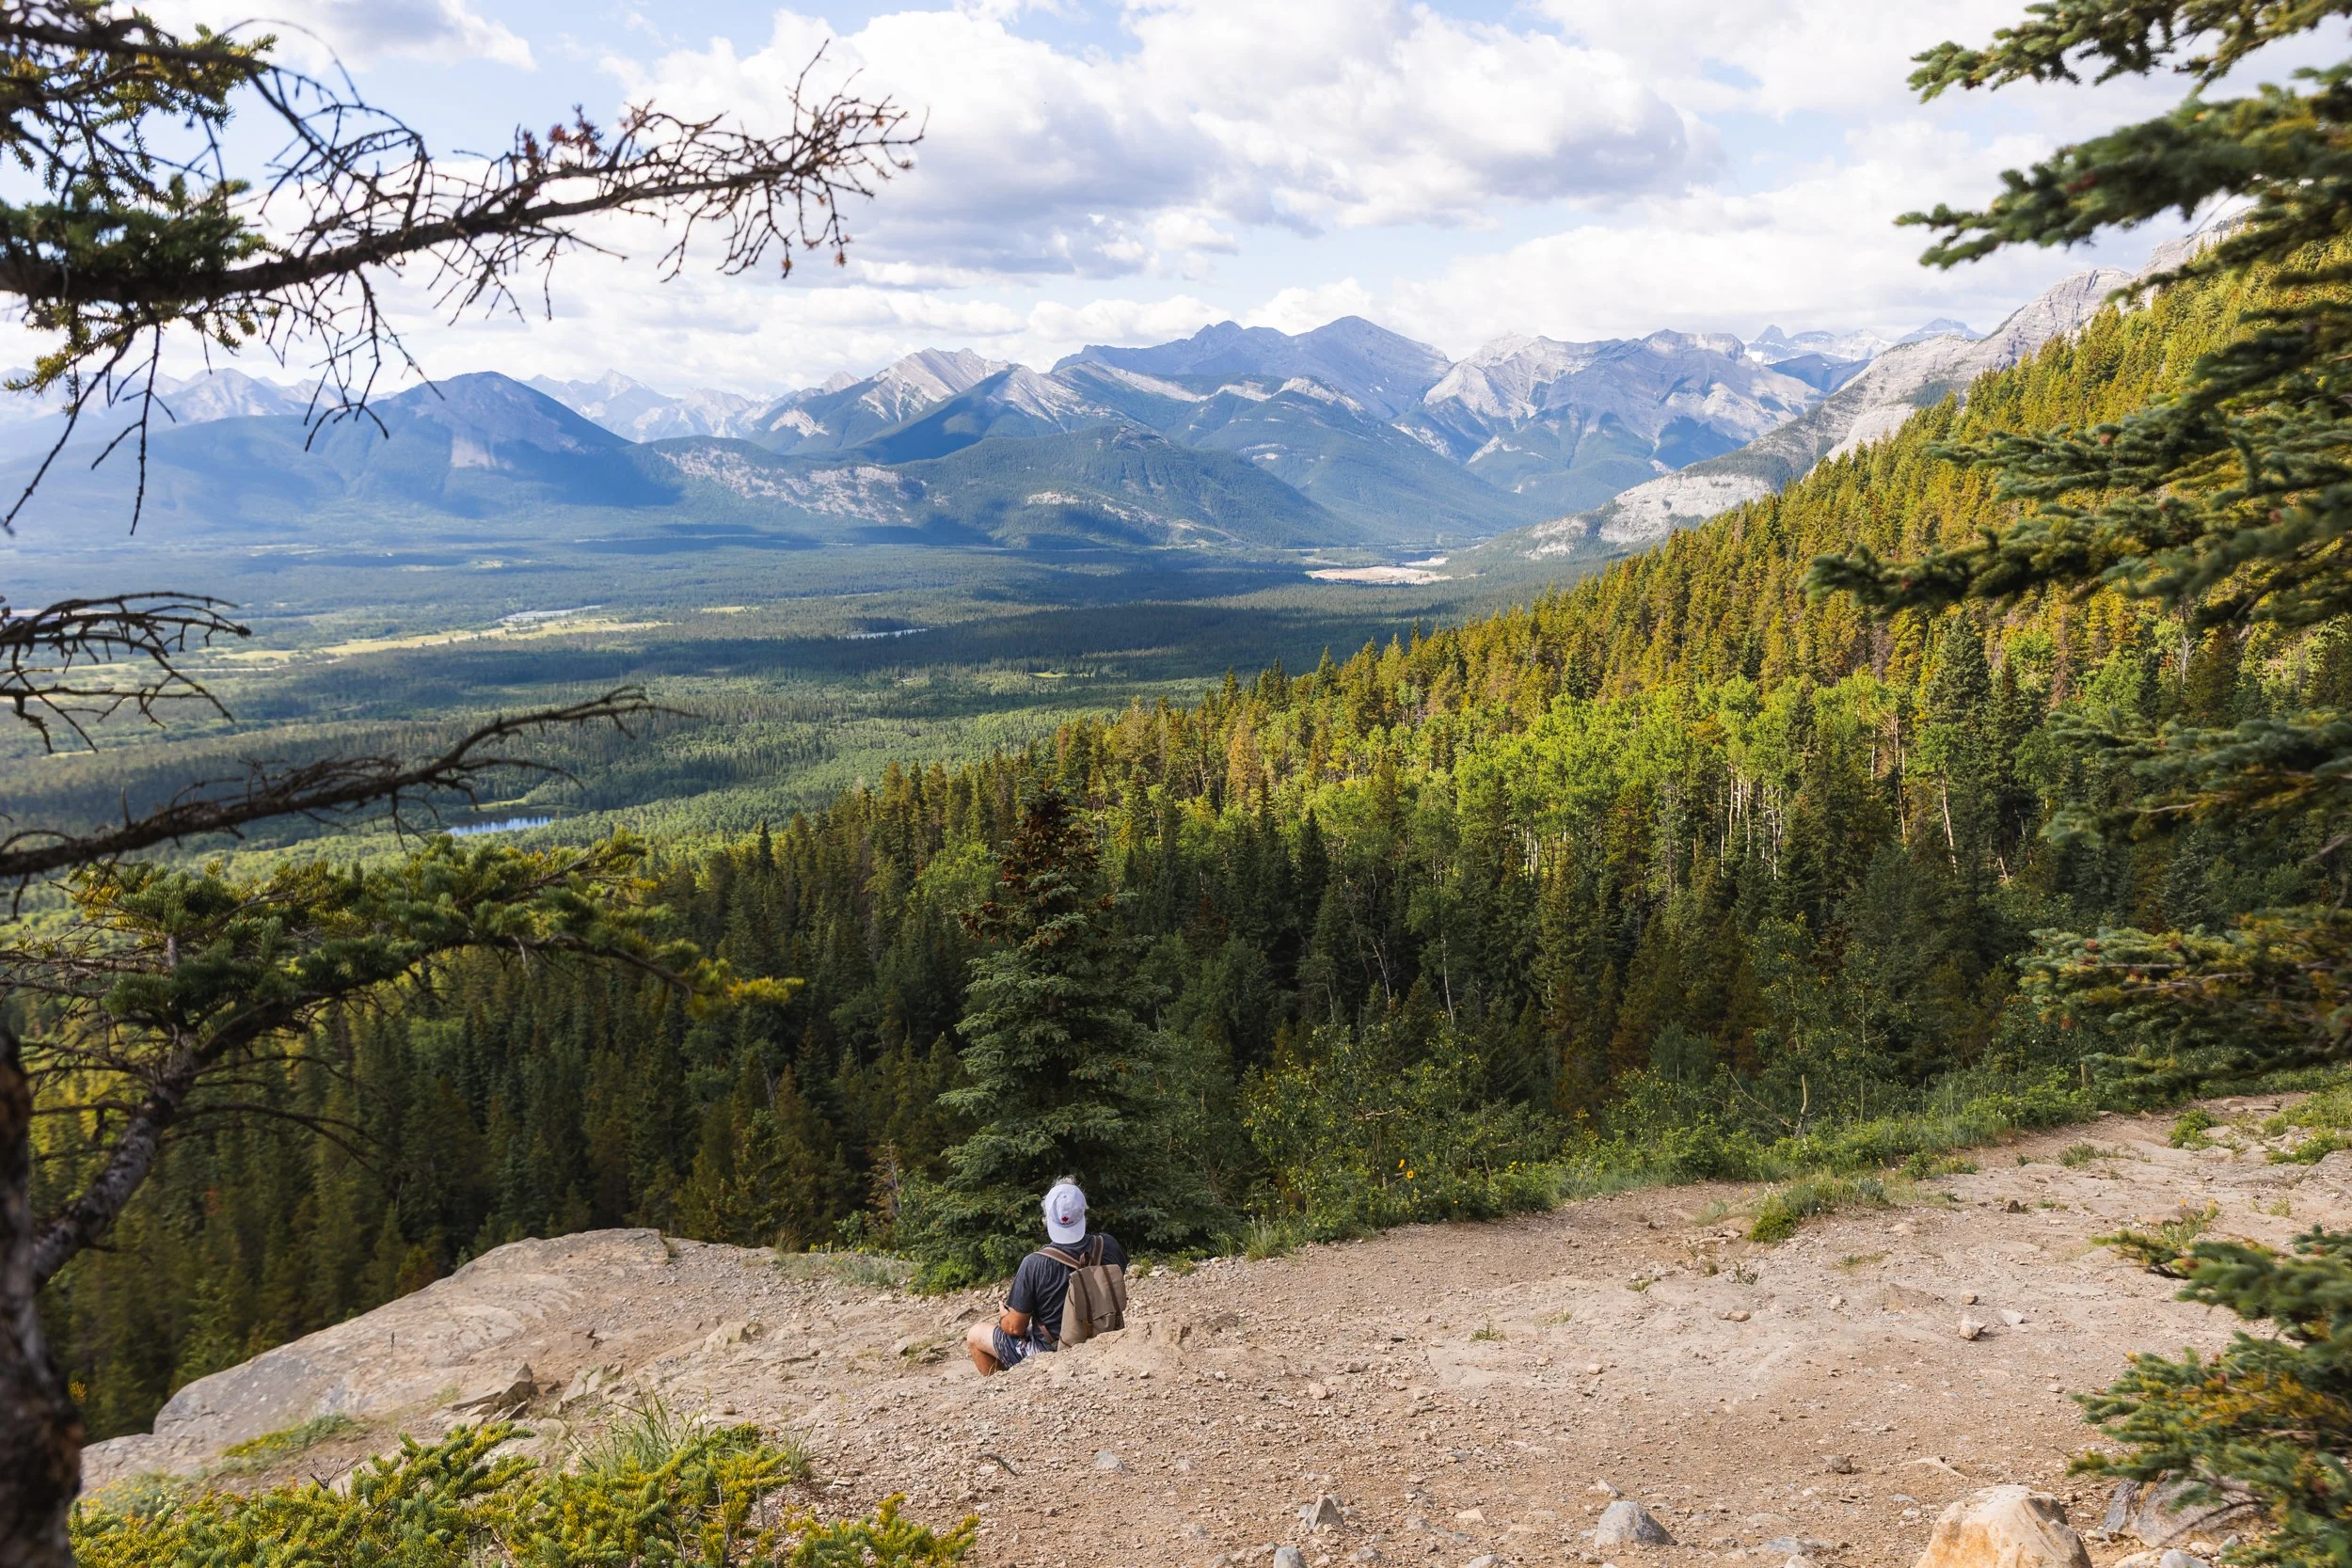
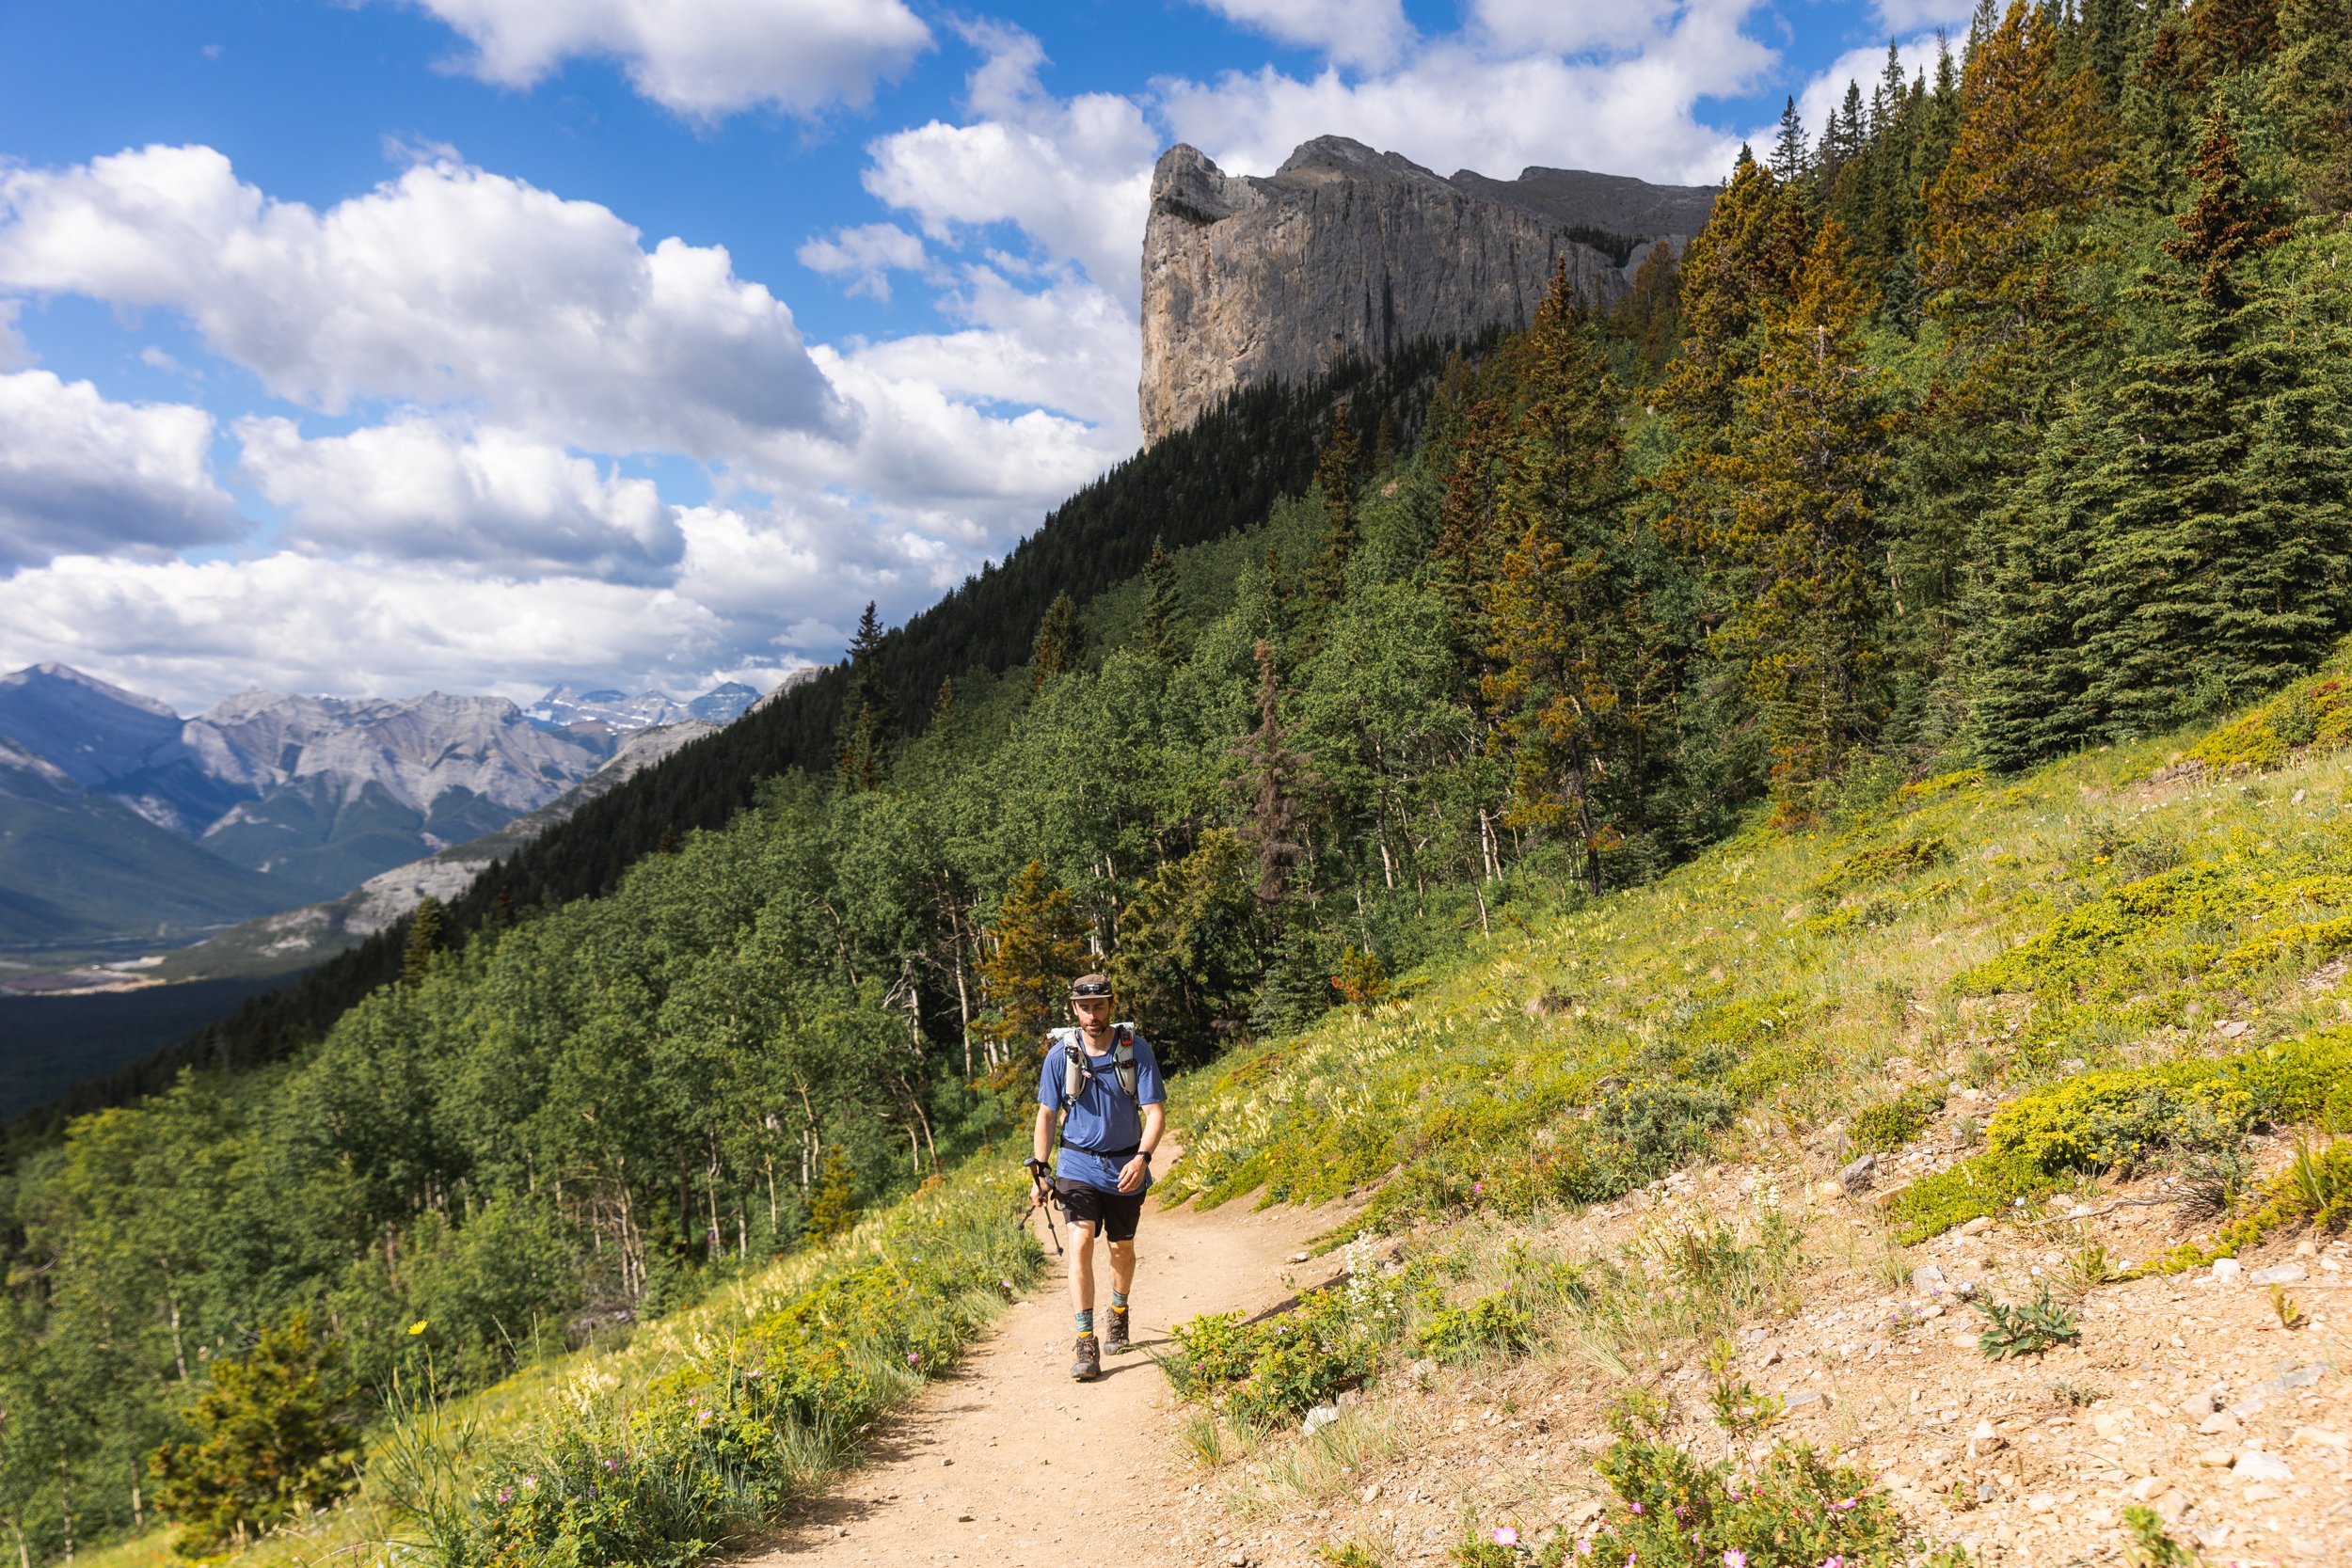
Walking the trail with the summit of Yamnuska behind.
The first 4 km of the trail leads to Raven’s End a signed check point and a great turnaround point for less experienced hikers. From this point on the trail becomes a different beast and much more technical!
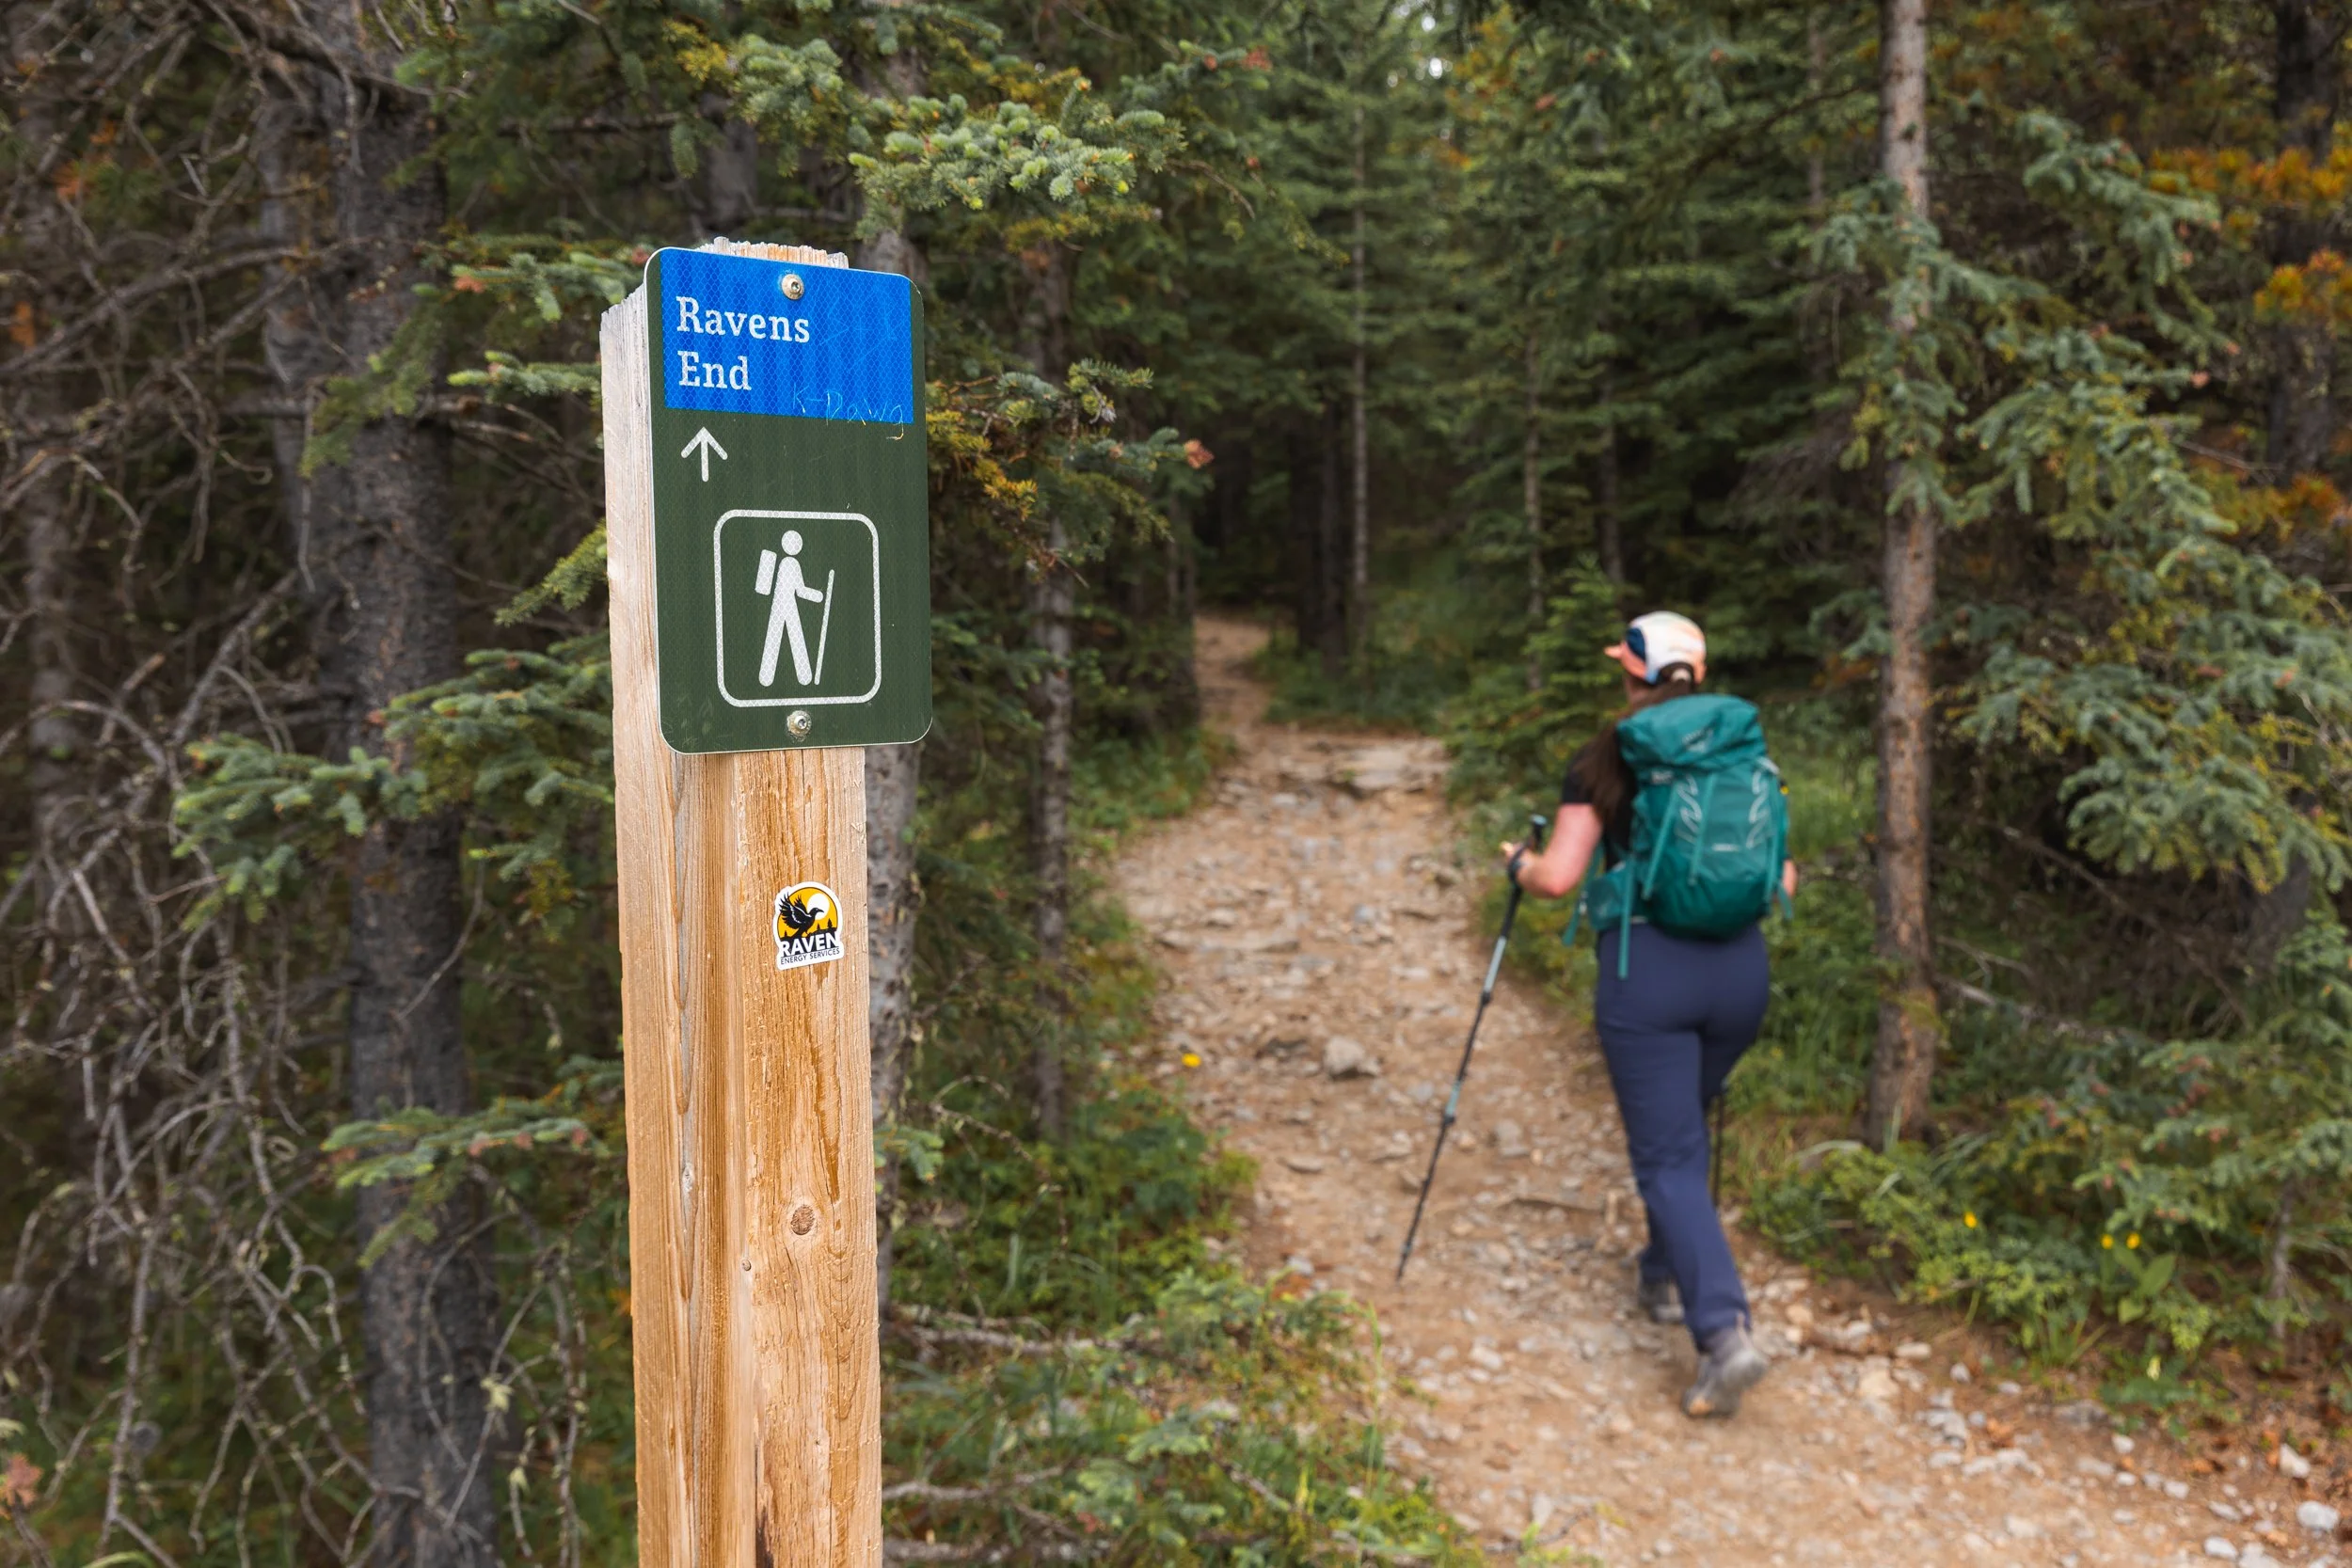
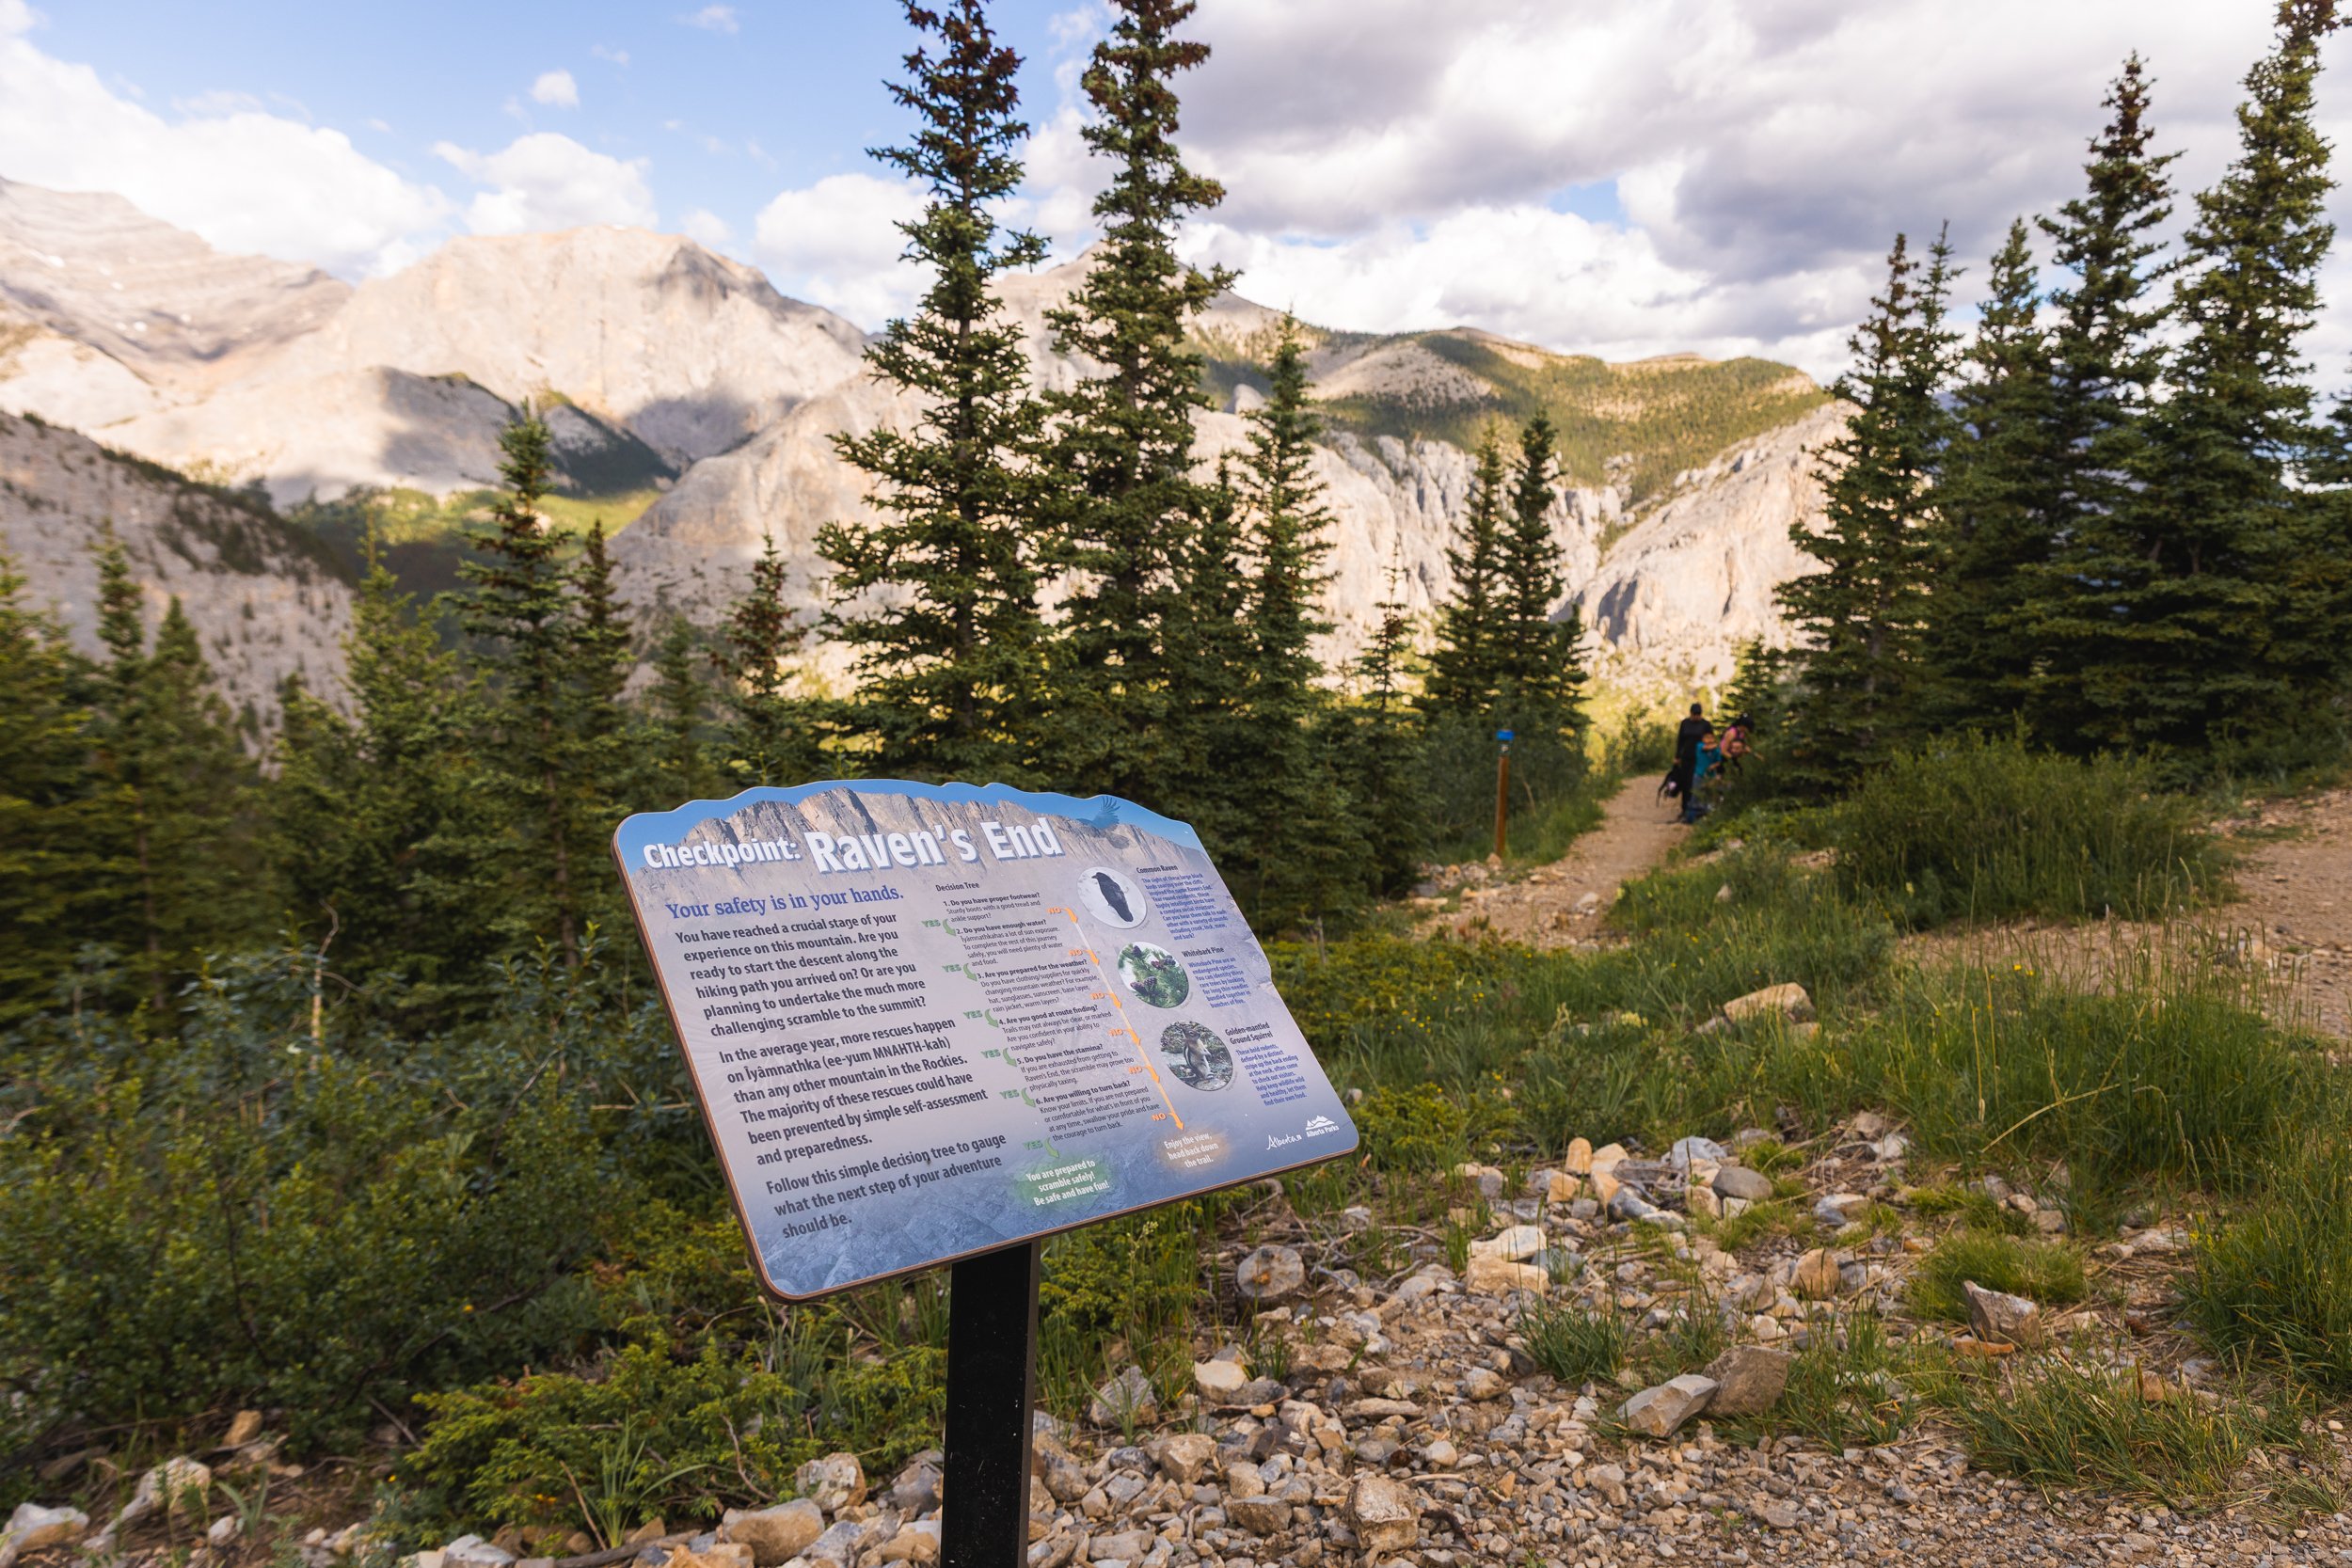
Raven’s End offers some great views and an even better work out. If you’re unsure on the rest of the trail be sure to read the recommendations on the Raven’s End board to help you make your decision.
From here on in the trail is marked but no longer maintained. Blue squares scattered around the rock guide you along the safest route. Although the trail is now much clearer than it was several years ago it’s still very possible to go off trail if you aren’t paying attention.
Almost straight after the Raven’s End sign you reach the first scramble. Some hands on climbing between steep rock faces on well frequented, polished rock.
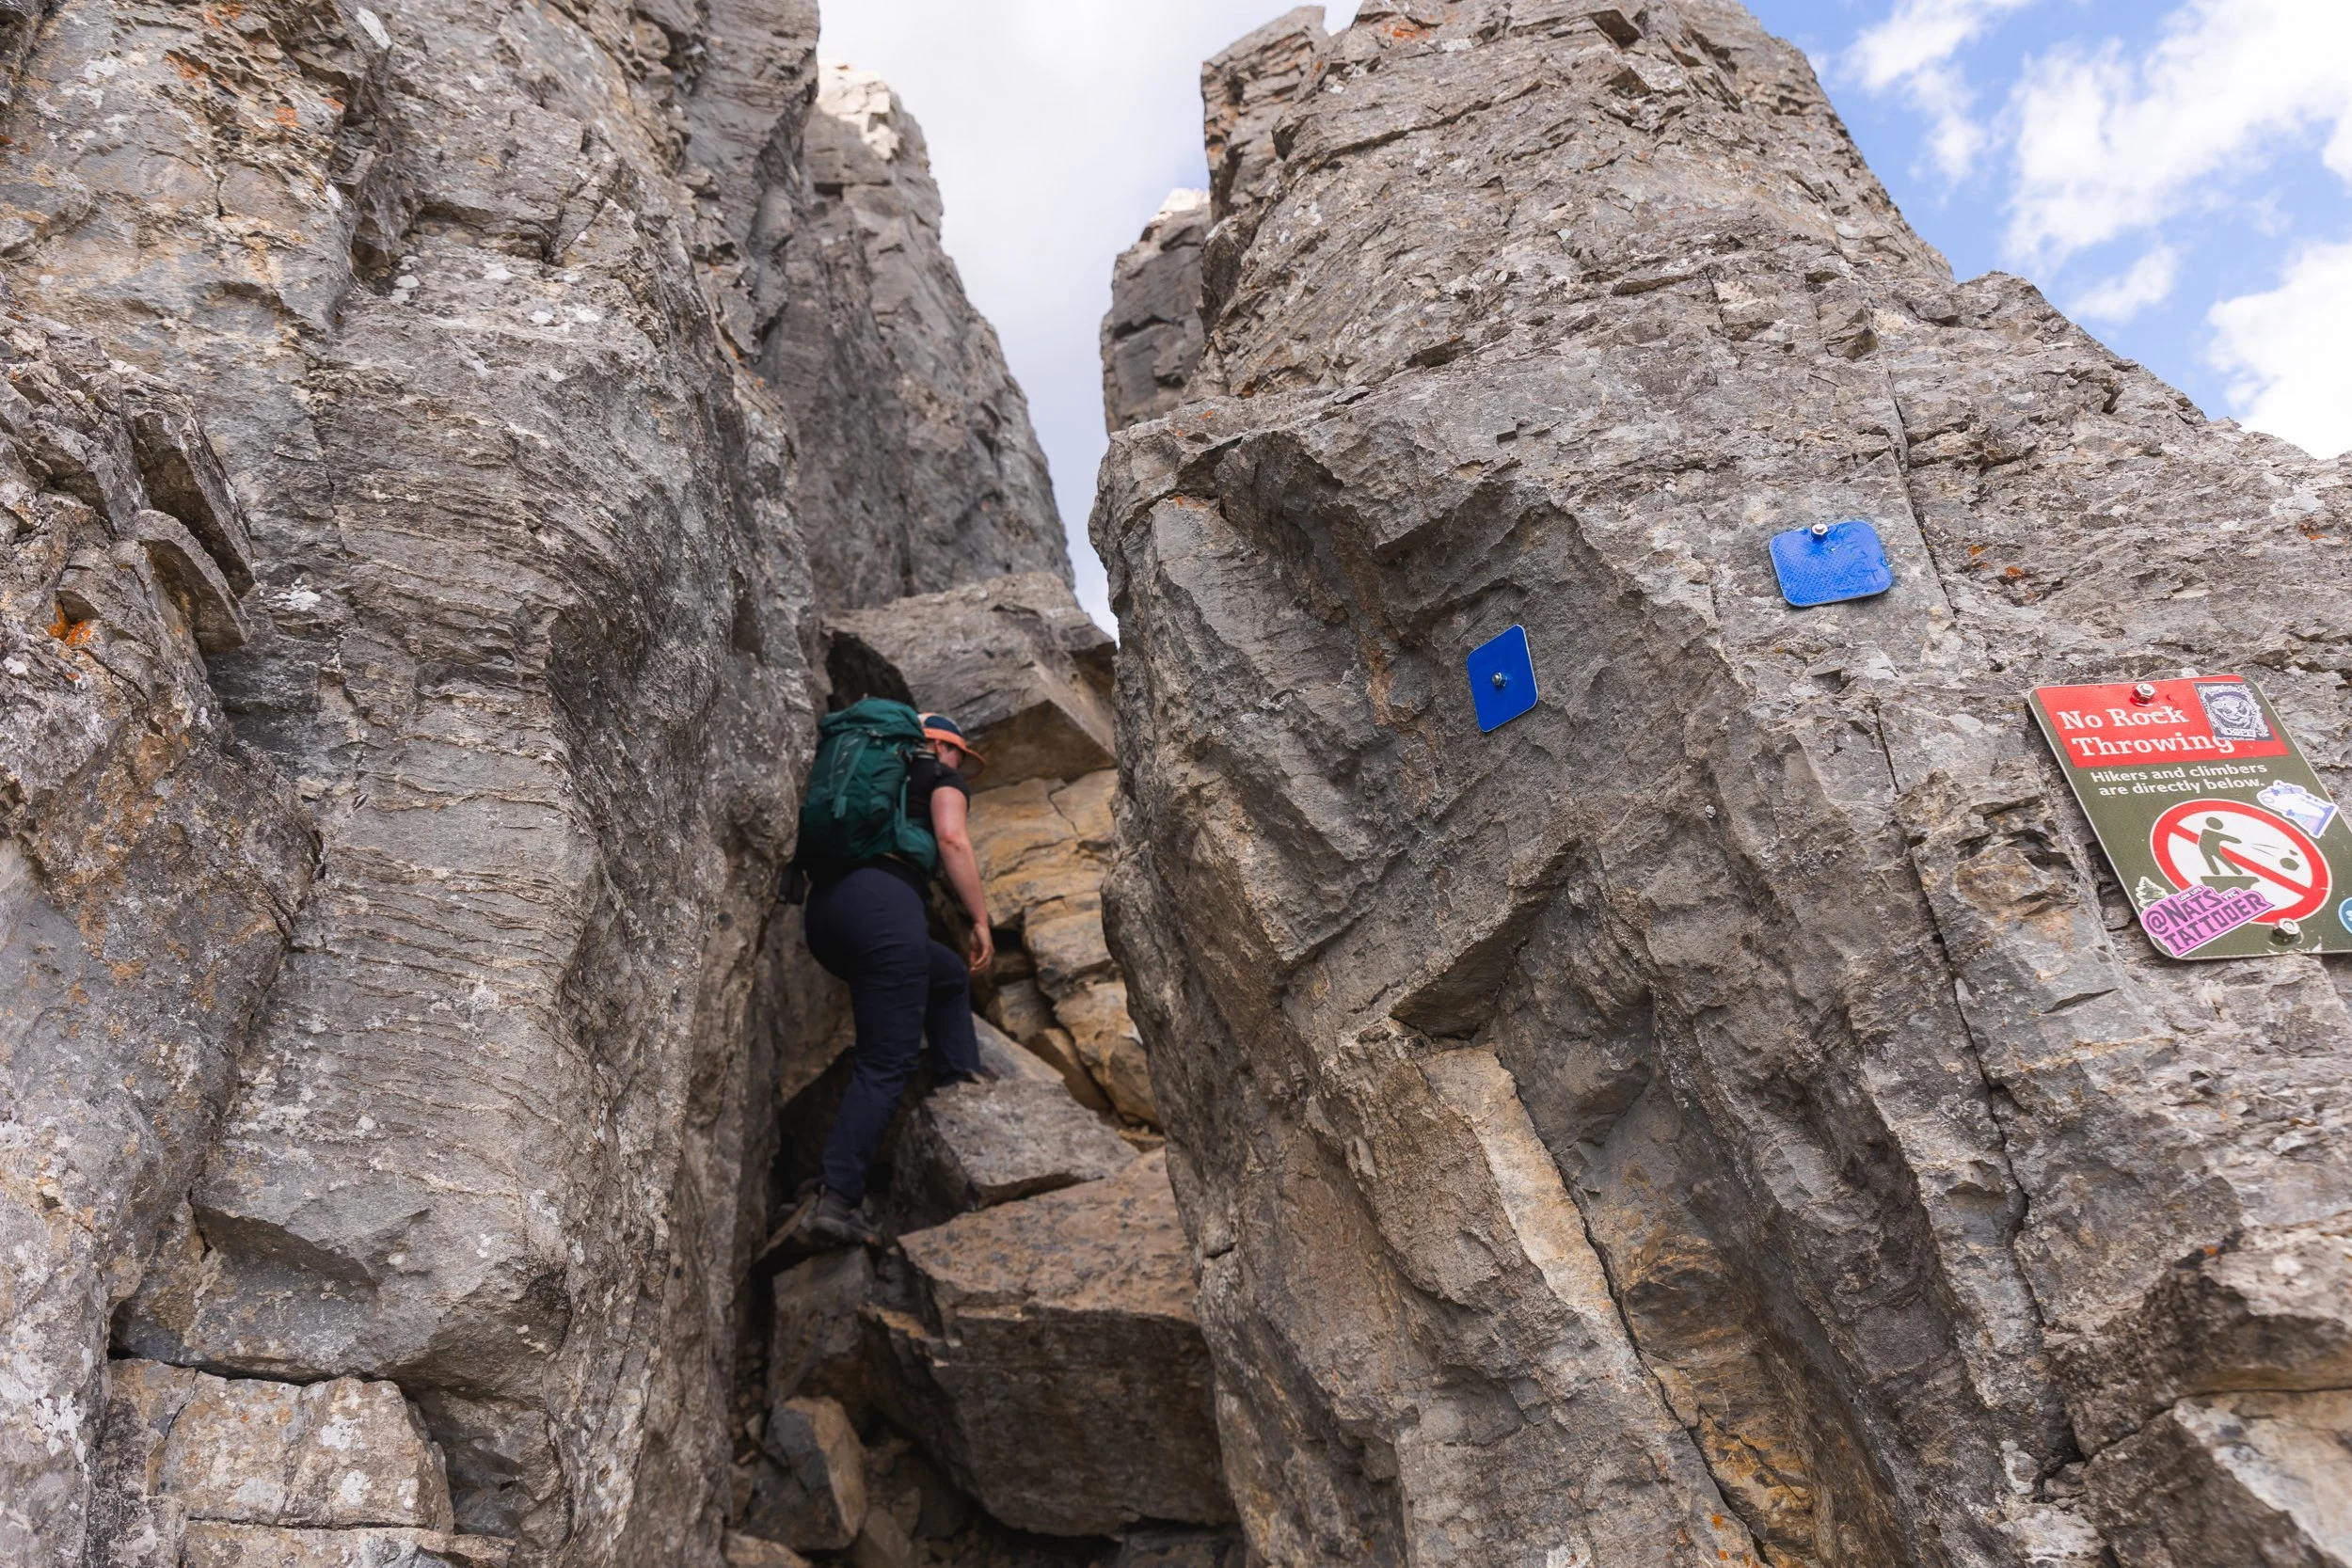
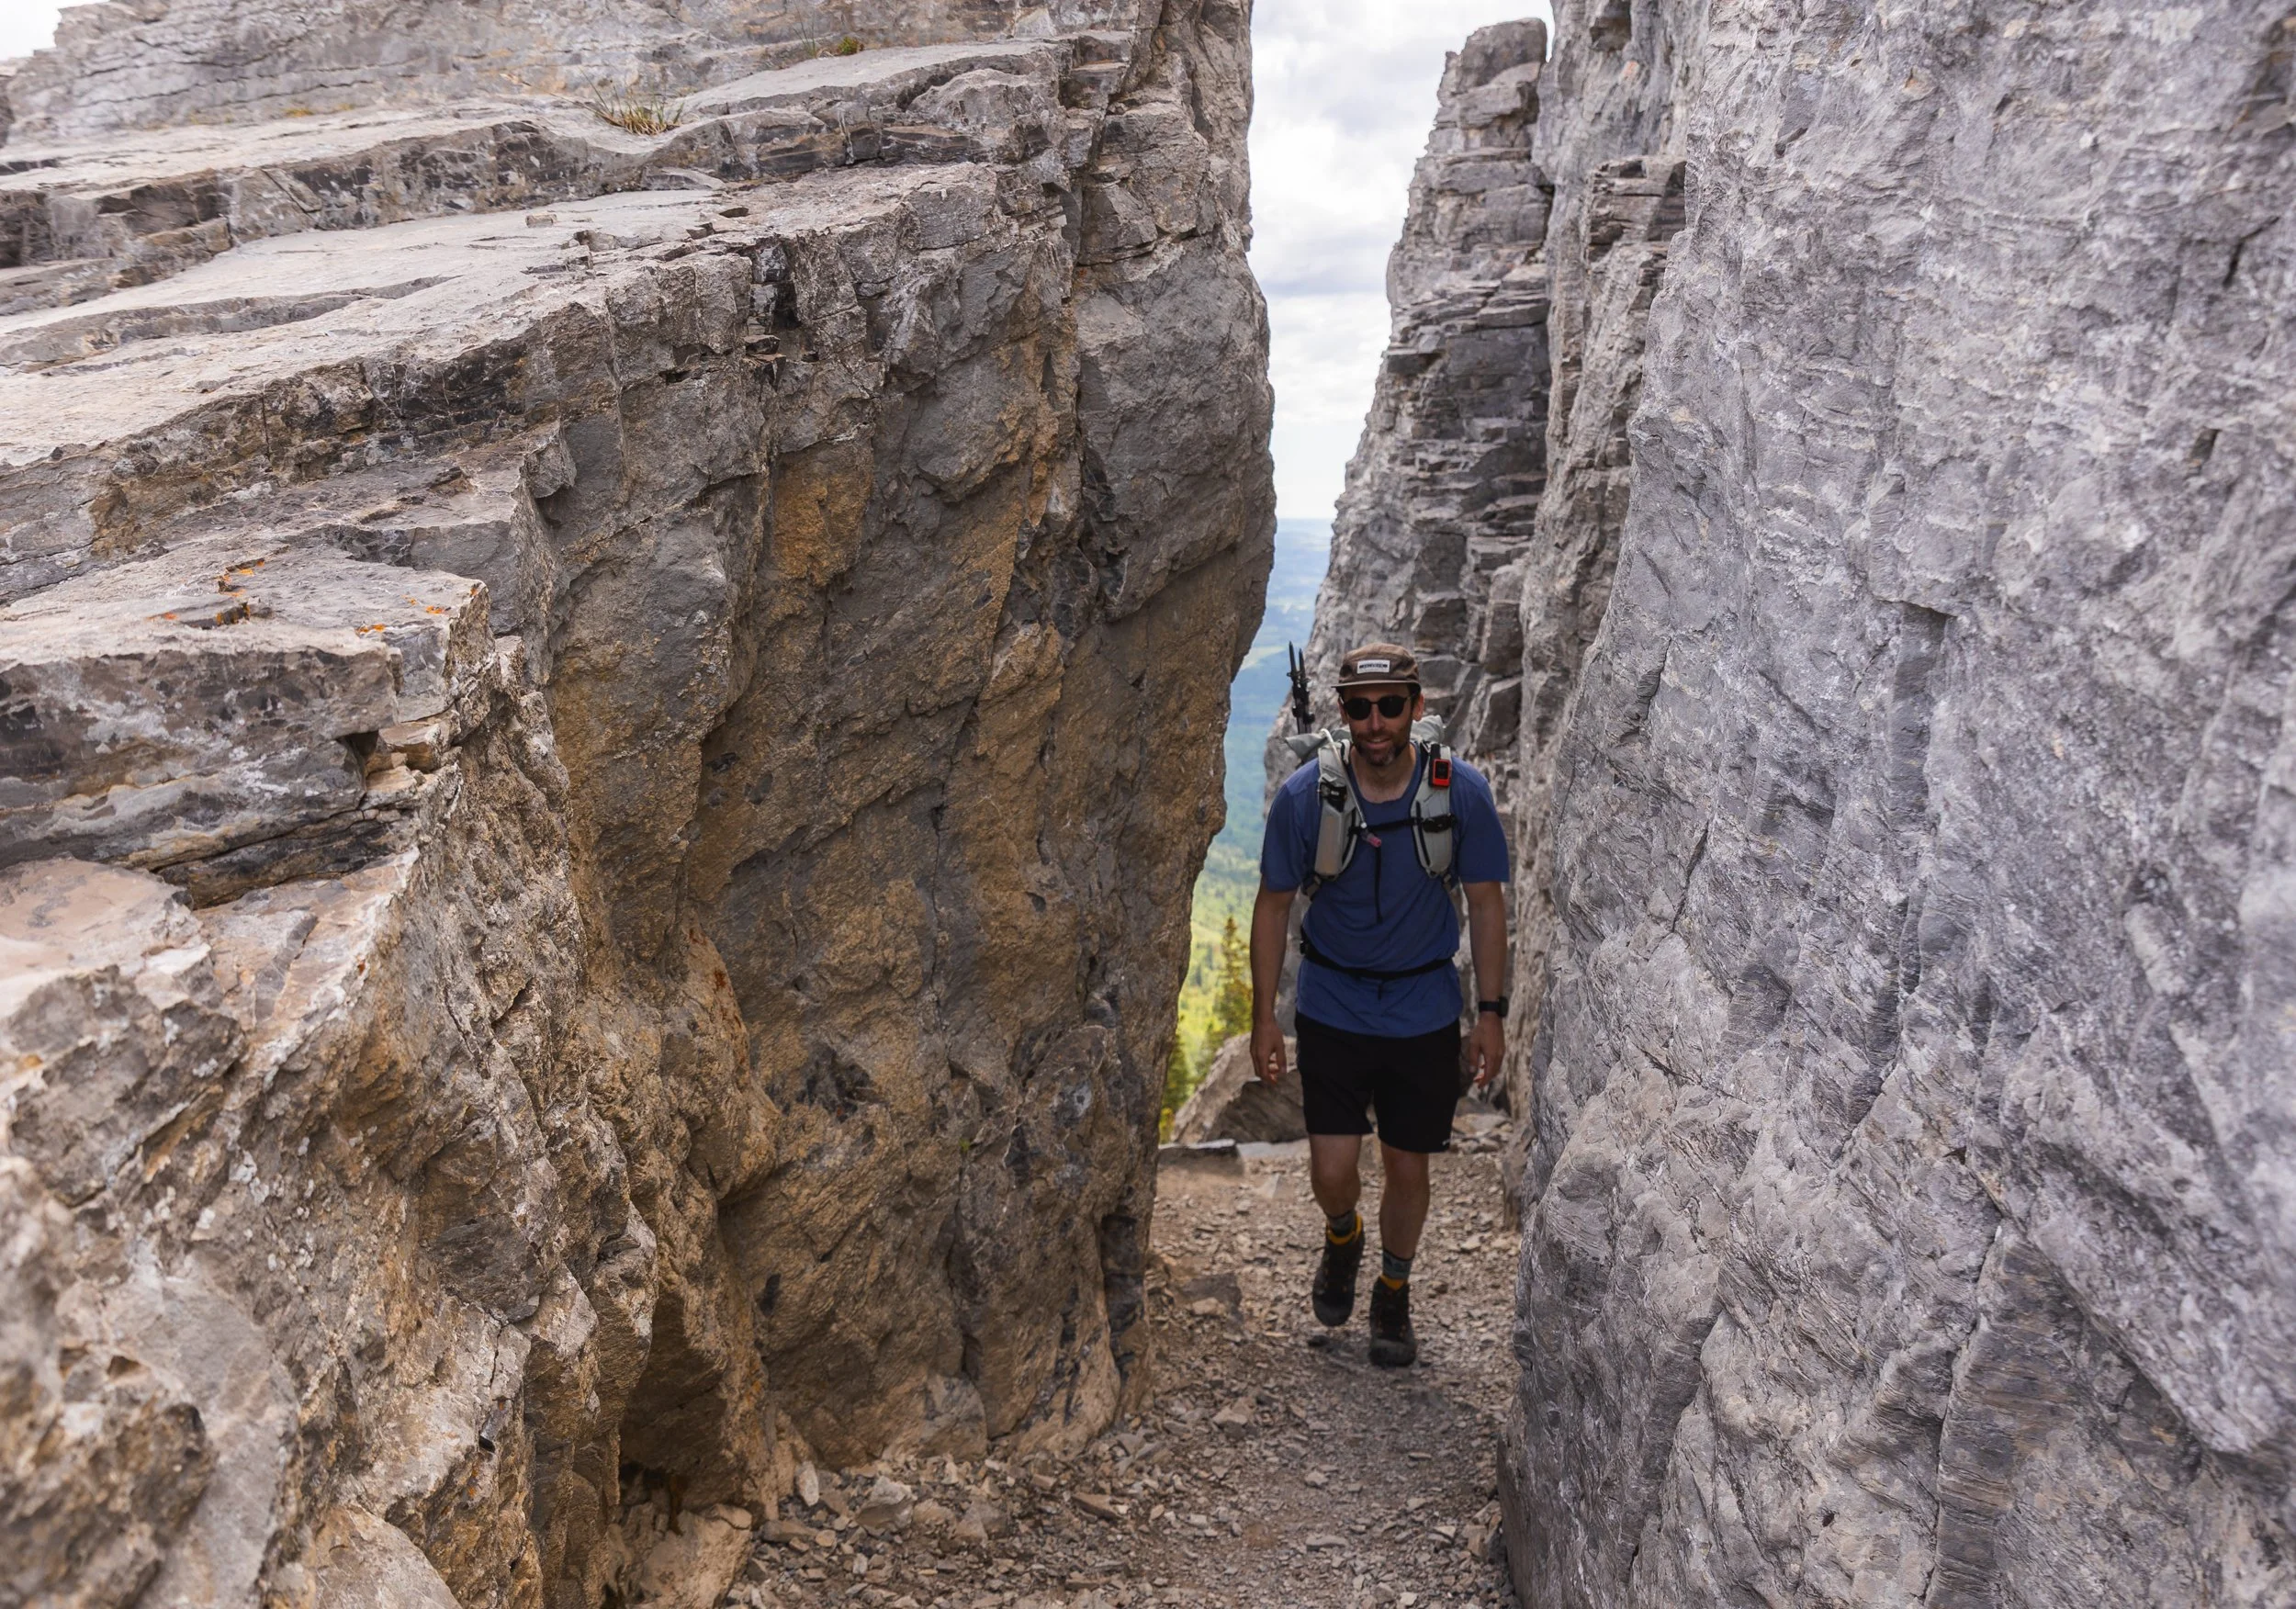
Walking out from the first scramble.
Just after climbing through the chimney, the first and less exposed scramble, you come across your final check point! Signage here gives you advice on whether or not continuning on is for you!
Take into account how you felt in the chimney and whether or not you could do that comfortably with sheer drops on either side.
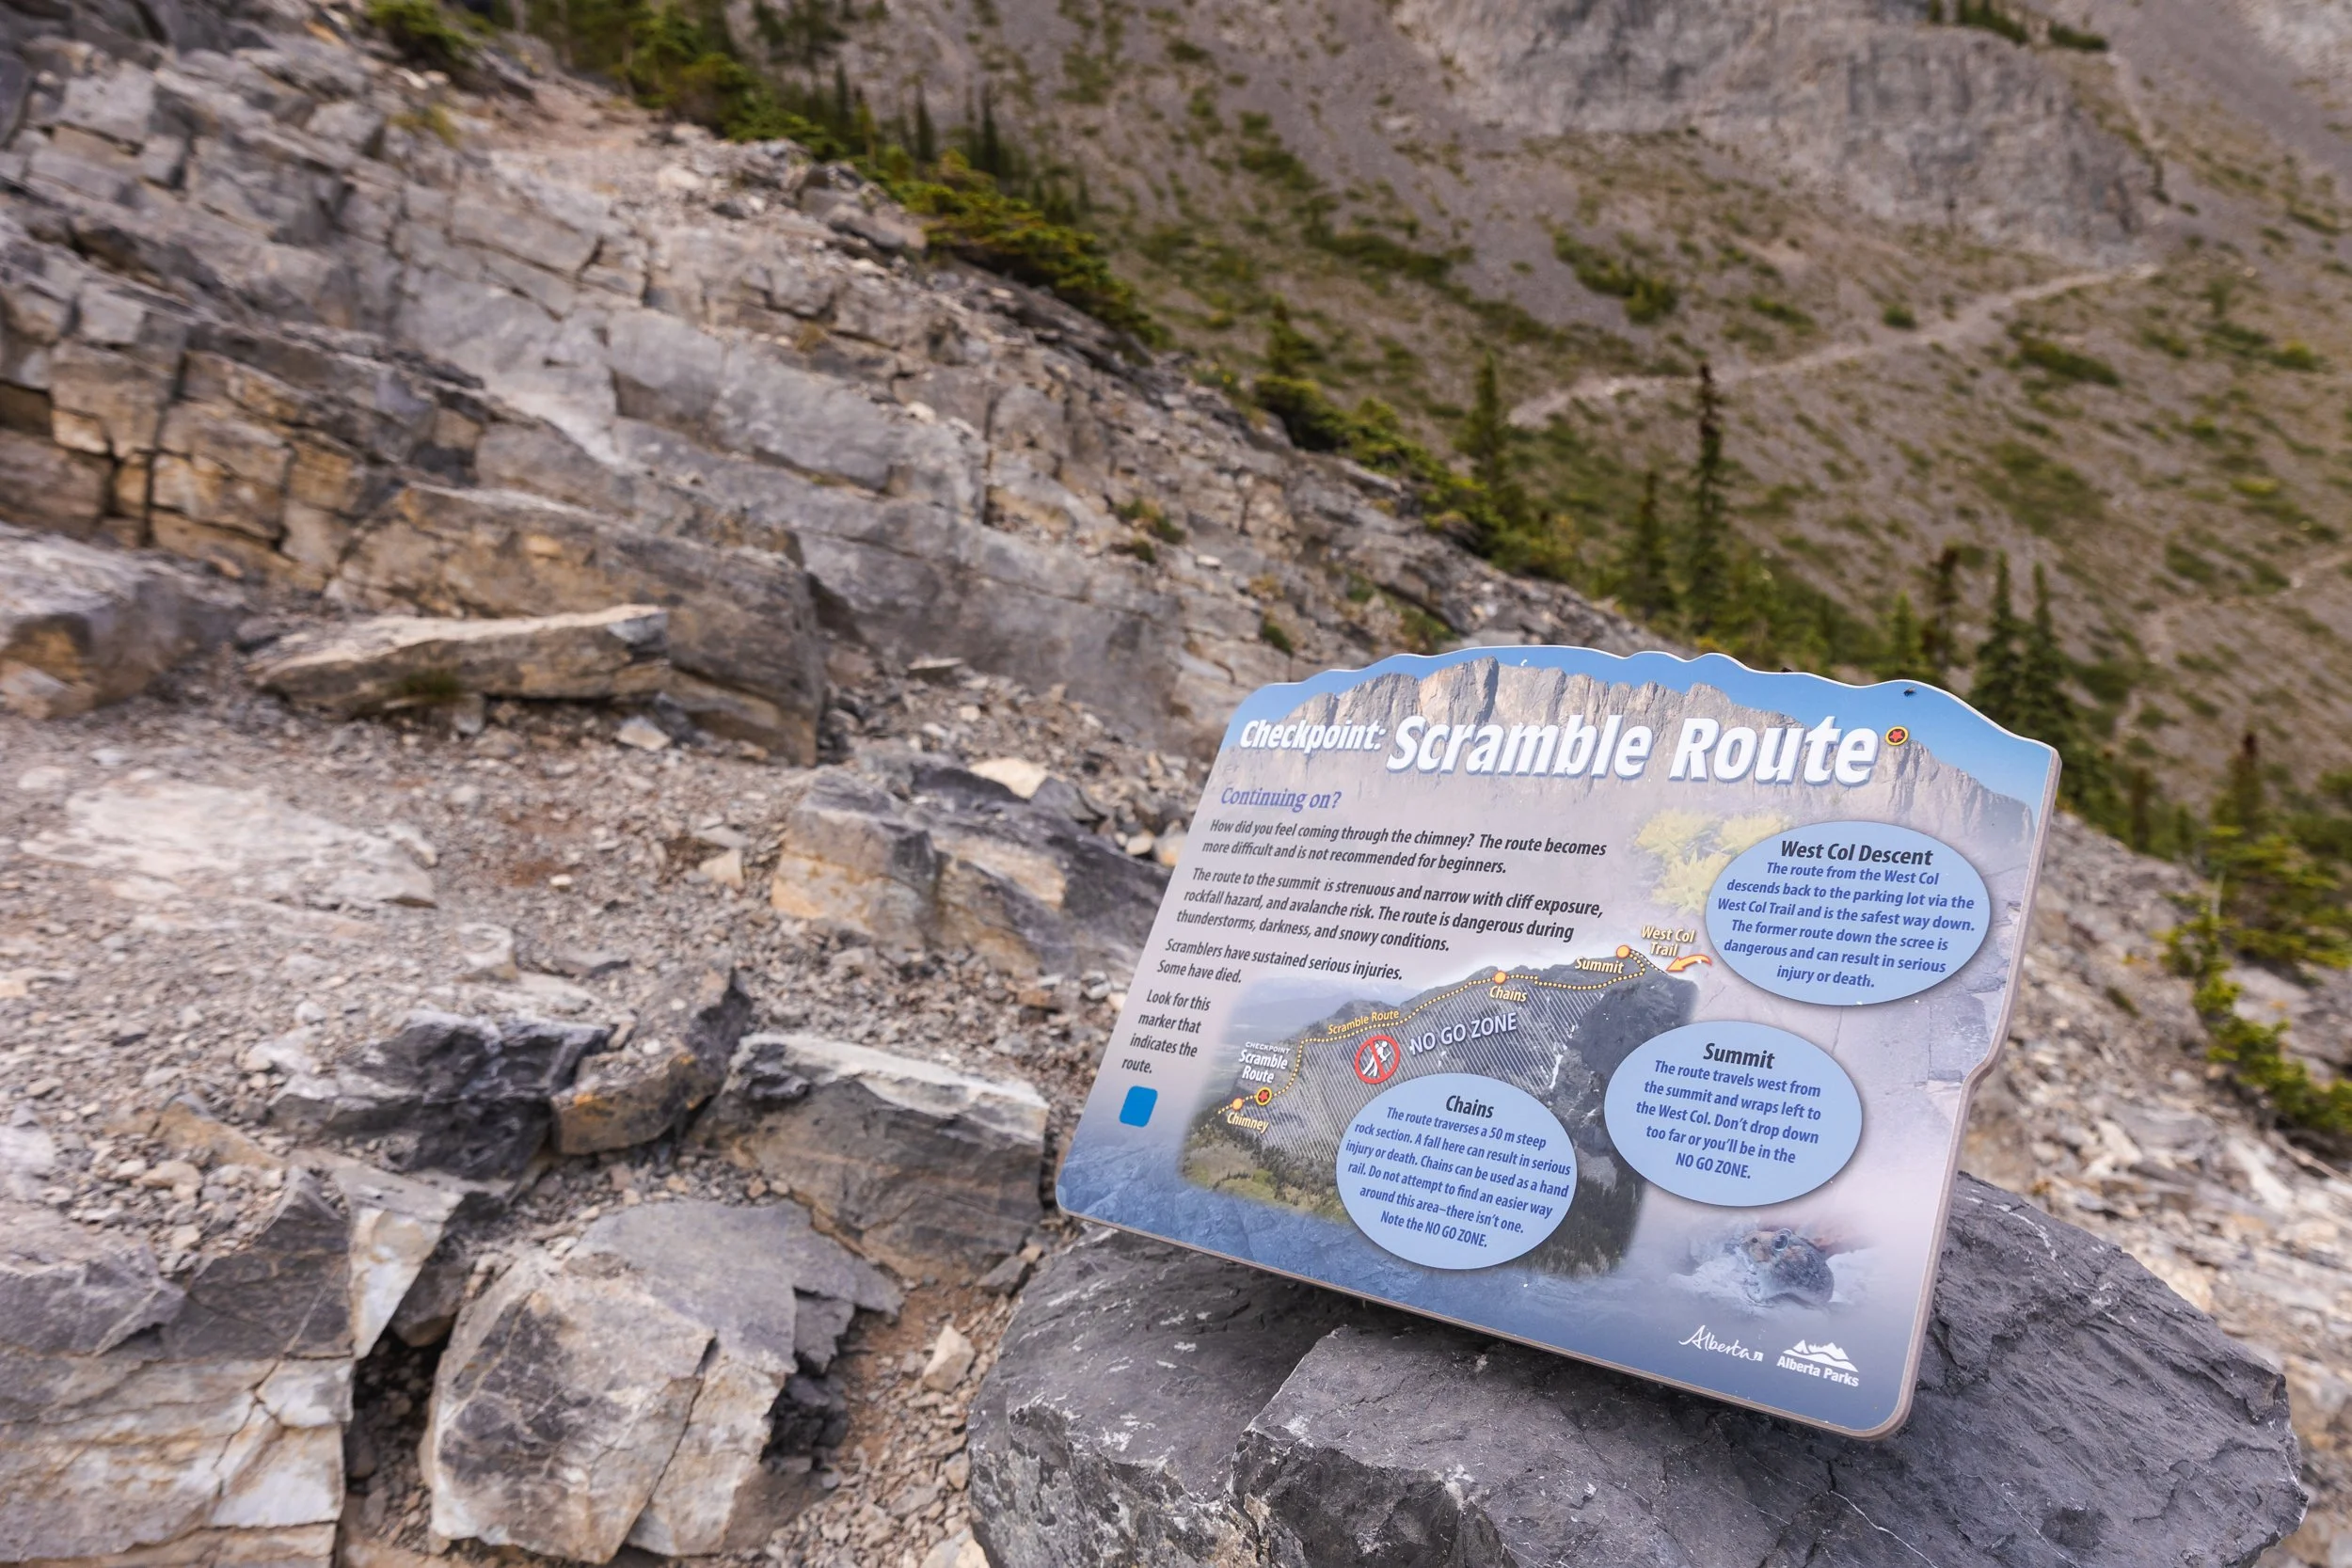
Once past the check point and on to the back side of Yamnuska the views really open up, I’d forgotten how good some of the trail views are here.
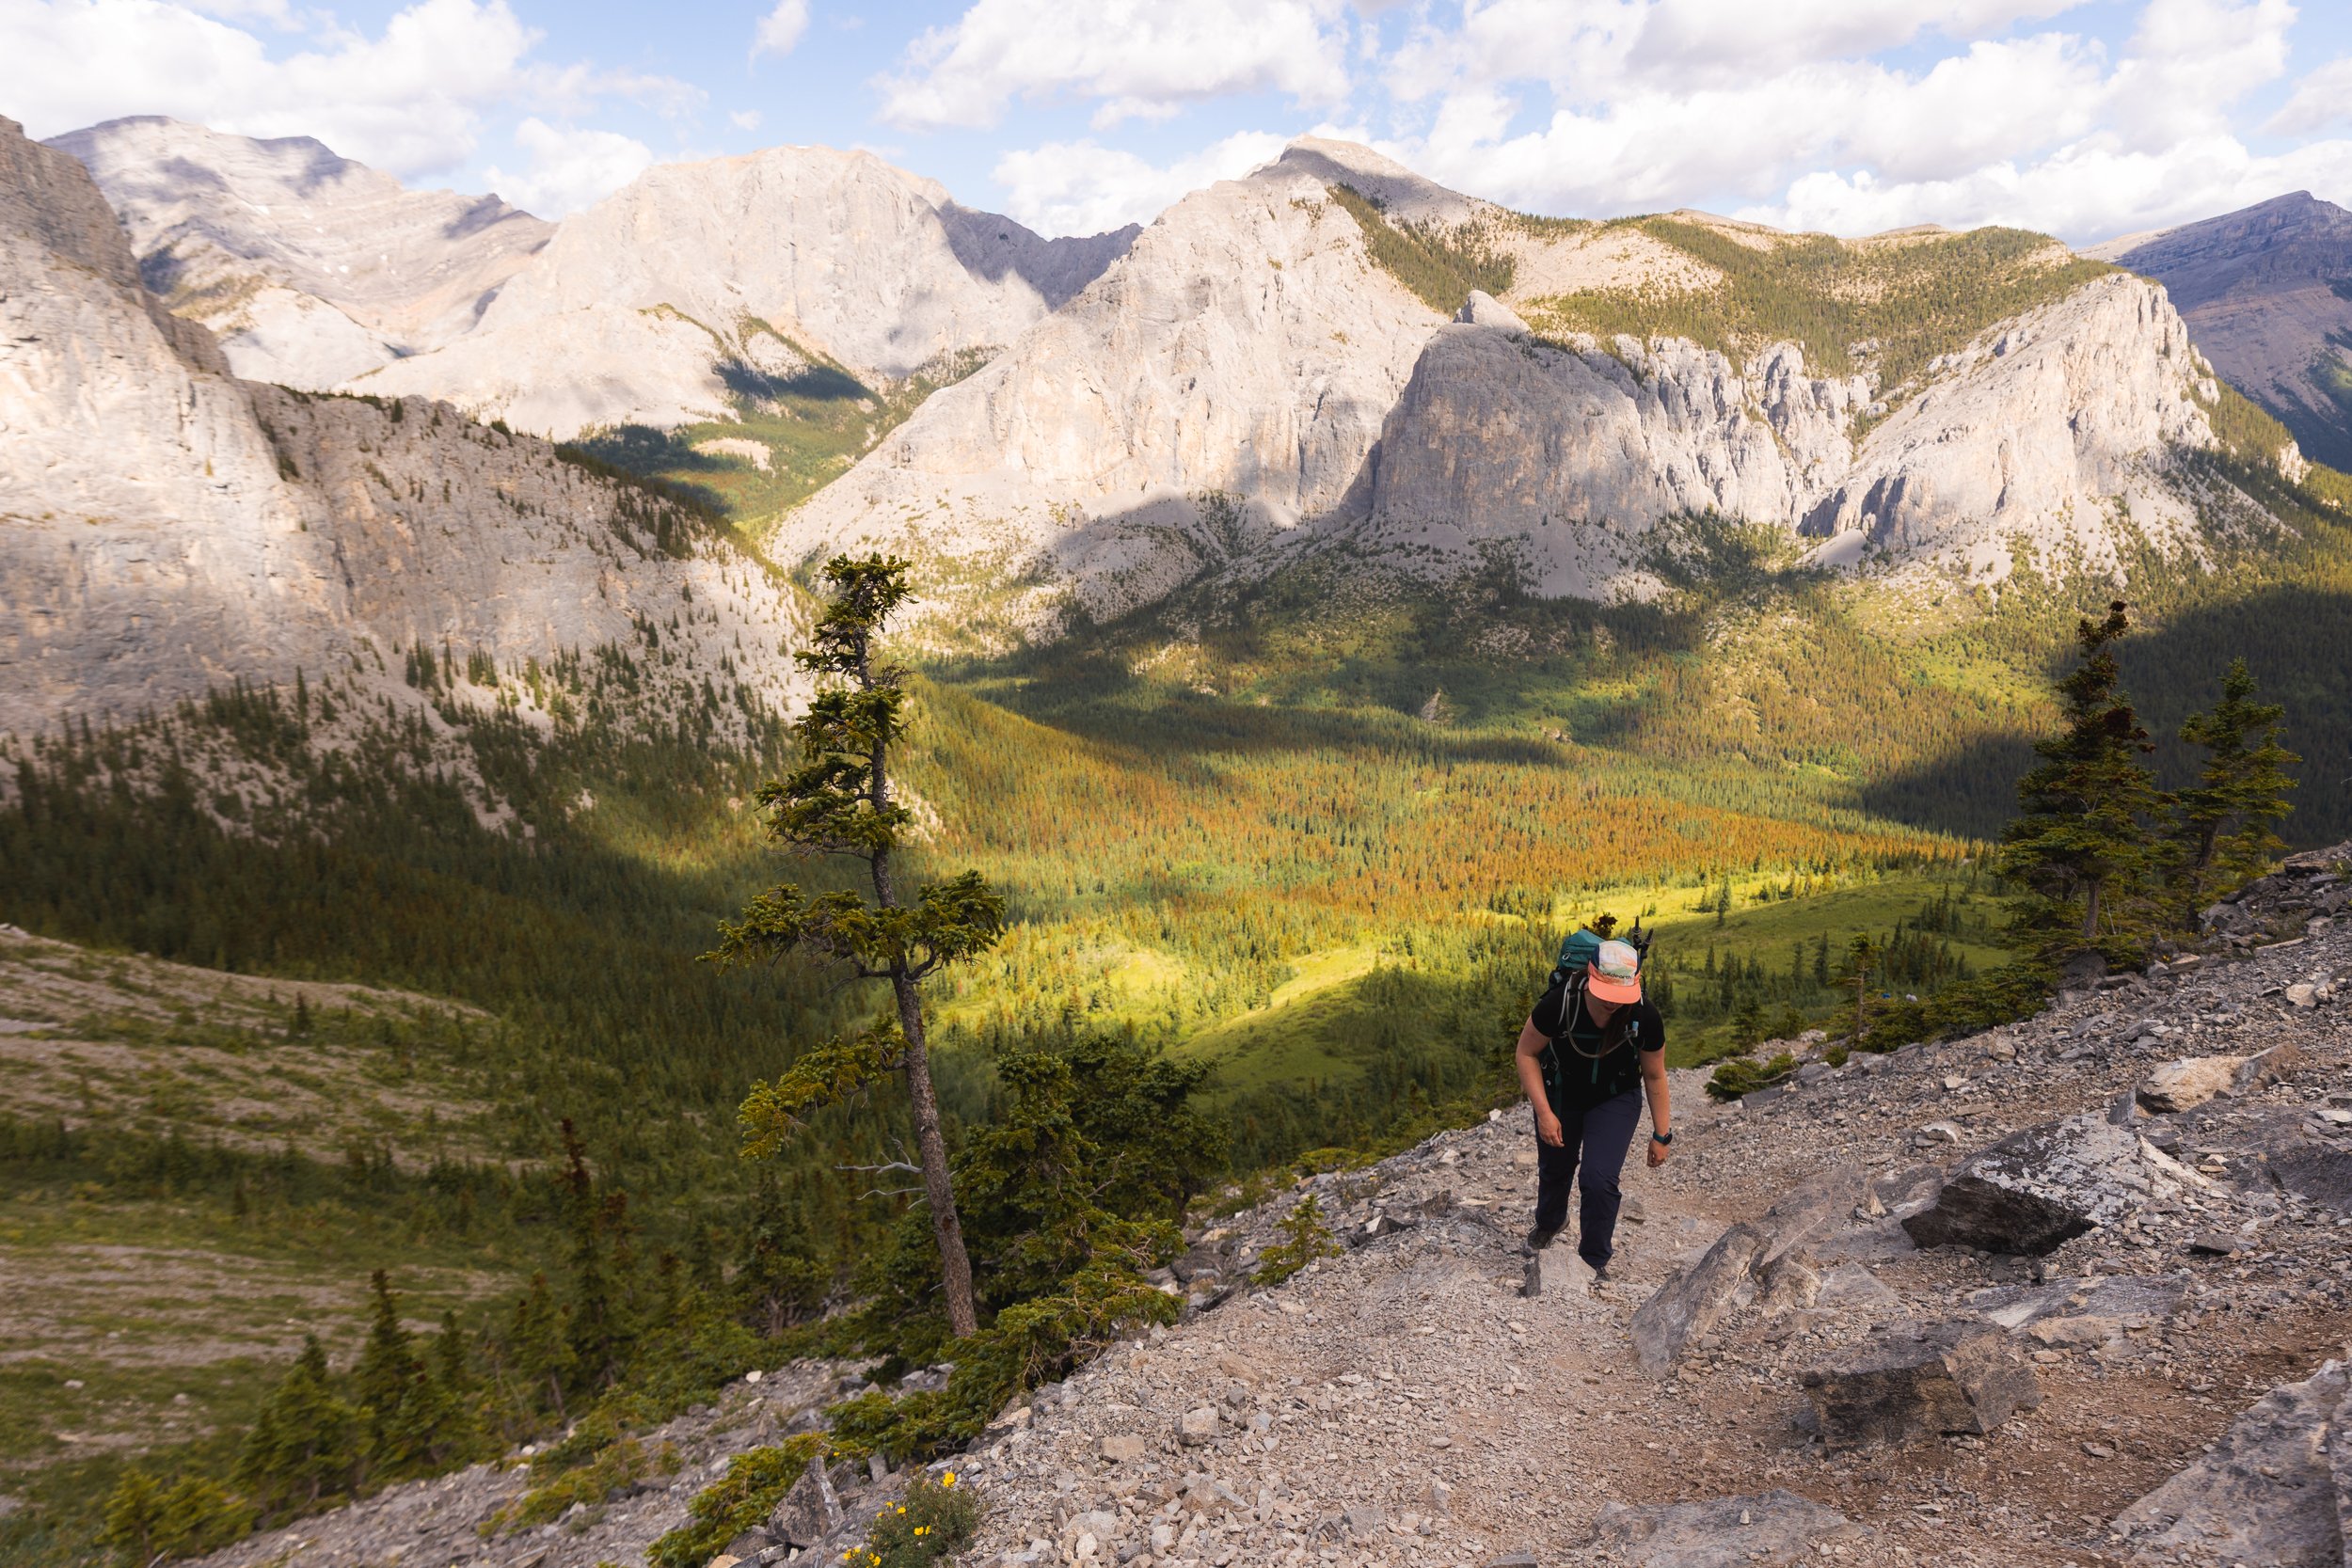
Brook tackles the backside of the trail.
Follow the blue markers and more defined path as you traverse across the back of the mountain, the upward trail is broken up with small sections of hands on scrambling.
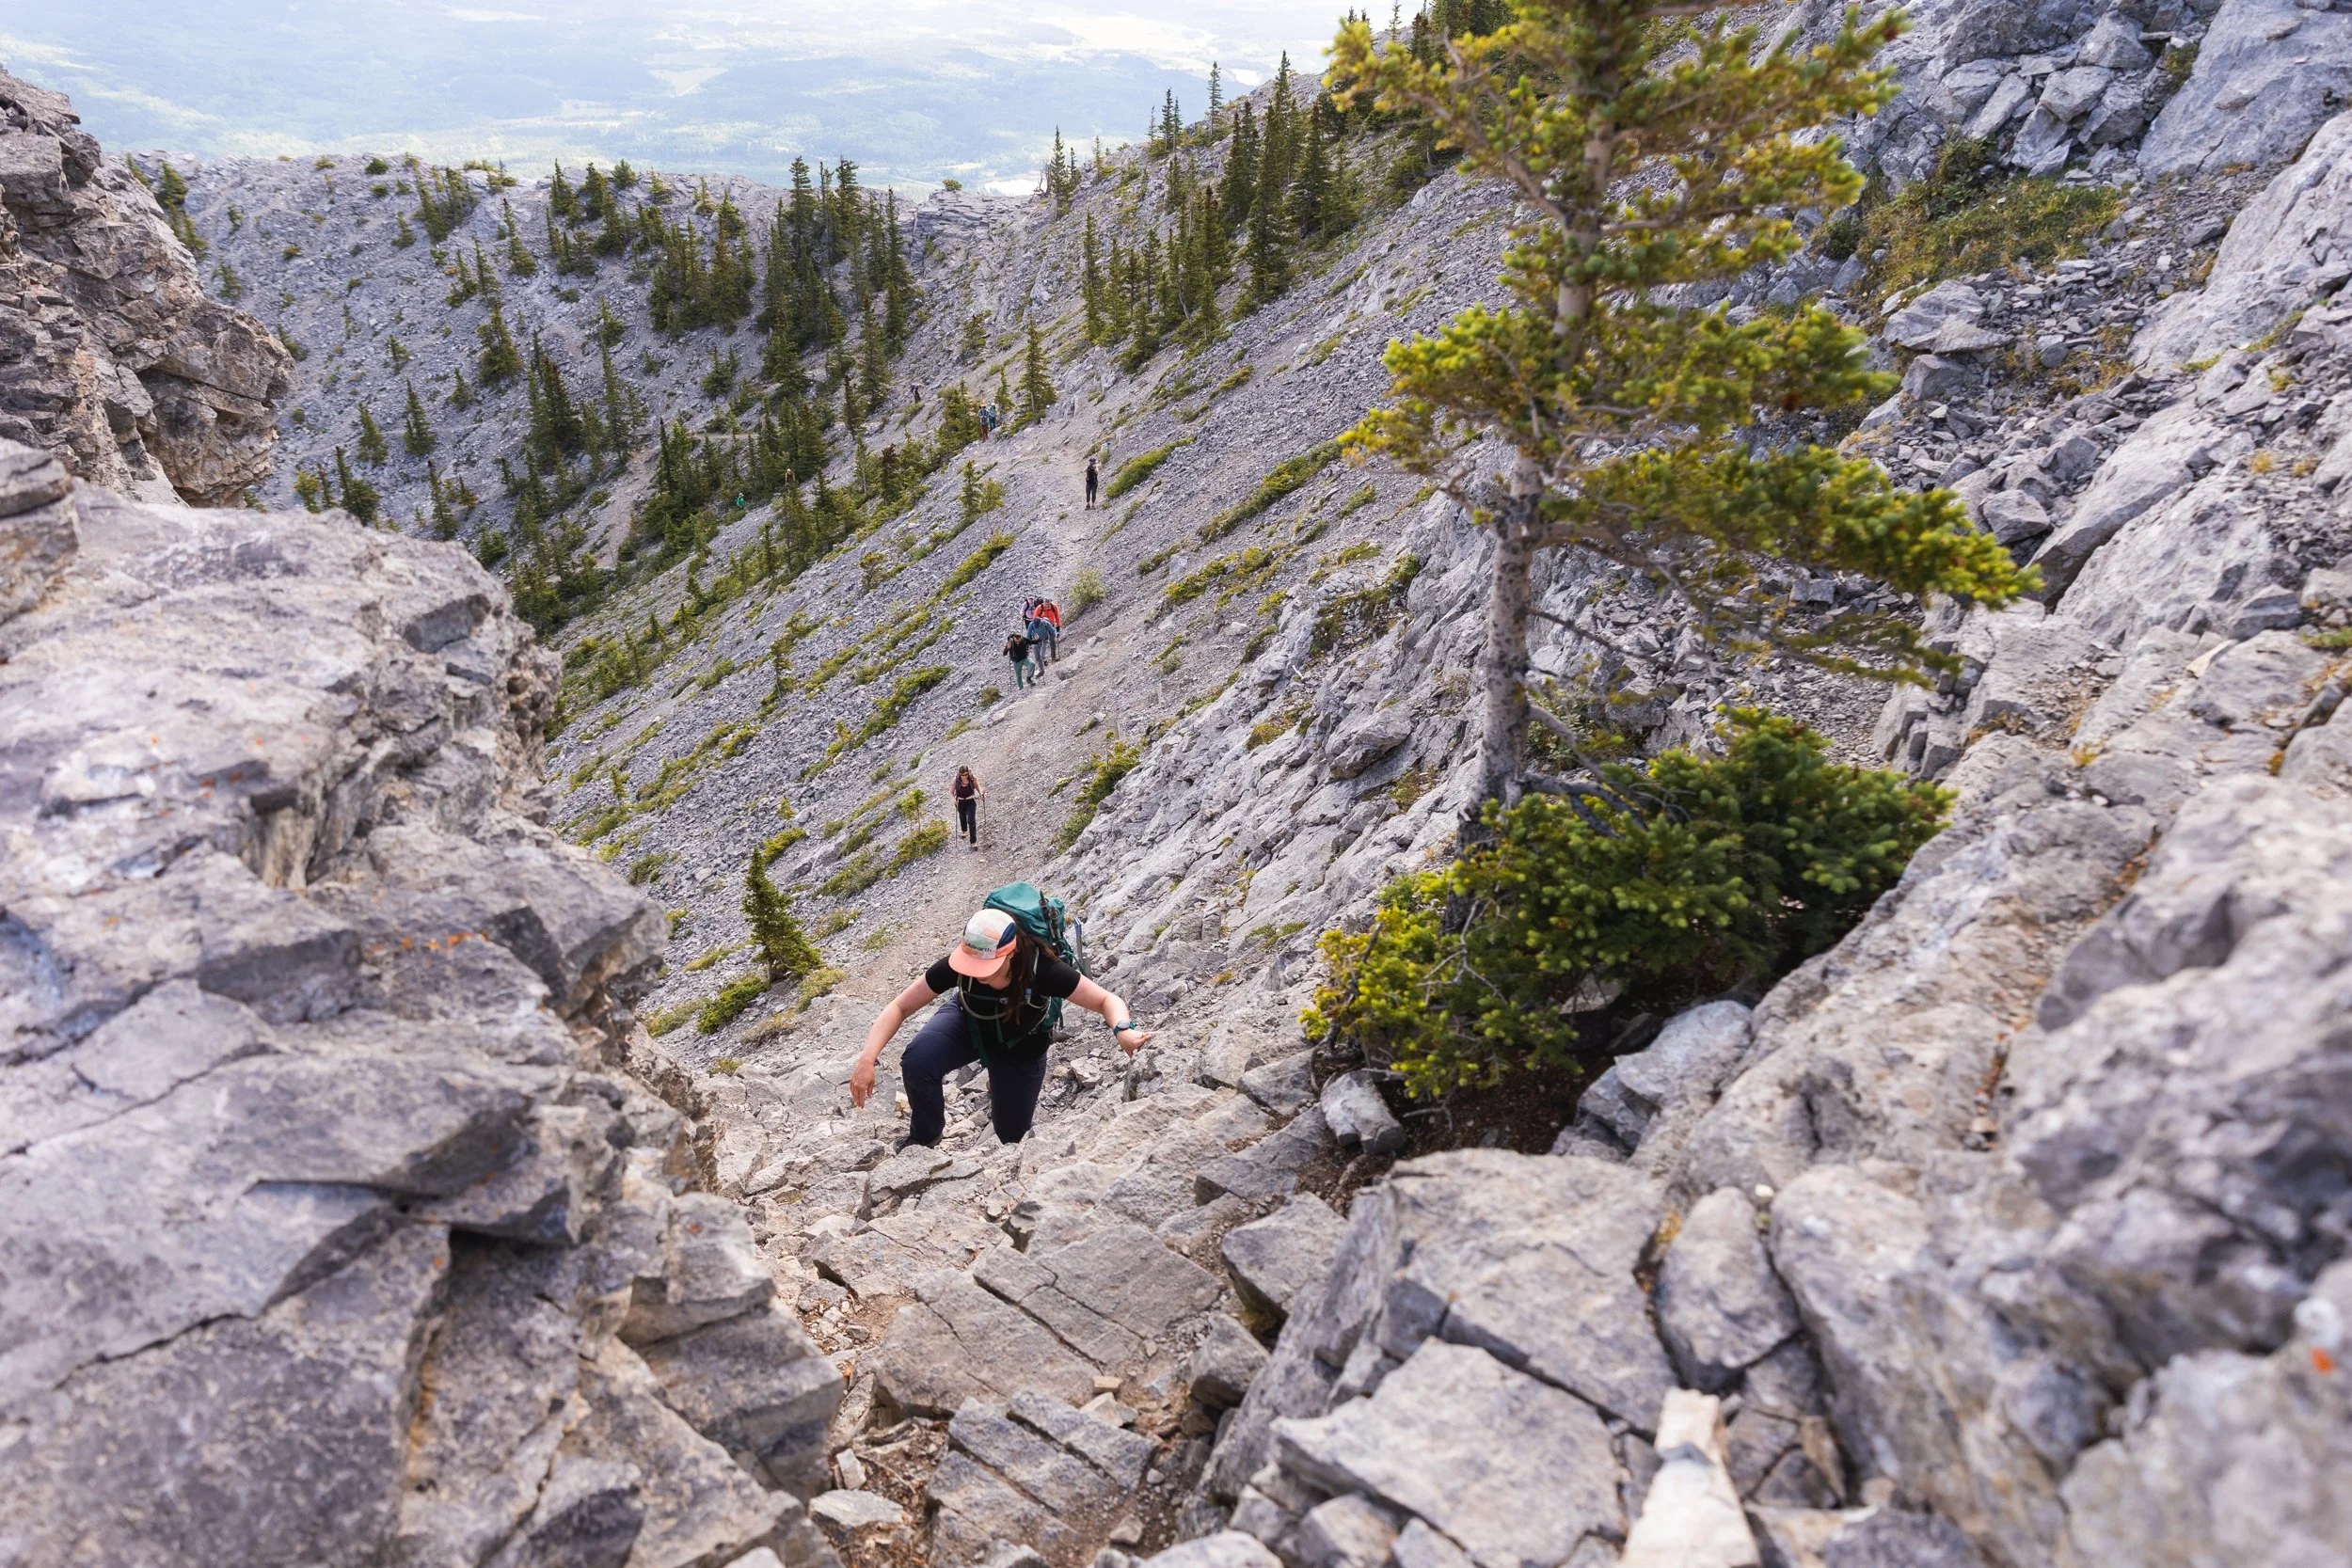
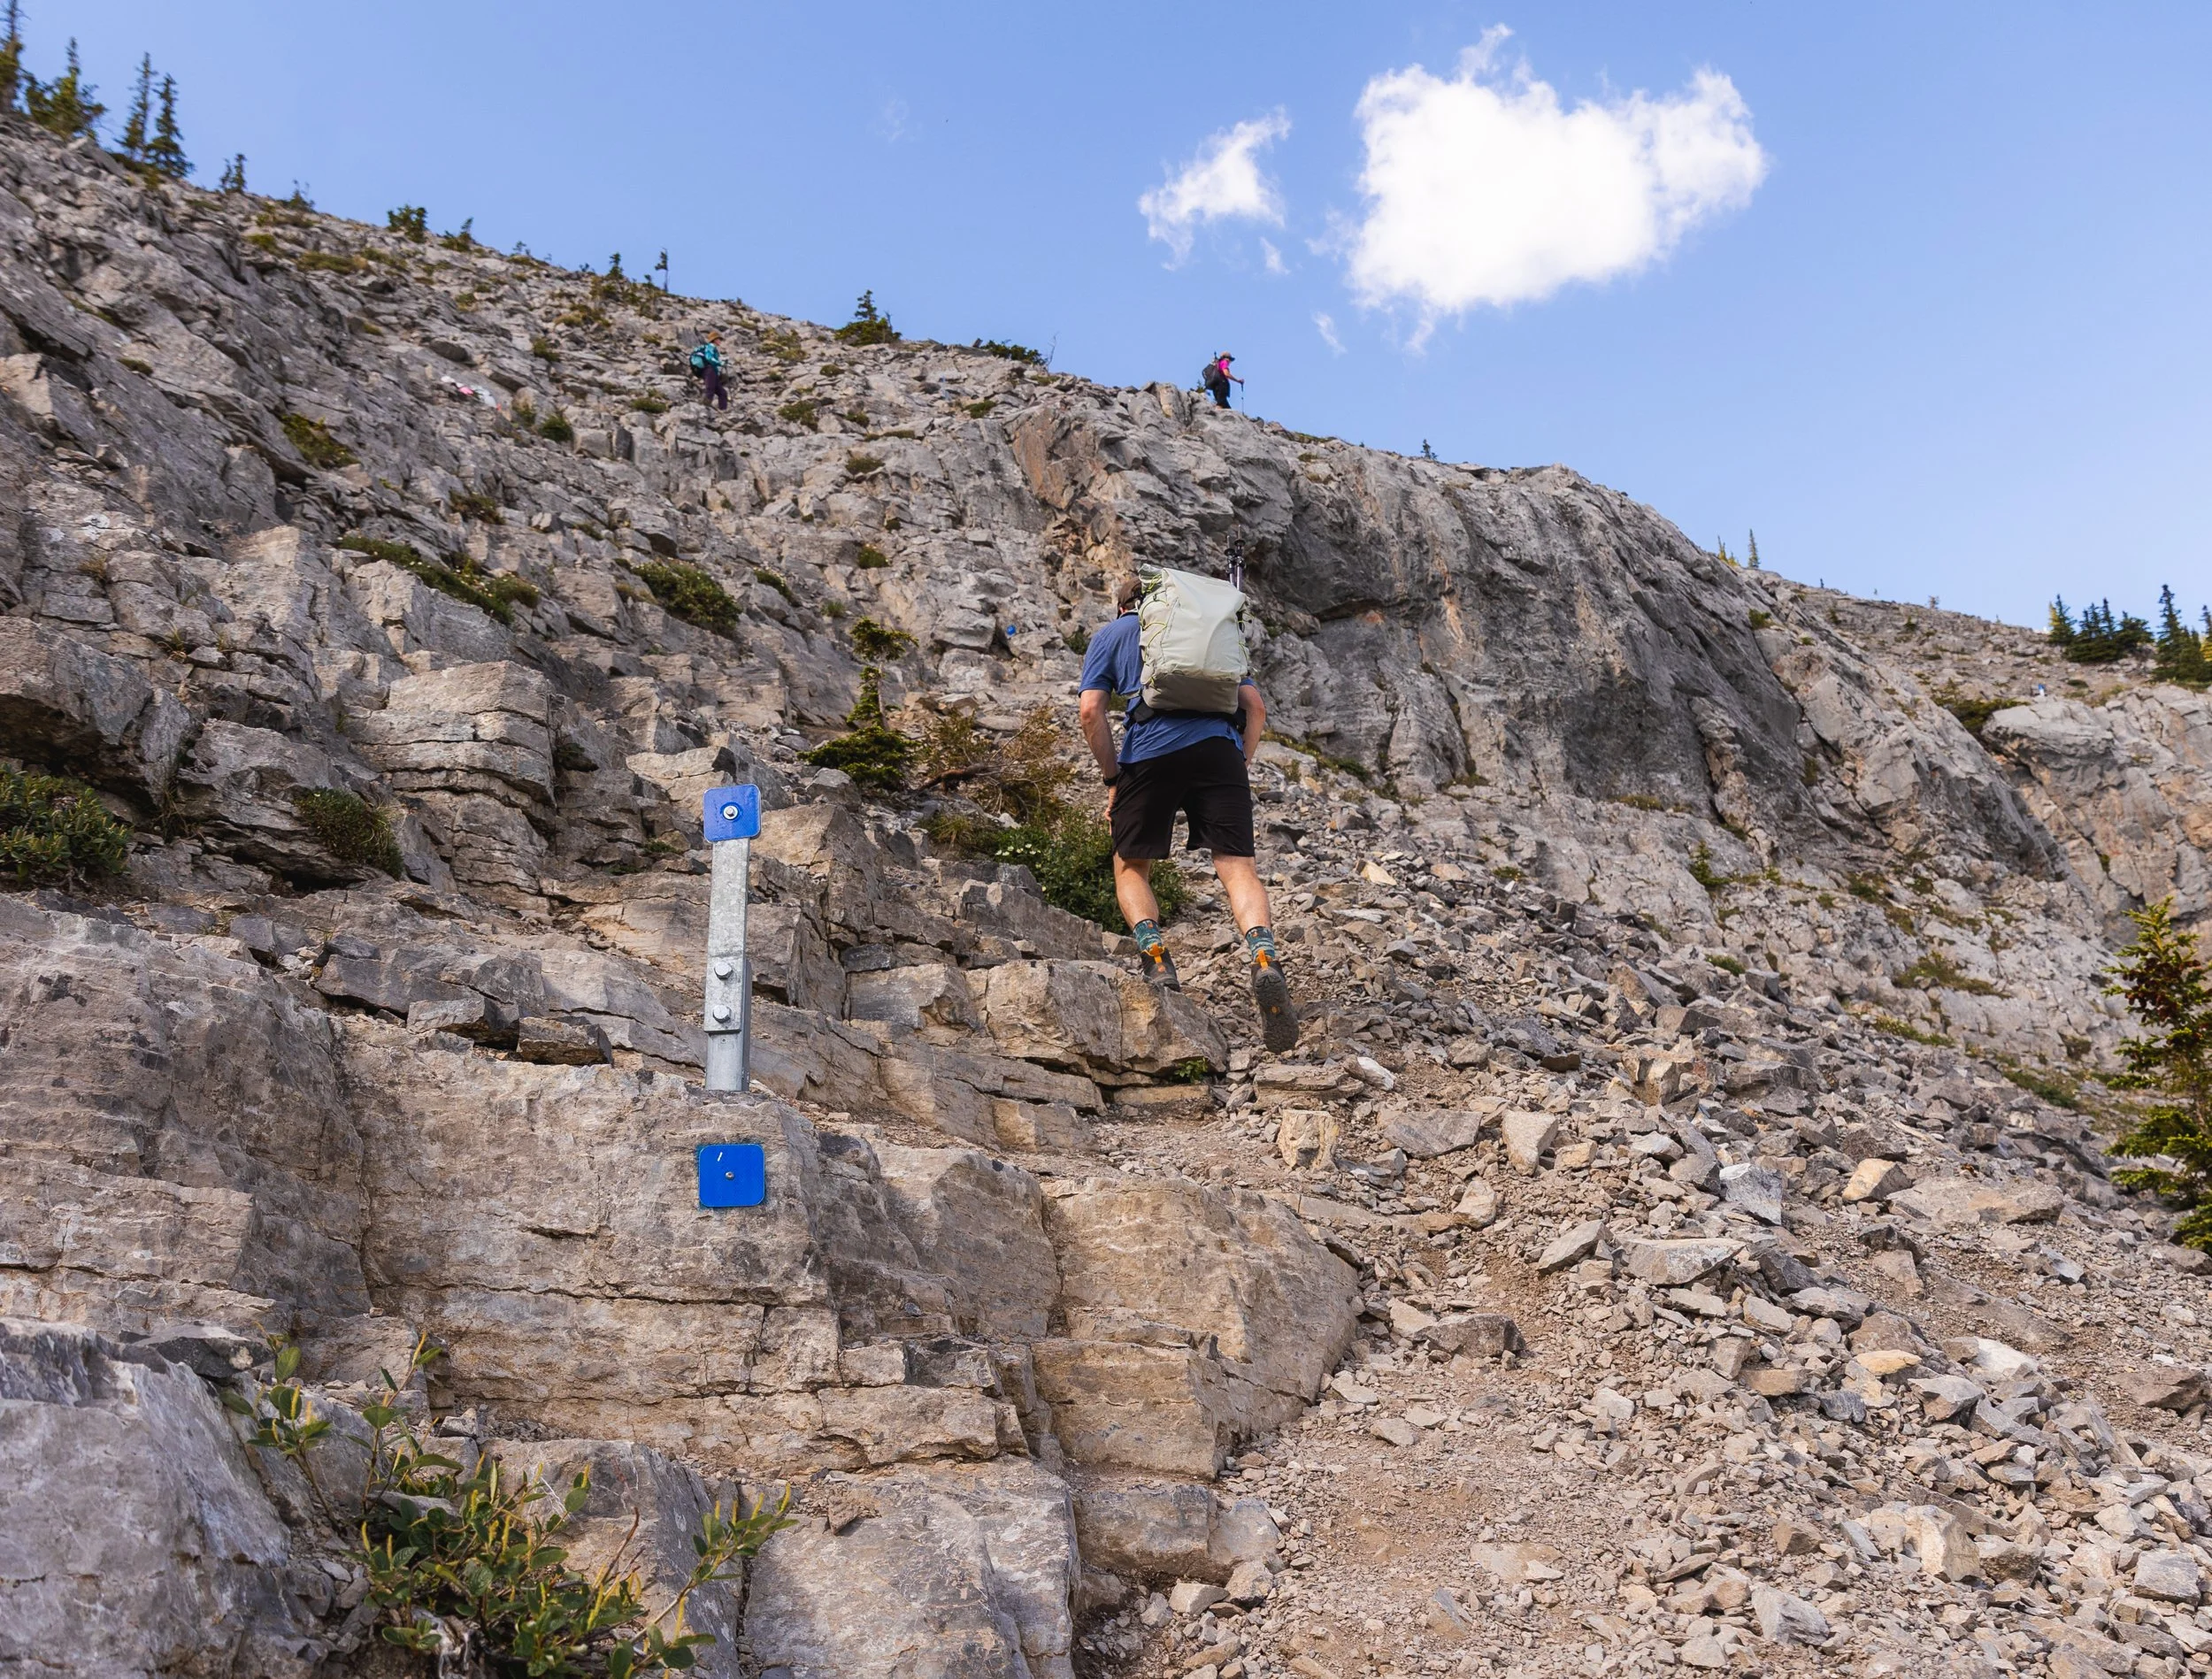
More blue markers guiding the way, you can see how that without these the trail would be hard to find.
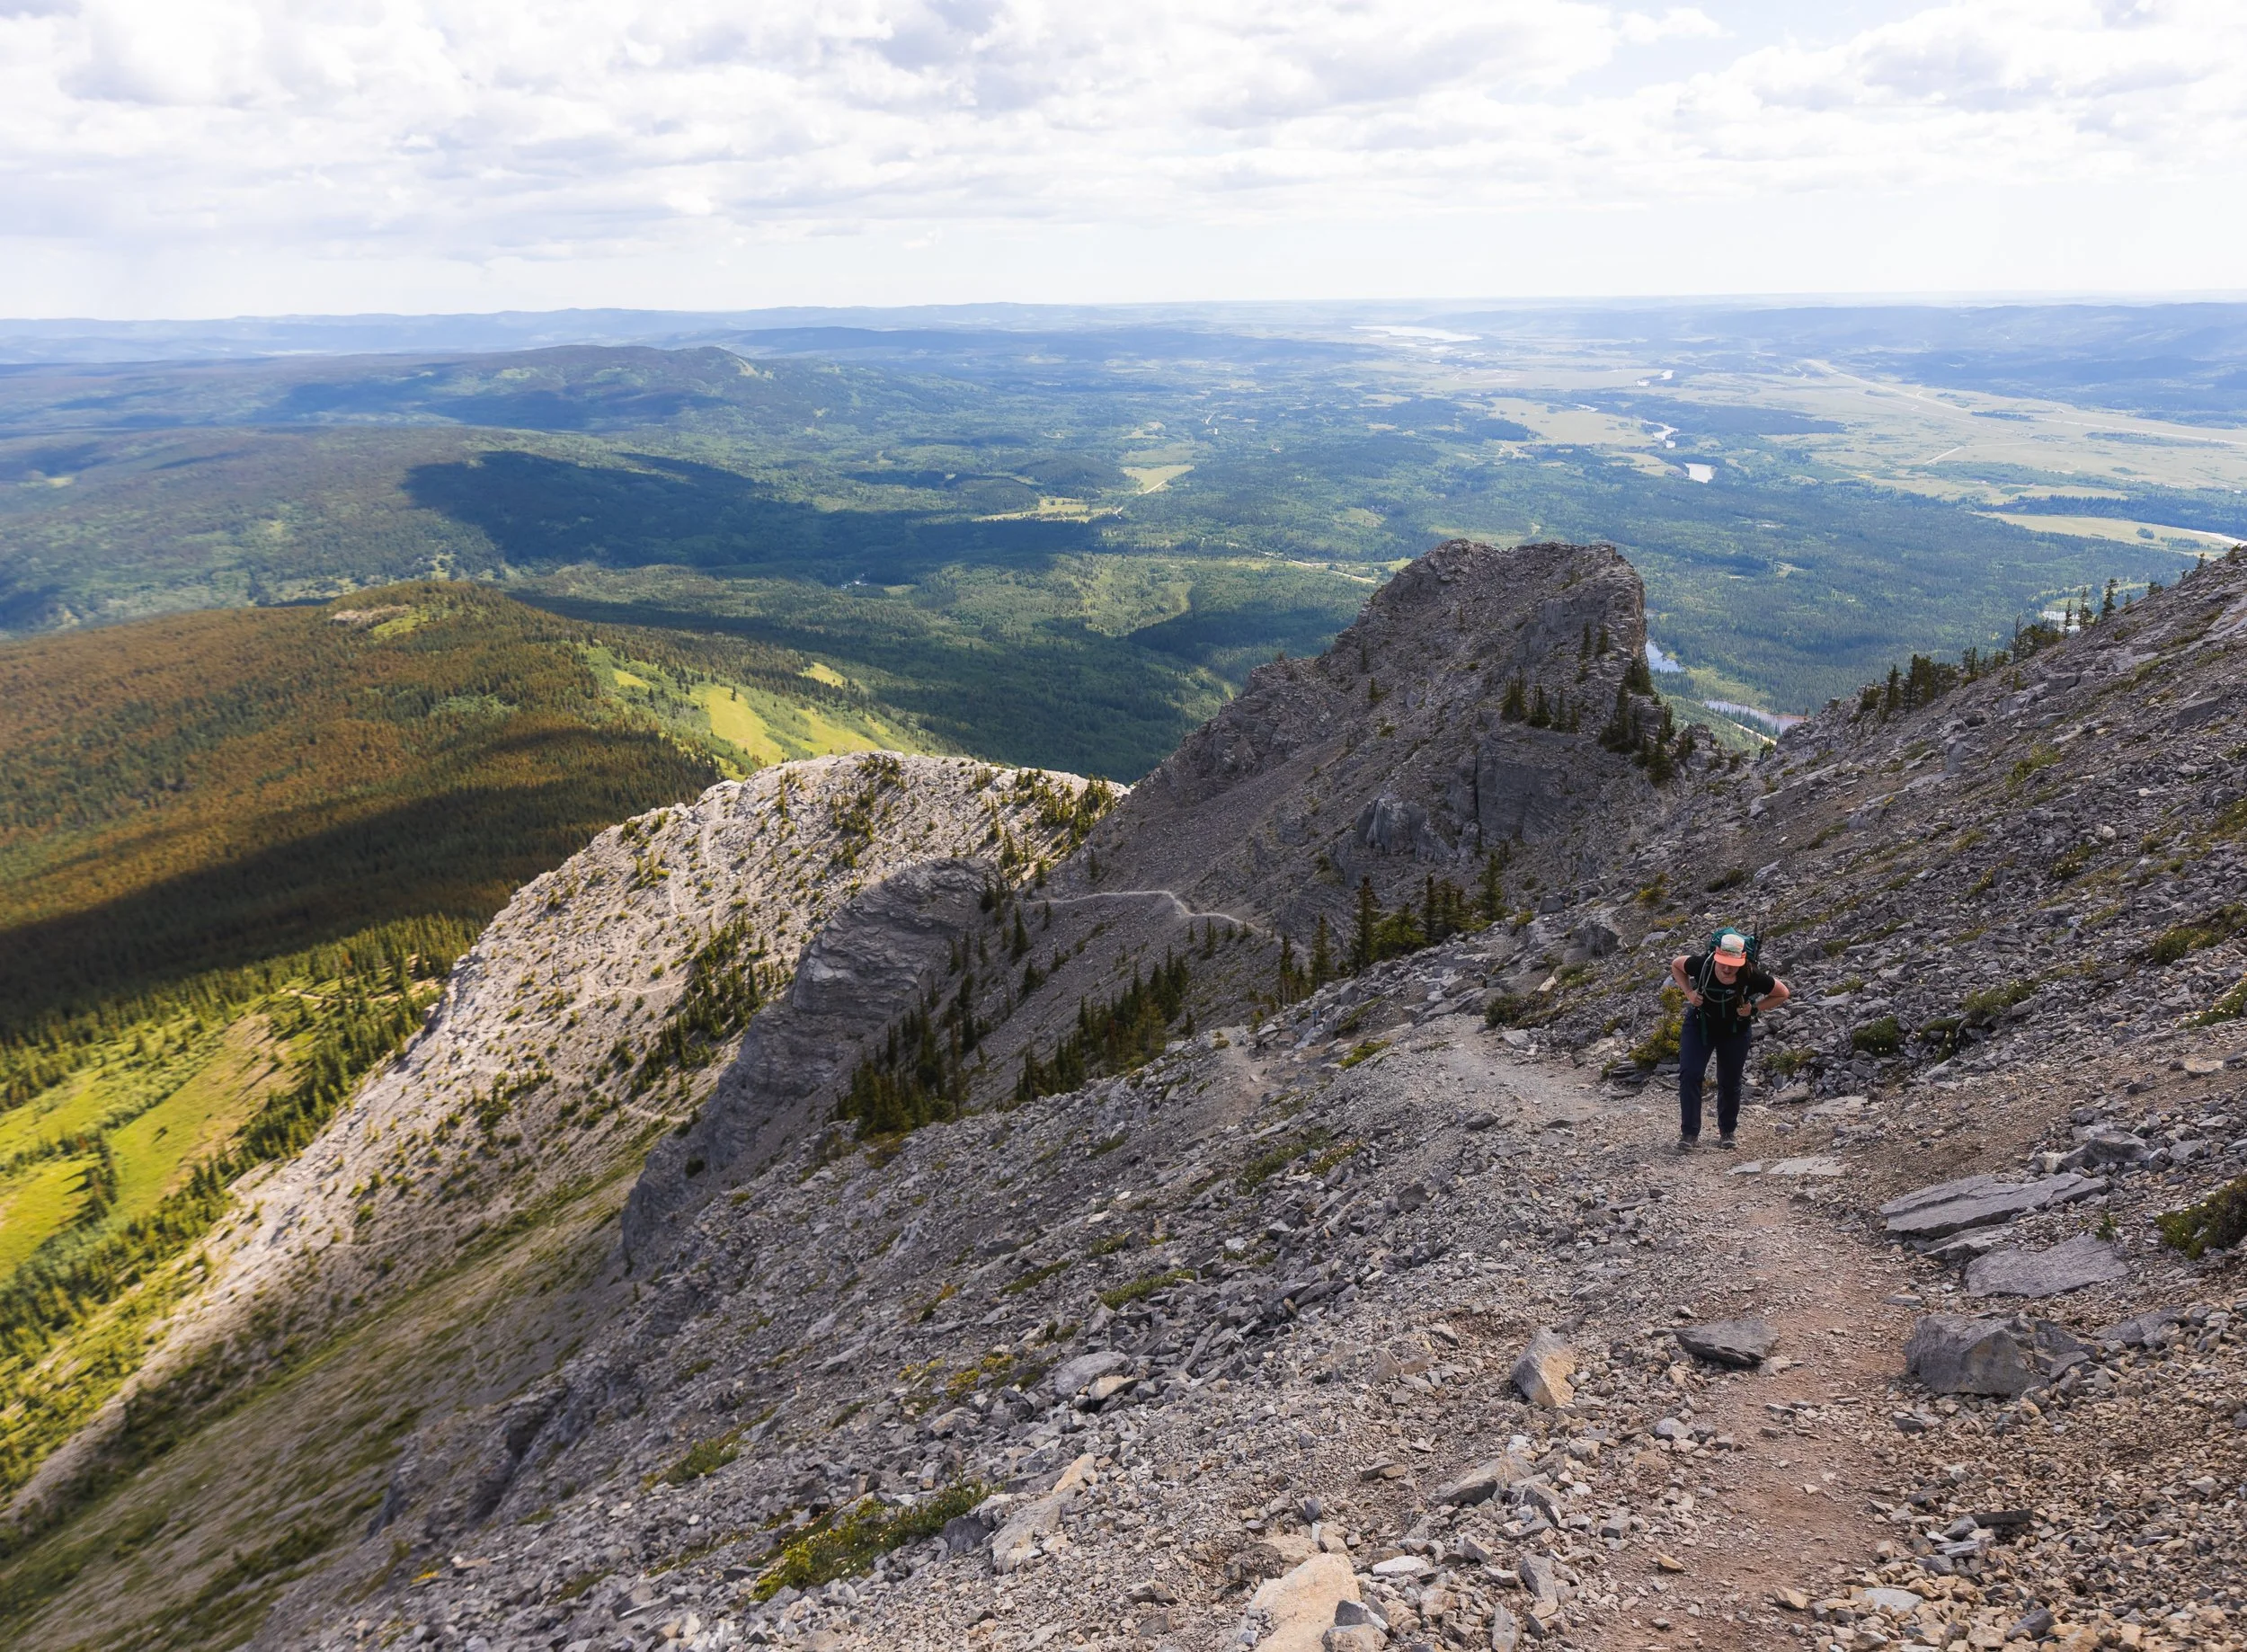
Brook following the Yamnuska trail, you can see it traverse the whole mountain side as it fades into the distance.
The Chains
The chain section of Yamnuska has to be what it’s most famous for and probably why a lot of hikers seek out this trail. They certainly add a little adventure!
When I originally hiked this trail many years ago I don’t remember thinking much of the exposure, however revisiting in my late 30s I was much more aware of the possible consequences and definitely felt a little head wobble as I crossed!
This is probably more to do with me growing older but the chain section is low risk but very high consequence. If you fell here it would not be good! Keep a tight grip of the chains, travel one by one and keep on eye on your footing. Again as time passes the rocks here have become more polished so don’t feel as grippy underfoot as they once did.
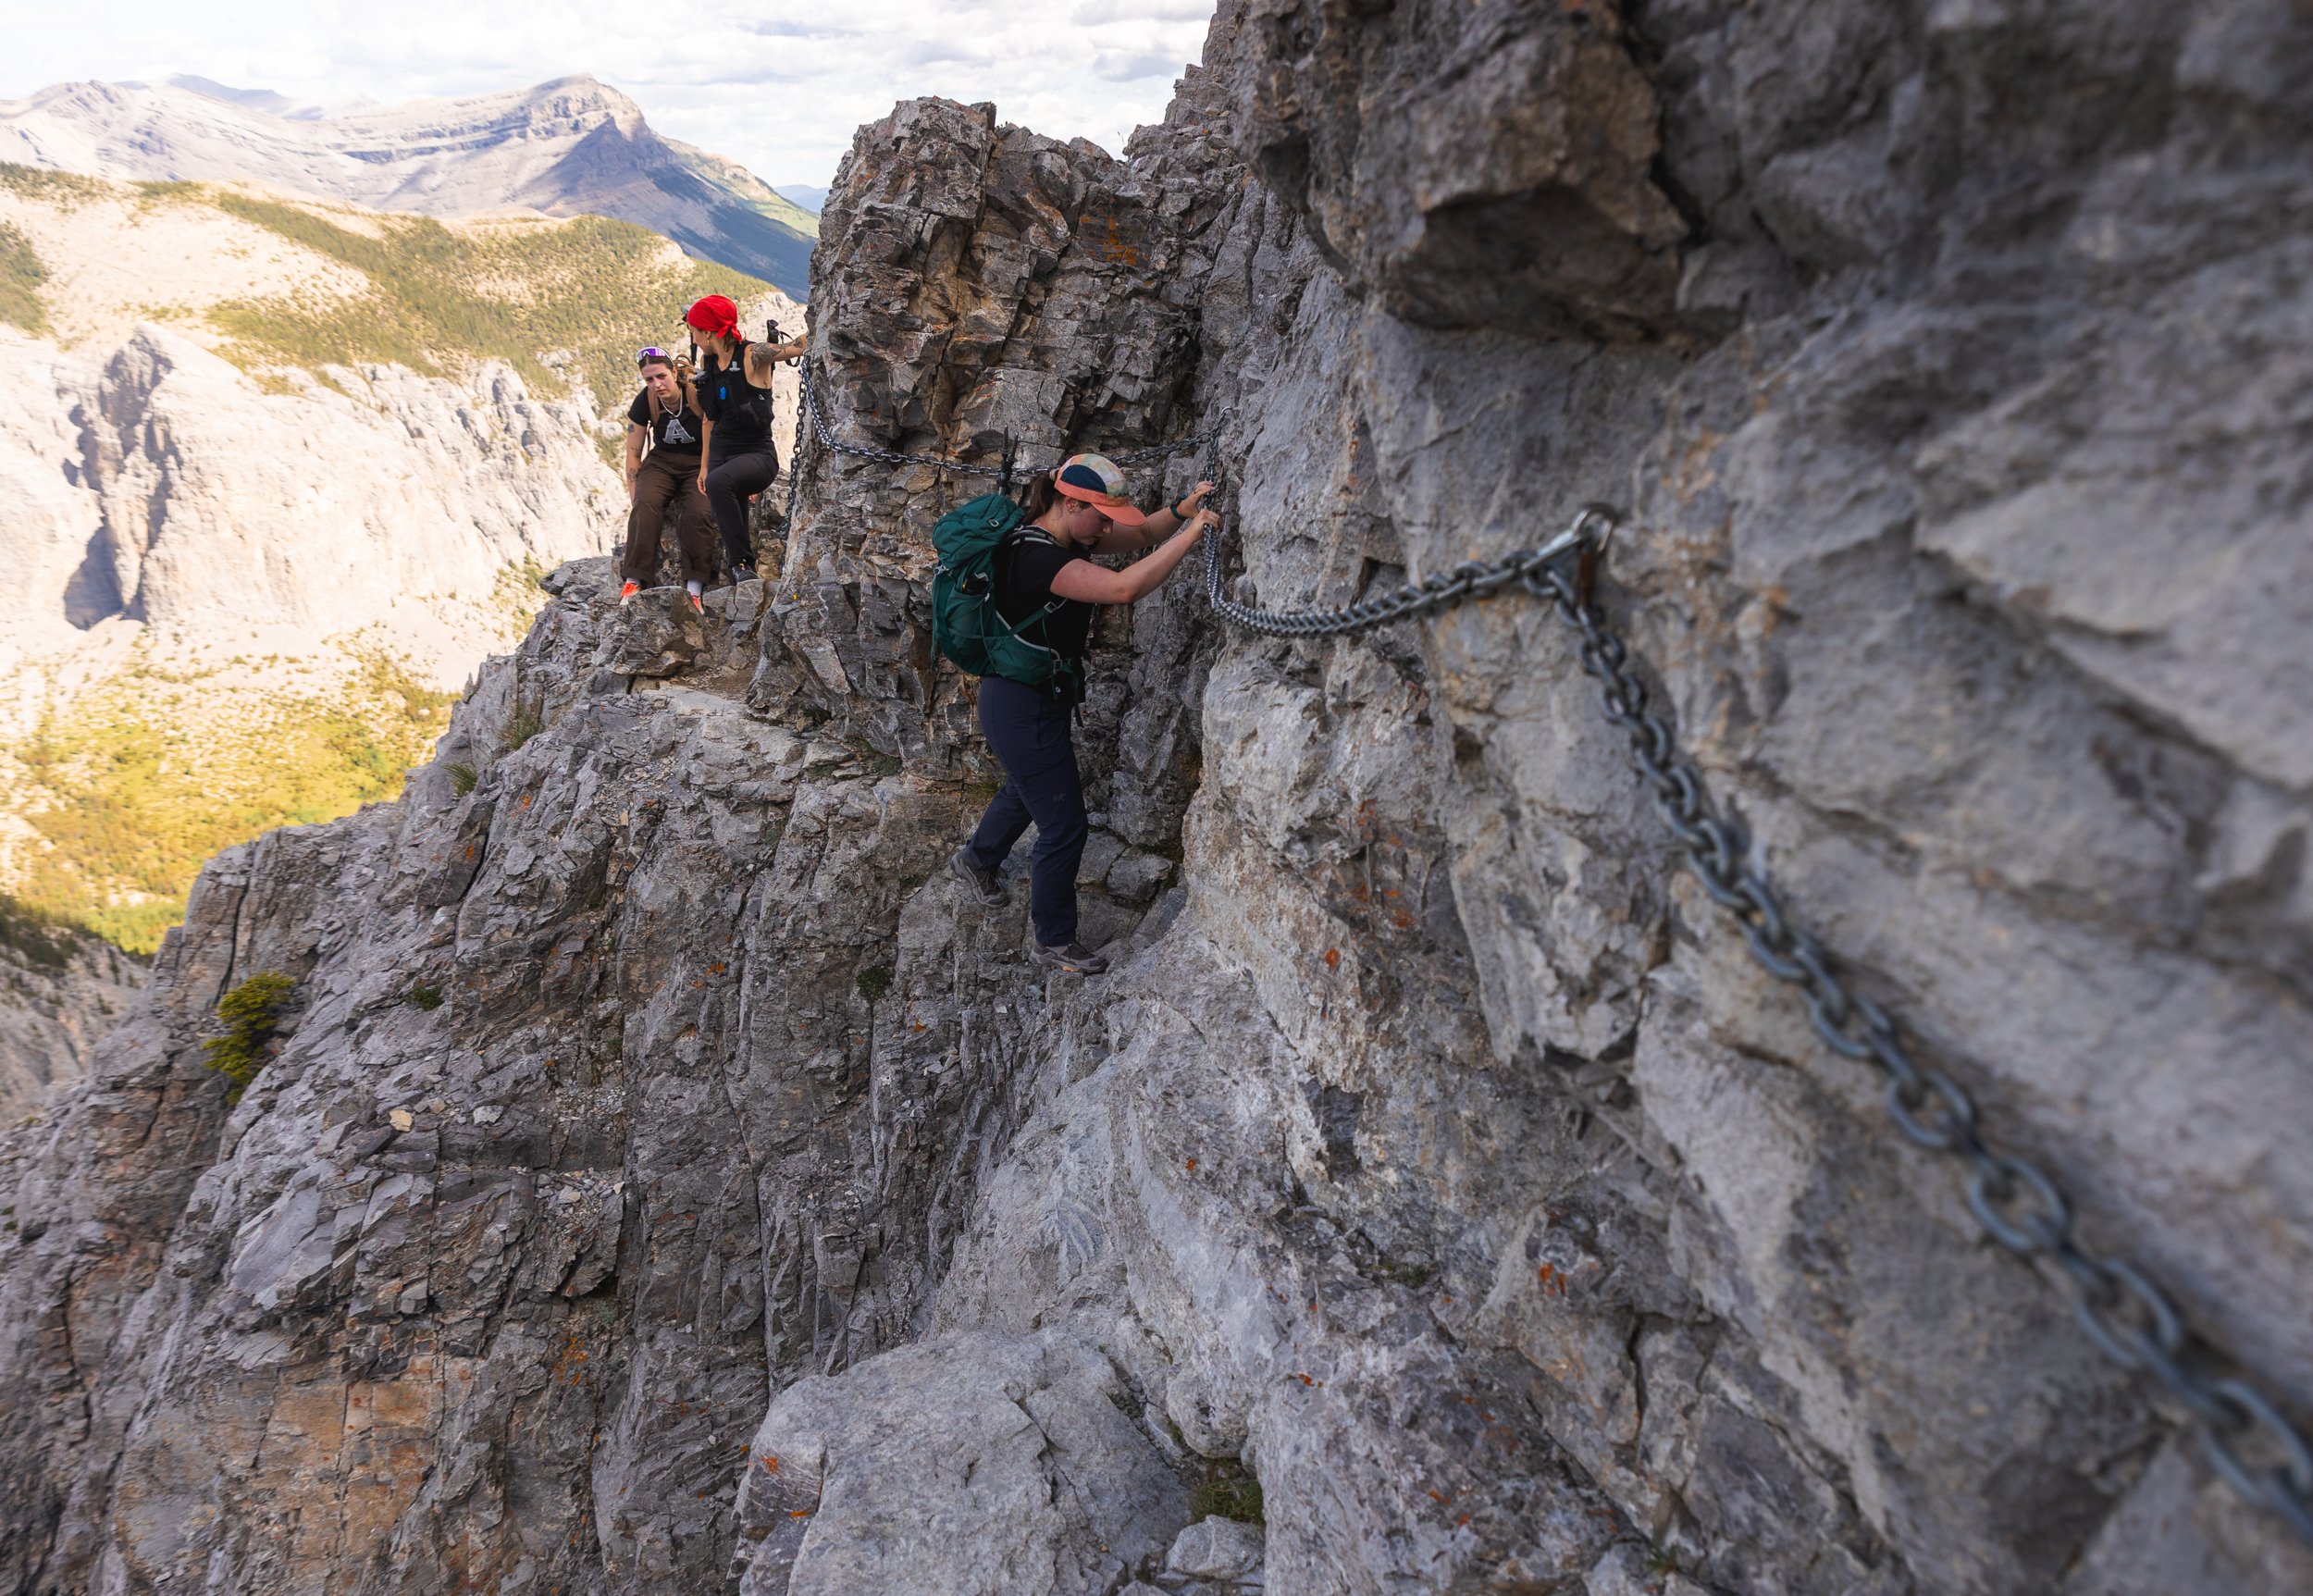
Brook crossing the chains.
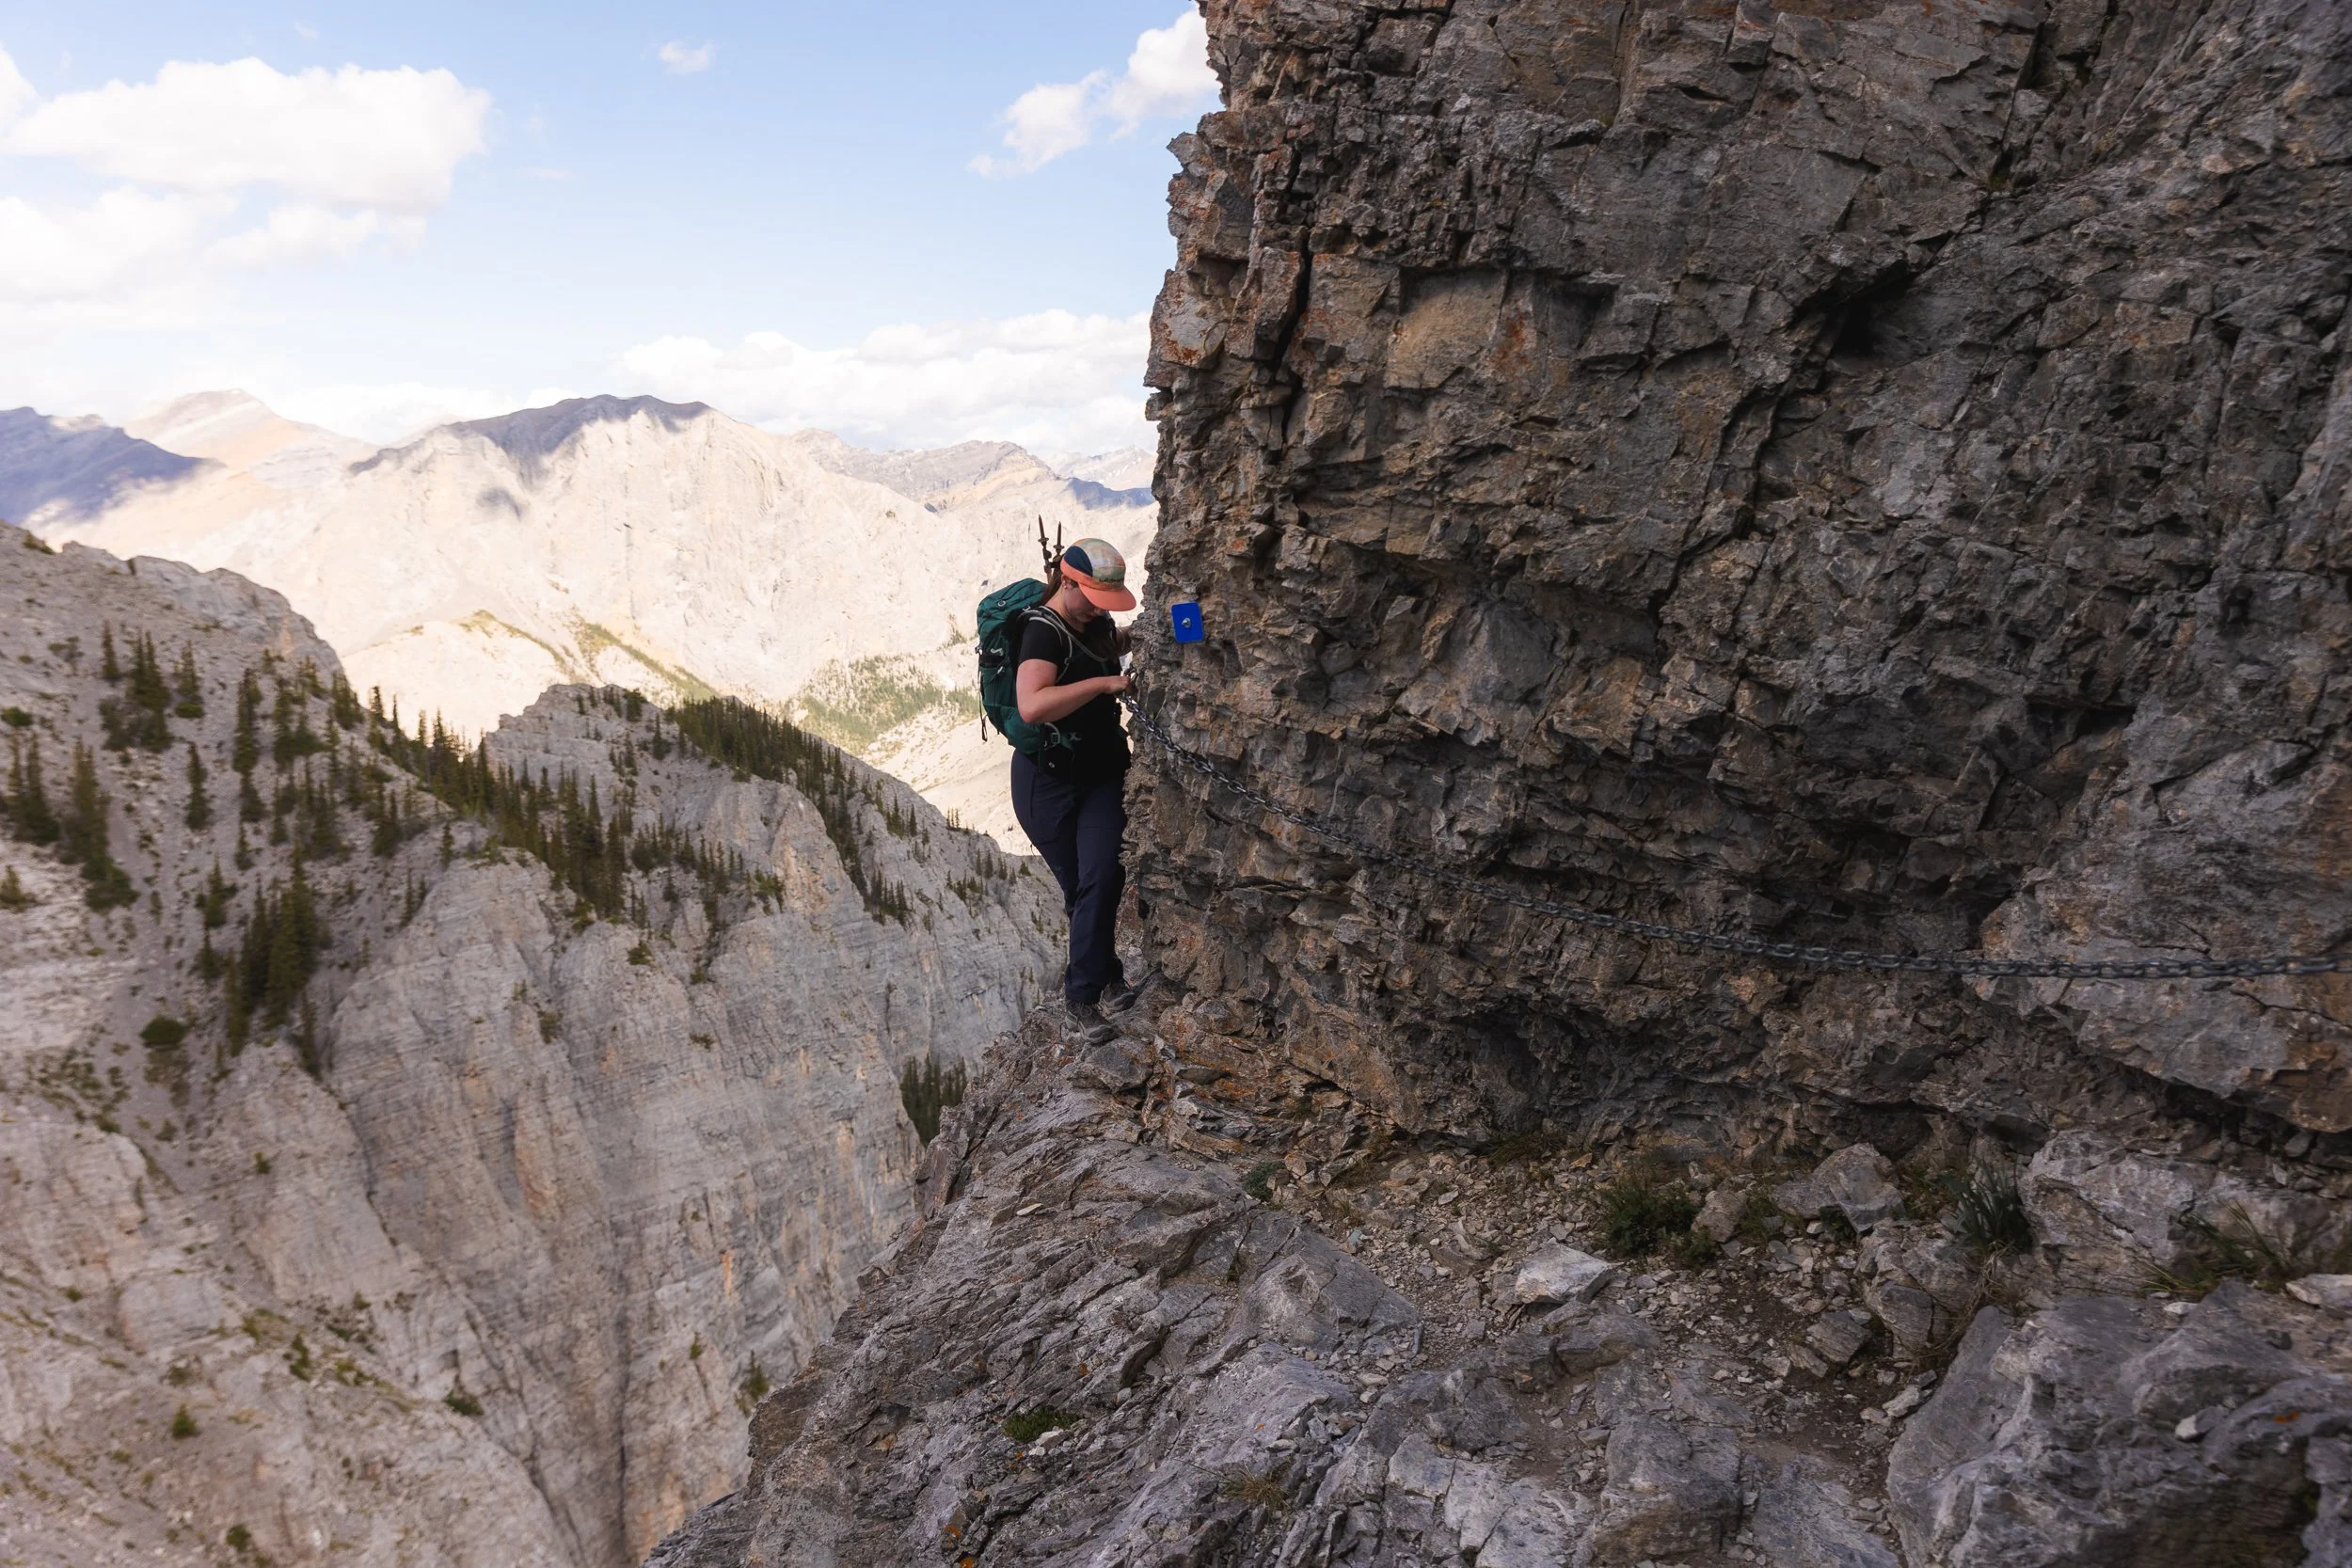
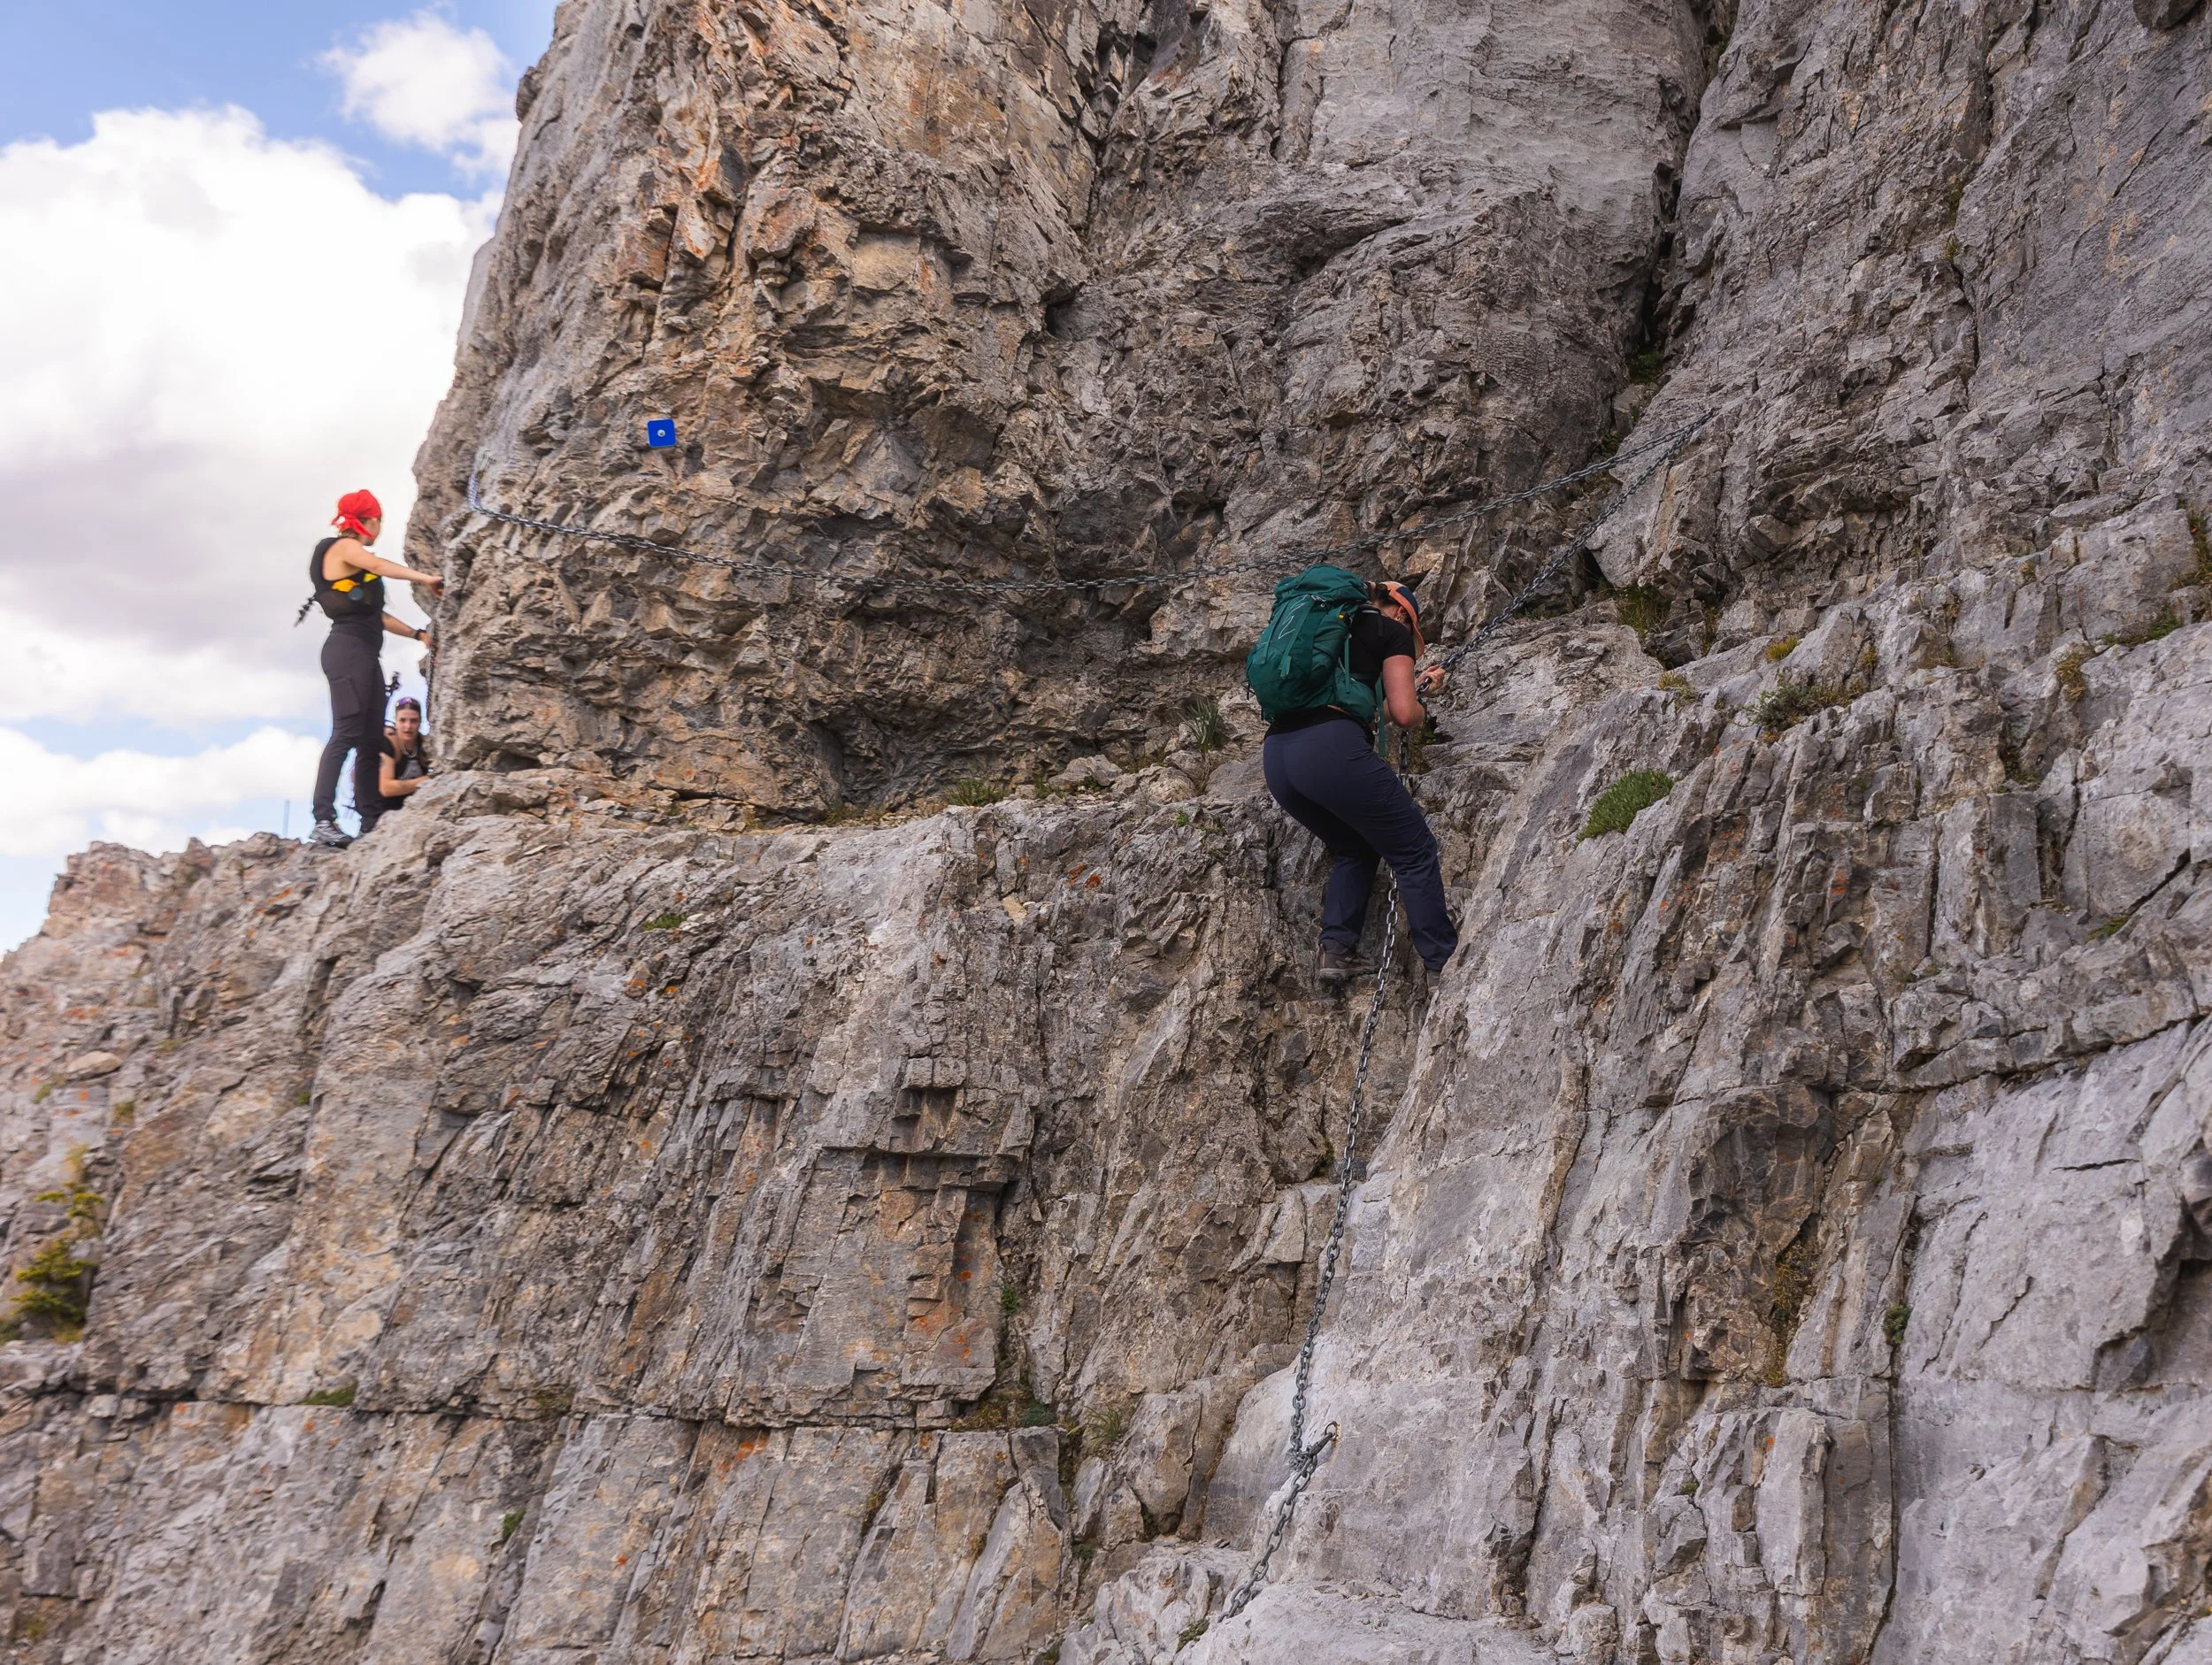
Brook decsending the chains as other hikers wait their turn.
Now that the chains are over it doesn’t mean the end to the exposure, route finding and scrambling!
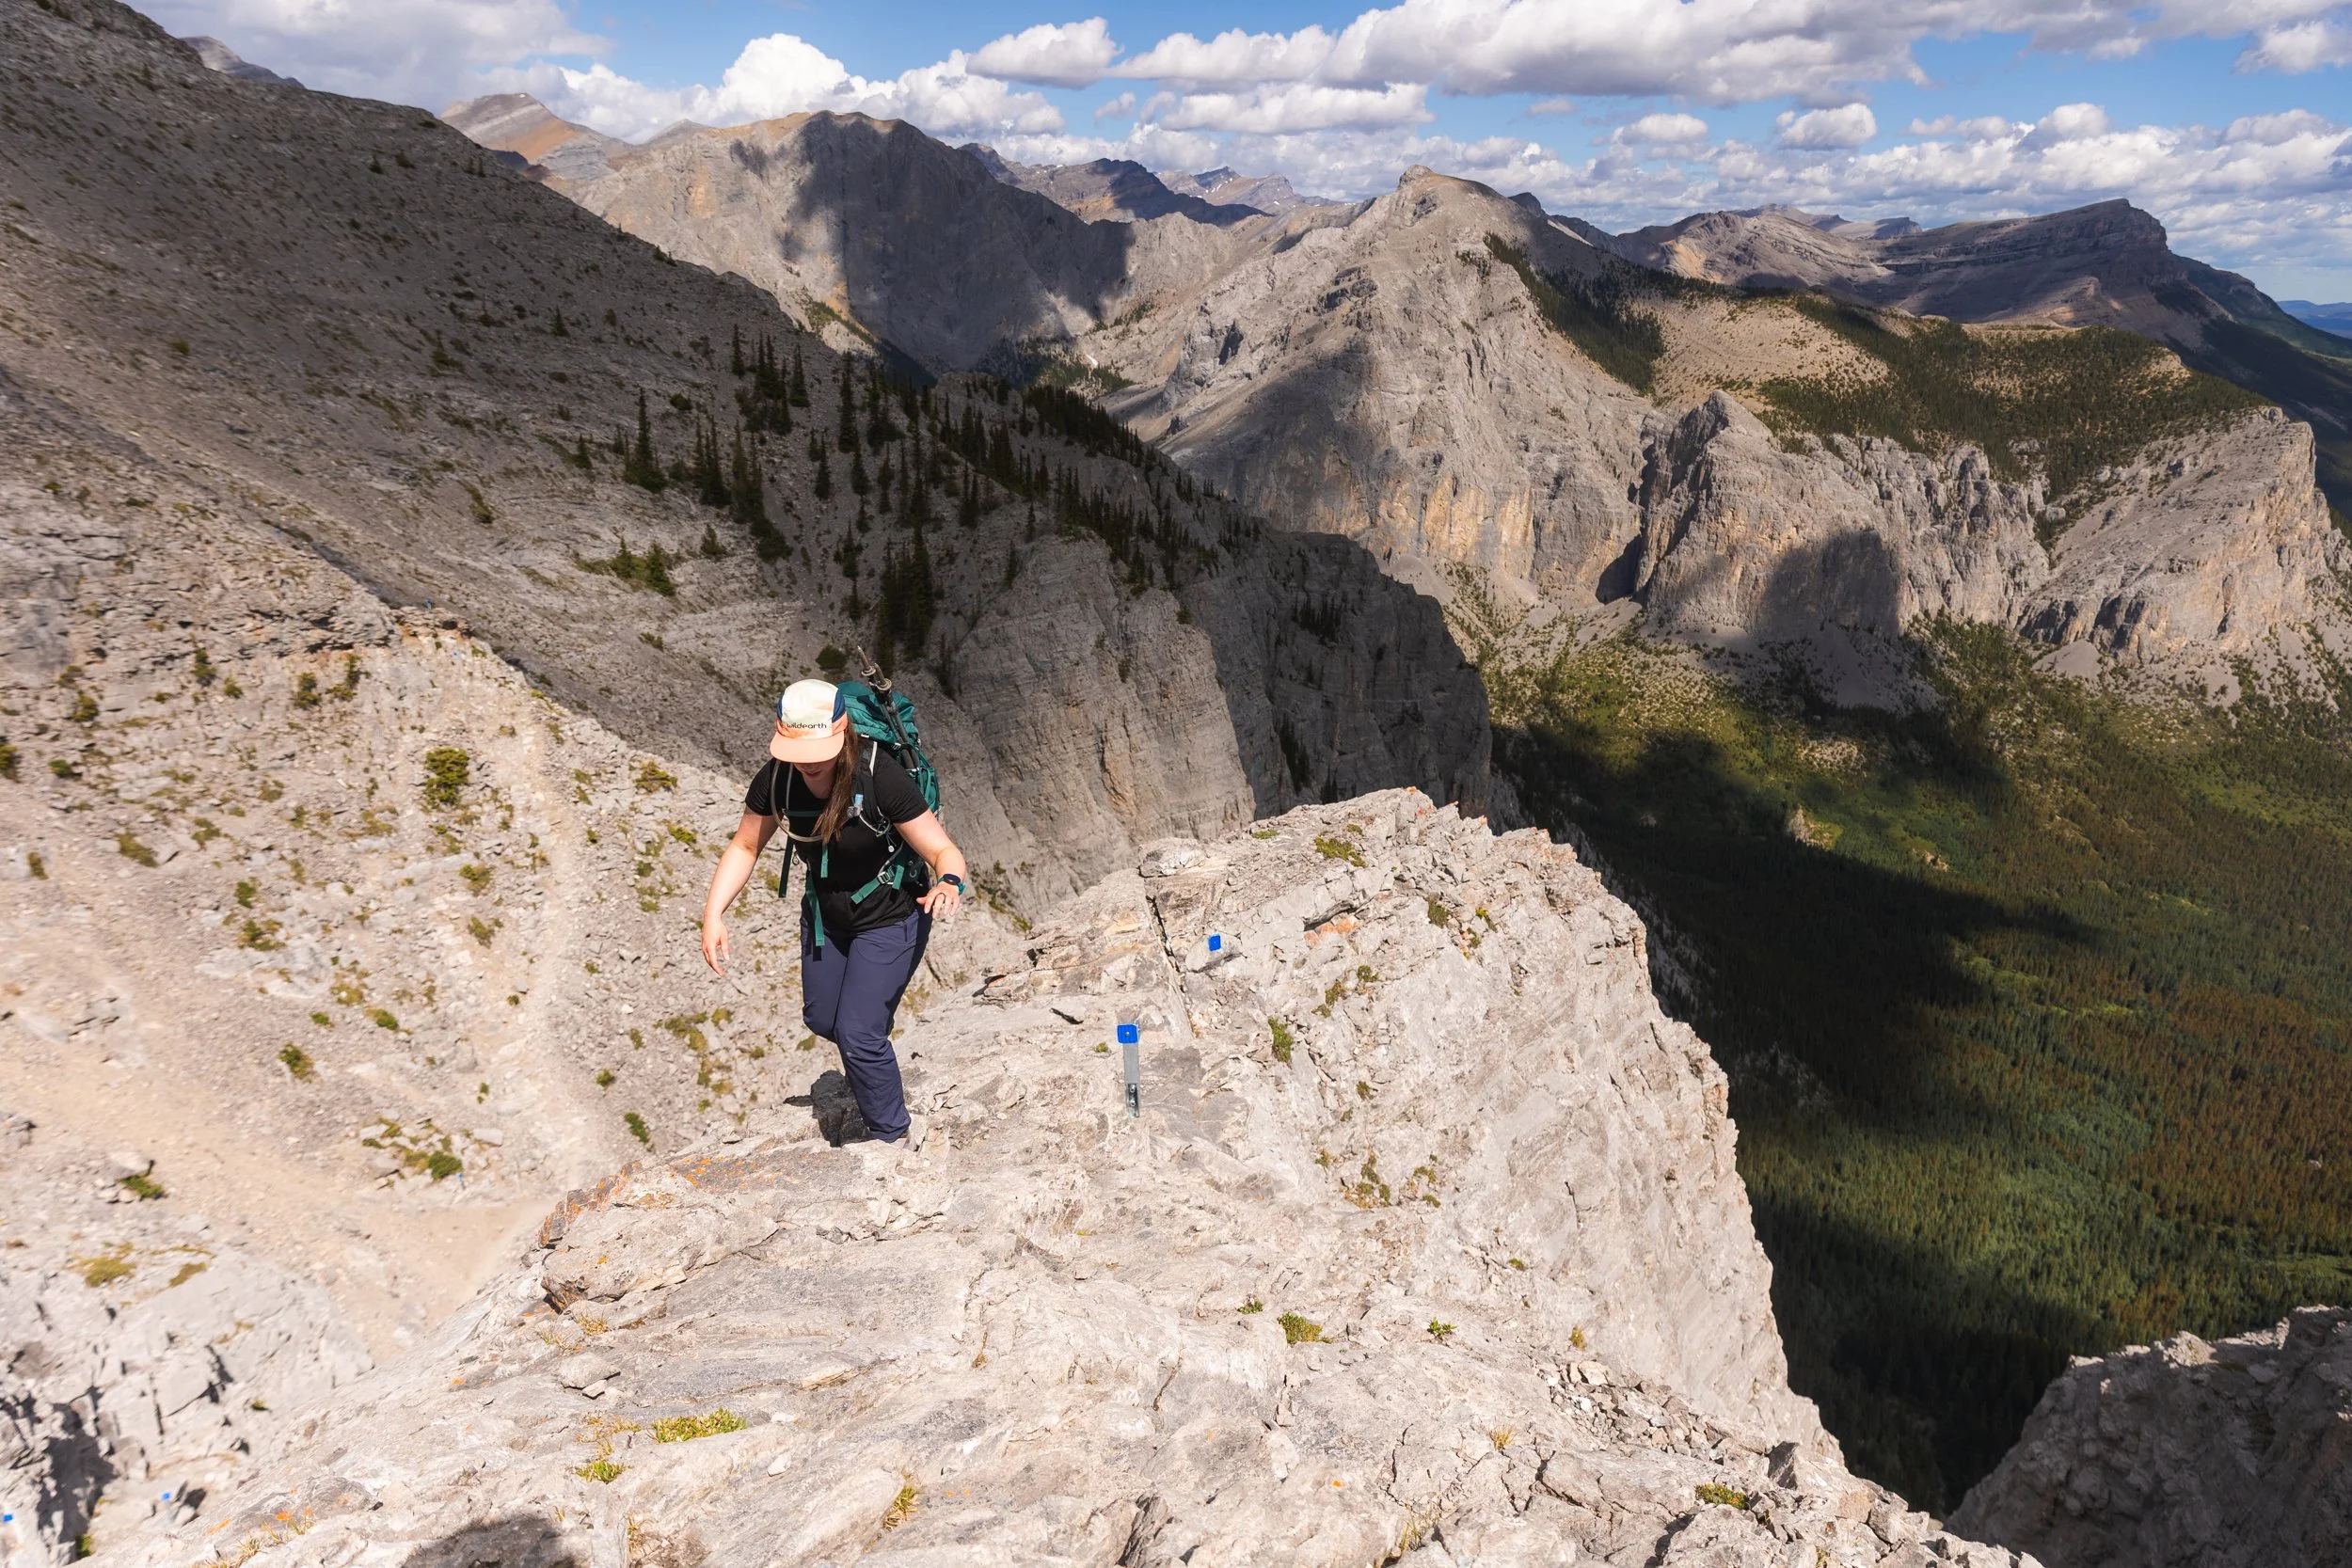
Brook walks an exposed ridge after the chains.
The Down Climb
Now the down climb on this trail is a section a lot of hikers underestimate and on a wet or snowy day I think this could be a really dangerous spot.
Once again the rock is a little polished and would be very slippery on a wet day. Also as you can see from the pictures below on a busy Saturday morning there are lots of hikers tackling this section at the same time increasing the chances of rock fall.
Where possible you should give hikers space as to not kick rocks down on the people below.
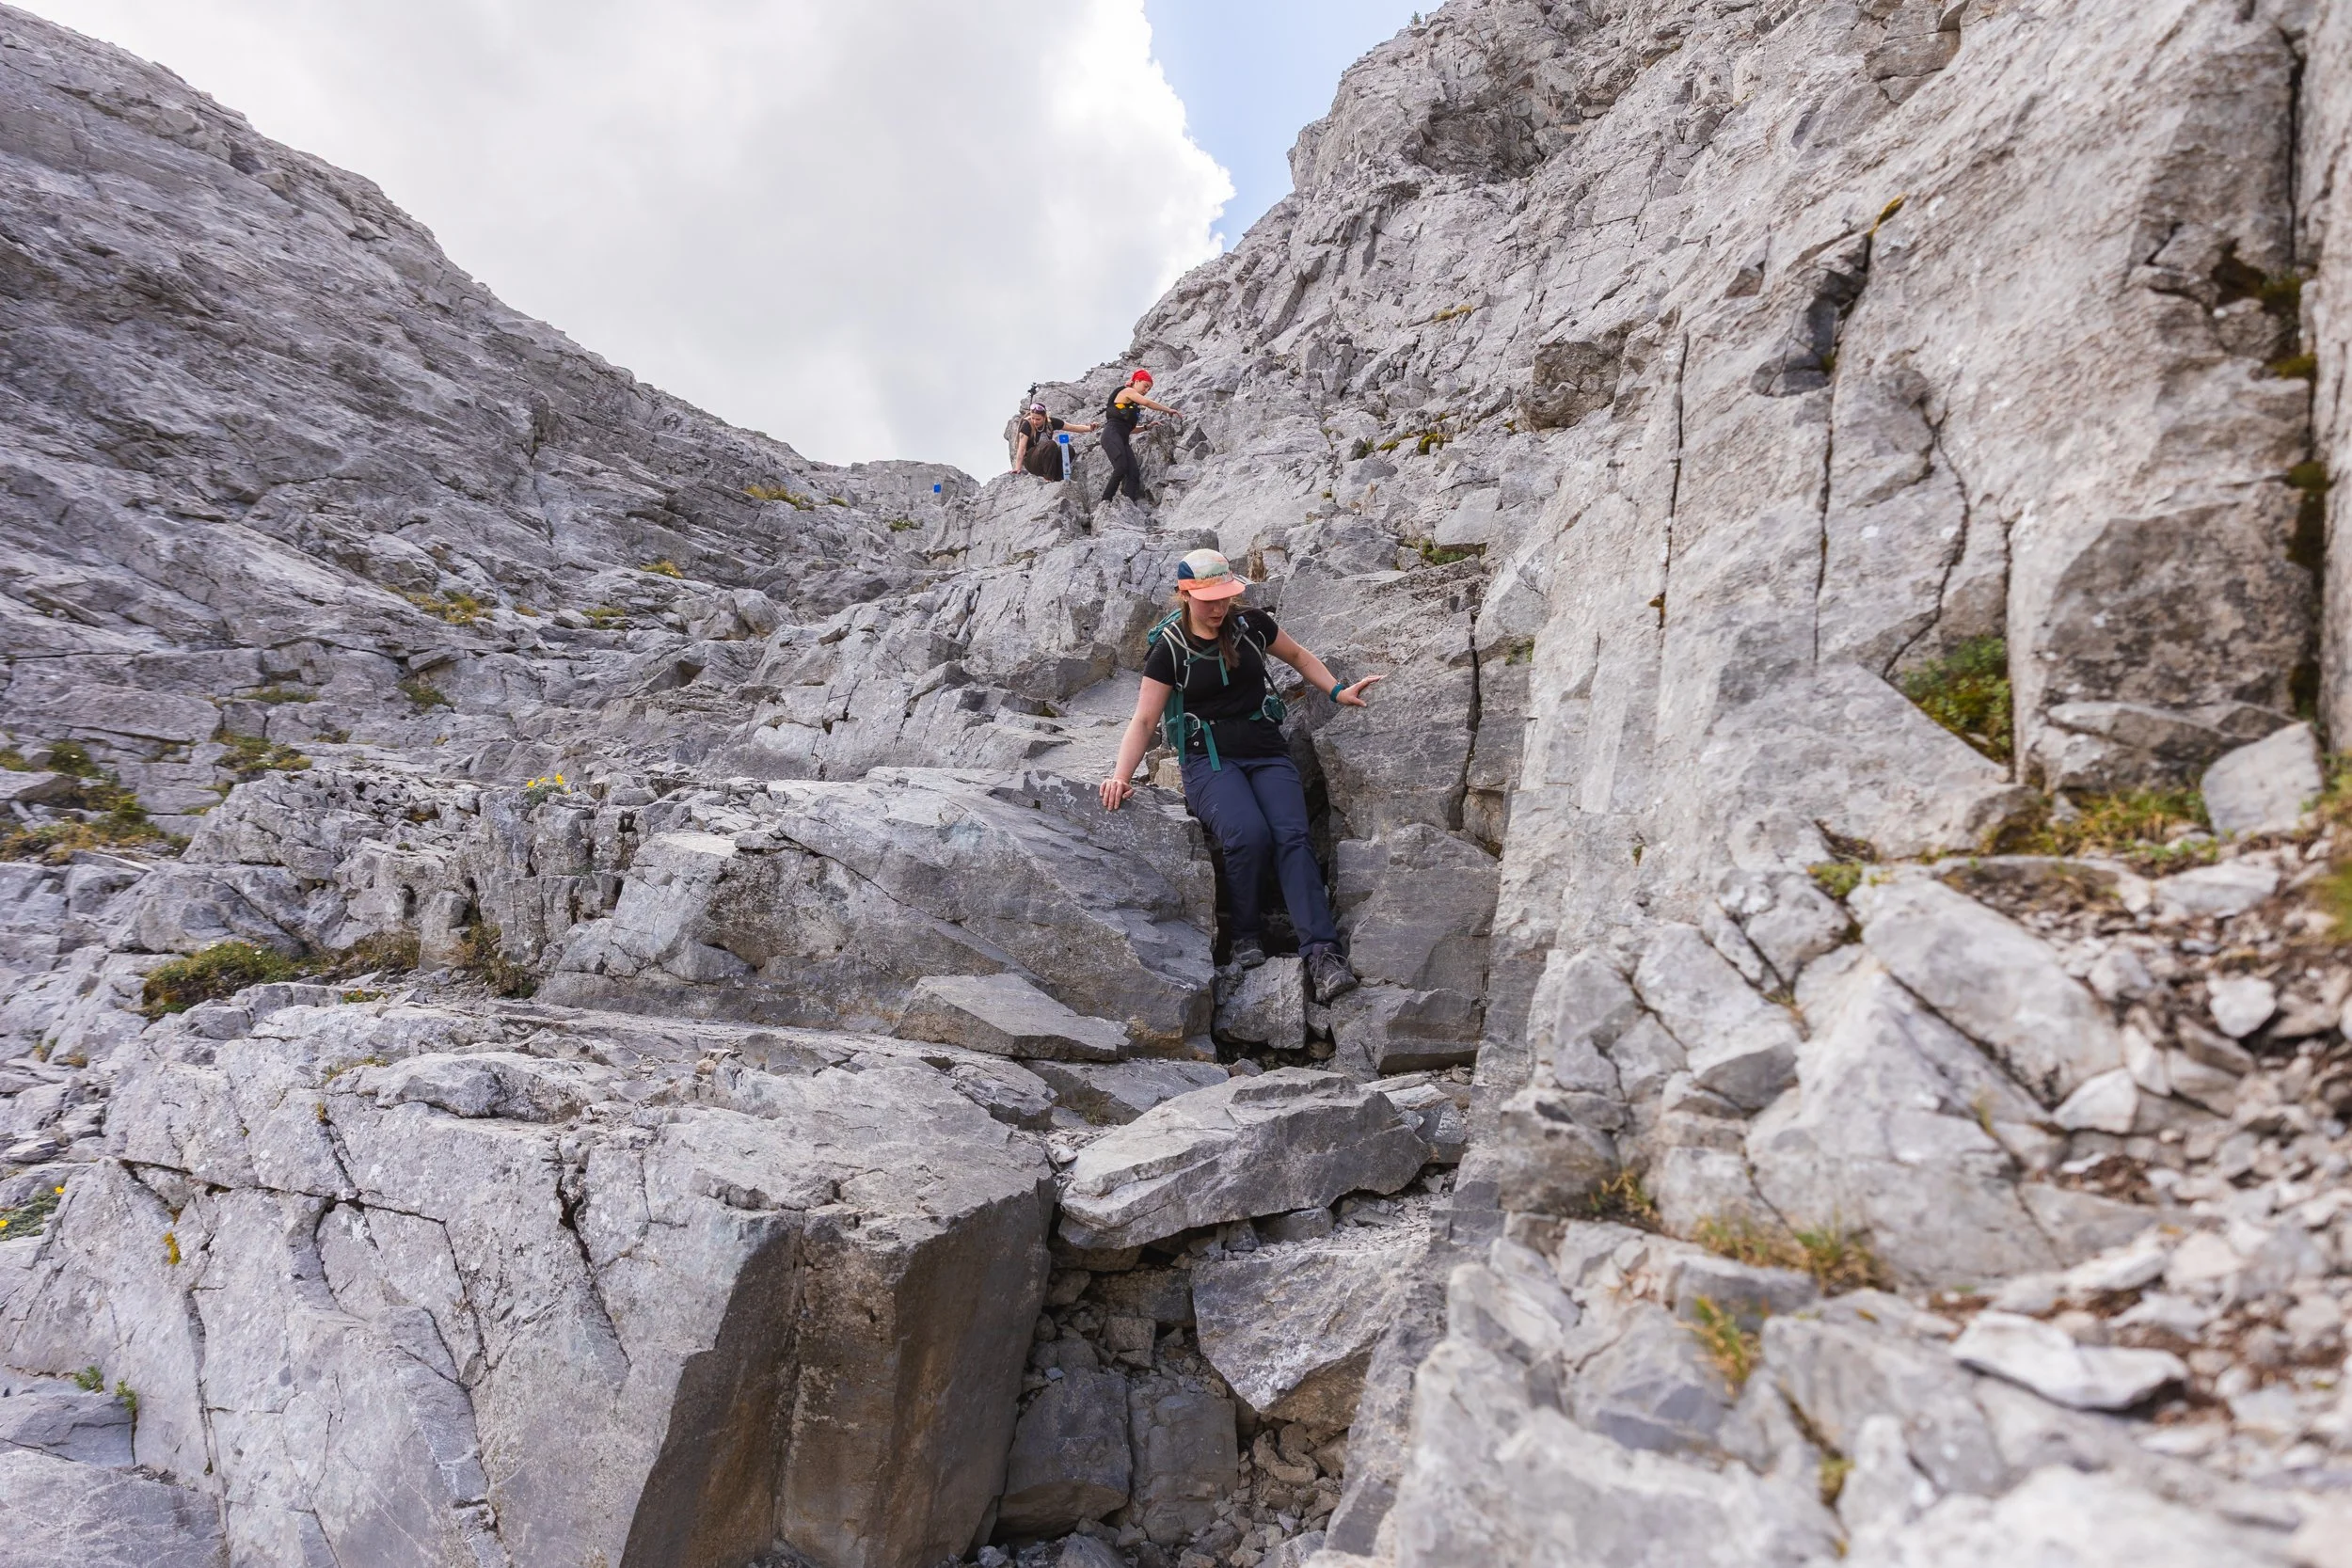
Sometimes the safest way to travel is to get on your bum!
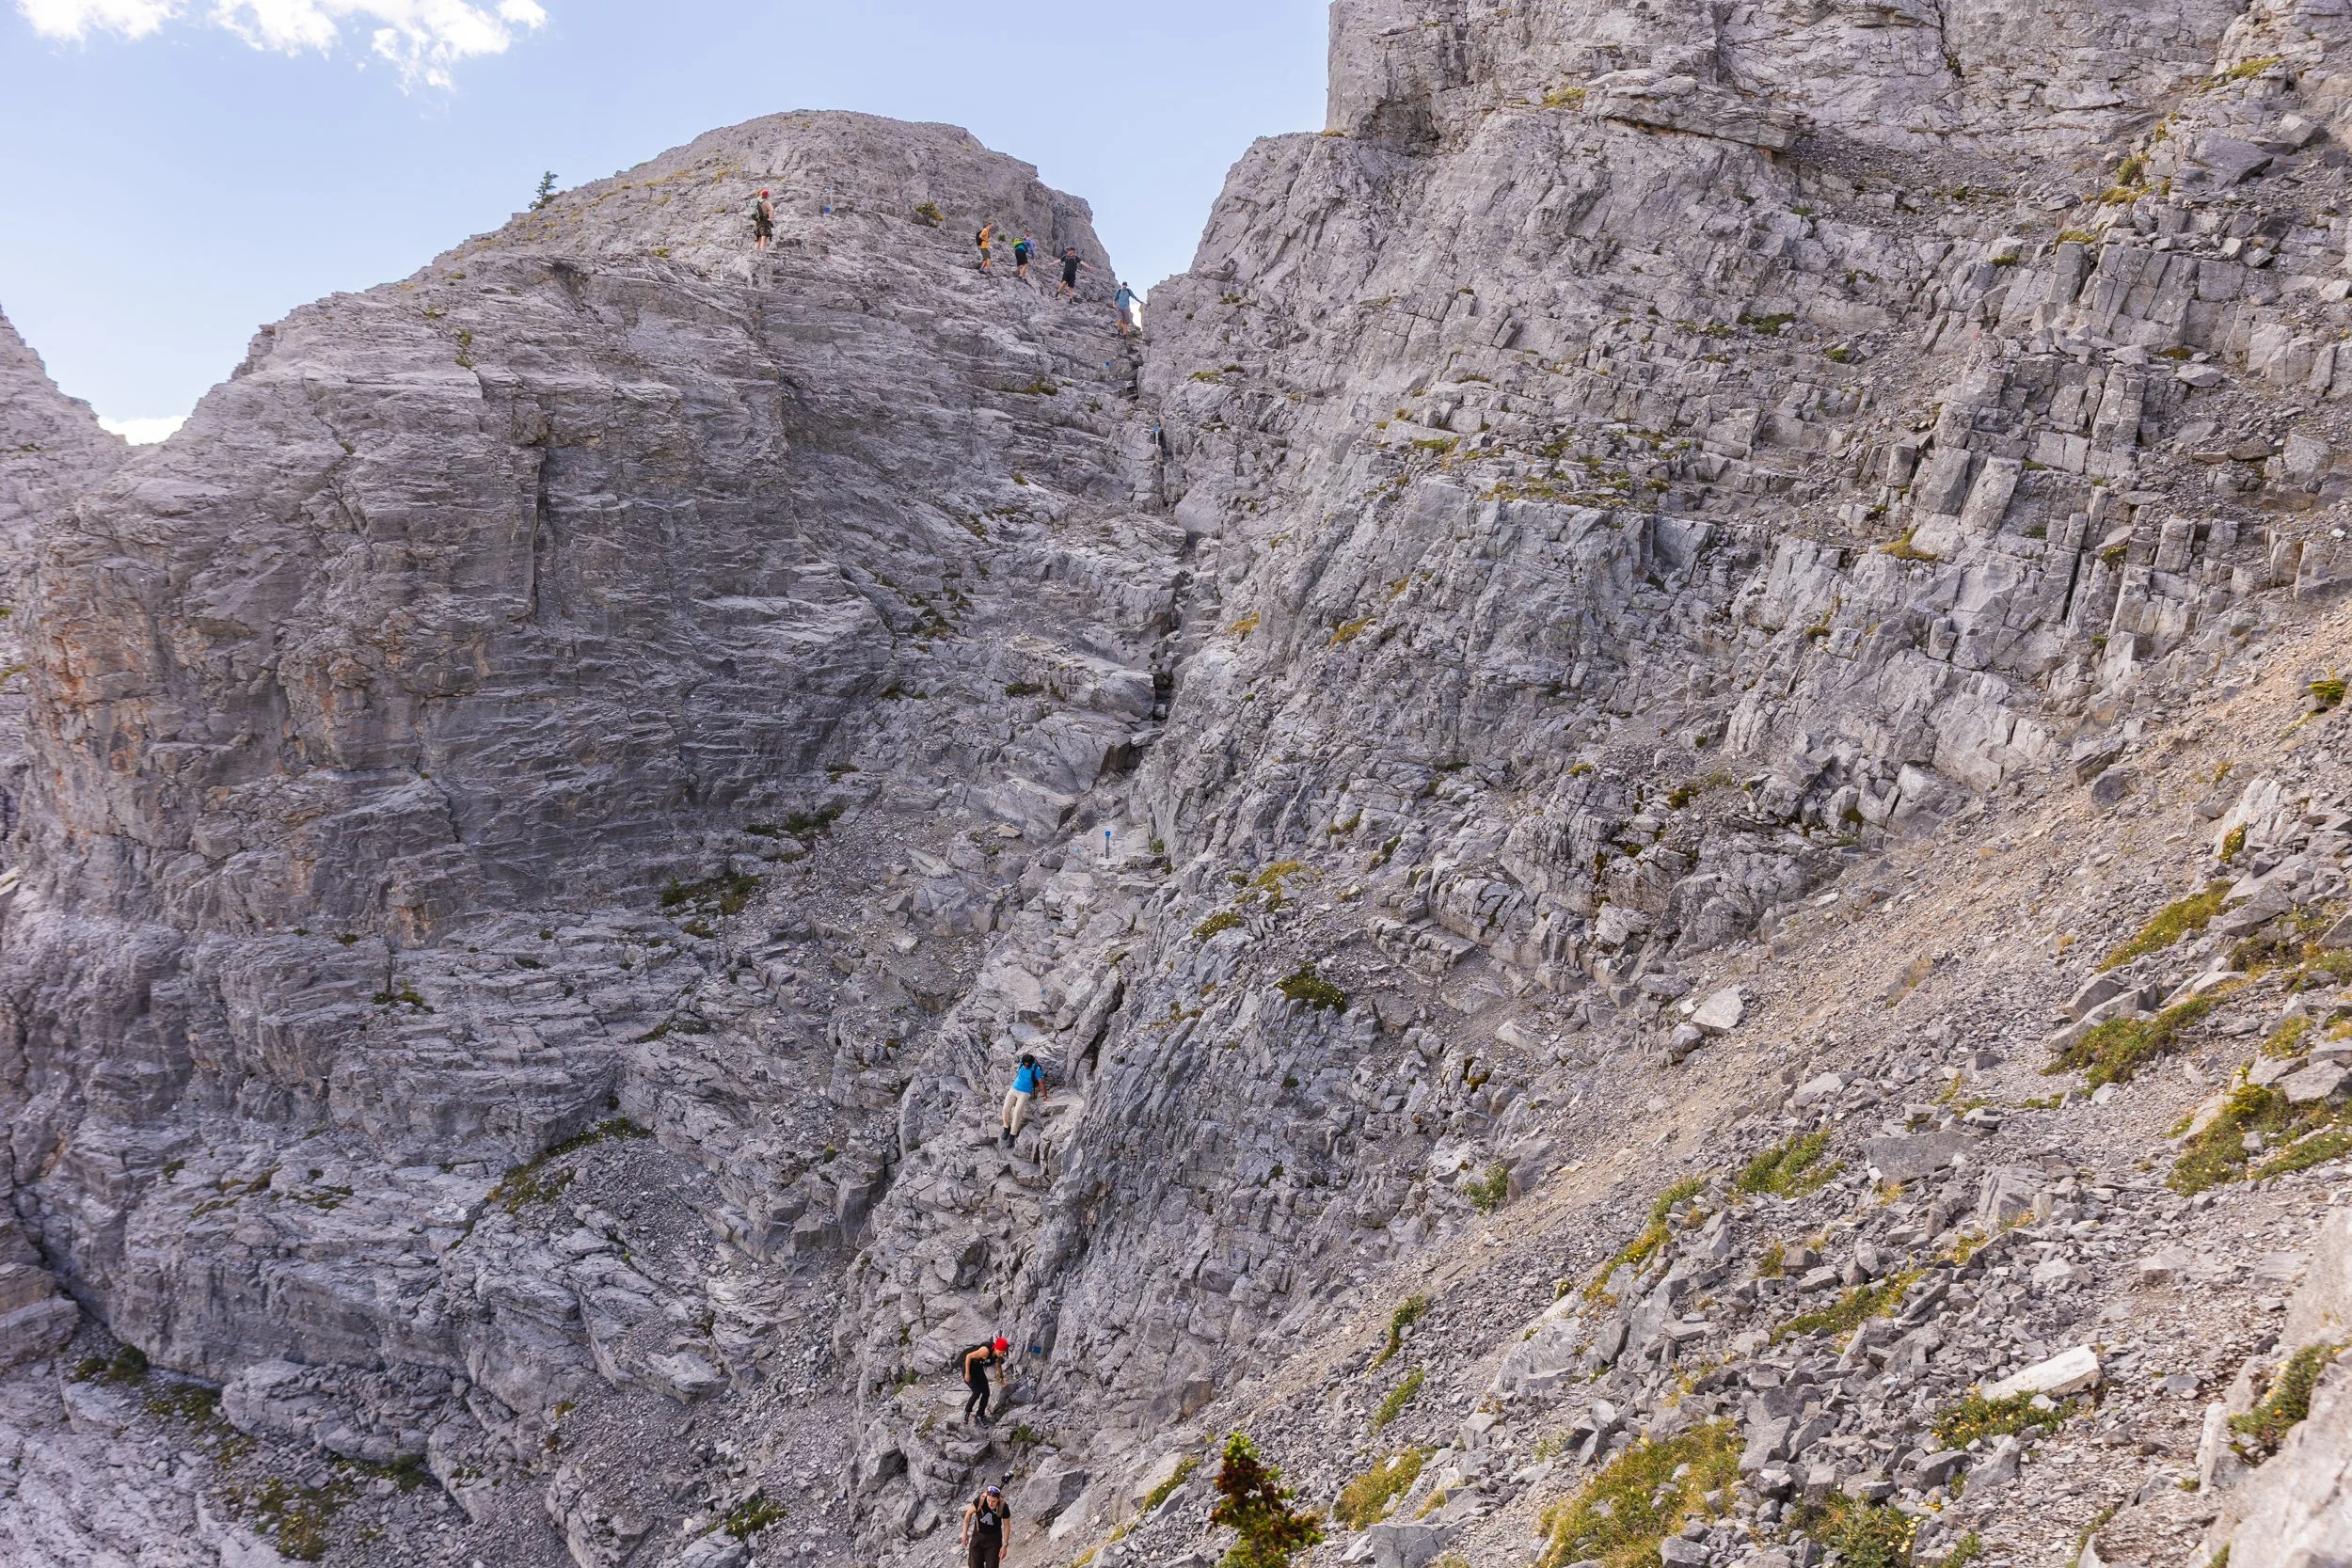
The down climb through the centre of picture, you can see several hikers making the descent at the bottom and others waiting clear at the top.
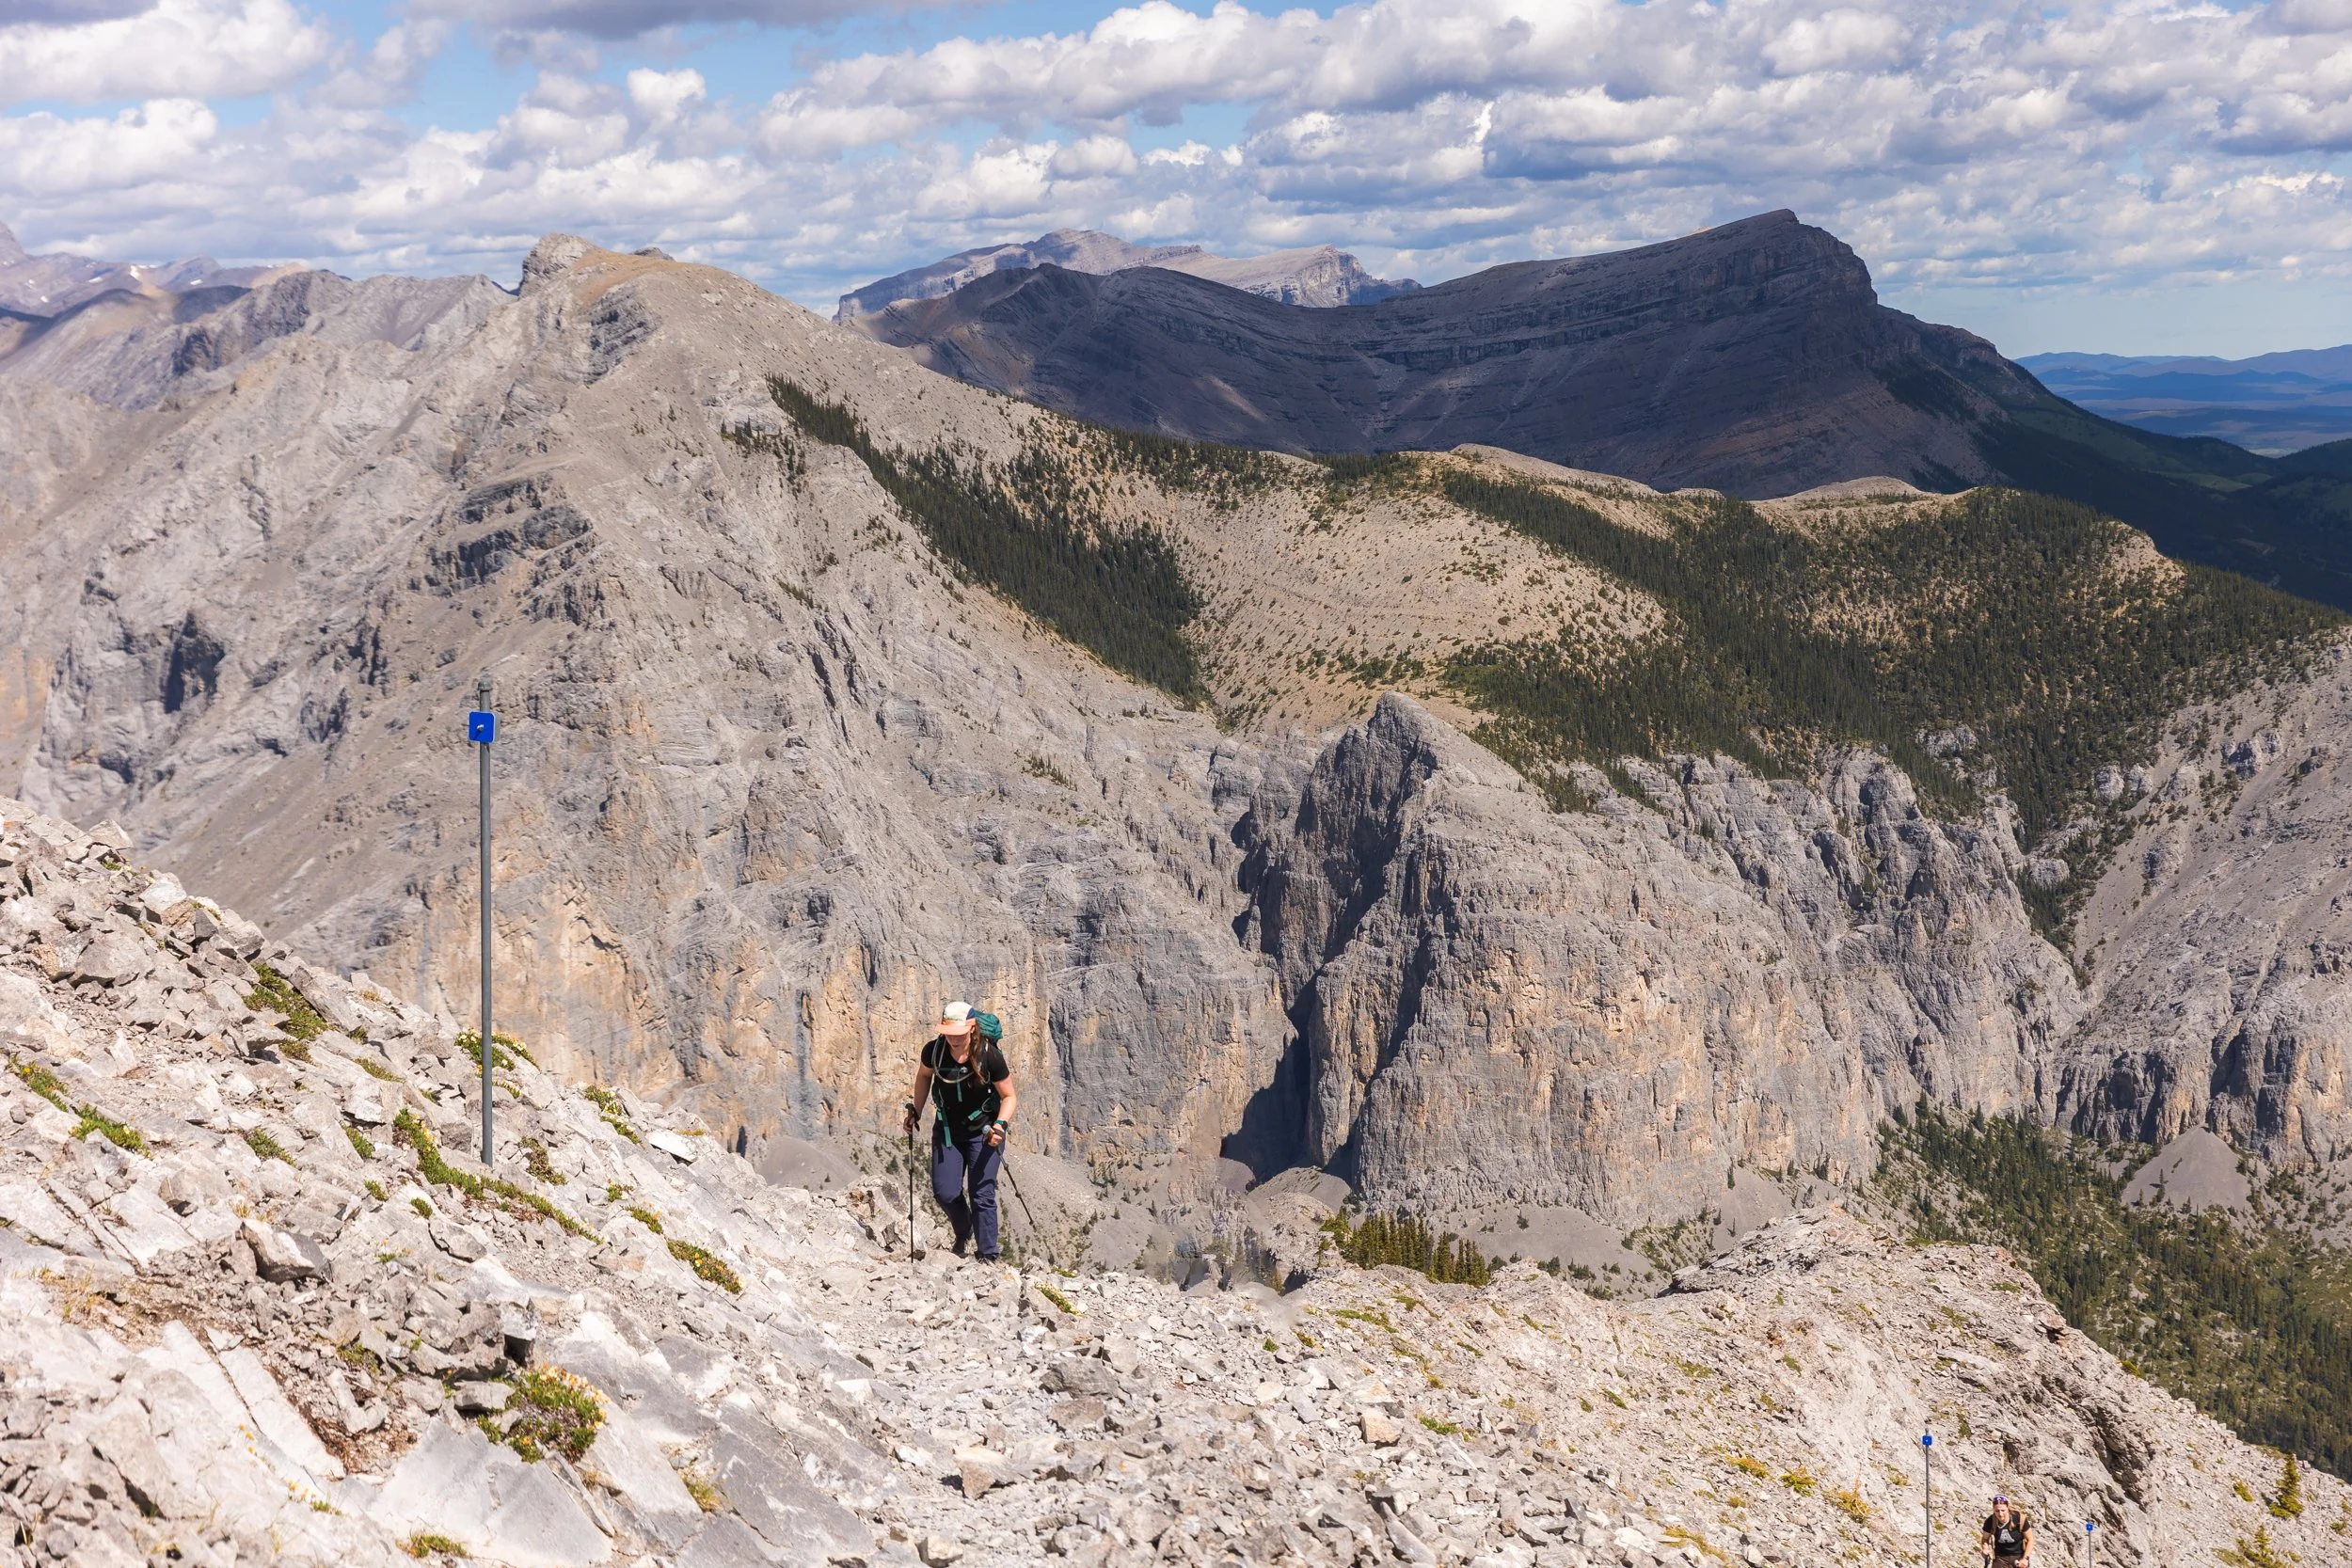
After more uphill, windy ridge line trail you are finally rewarded with summit views! Off of Yamnuska you can see forever in to the distance as the prairies run on for hundreds of kms and on the other side you see the peaks of the Canadian Rockies.
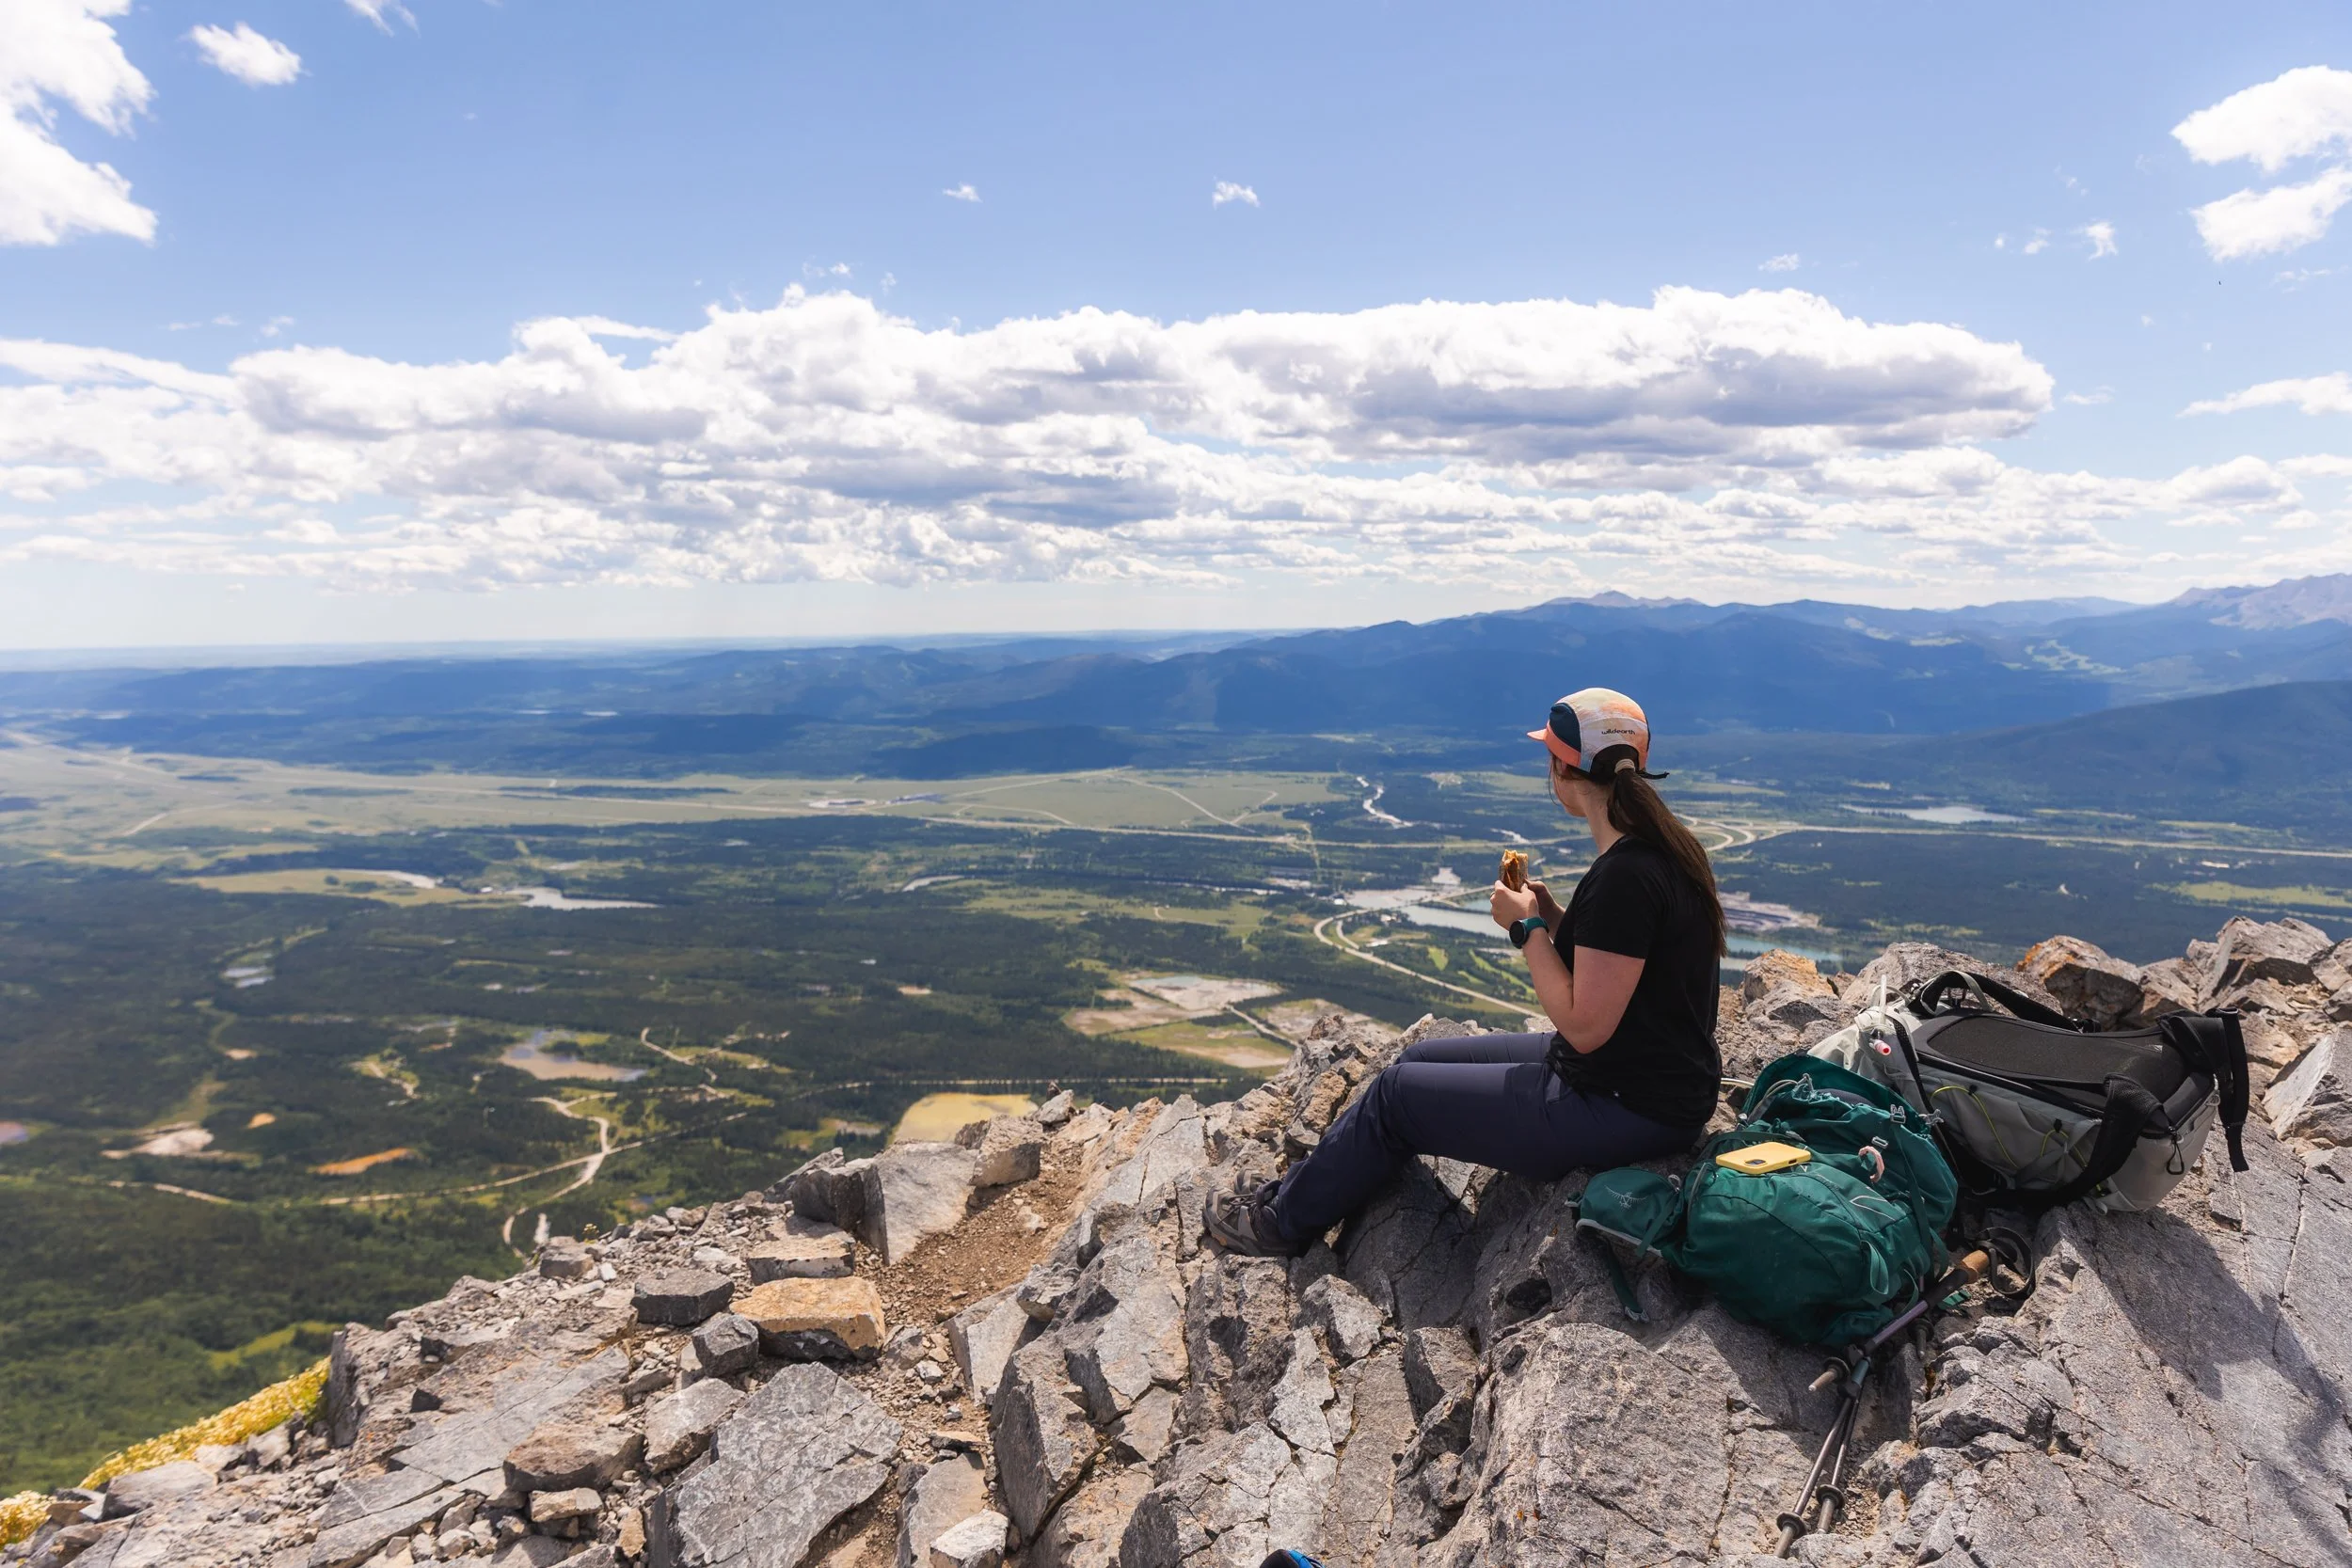
Having lunch on top, prairies to the left, mountains to the right.
The Descent
From the summit it’s thankfully all downhill! The trail is certainly easier going but still remains a little hazardous. You’re met with steep loose scree, not the deep kind you can dig in to but the stuff that’s easy to slip on!
There is a marked trail hugging the cliff but also several other braided paths in and amongst the rocks.
Whatever route you decide to take consider the hikers below and what you might push down.
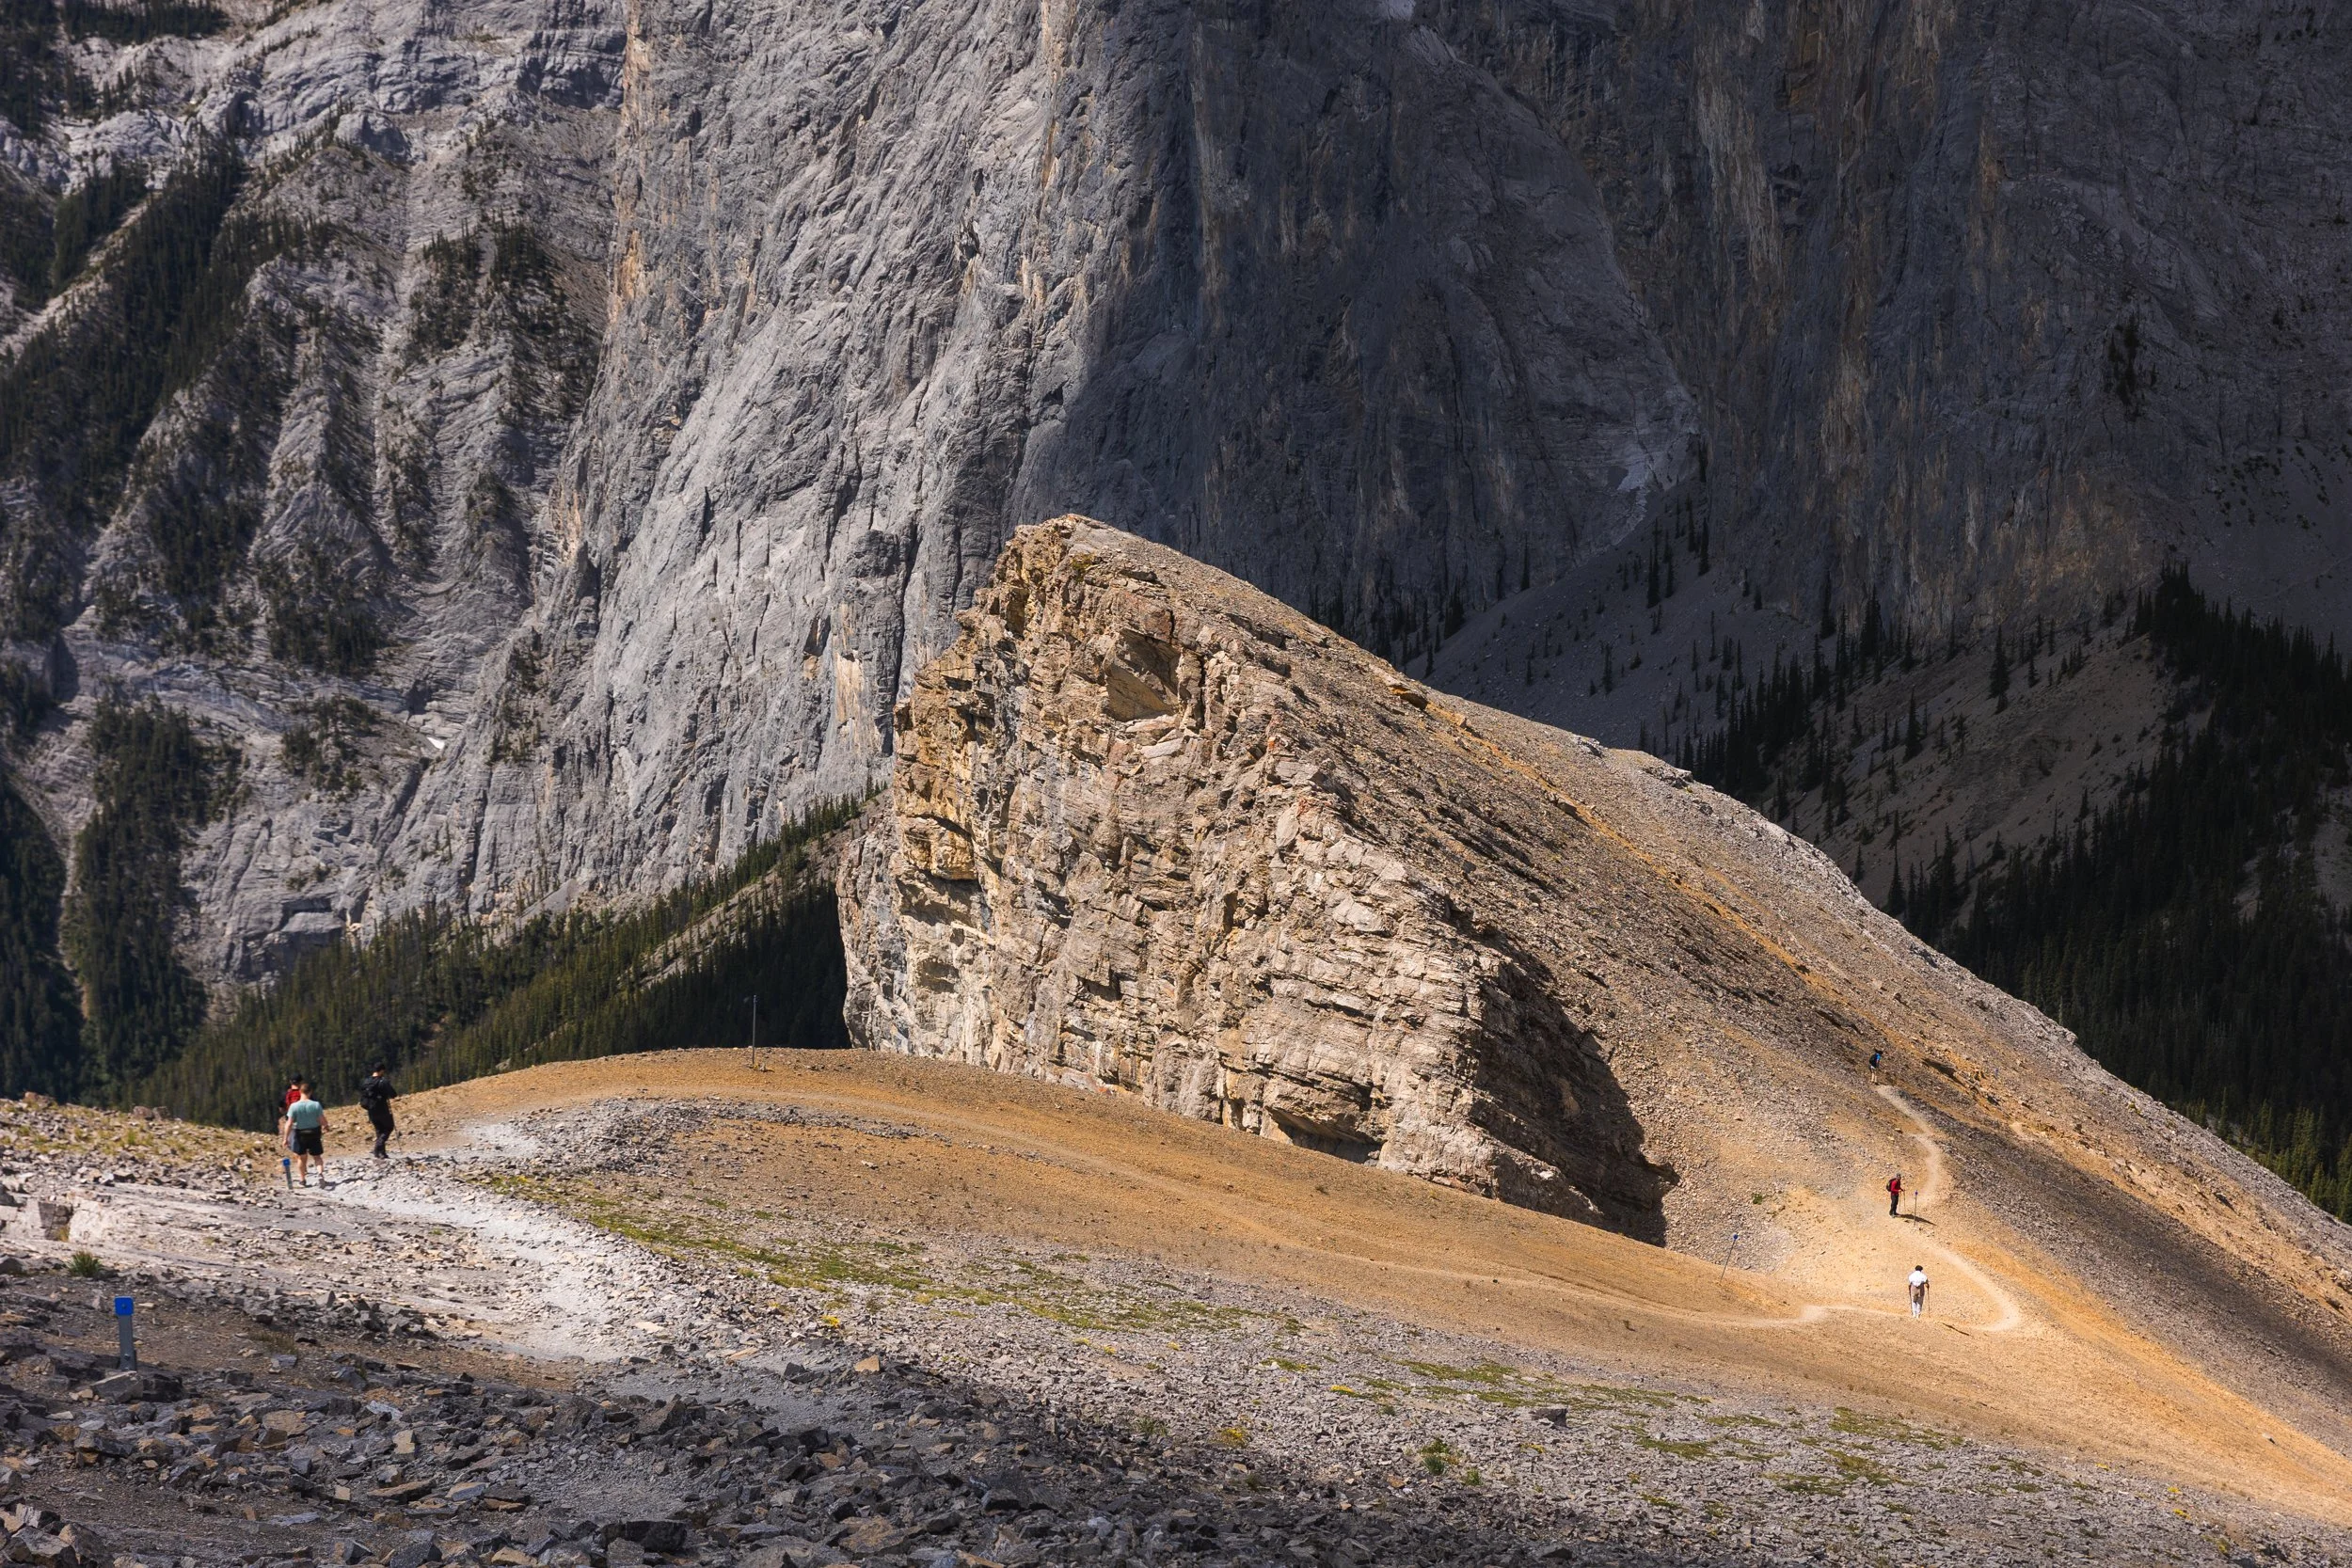
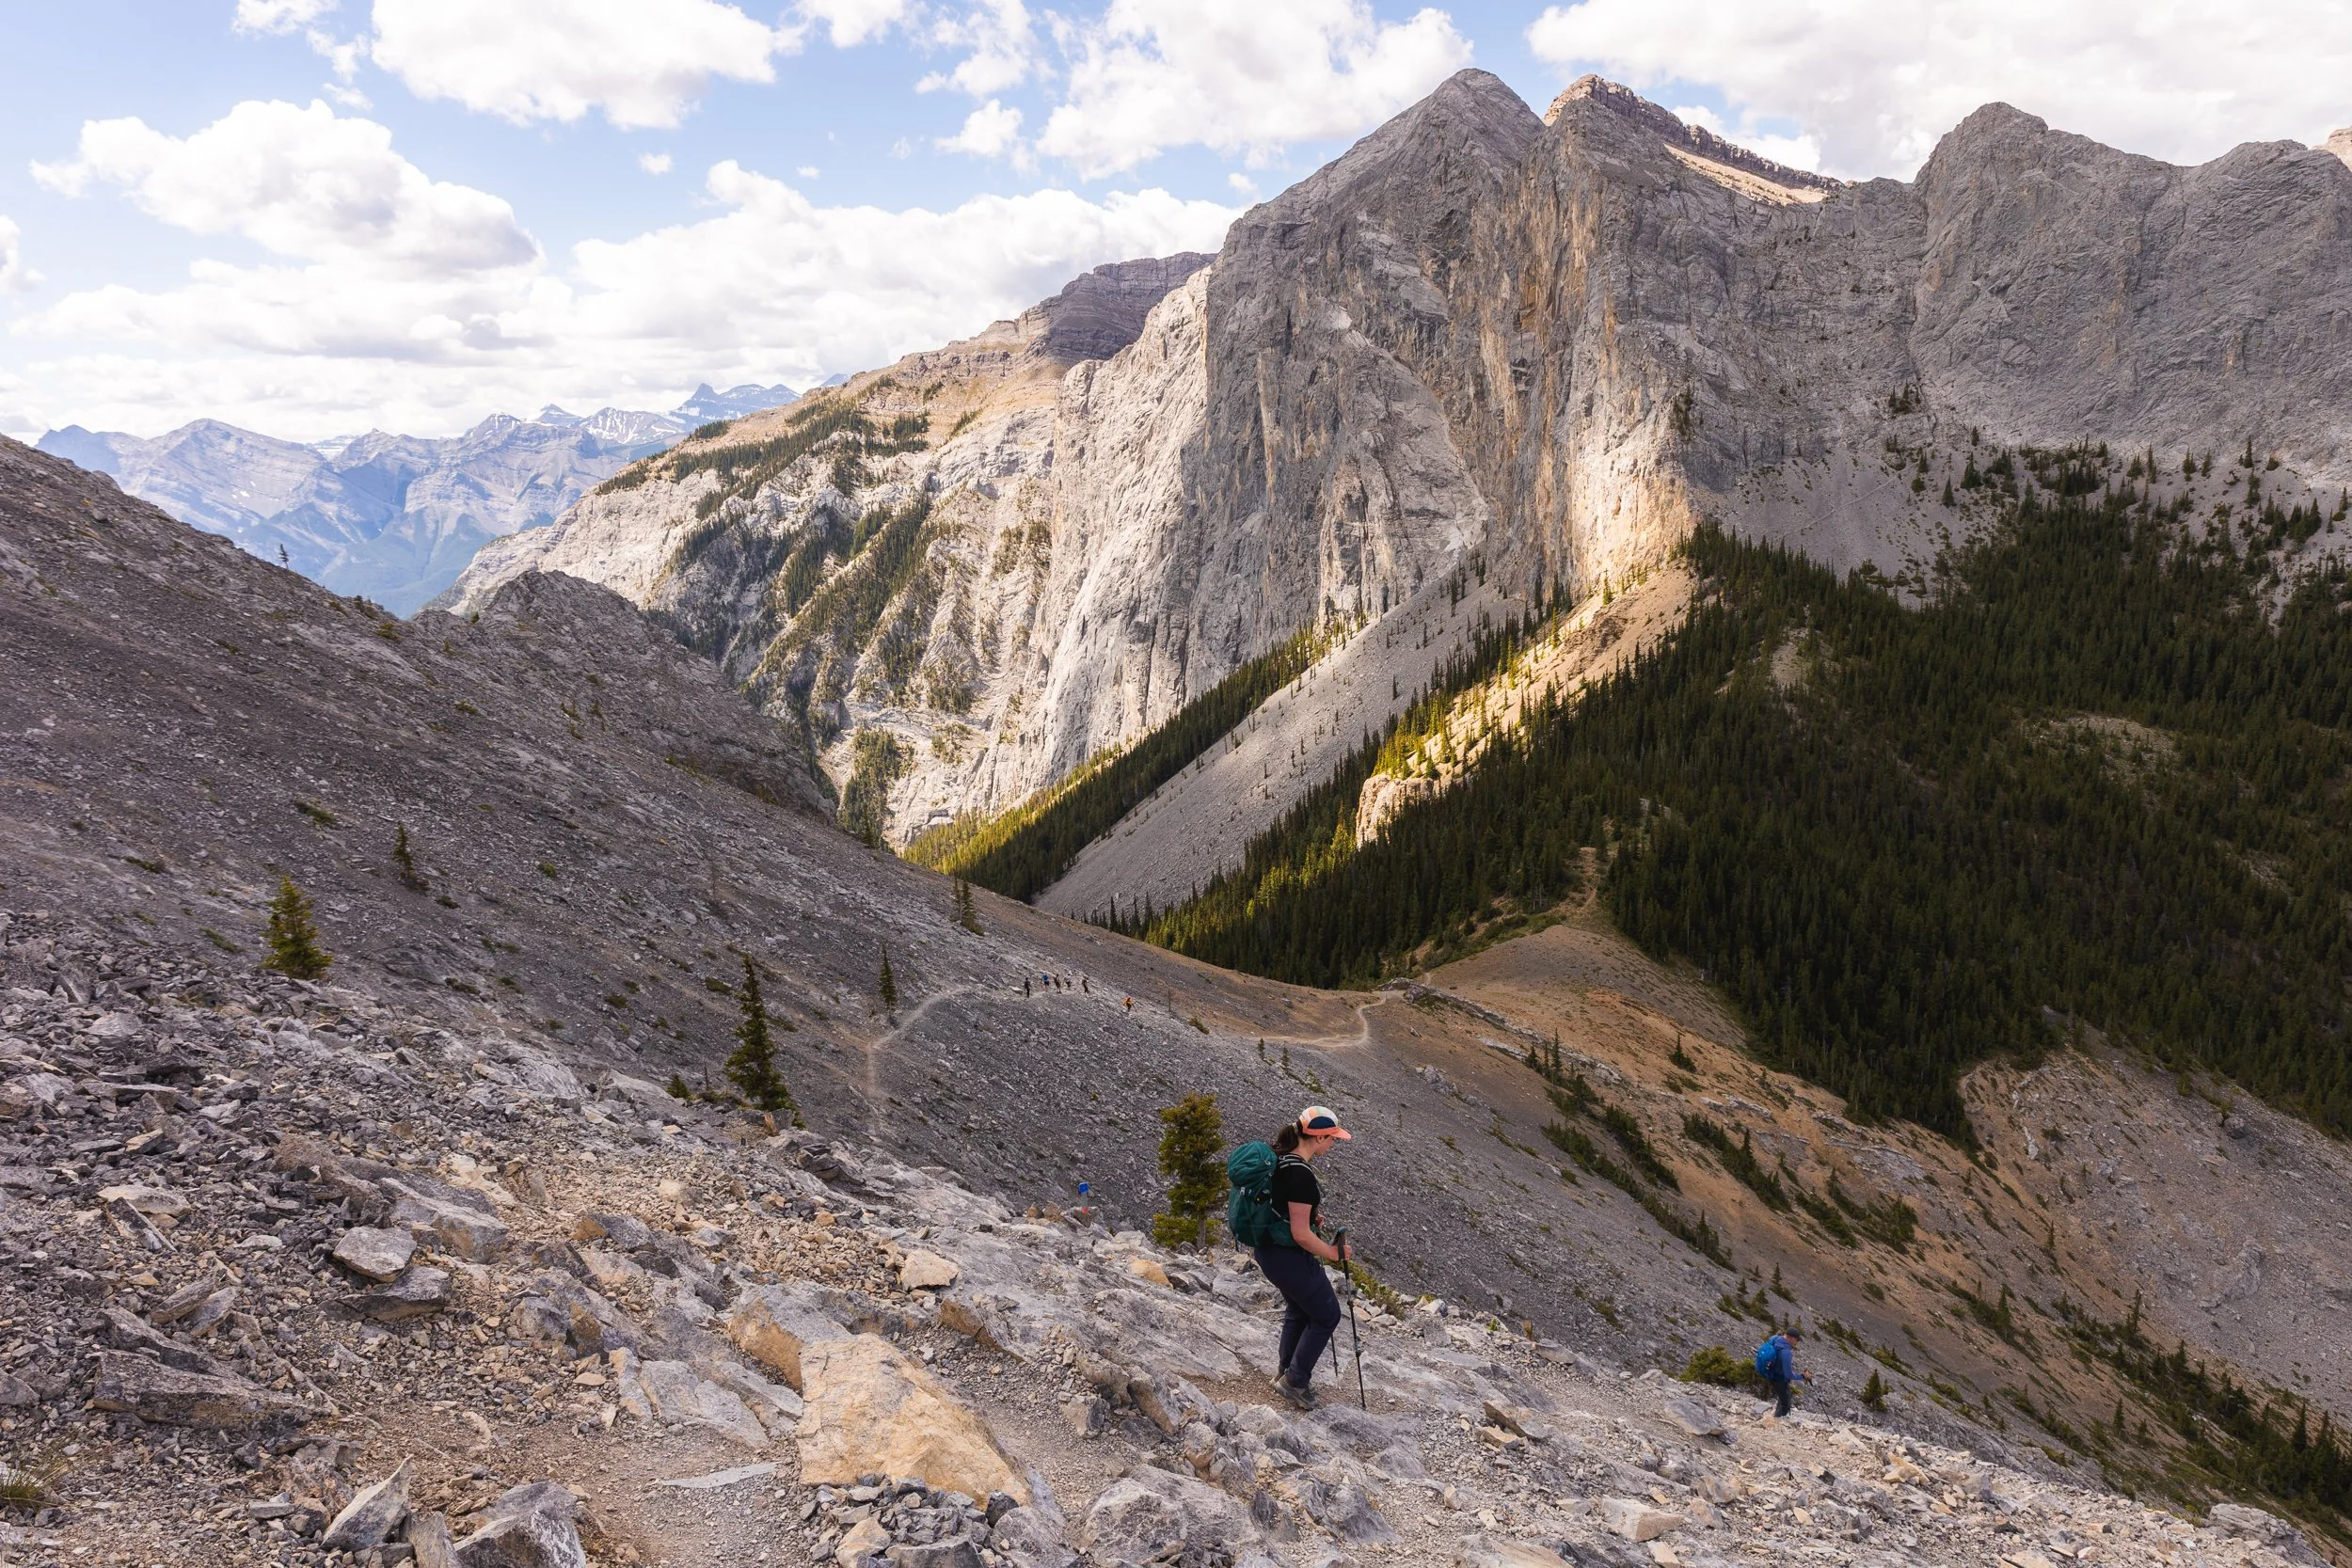
The descent trail runs in to the distance.
Once you turn the corner back on to the front side of Yamnuska you’ll be met with a couple of different route options. Left takes you to the original scree descent trail and right takes you along the newly constructed West Col Descent.
The West Col is a little slower but a safer route as the trail switch backs through the forest.
Alternatively there are several scree descent routes, which were the original trail descents, and on this occasion we decided to take the slightly faster signed scree descent as I had in the past.
If you’re unsure of what route to take I’d highly recommend AllTrails and sign up to one of their plans or use their free trial to access offline mapping. That way you’ll never go too far wrong!
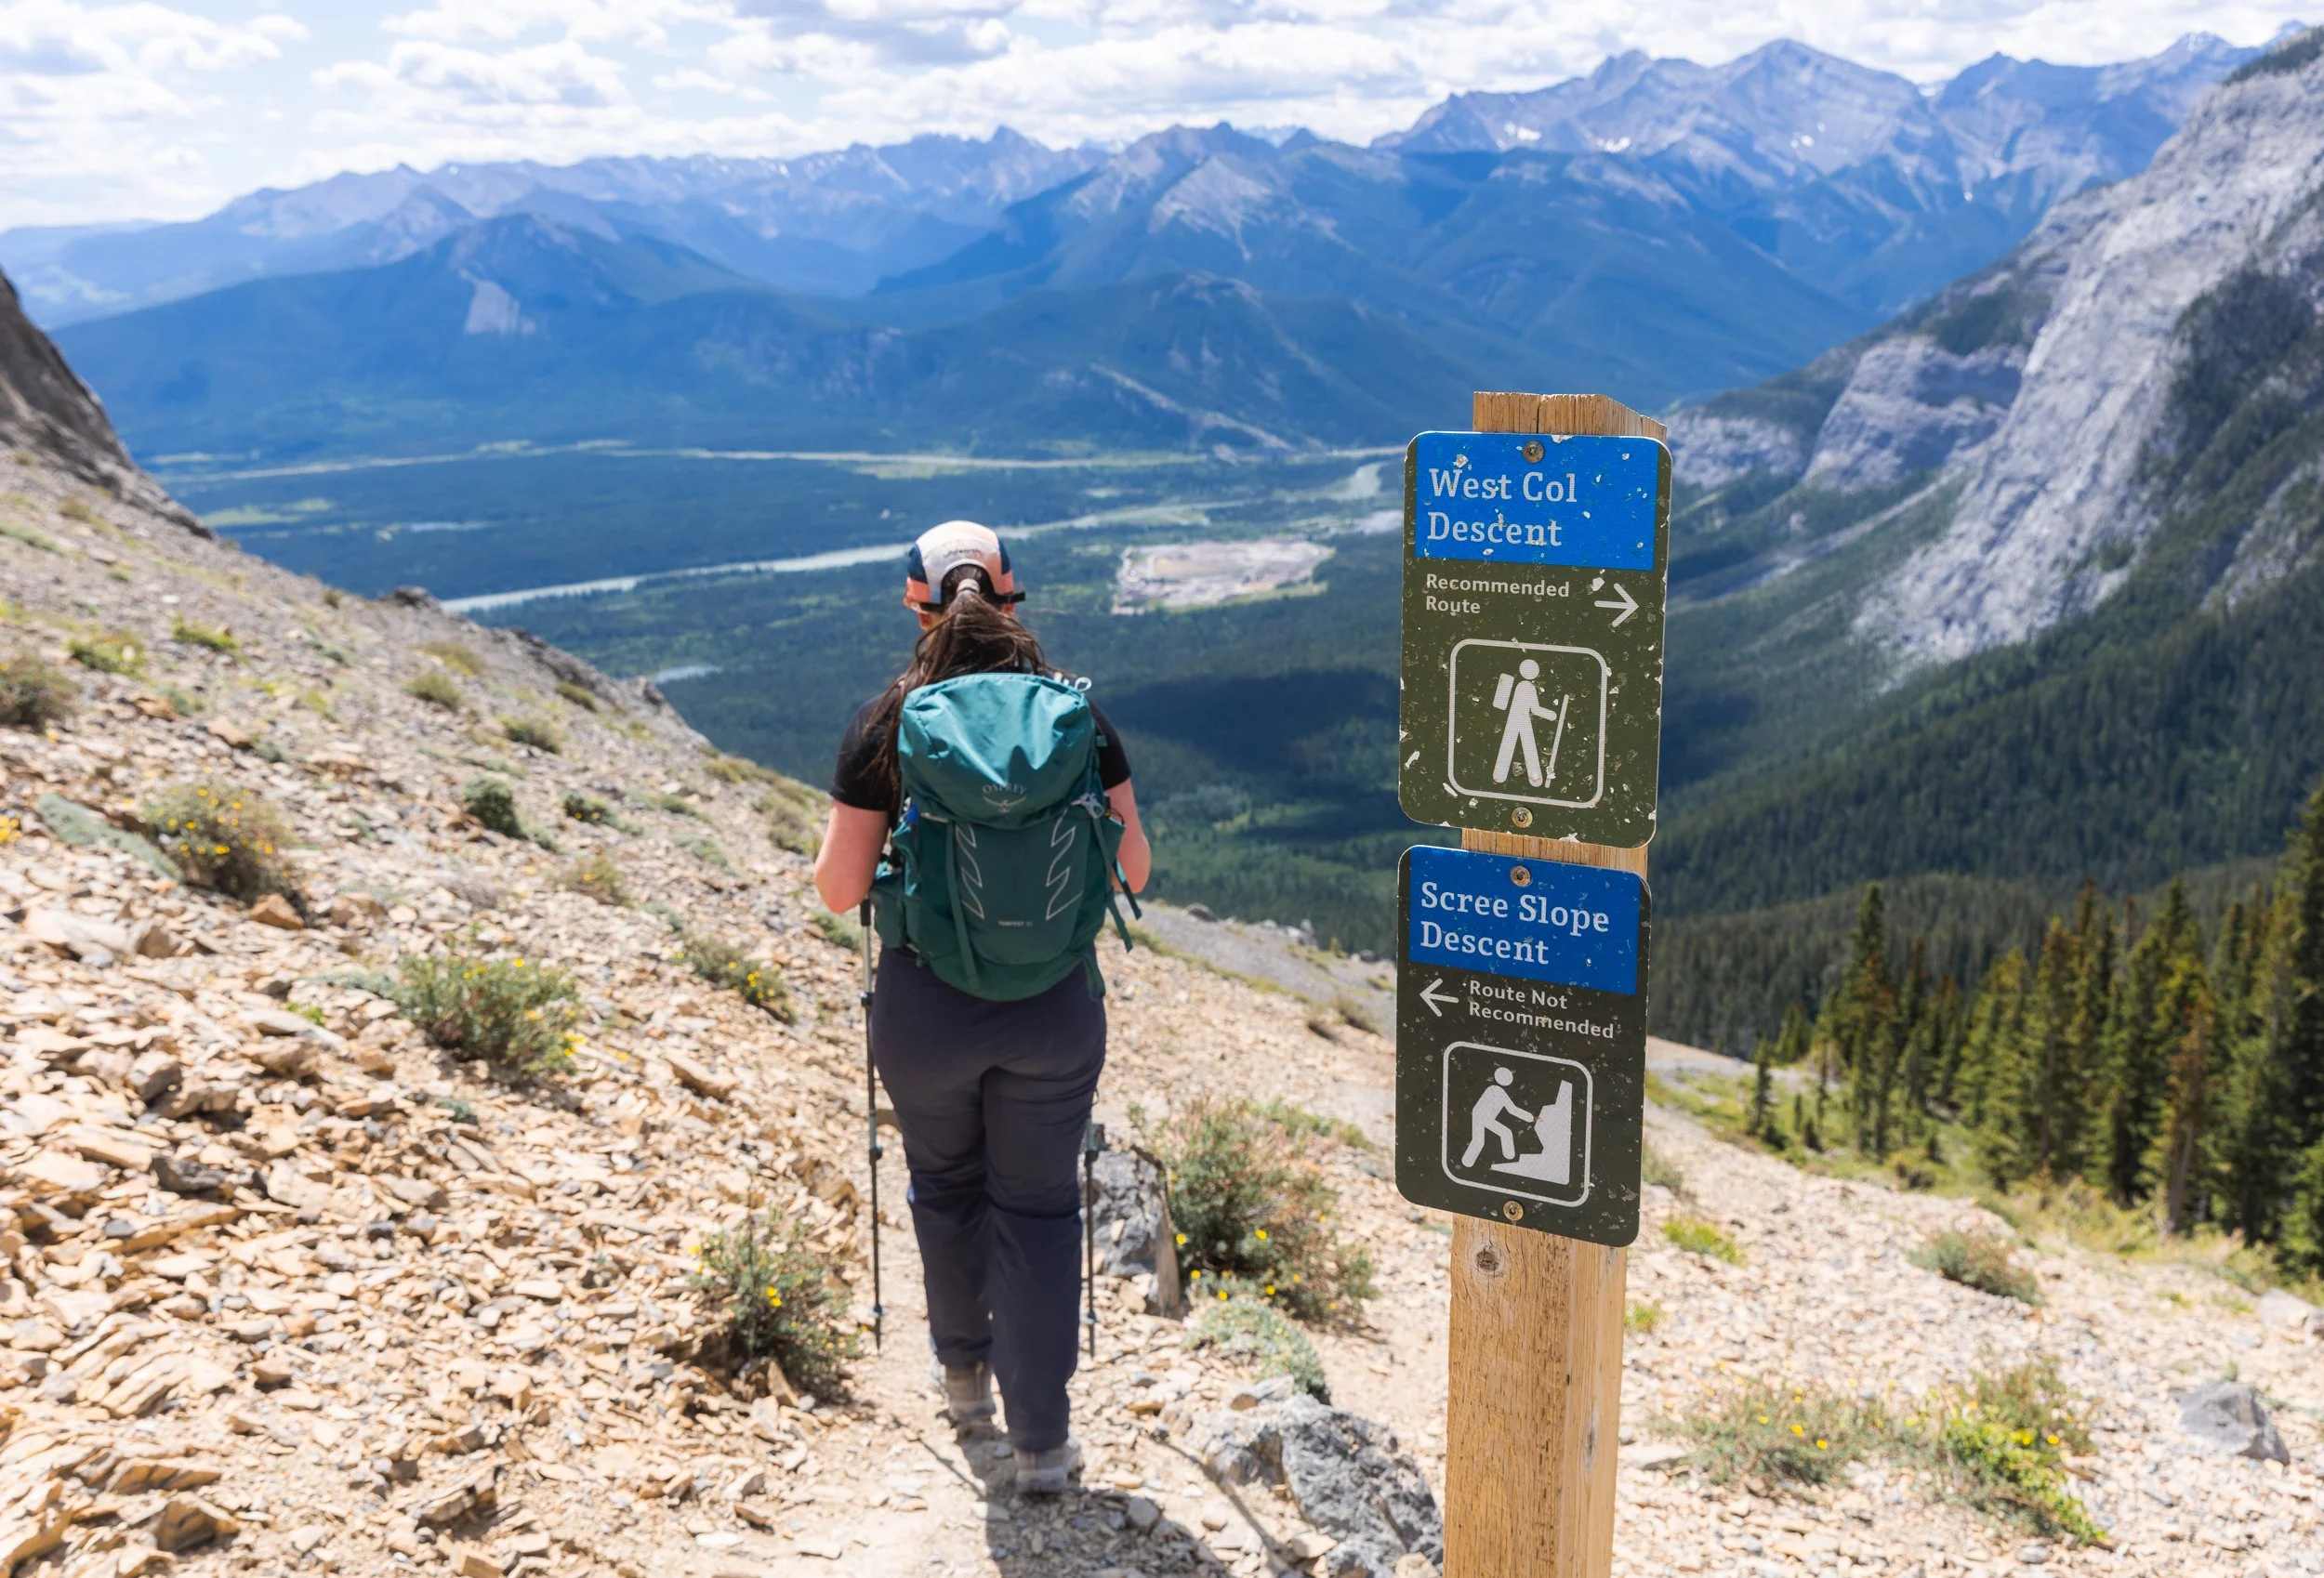
Signage offering you several route options.
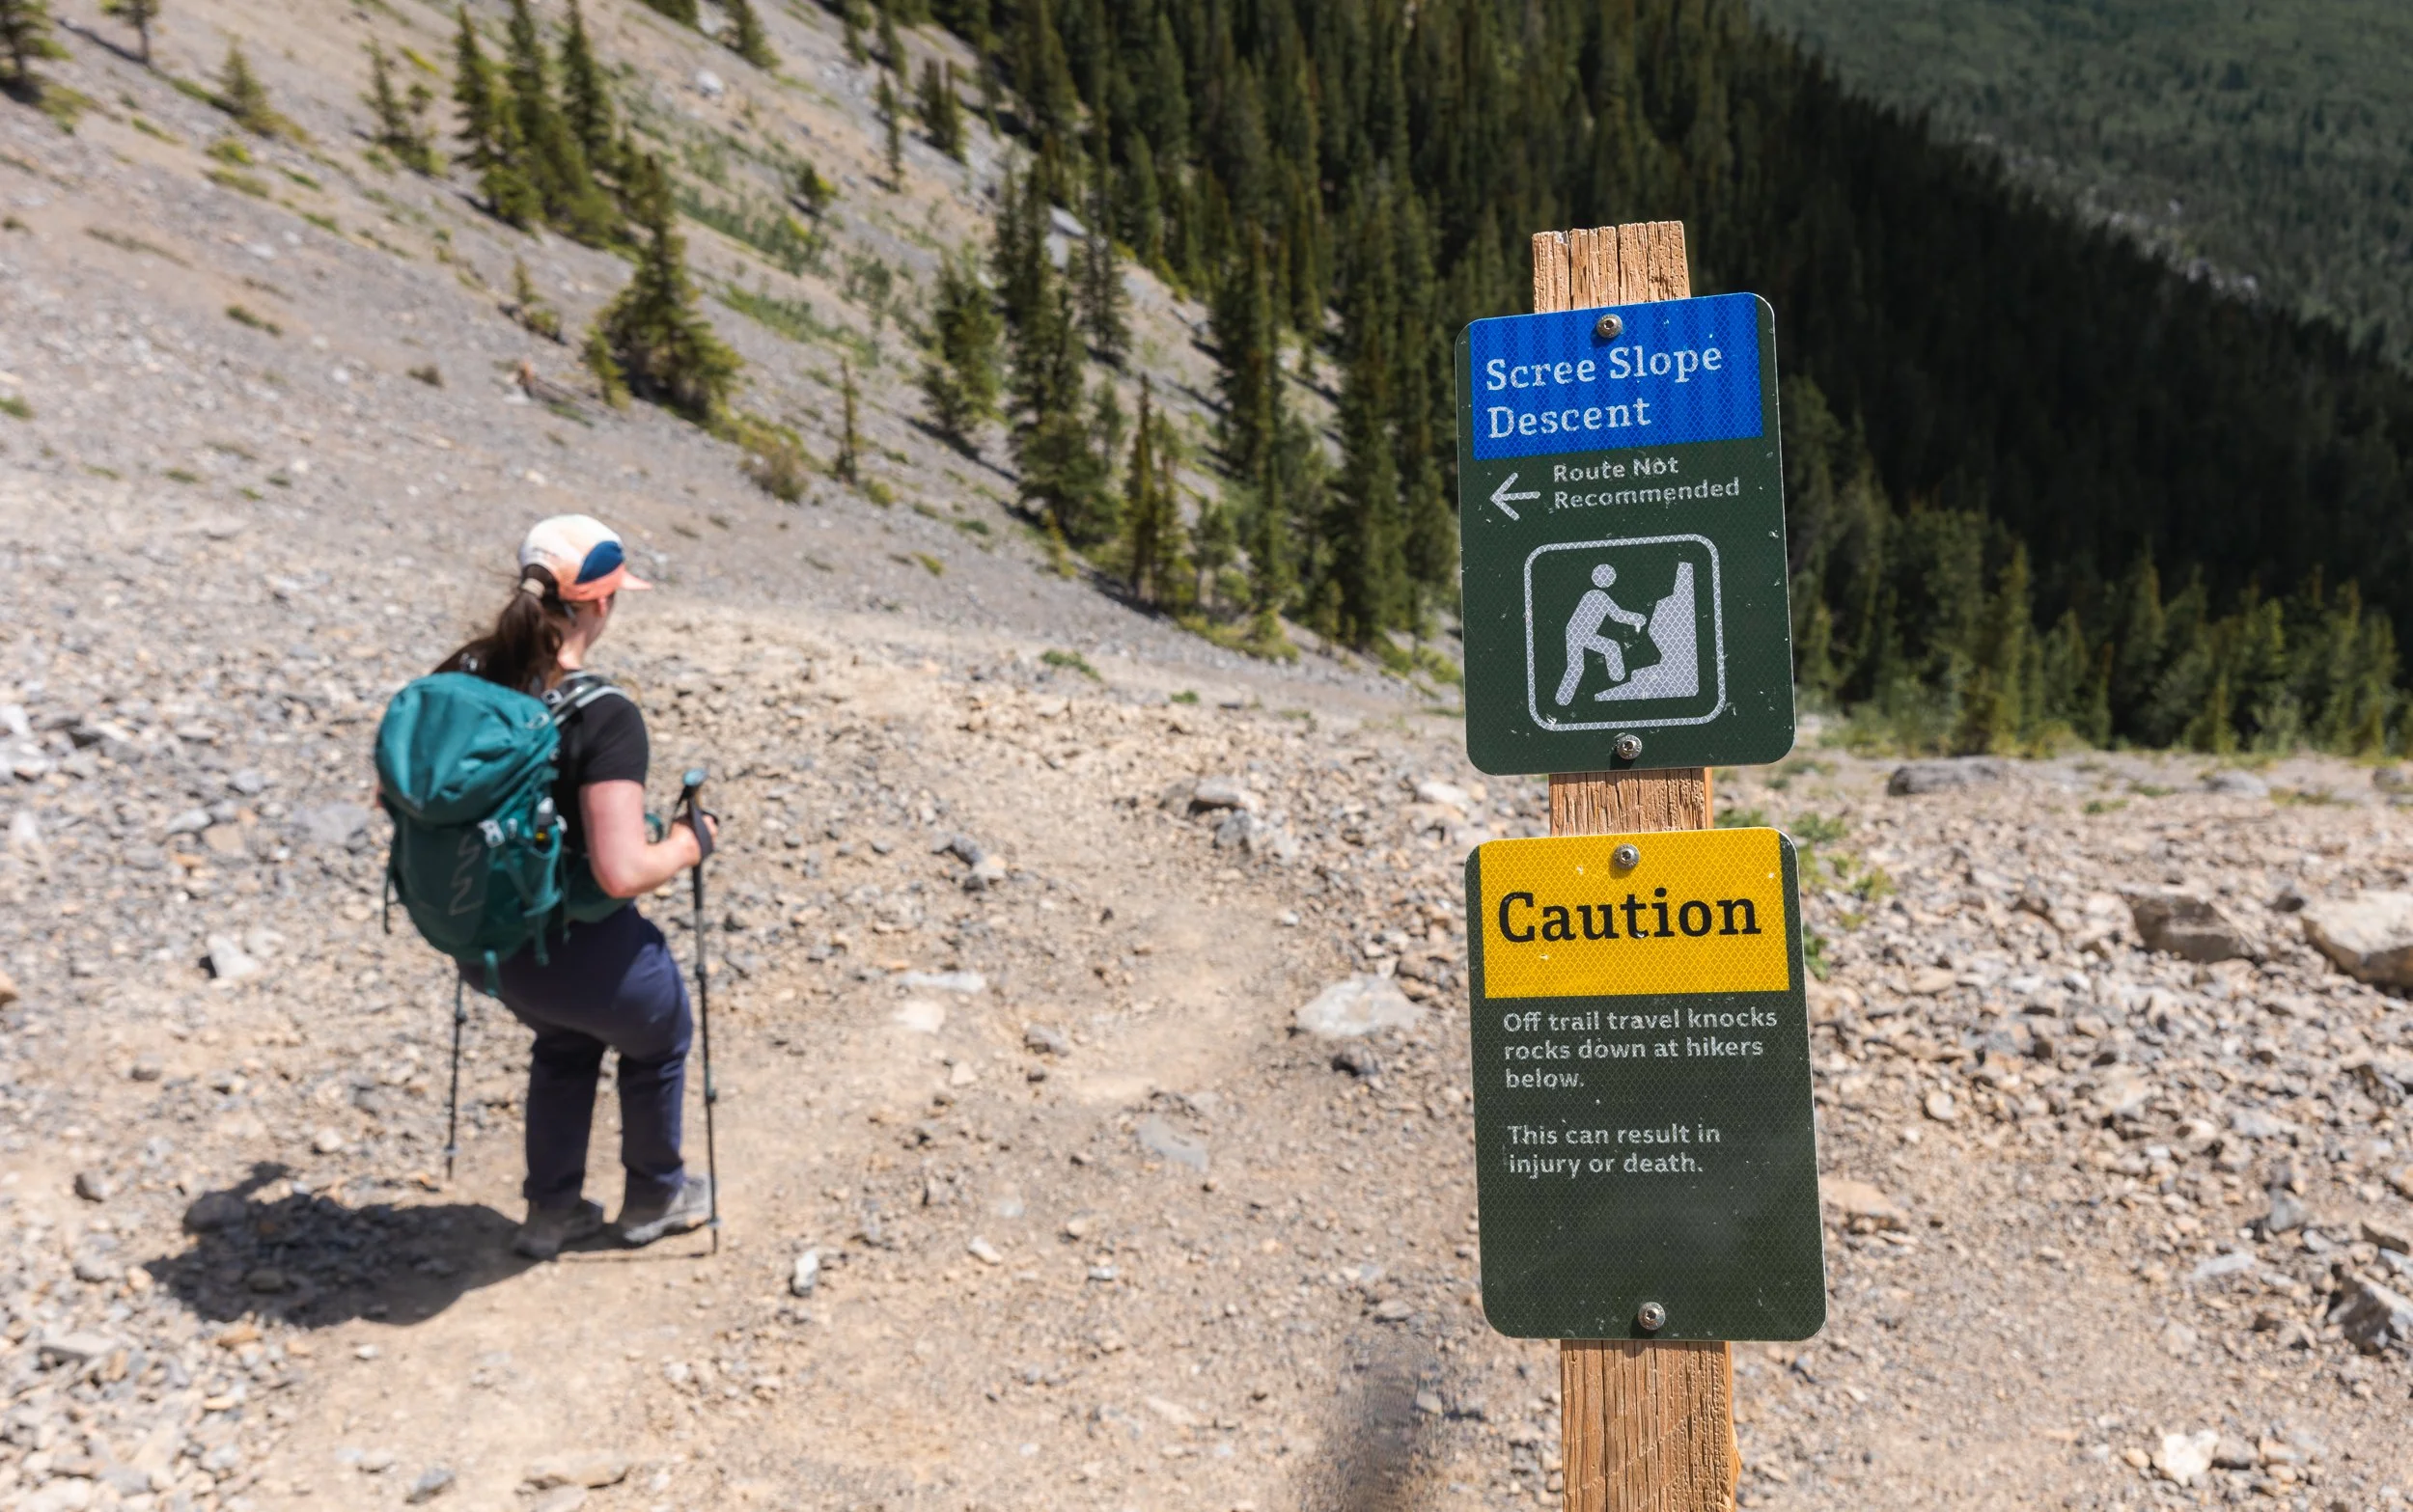
Brook descending the scree path.
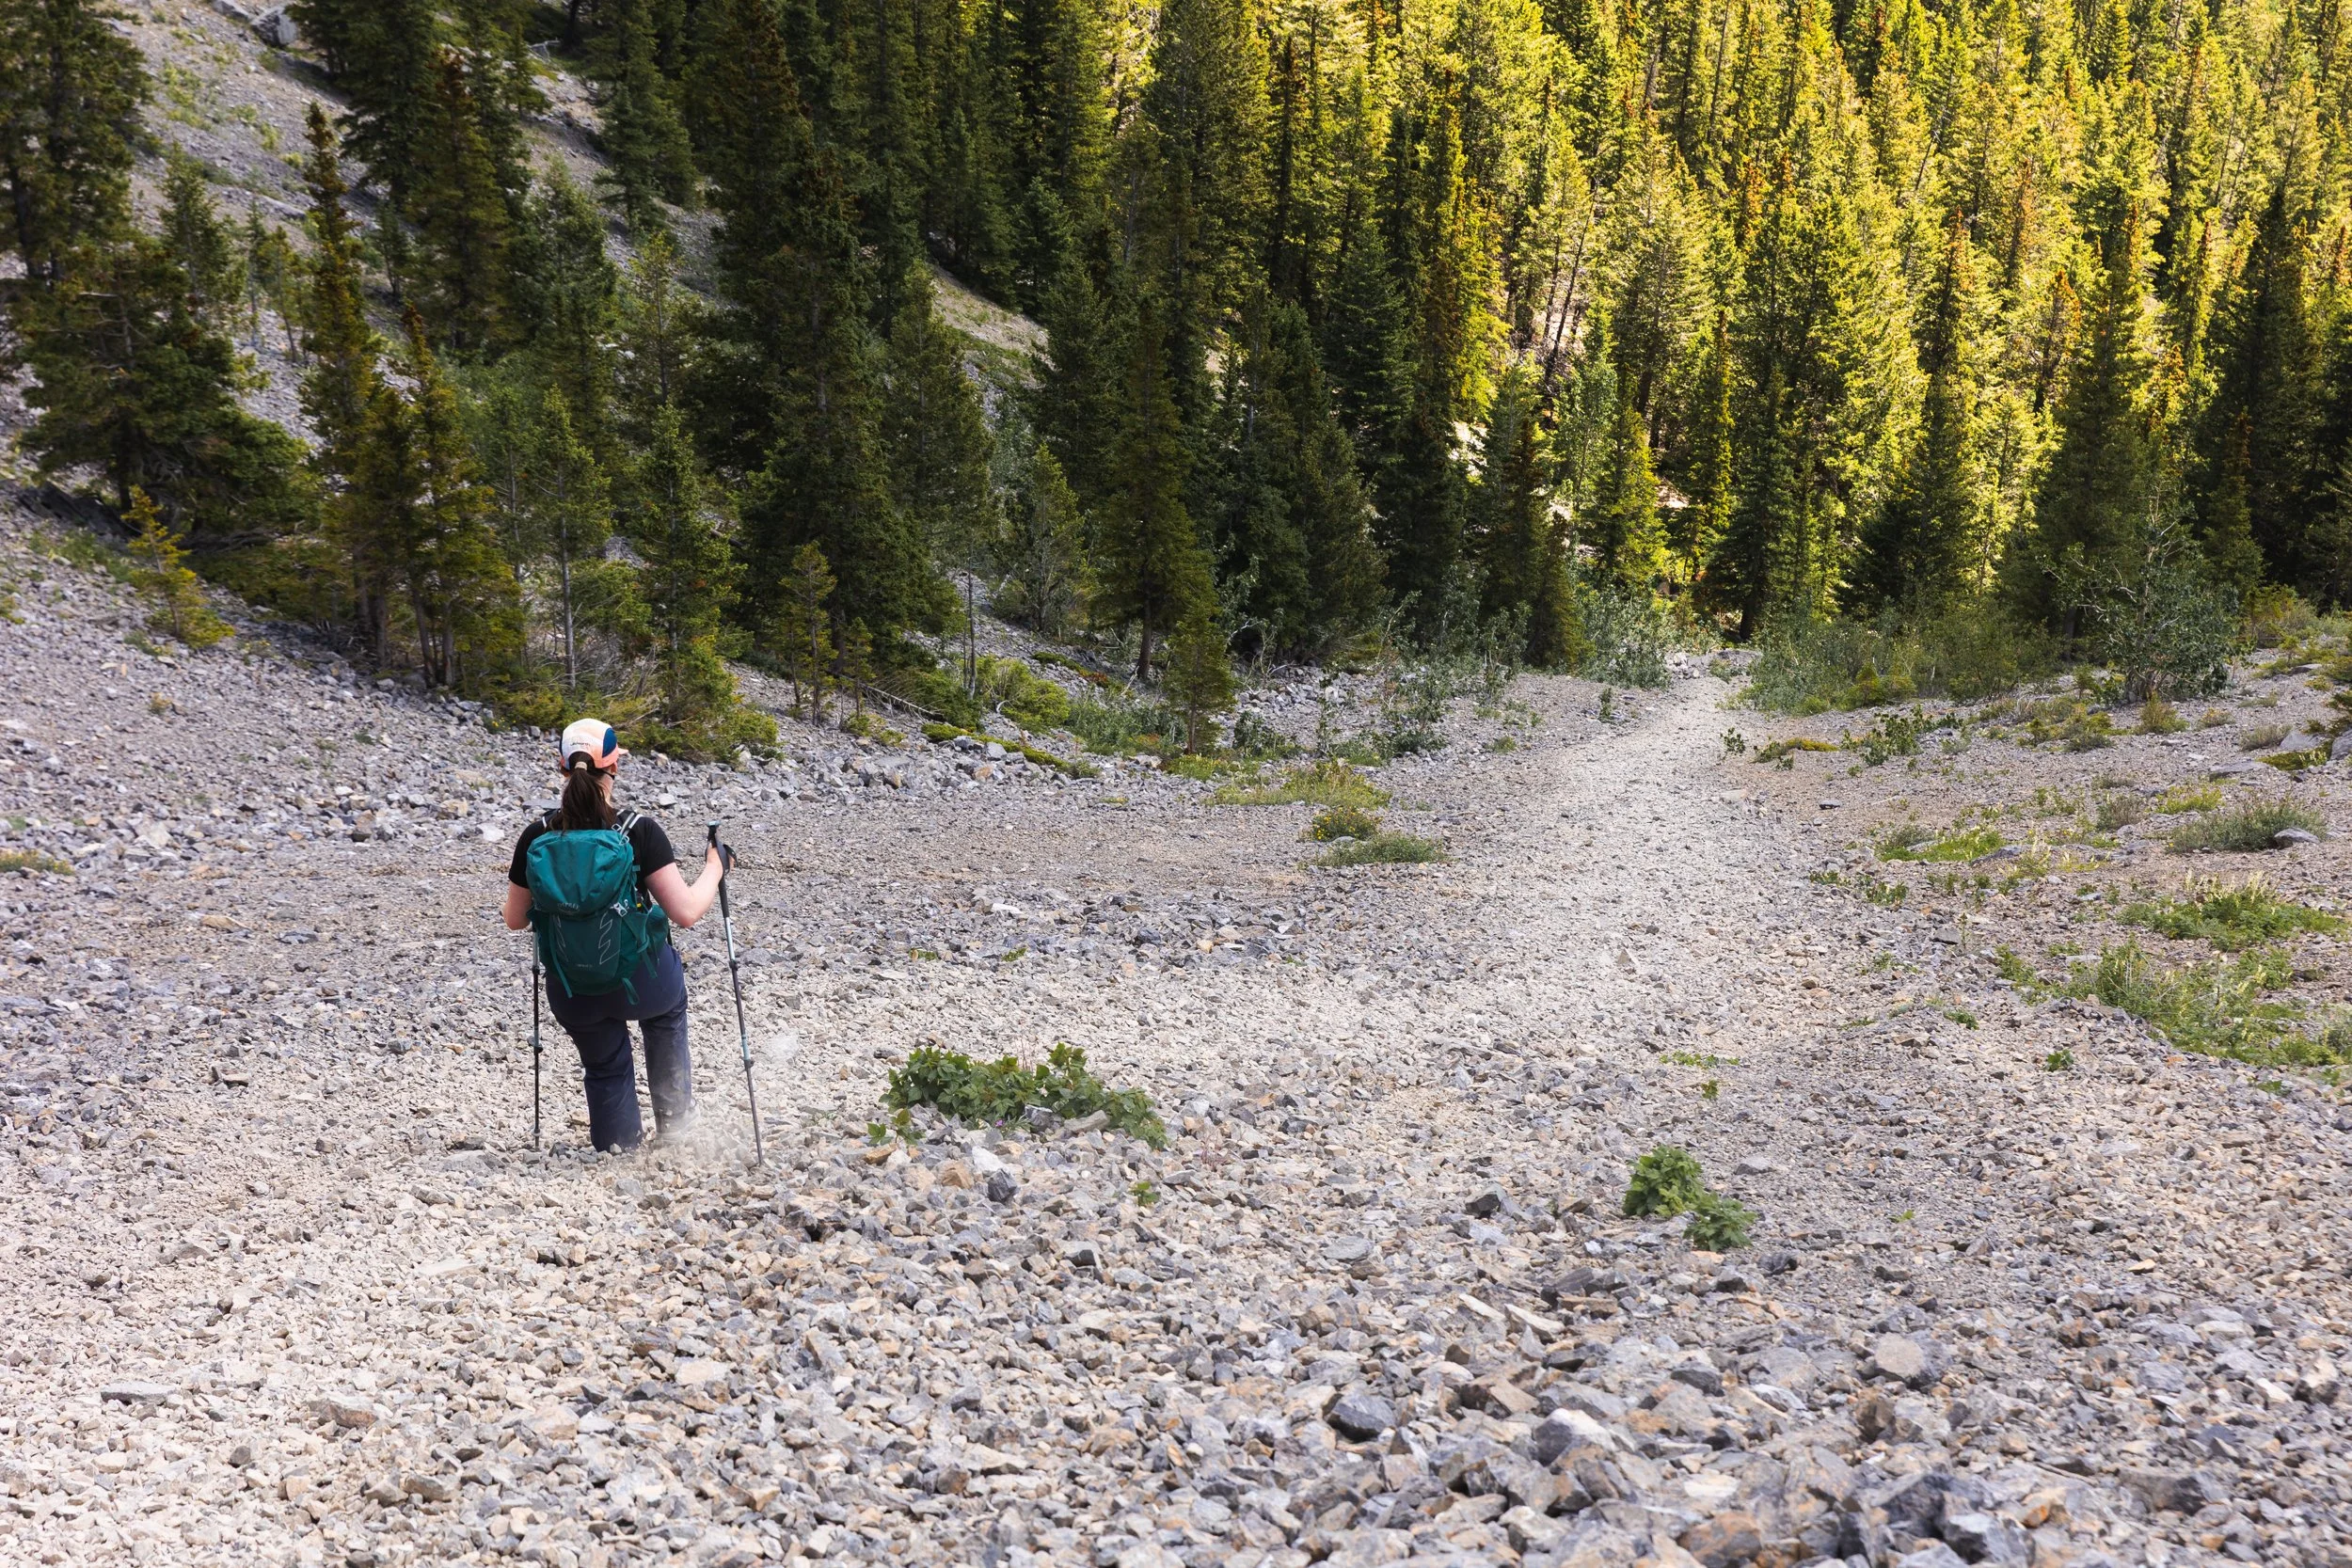
The signed scree descent is a shorter scree descent that rejoins the West Col Trail quite early on.
I won’t lie, descending in scree can be great fun! When the scree is deep enough you can almost ski down planting your heels in and sliding as you go. It can be fast and efficient but isn’t without it’s risks.
As you move down hill larger rocks can destabalise above and roll down behind you. If hiking with others you’ll want to leave some space and be ready to shout ‘ROCK’ if anything larger does start rolling.
Alternatively you can take the Yamnuska traverse which more closely hugs the cliff face and take a much longer scree descent back to meet the main trail.
Hiking under the cliff face does however pose rockfall hazards and there have been accidents in the past on these scree trails.
Although it can be great fun take the potential risks seriously!
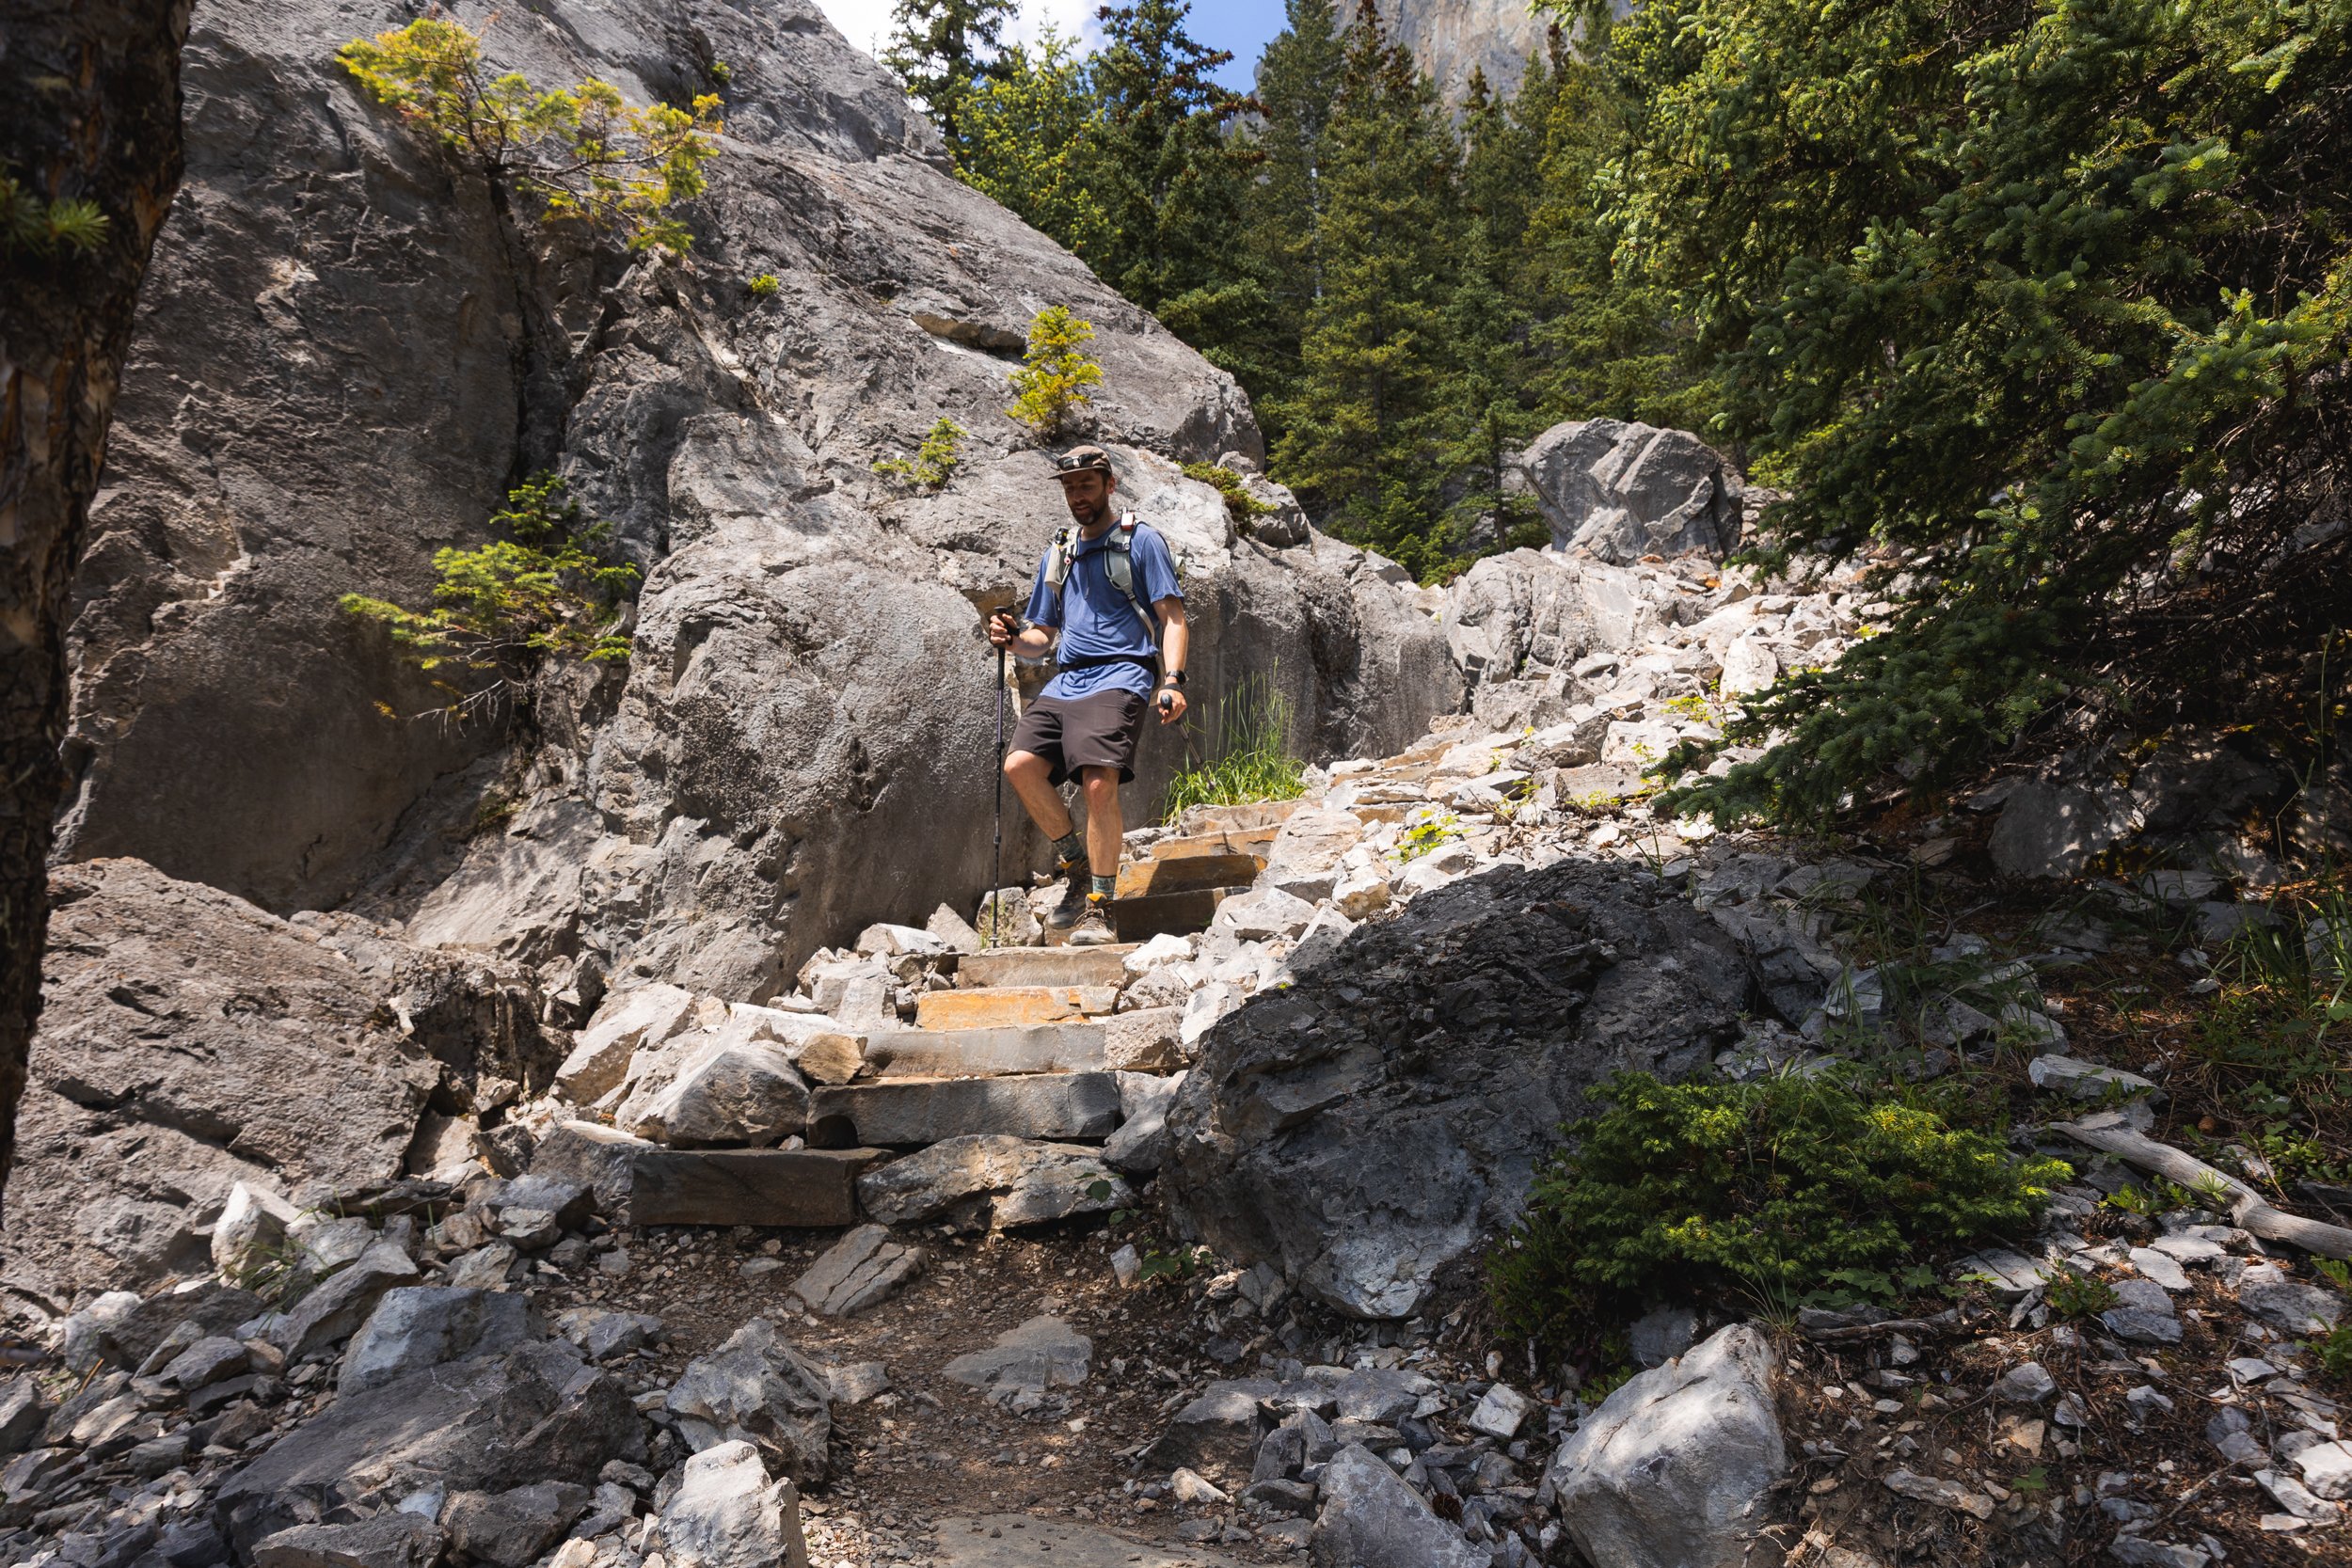
Which ever decent you take you’ll eventually reach the West Col descent trail that loops back to the car park. This section of trail is very well maintained, signed and even has lots of stairs built in to it!
Yamnuska is a fantastic day hike, one that’s better than I remembered! It offers some great levels of adventure on a trail that’s close to Calgary but isn’t to be underestimated.
If you’re an experience hiker and well prepared I’d highly recommend giving the trail ago!
Looking for More Hikes and Scrambles in Kananaskis?
Tent Ridge offers stunning views, ridge line hiking and incredible fall colour.
East End of Rundle has to be one of my favourite for sunset photography.
Heart Mountain is a rewarding scramble with views throughout the valley.
Wasootch Ridge is as strenuous and as technical as you want it to be!
Pipers Pass is a lesser known unofficial trail.
Things to know Before You Go
Parks and Conservation Passes: Whether you’re hiking in a national park in Canada or certain provincial parks you’ll most likely need some kind of conservation pass. A Discovery Pass will cover you for the year for all national parks in Canada whilst the Kananaskis Conservation Pass covers the provincial and wildland parks in the Kananaskis region.
Check Trail Conditions Before You Go: Trail conditions in the Rockies can change month to month and year to year. Trails close for wildlife, weather and avalanche hazards. Be sure to double check trail conditions before heading out to avoid any disappointment. You can do so here!
Leave No Trace: When hiking anywhere in the world it’s important that you practice a leave no trace philosophy. This means whatever you hike in to a trail or campground you have to be able to hike out too. There won’t be trash cans or waste disposal in the backcountry and you should never throw trash in any out houses or pit toilets. In recent years, as trails and parks become busier, litter is becoming more of a problem. Don’t add to that problem!
Bears and Wildlife! Wild life is everywhere in the Canadian Rockies, even on trails that are close to town. People and animals have been attacked by bears and other wild life on popular trails in the past so don’t take it for granted.
Most wildlife is looking to avoid human contact so no matter what type of wildlife you see be sure to keep your distance. 30 metres is the minimum recommendation for most species but under any circumstance don’t approach wildlife. Even the cuddliest of critters can be dangerous!
So as always be bear aware, make noise, hike in groups, carry bear spray and, if they’re allowed on trail, keep your dog on a leash!
Offline maps knowing where you’re going is super important as to not get lost. I recommend All Trails Plus for finding routes and offline mapping allowing you to safely find your way home.
Interested in other multi-day hikes in the Canadian Rockies or maybe day hikes?
Gear Recommendations
After 10 years living in the Canadian Rockies, years working in retail and years reviewing outdoor gear I’ve dialled in my backcountry kit! And on all day hikes there are definitely a few things I always take with me to make my trip safer, easier and more enjoyable.

Merino Socks
Merino socks are a must for any hike. They keep you dryer, warmer and smelling better!
Once you go merino you never go back!
My socks are now 100% Smartwool!
Get them at Smartwool.com
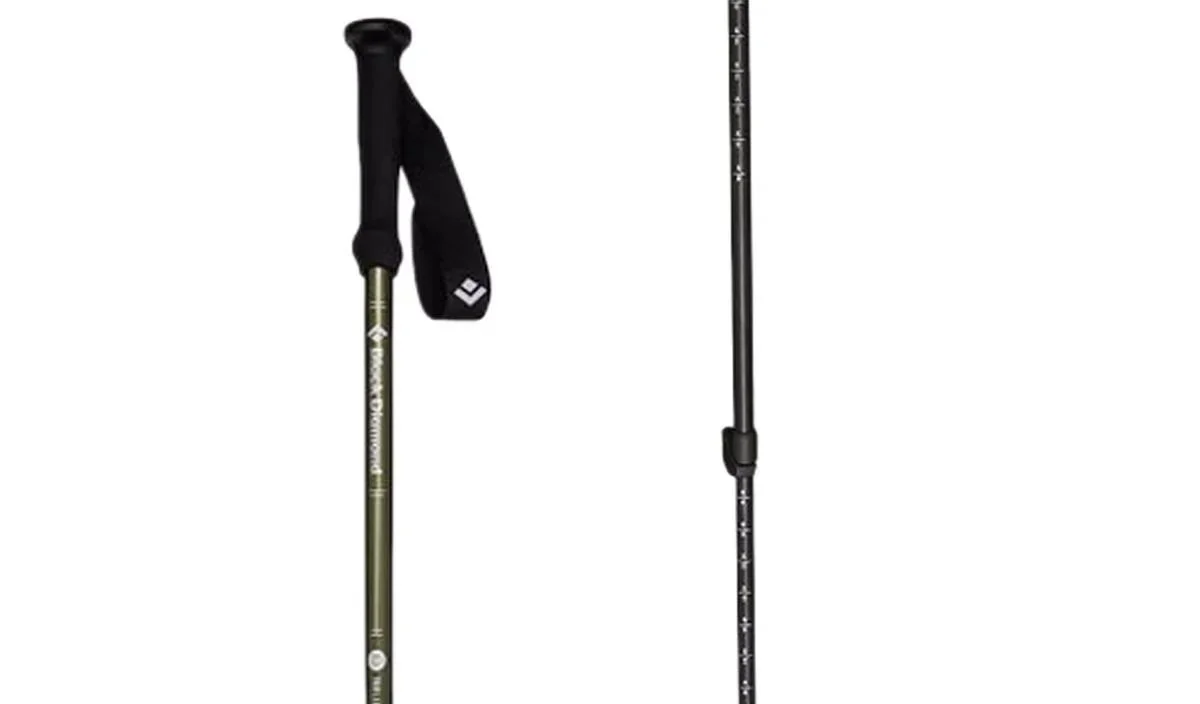
Hiking Poles
Poles are often overlooked by new hikers and seen as unnecessary. However once you use them you’ll never go back! They make you more efficient and take the weight of your knees!
Get it on Backcountry.com
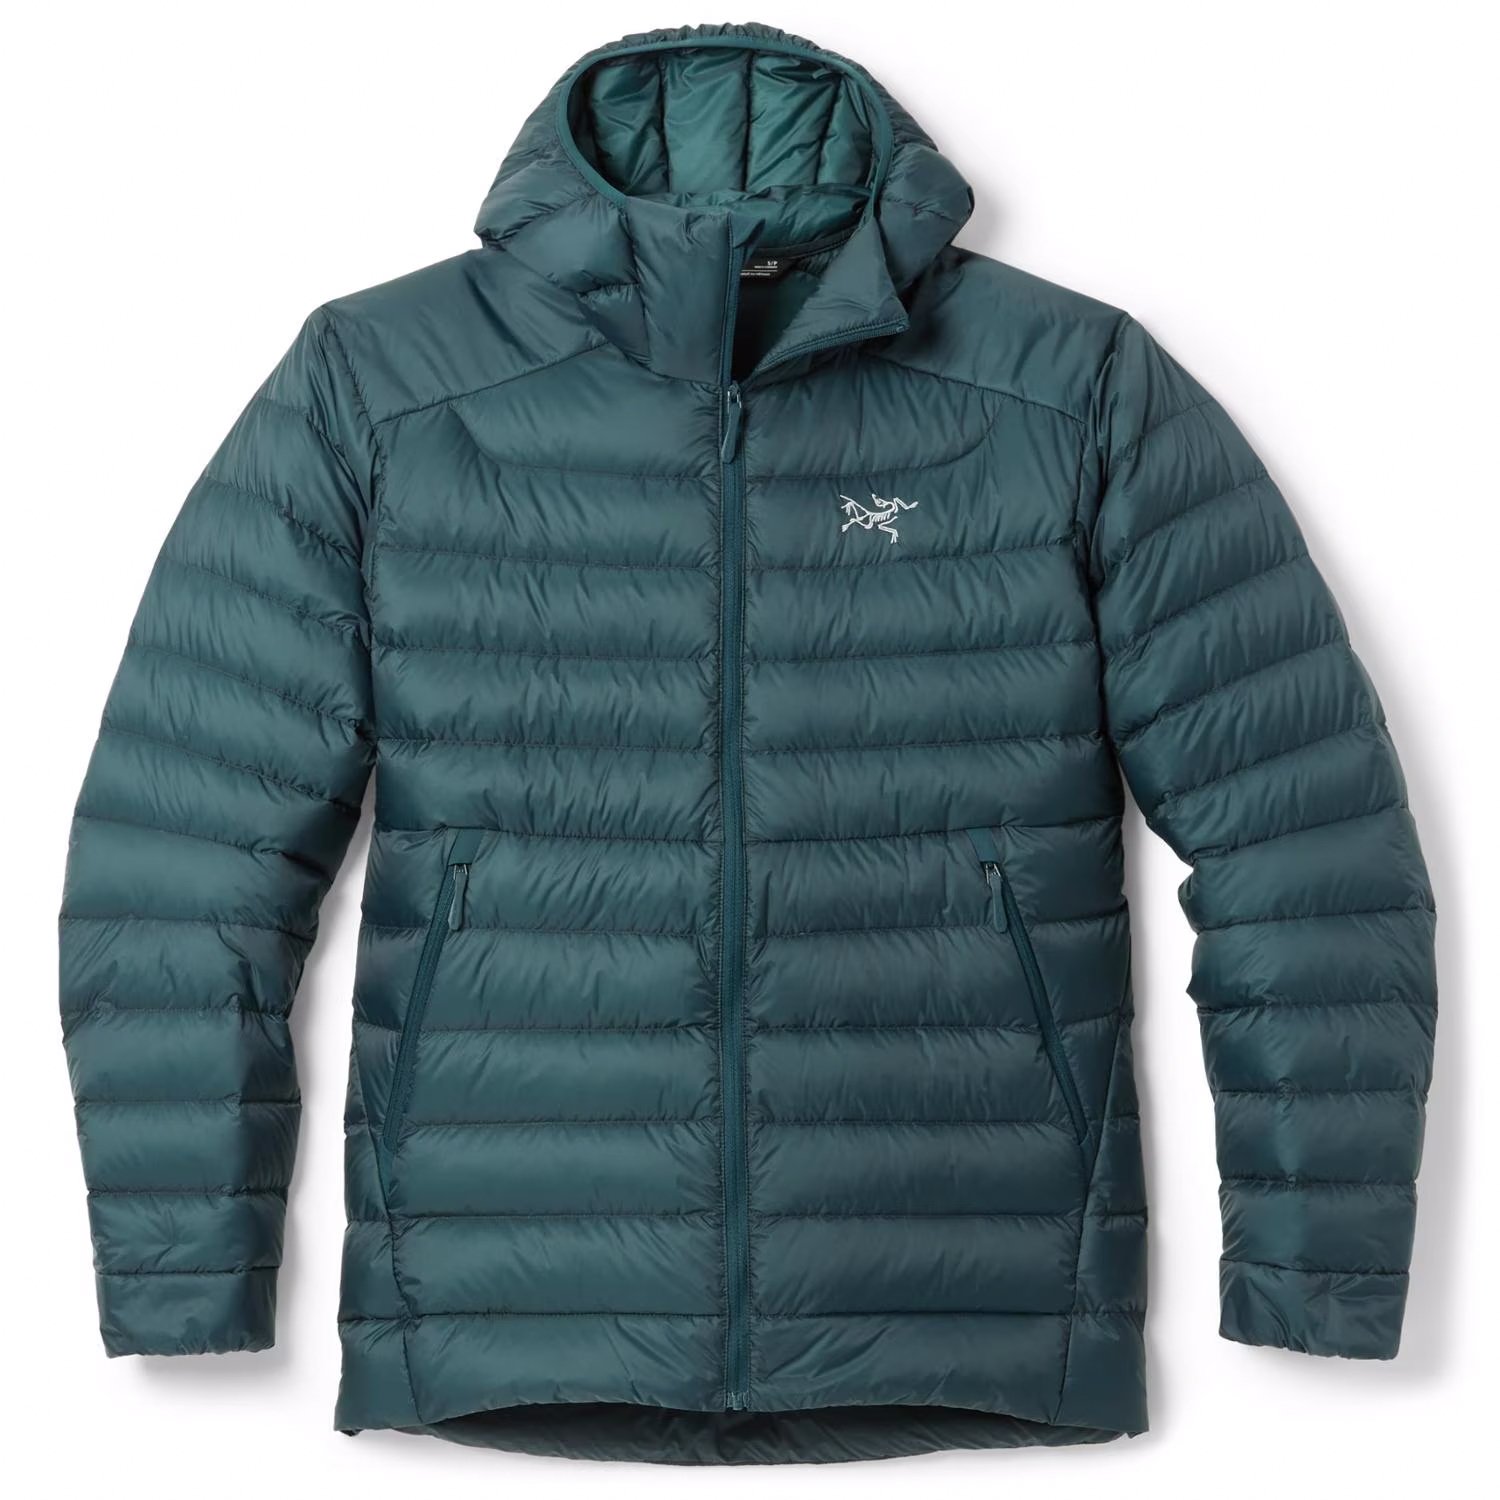
Down Jacket
No matter what the weather I carry a lightweight down jacket. The Arcteryx Cerium is light and very warm! Perfect for keeping you toasty when you take a break or if you were injured and awaiting help.
Get it on REI.com
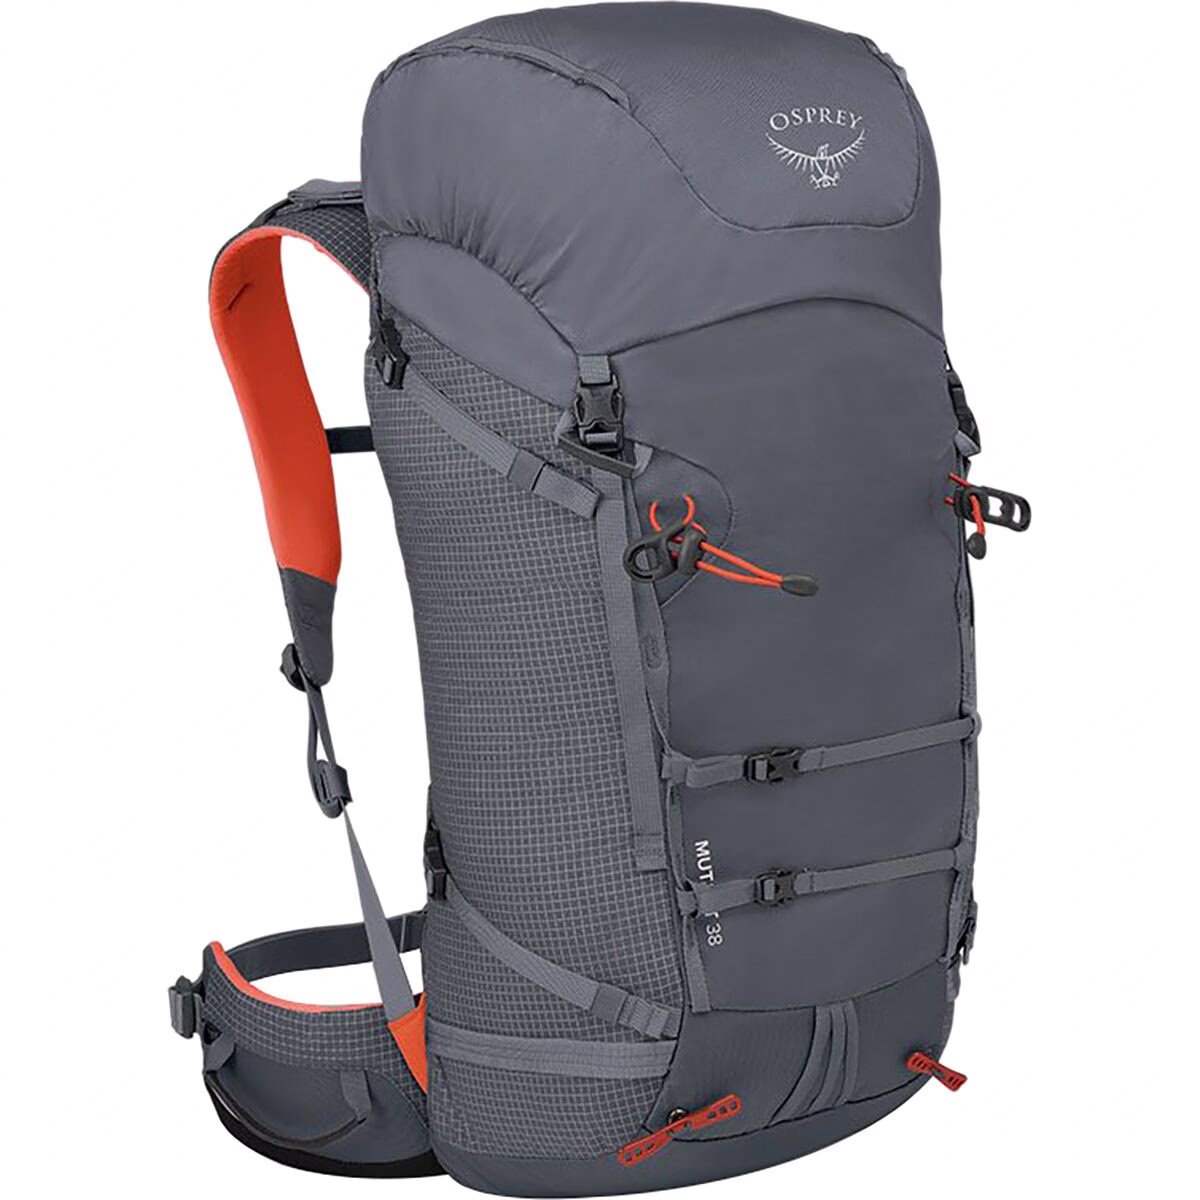
Comfortable Day Pack
The Osprey Mutant is my favourite day bag. Even though it’s designed more for scrambling or mountaineering this bag is one of the most comfortable bags I own and has enough space for everything I need.
Get it on Backcountry.com

Water Filter
A Katadyn BeFree has to be the easiest filtration system to use. When out on the backcountry you want to be able to filter and refill your water along the way.
This filter packs down small and filters fast. It’s in my bag on every hike!
Get it on Backcountry.com

Capture Clip
Another item that comes on every hike with me and a must own for every photographer.
Keeps your camera close at hand making capturing moments much faster!
Get it on Peakdesign.com