The Rockwall Trail In One Day or More?
The Rockwall Trail has to be one of the most famous and recognisable multi-day hikes in the Canadian Rockies. A mini through hike in BC’s Kootaney national park this trail is normally completed in 3 to 4 days.
Even though I have camped on sections of this trail I have only ever completed the full trail from end to end in one long single day.
And although we did it as a trail run I do feel a lot of hikers could make this happen in a day if traveling light, especially if cutting the trail short whilst still seeing the highlights - more on that later!
And don’t worry this blog still includes lots of planning recommendations and advice if you plan on making this a multi-day adventure!
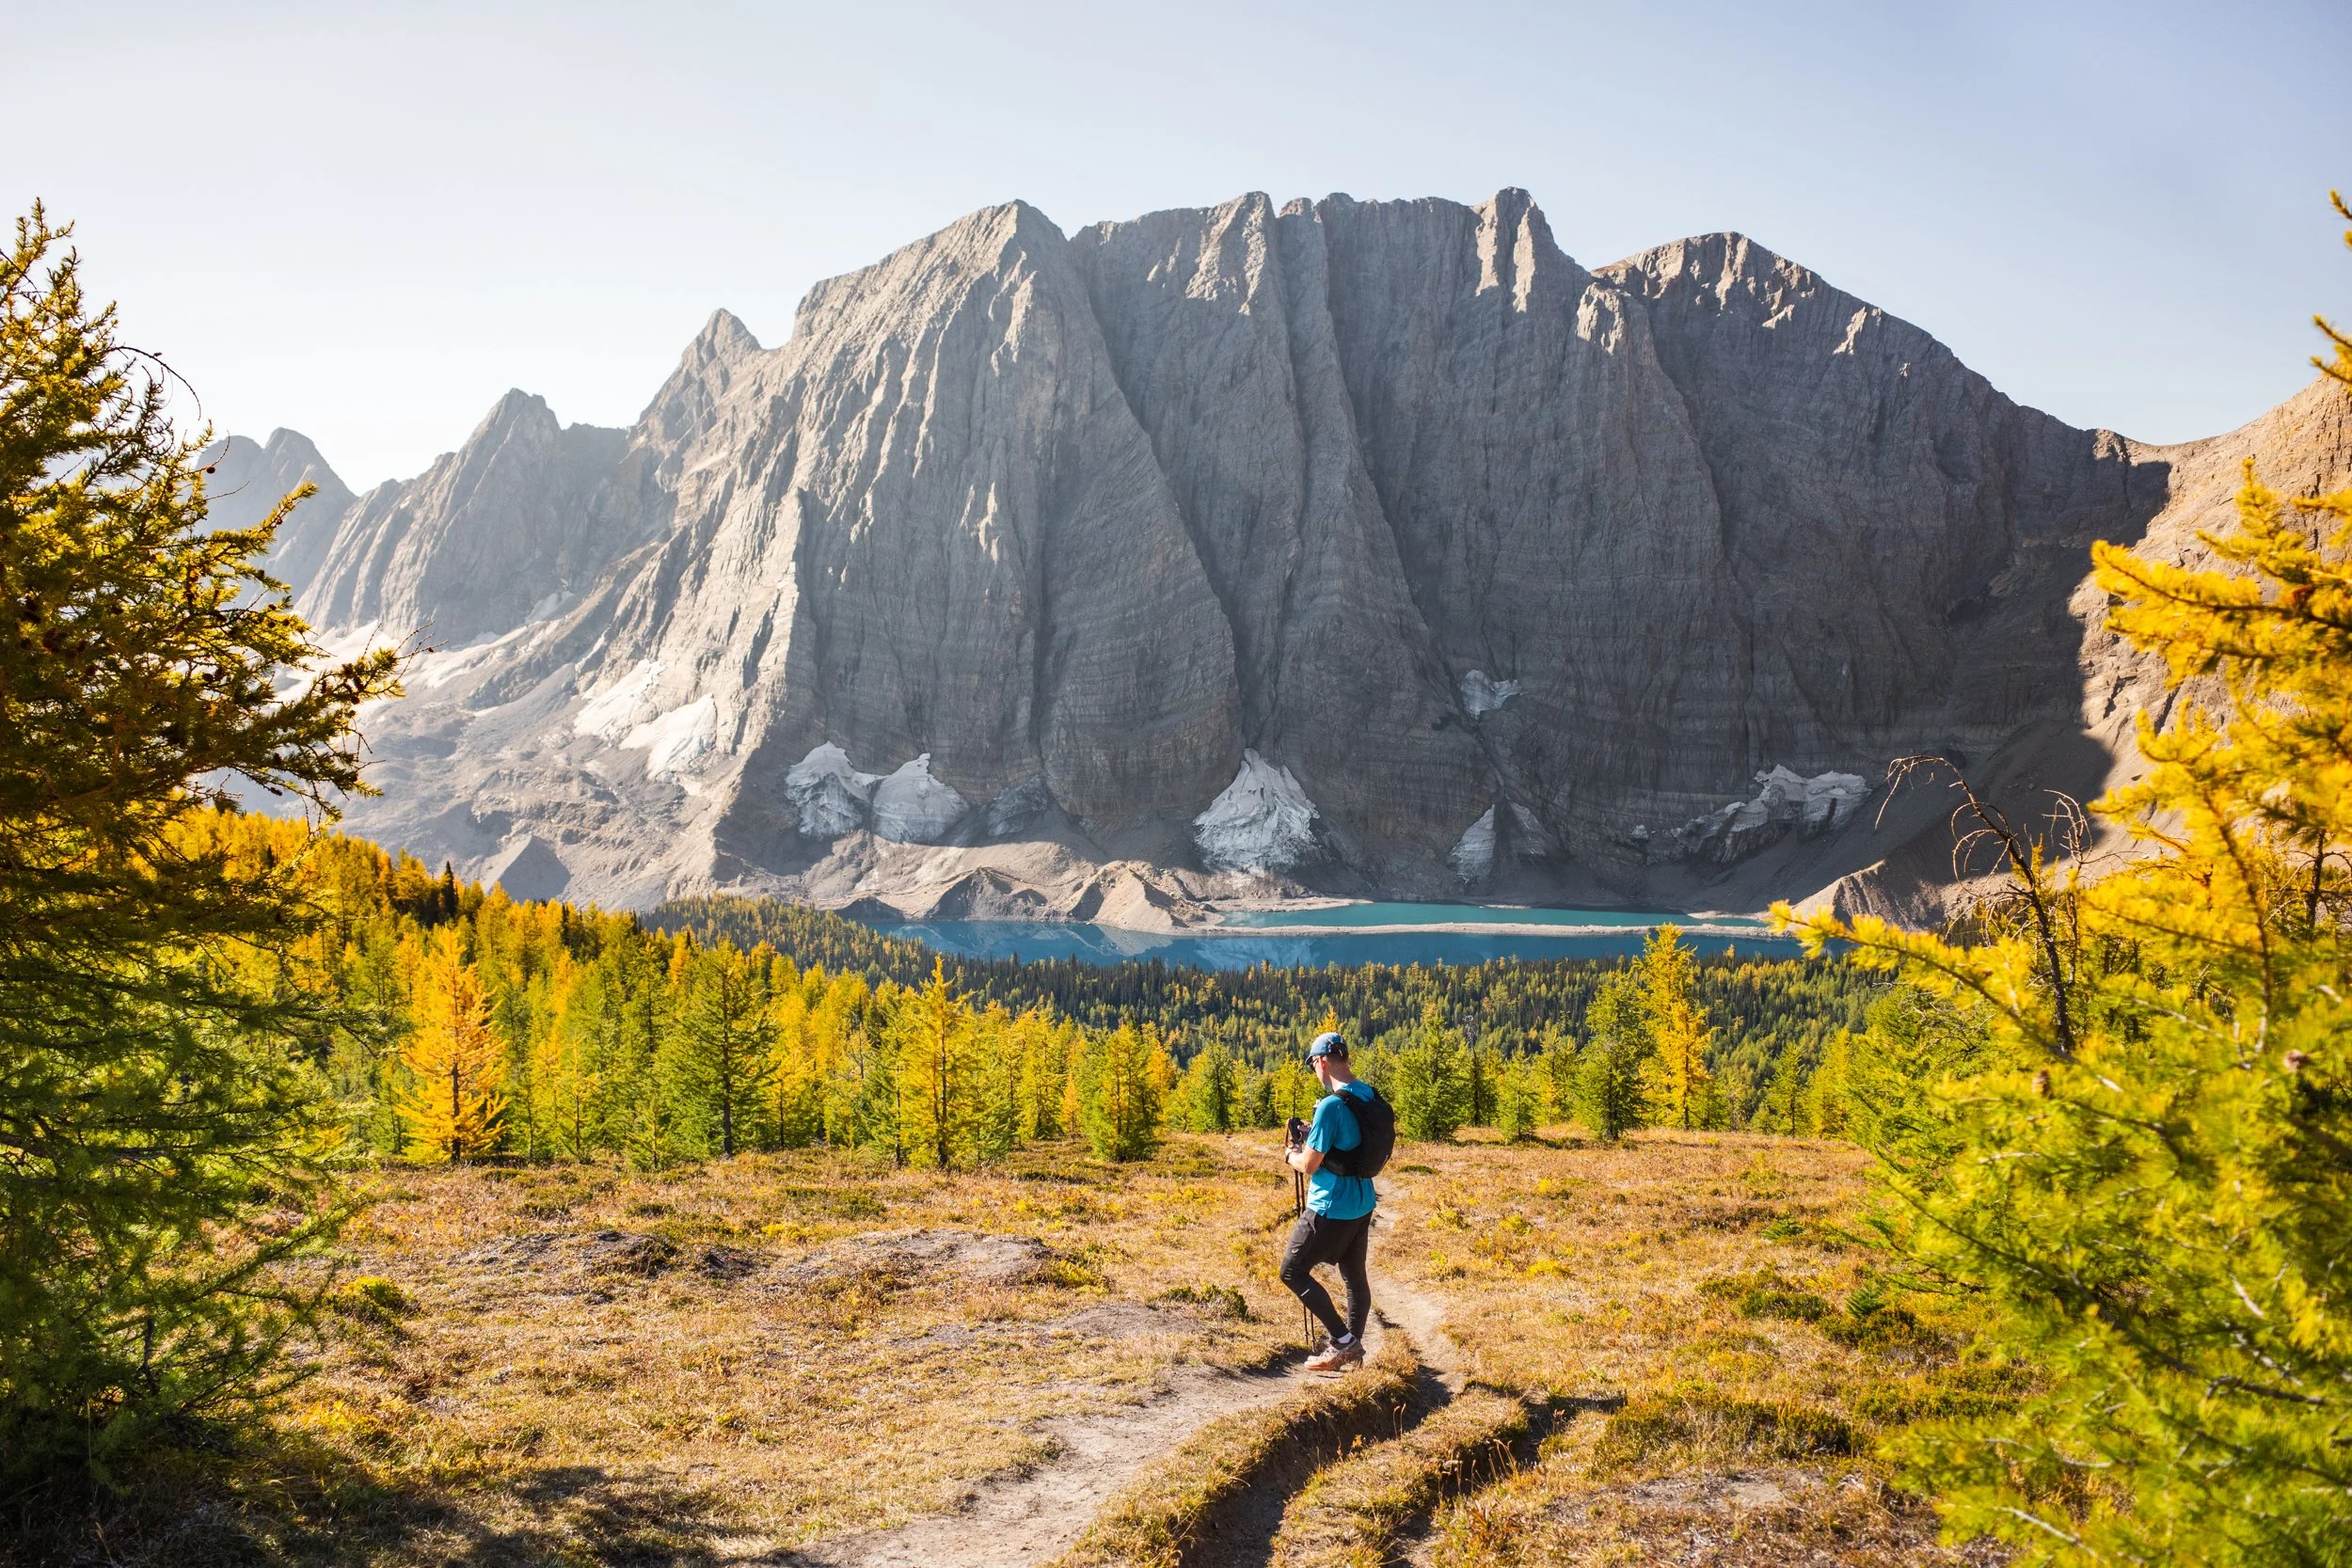
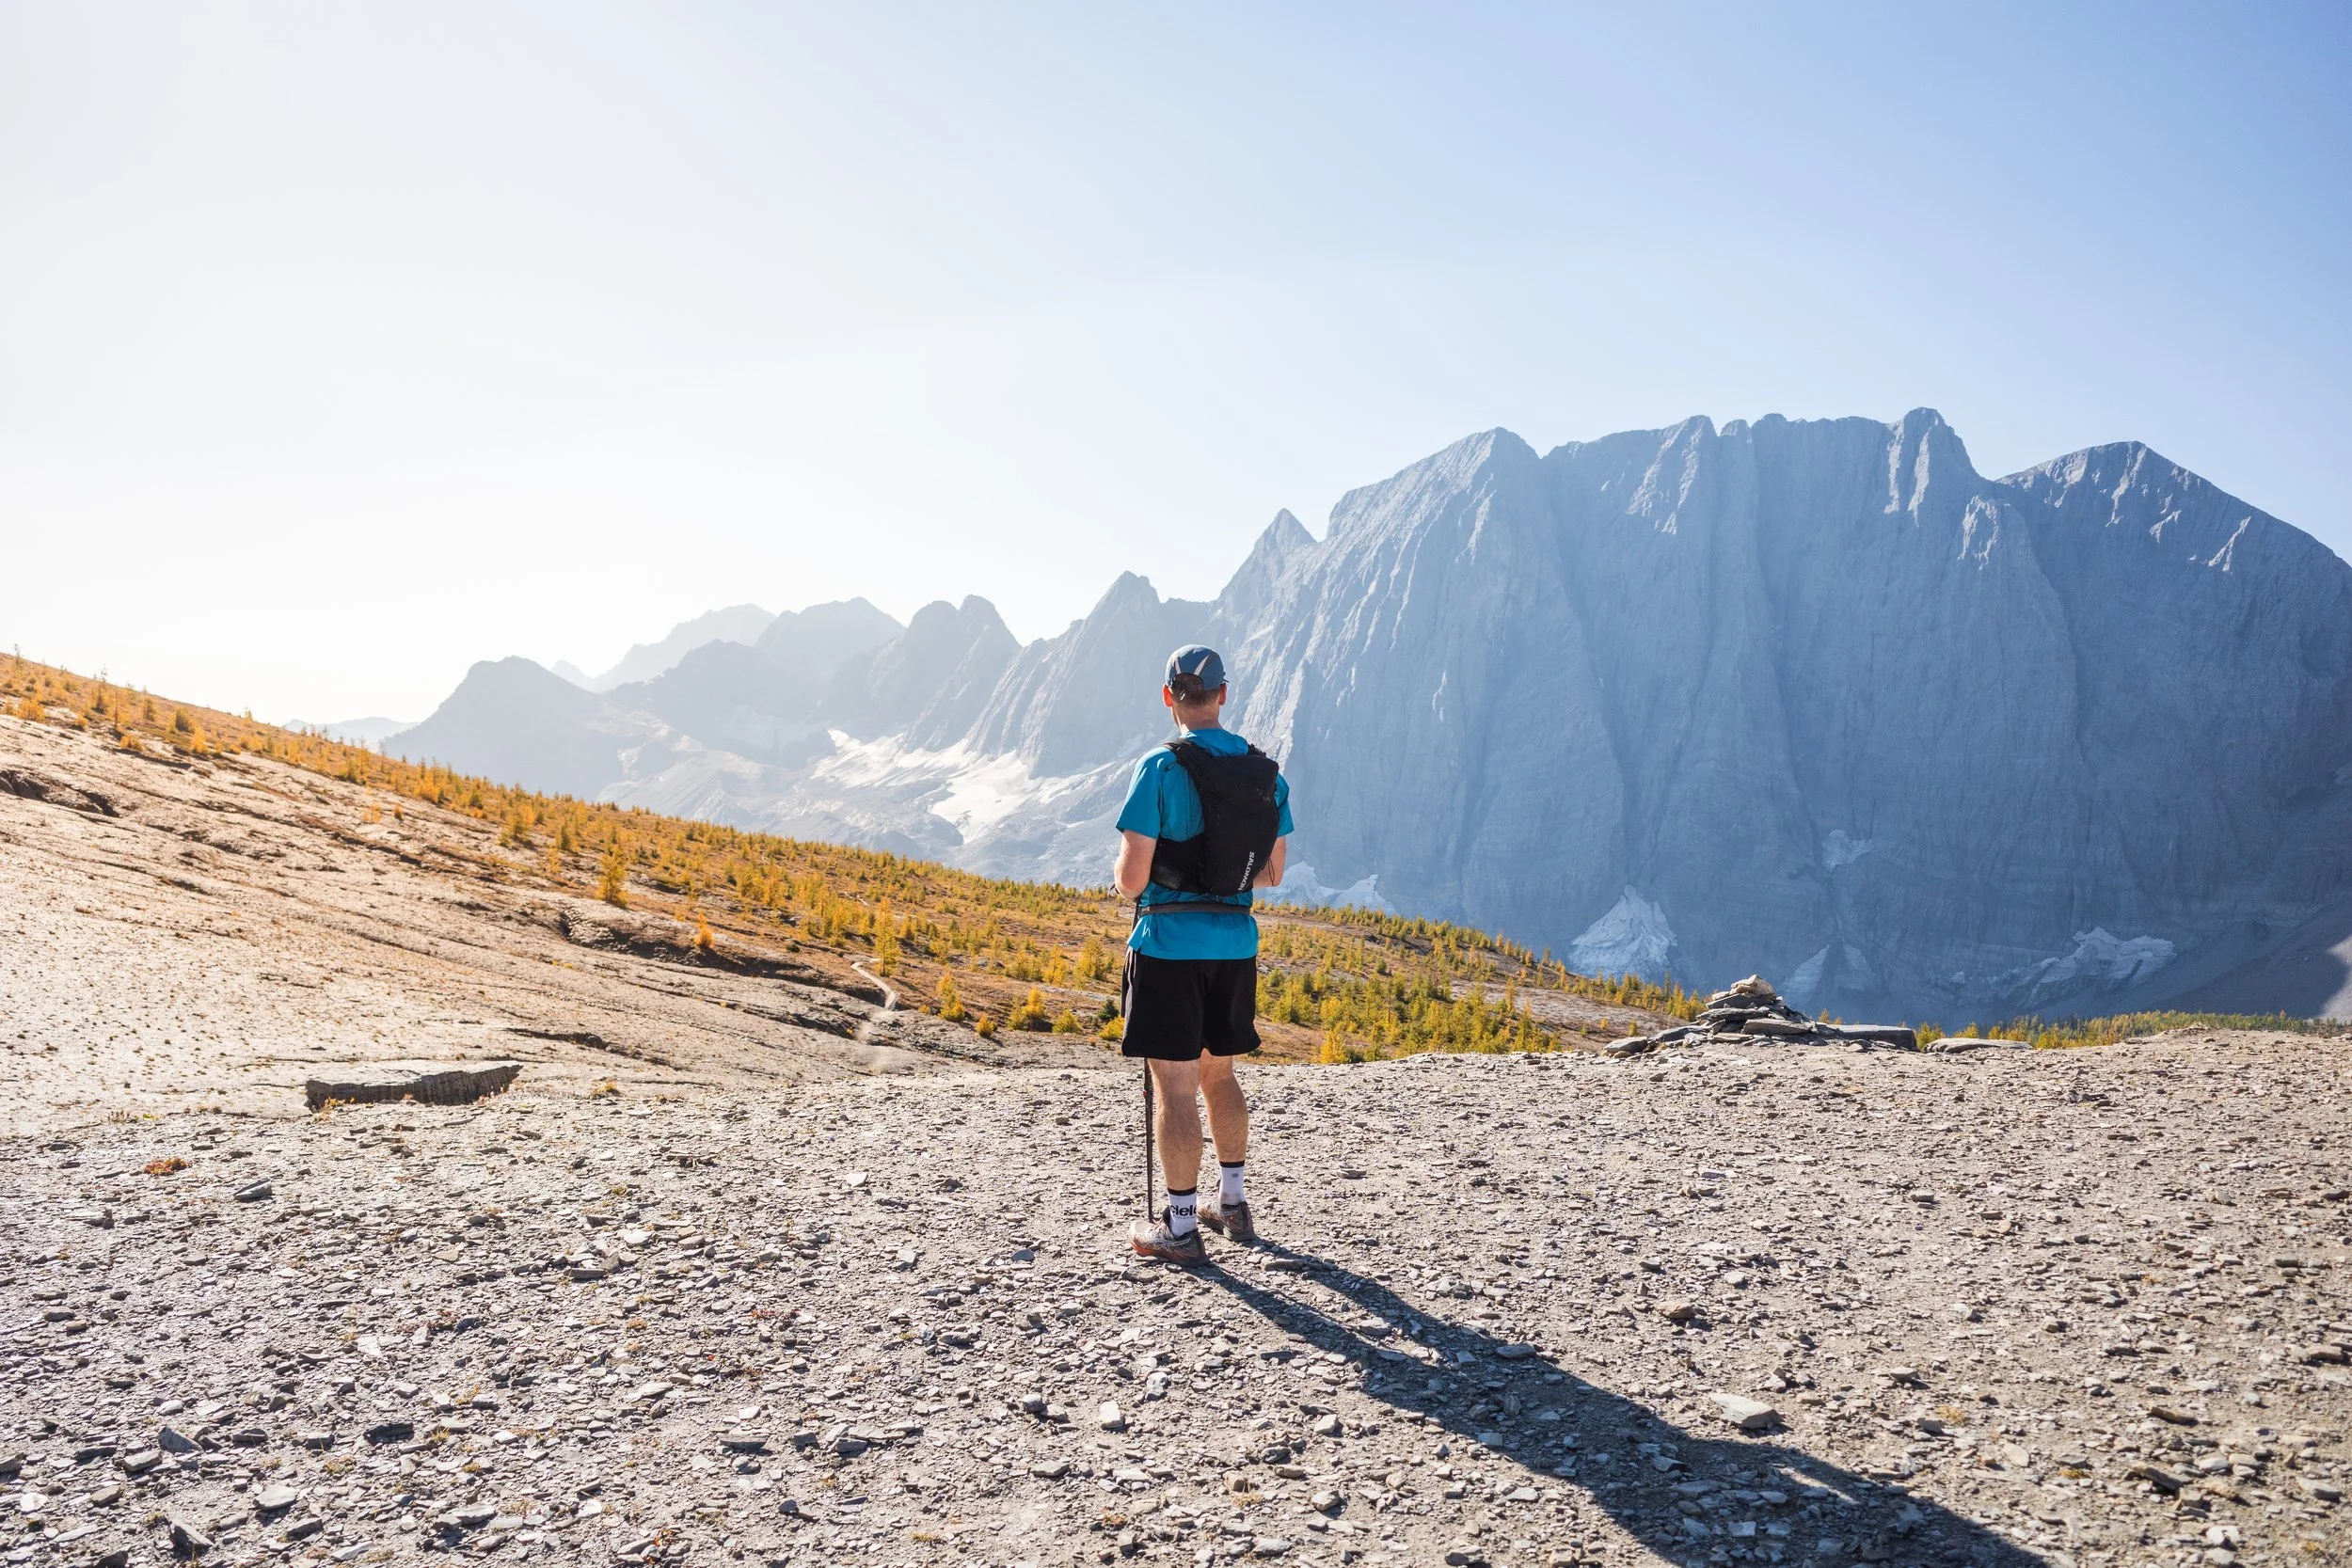
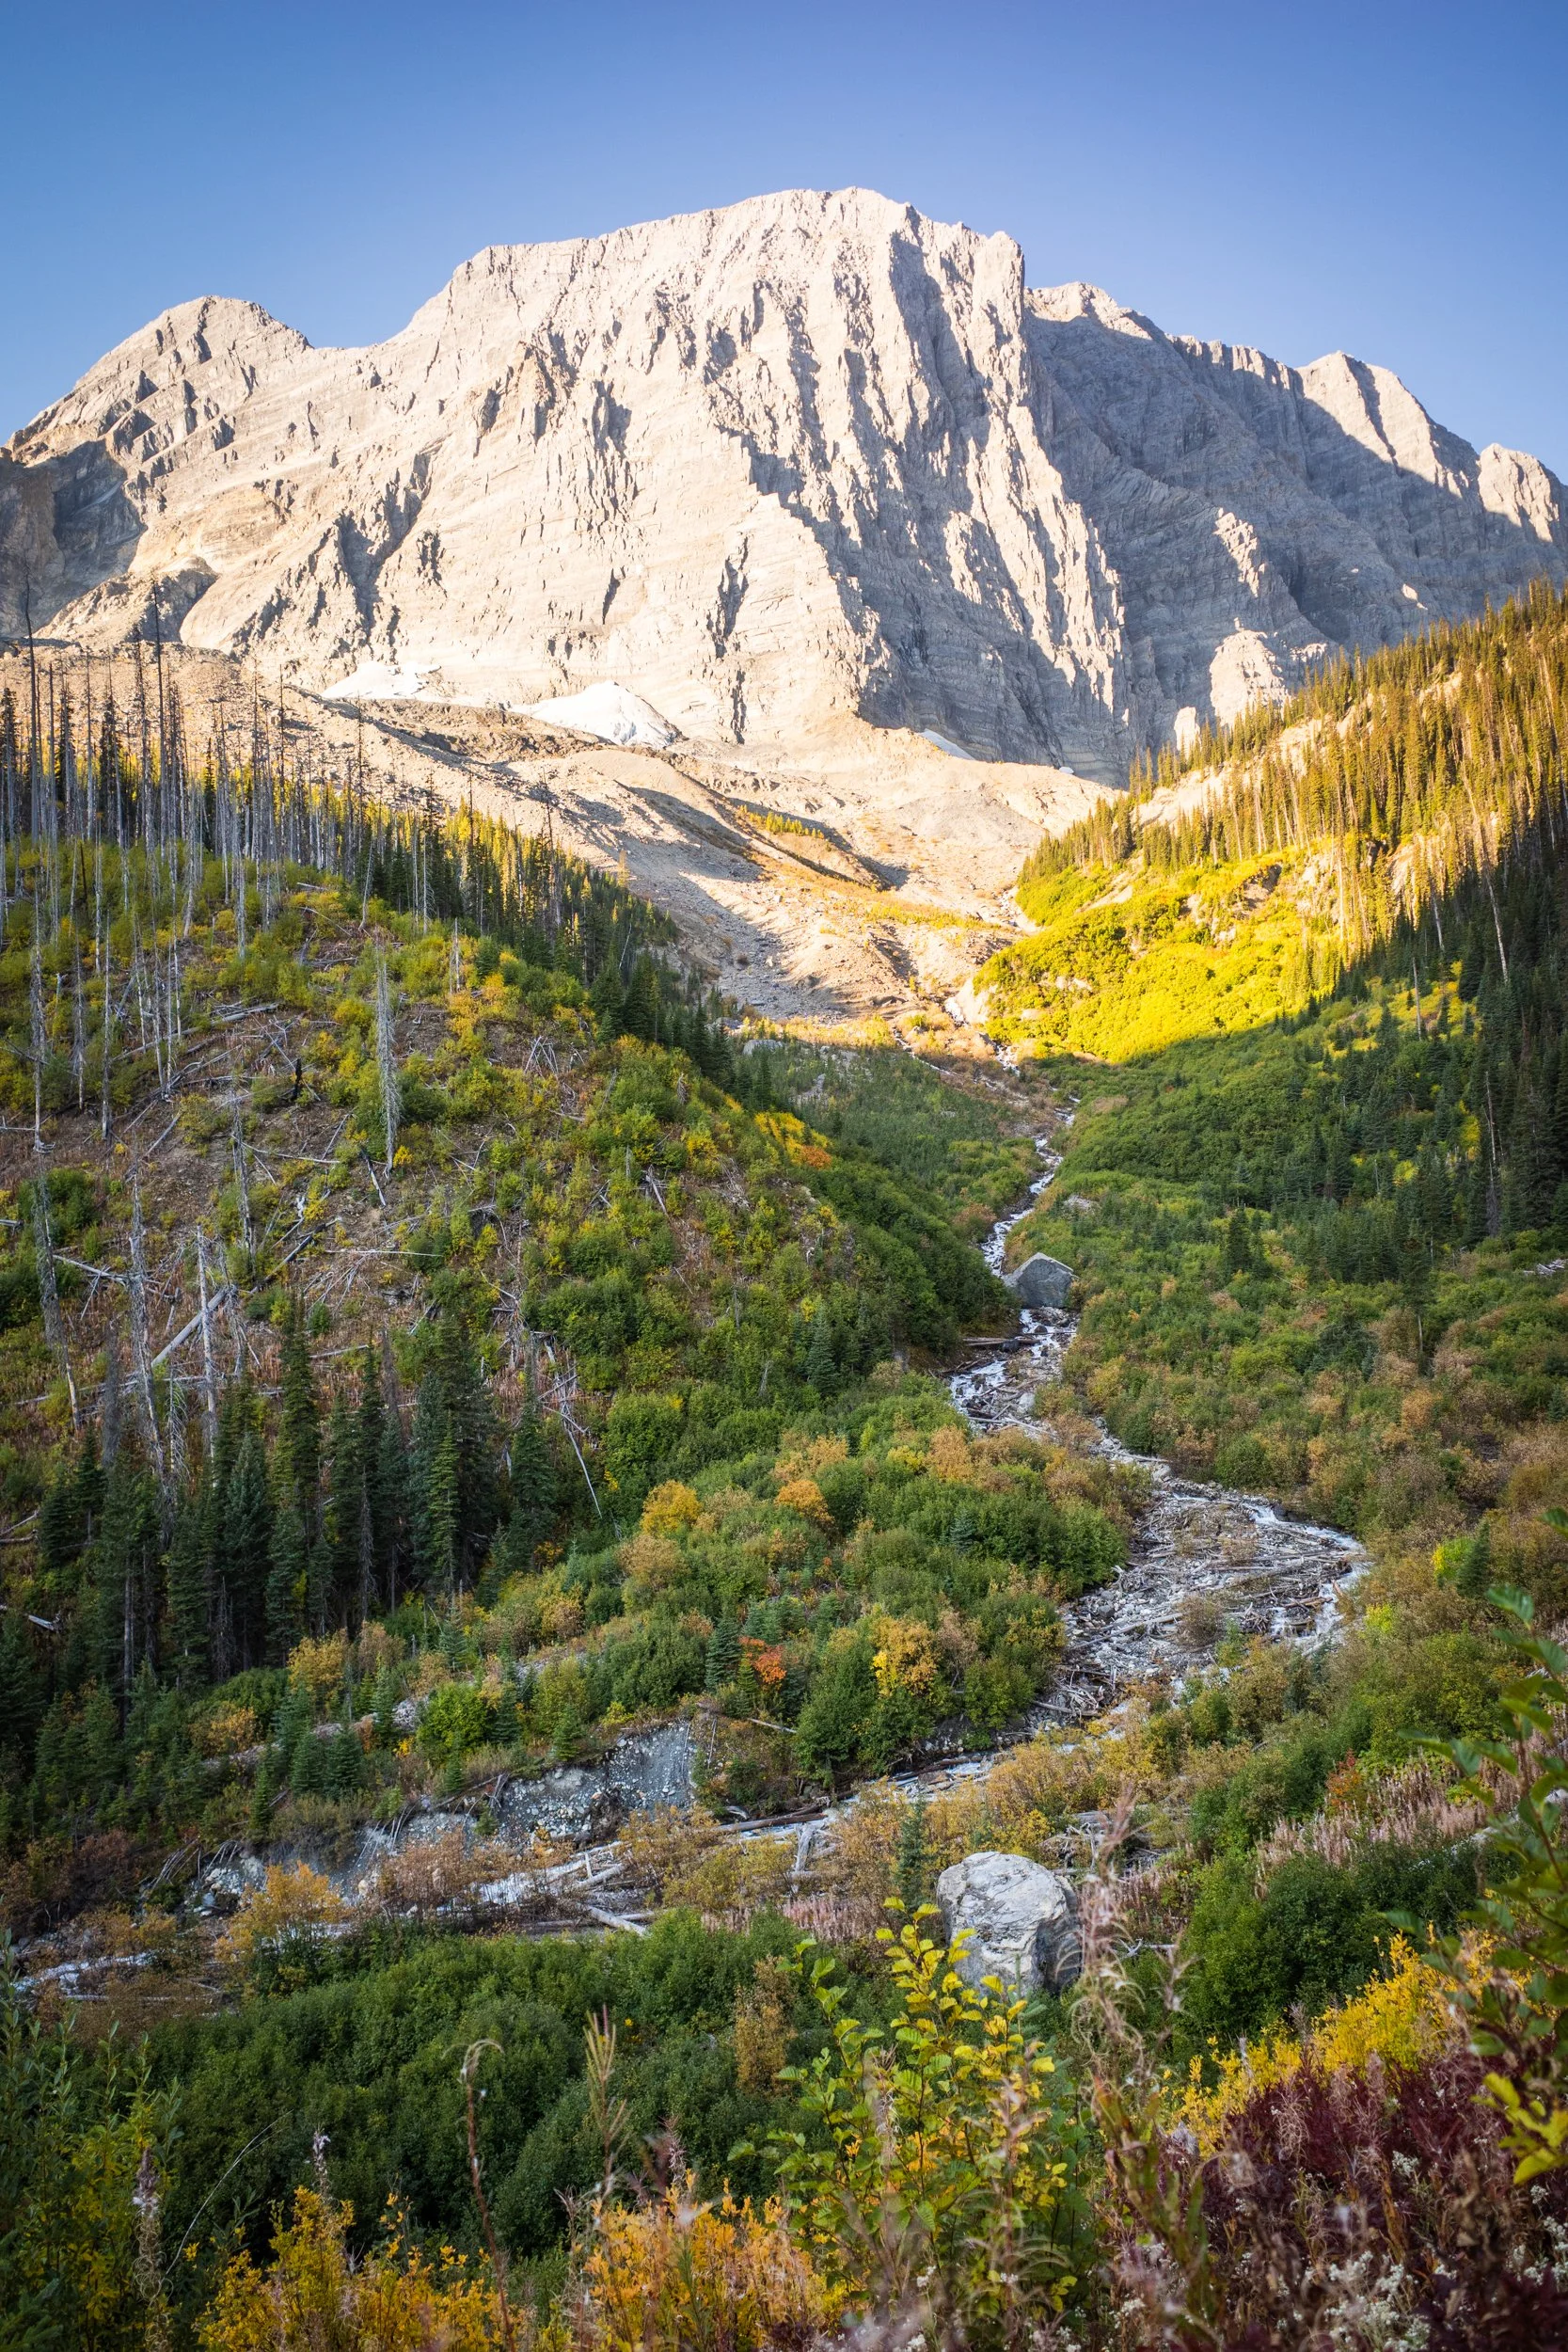
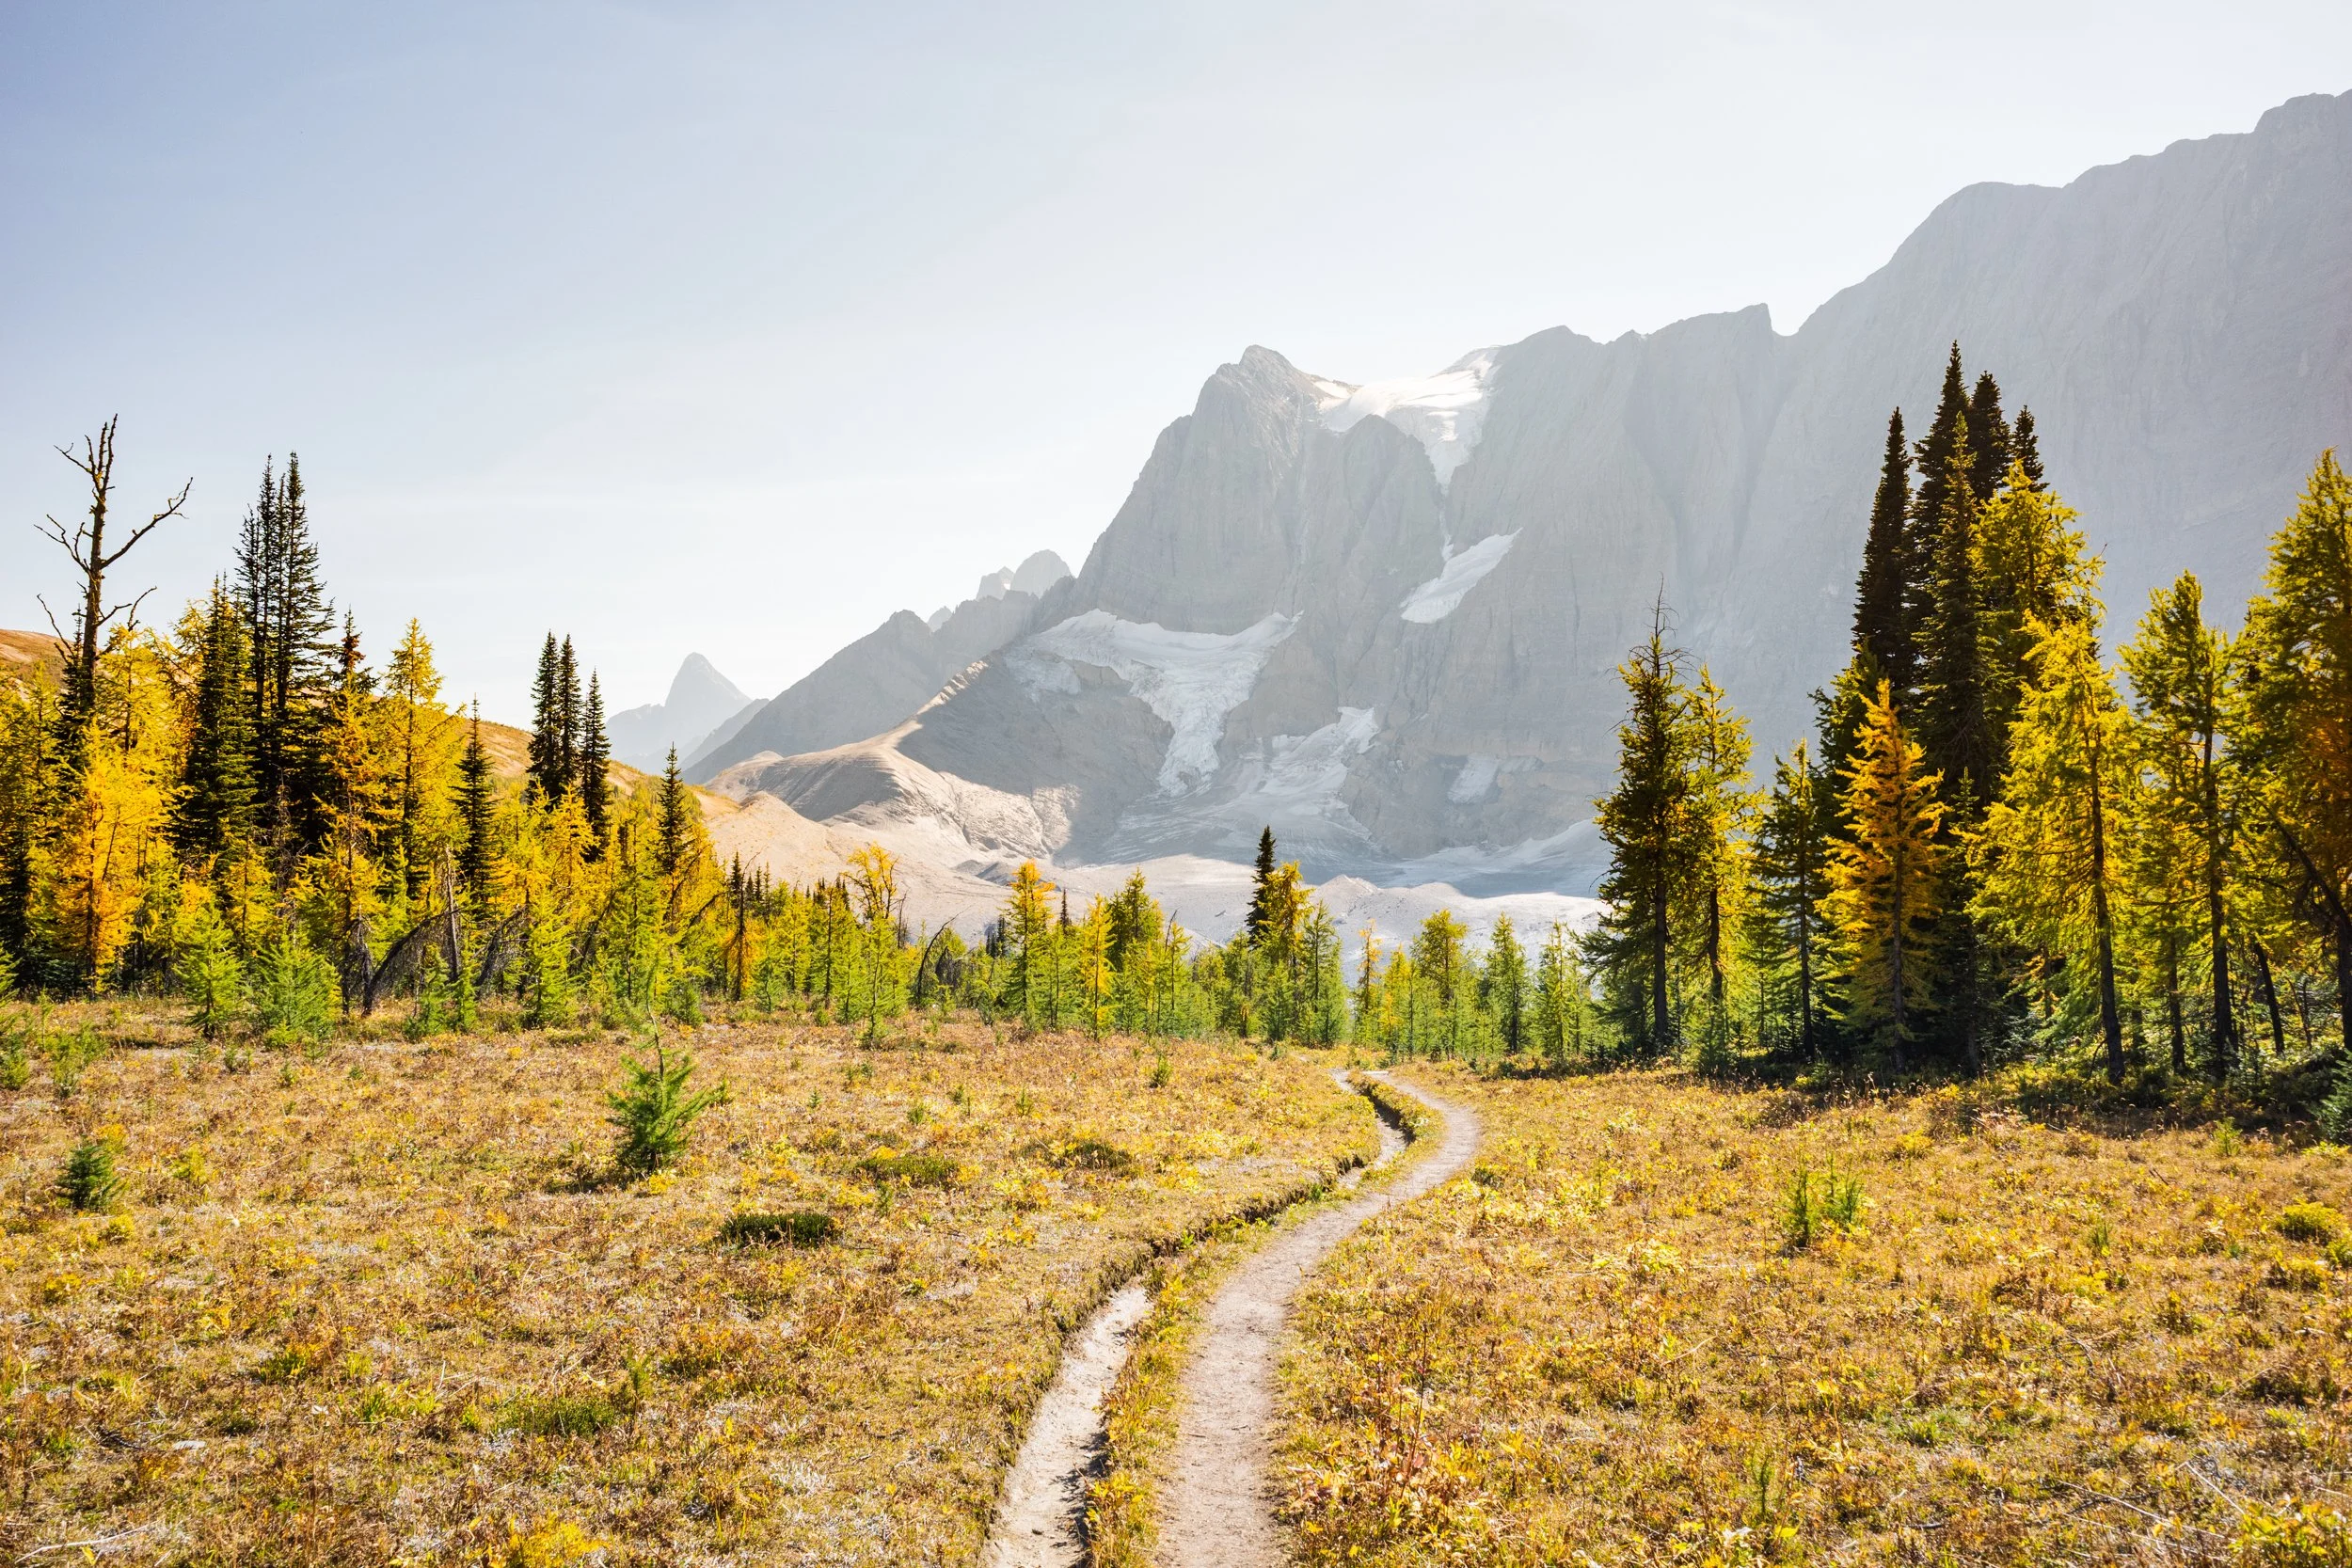
Views from on the way up Numa Pass
When’s The Best Time of Year to Do The Rockwall Trail?
Floe Lake Campground is bookable from the 10th of July but during the early part of the season you’re more likely to see snow on the trail.
Given that each of the passes you’ll climb sit above 2000 meters I’d recommend waiting a little further in to summer and not hiking too much after mid September - weather dependent.
In August you’ll get wild flowers and the longest days, plenty of daylight if you are trying to complete the trail in a single day. In mid to the end of September the trail is littered with golden larch trees - by far the best time for photography.
We ran this trail on September 16th and had incredible conditions and beautiful larch trees. Some friends who attempted to hike it a week later were snowed out and had to abandon their trip.
You can check trail conditions before you hike on the Parks Canada Website.
How to Get To the Rockwall Trail Trailhead
There are two main trailheads to the Rockwall trail, one at either end of the route. These are the Floe Lake Trailhead and the Paint Pots Trailhead.
Both of these are on the 93 South. The Floe Lake Trailhead is about a 45 minute drive from Banff, simply drive Highway One until Castle Junction then take a left on to 93 South.
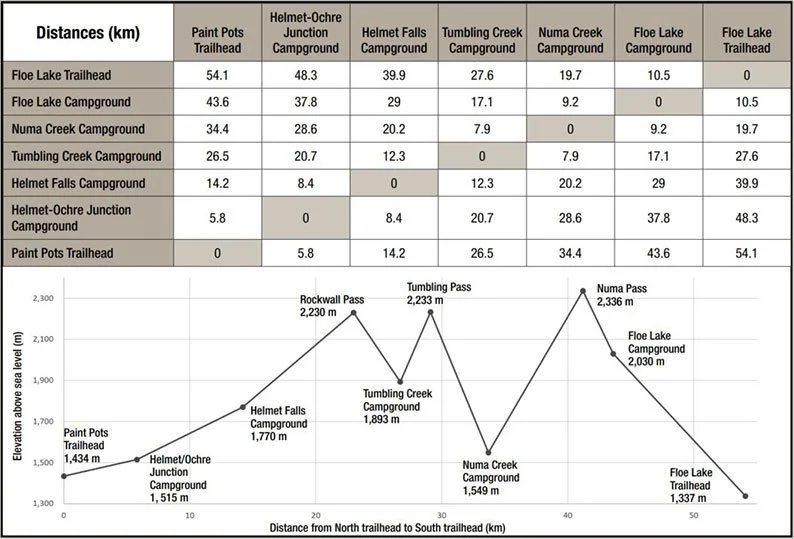
Distances and Elevation Profile For The Rockwall TRail
Which Way round To Do The Rockwall Trail?
Now this is a bit of a contentious issue and you’ll see recommendations for both directions and both have pros and cons. I’ll give you my thoughts on both! However it will most likely depend on what campsites you’re able to book!
Paint Pots Trailhead to Floe Lake Trailhead
PROS:
Starting at the Paint Pots means your last night and day is spent at Floe Lake. Floe Lake is arguably the best view you get whilst on the Rockwall so I can see how it makes sense to leave this until last. In fact hiking in this direction I’d say the views get progressively more impressive from start to finish. Sunrise at Floe Lake is truly a must!
Your first day, most likely to helmet falls campground, is an easier trail through woodland, in the shade with steady elevation gain. If hiking the trail as a multi day this is when your bag is heaviest, so there’s an argument for saving the harder days for when your bag is lighter
Cons:
The harder, steeper days will be later in to your trip. Even though your bag will be lighter it’s much more likely that your legs will be tired! Taking on almost 800m of elevation gain up to Numa pass on day 3 or 4 can seem like a lot!
Hiking this way there is no real option to shorten the trail if the weather turns or you’re fatigued without missing out on the best sections of the hike.
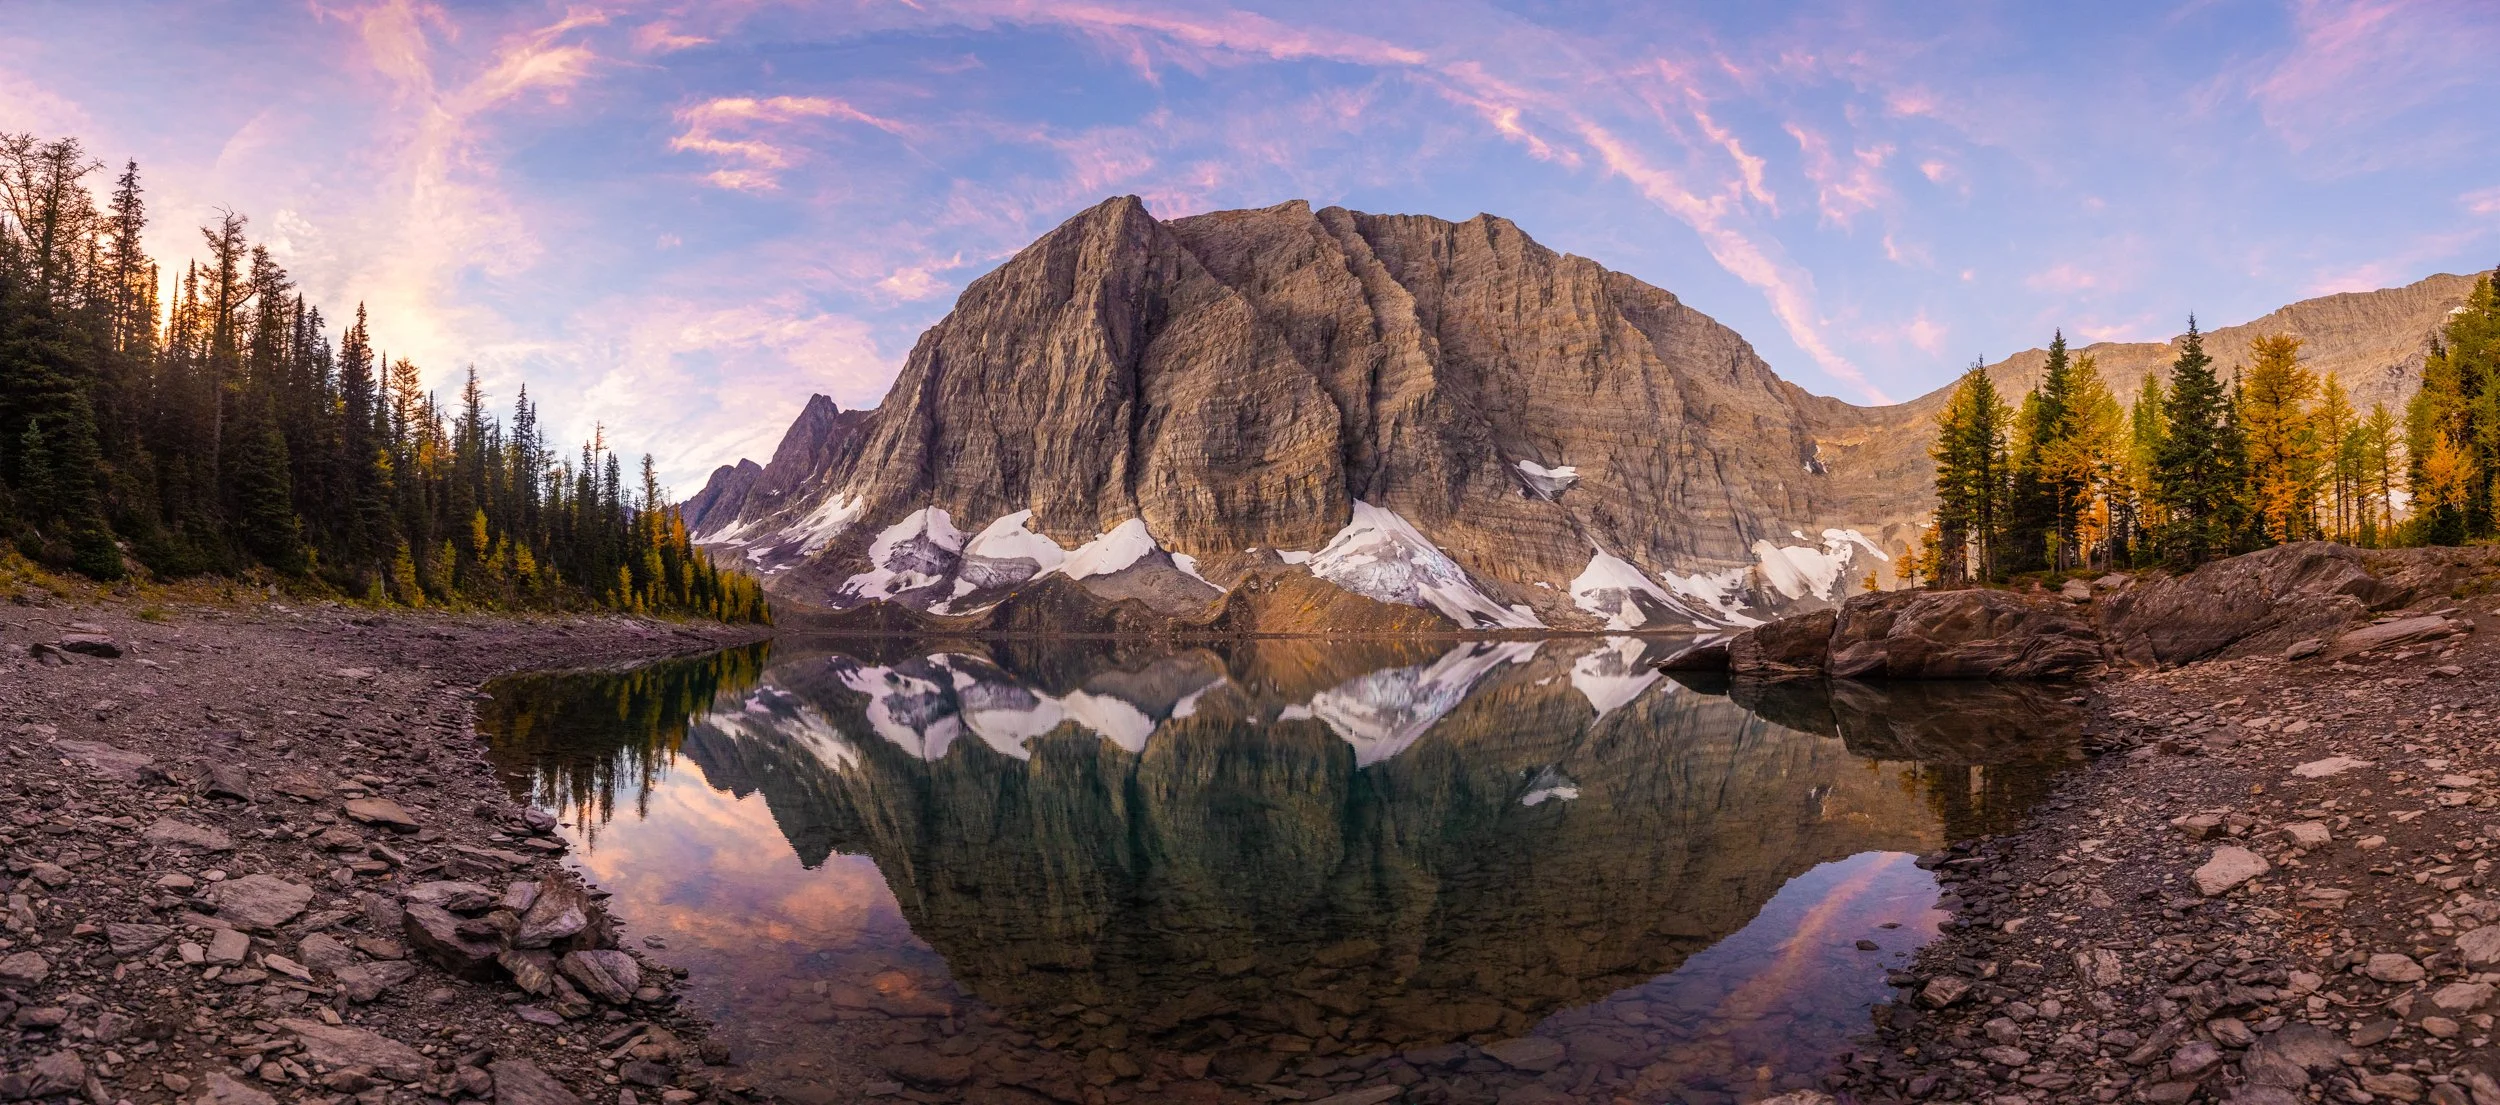
Sunset at Floe Lake
Floe Lake Trailhead to Paint Pots Trailhead
Pros:
You get the harder elevation gain out of the way earlier on! Your last day or two is spent hiking steadily down hill so if by day 3 or 4 those legs are tired it should be a little easier on the knees!
There are several options to shorten the trail and hike out early to civilisation - all of these options are after you’ve seen the best of the trail when hiking this direction.
Cons:
Your first day with a heavy pack will be on the Floe Lack Trail. Due to previous wild fires there is almost no shade on this section of trail. It can feel like a slog with a fully loaded pack.
You’ll really have seen the best of the scenery in the first couple of days. Not that the rest of the trail isn’t also stunning it just isn’t as good as Floe Lake, Numa Pass and the Rockwall!
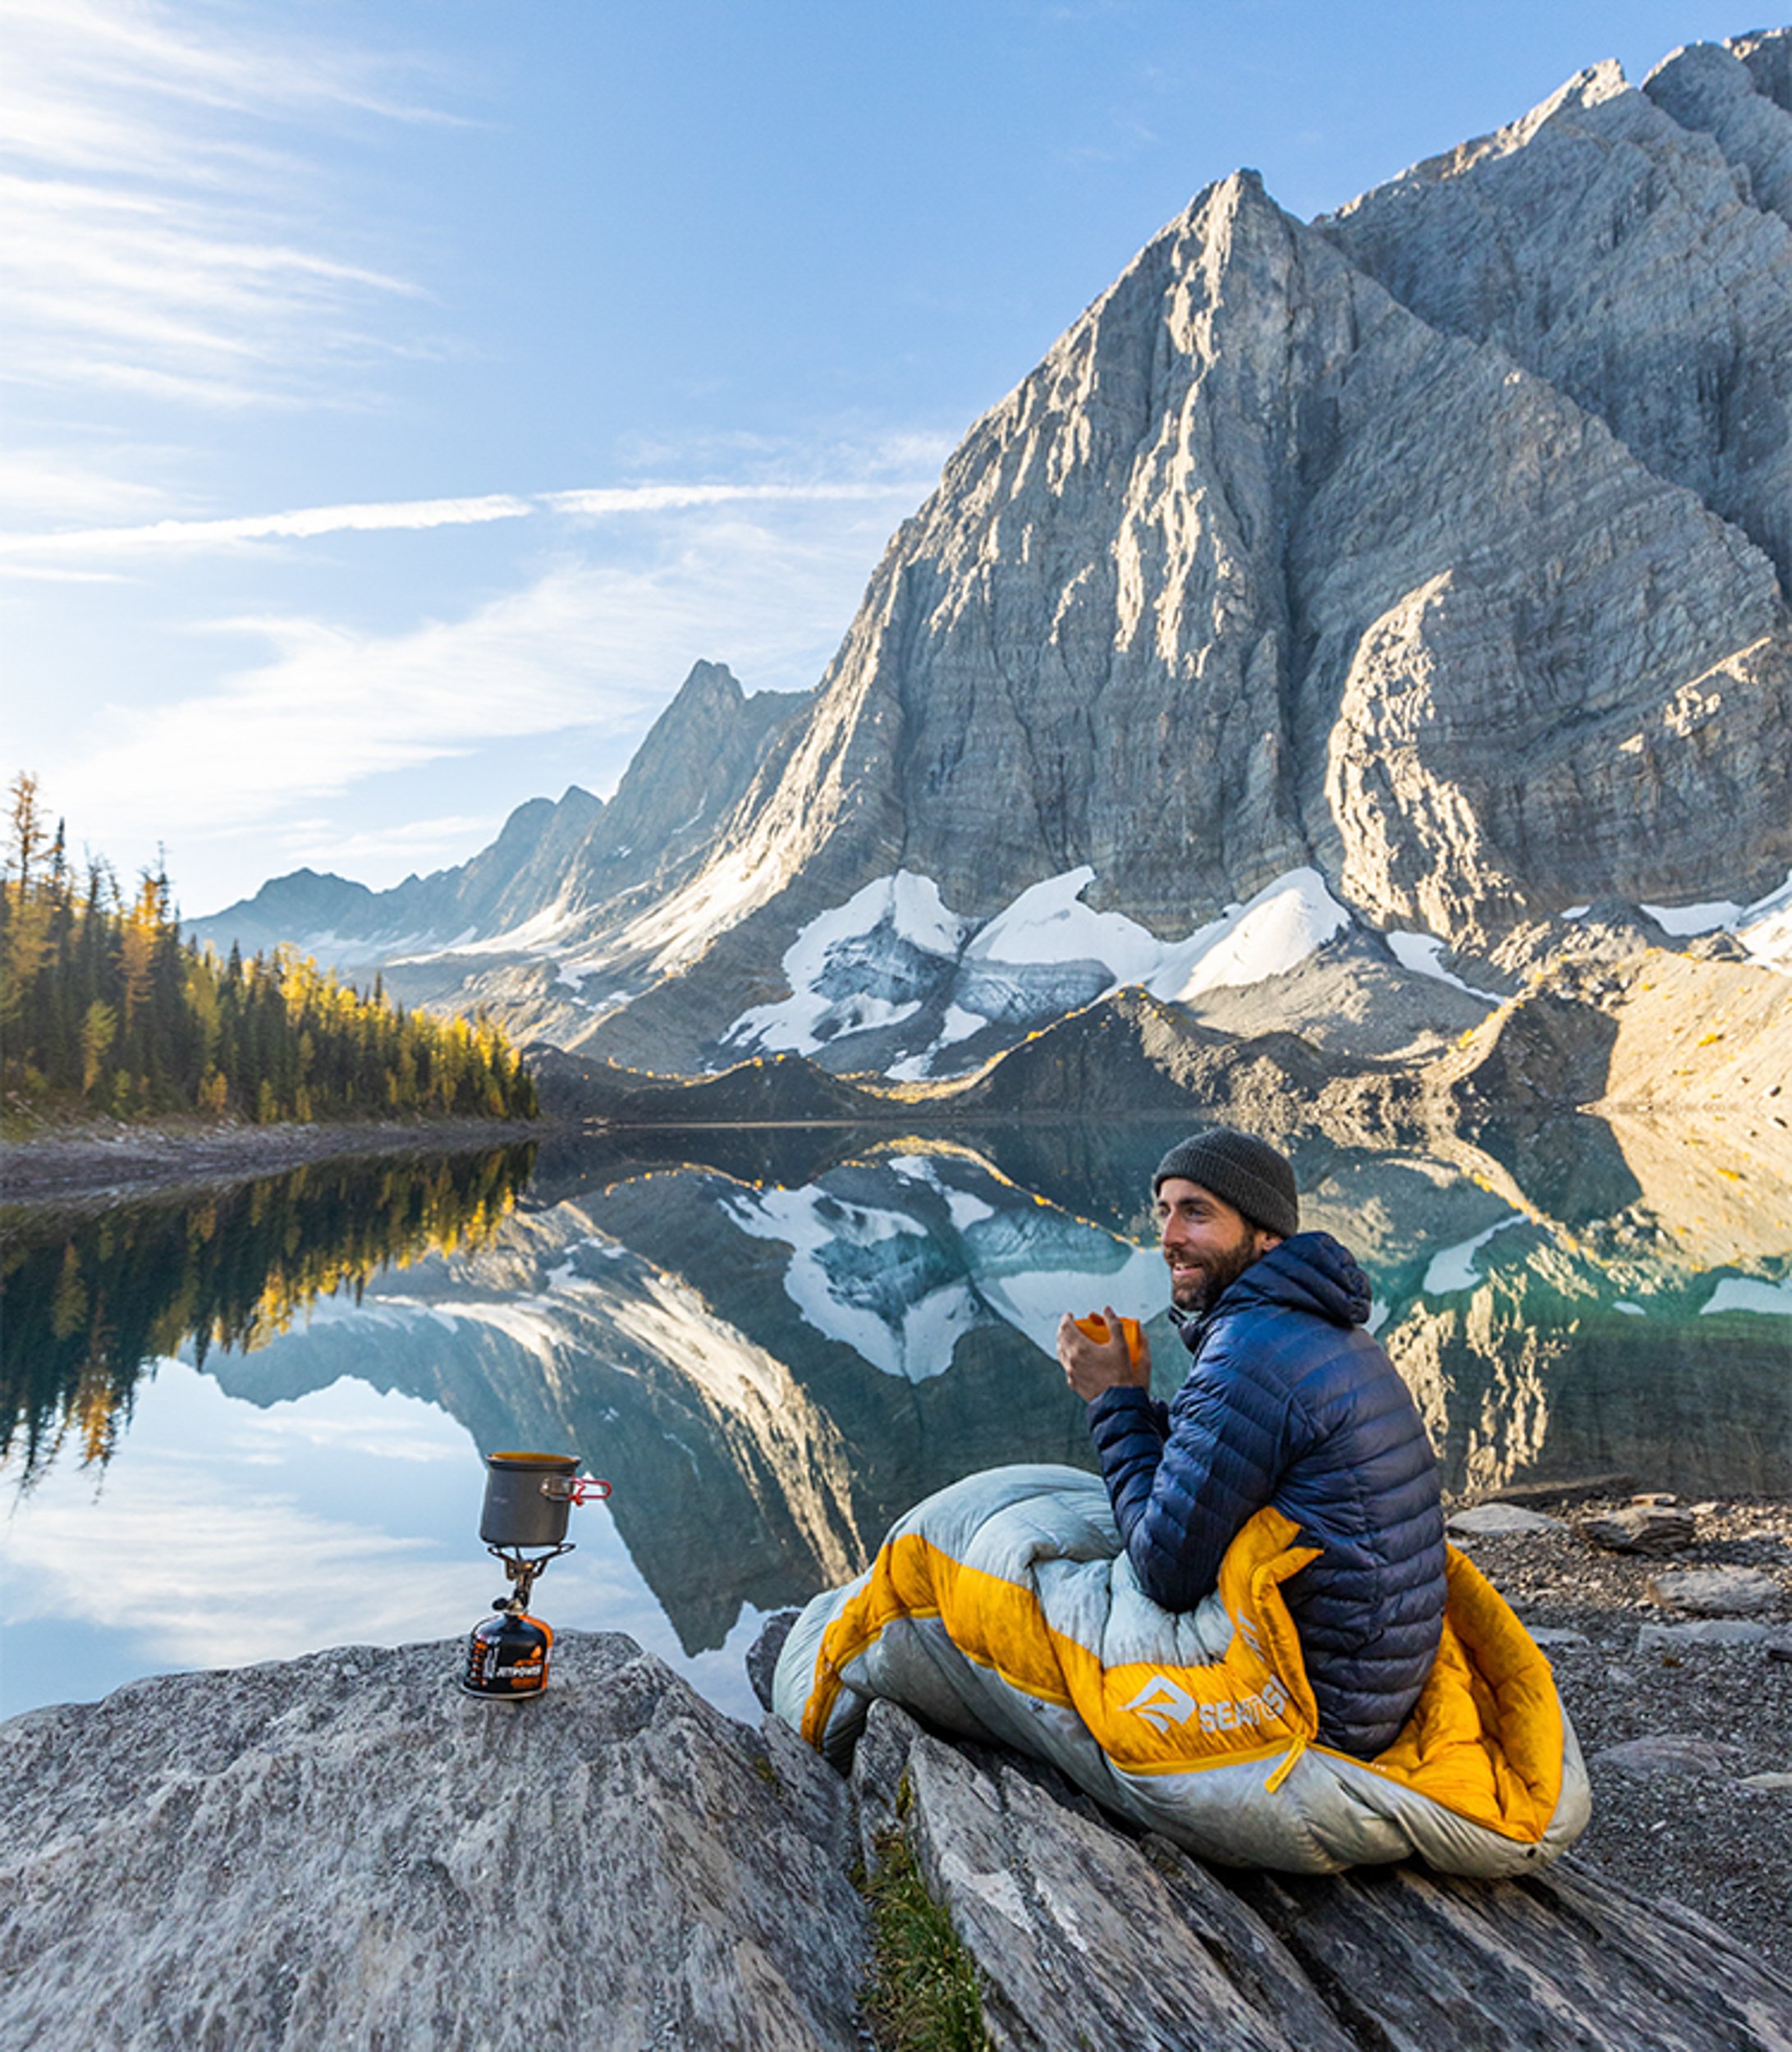
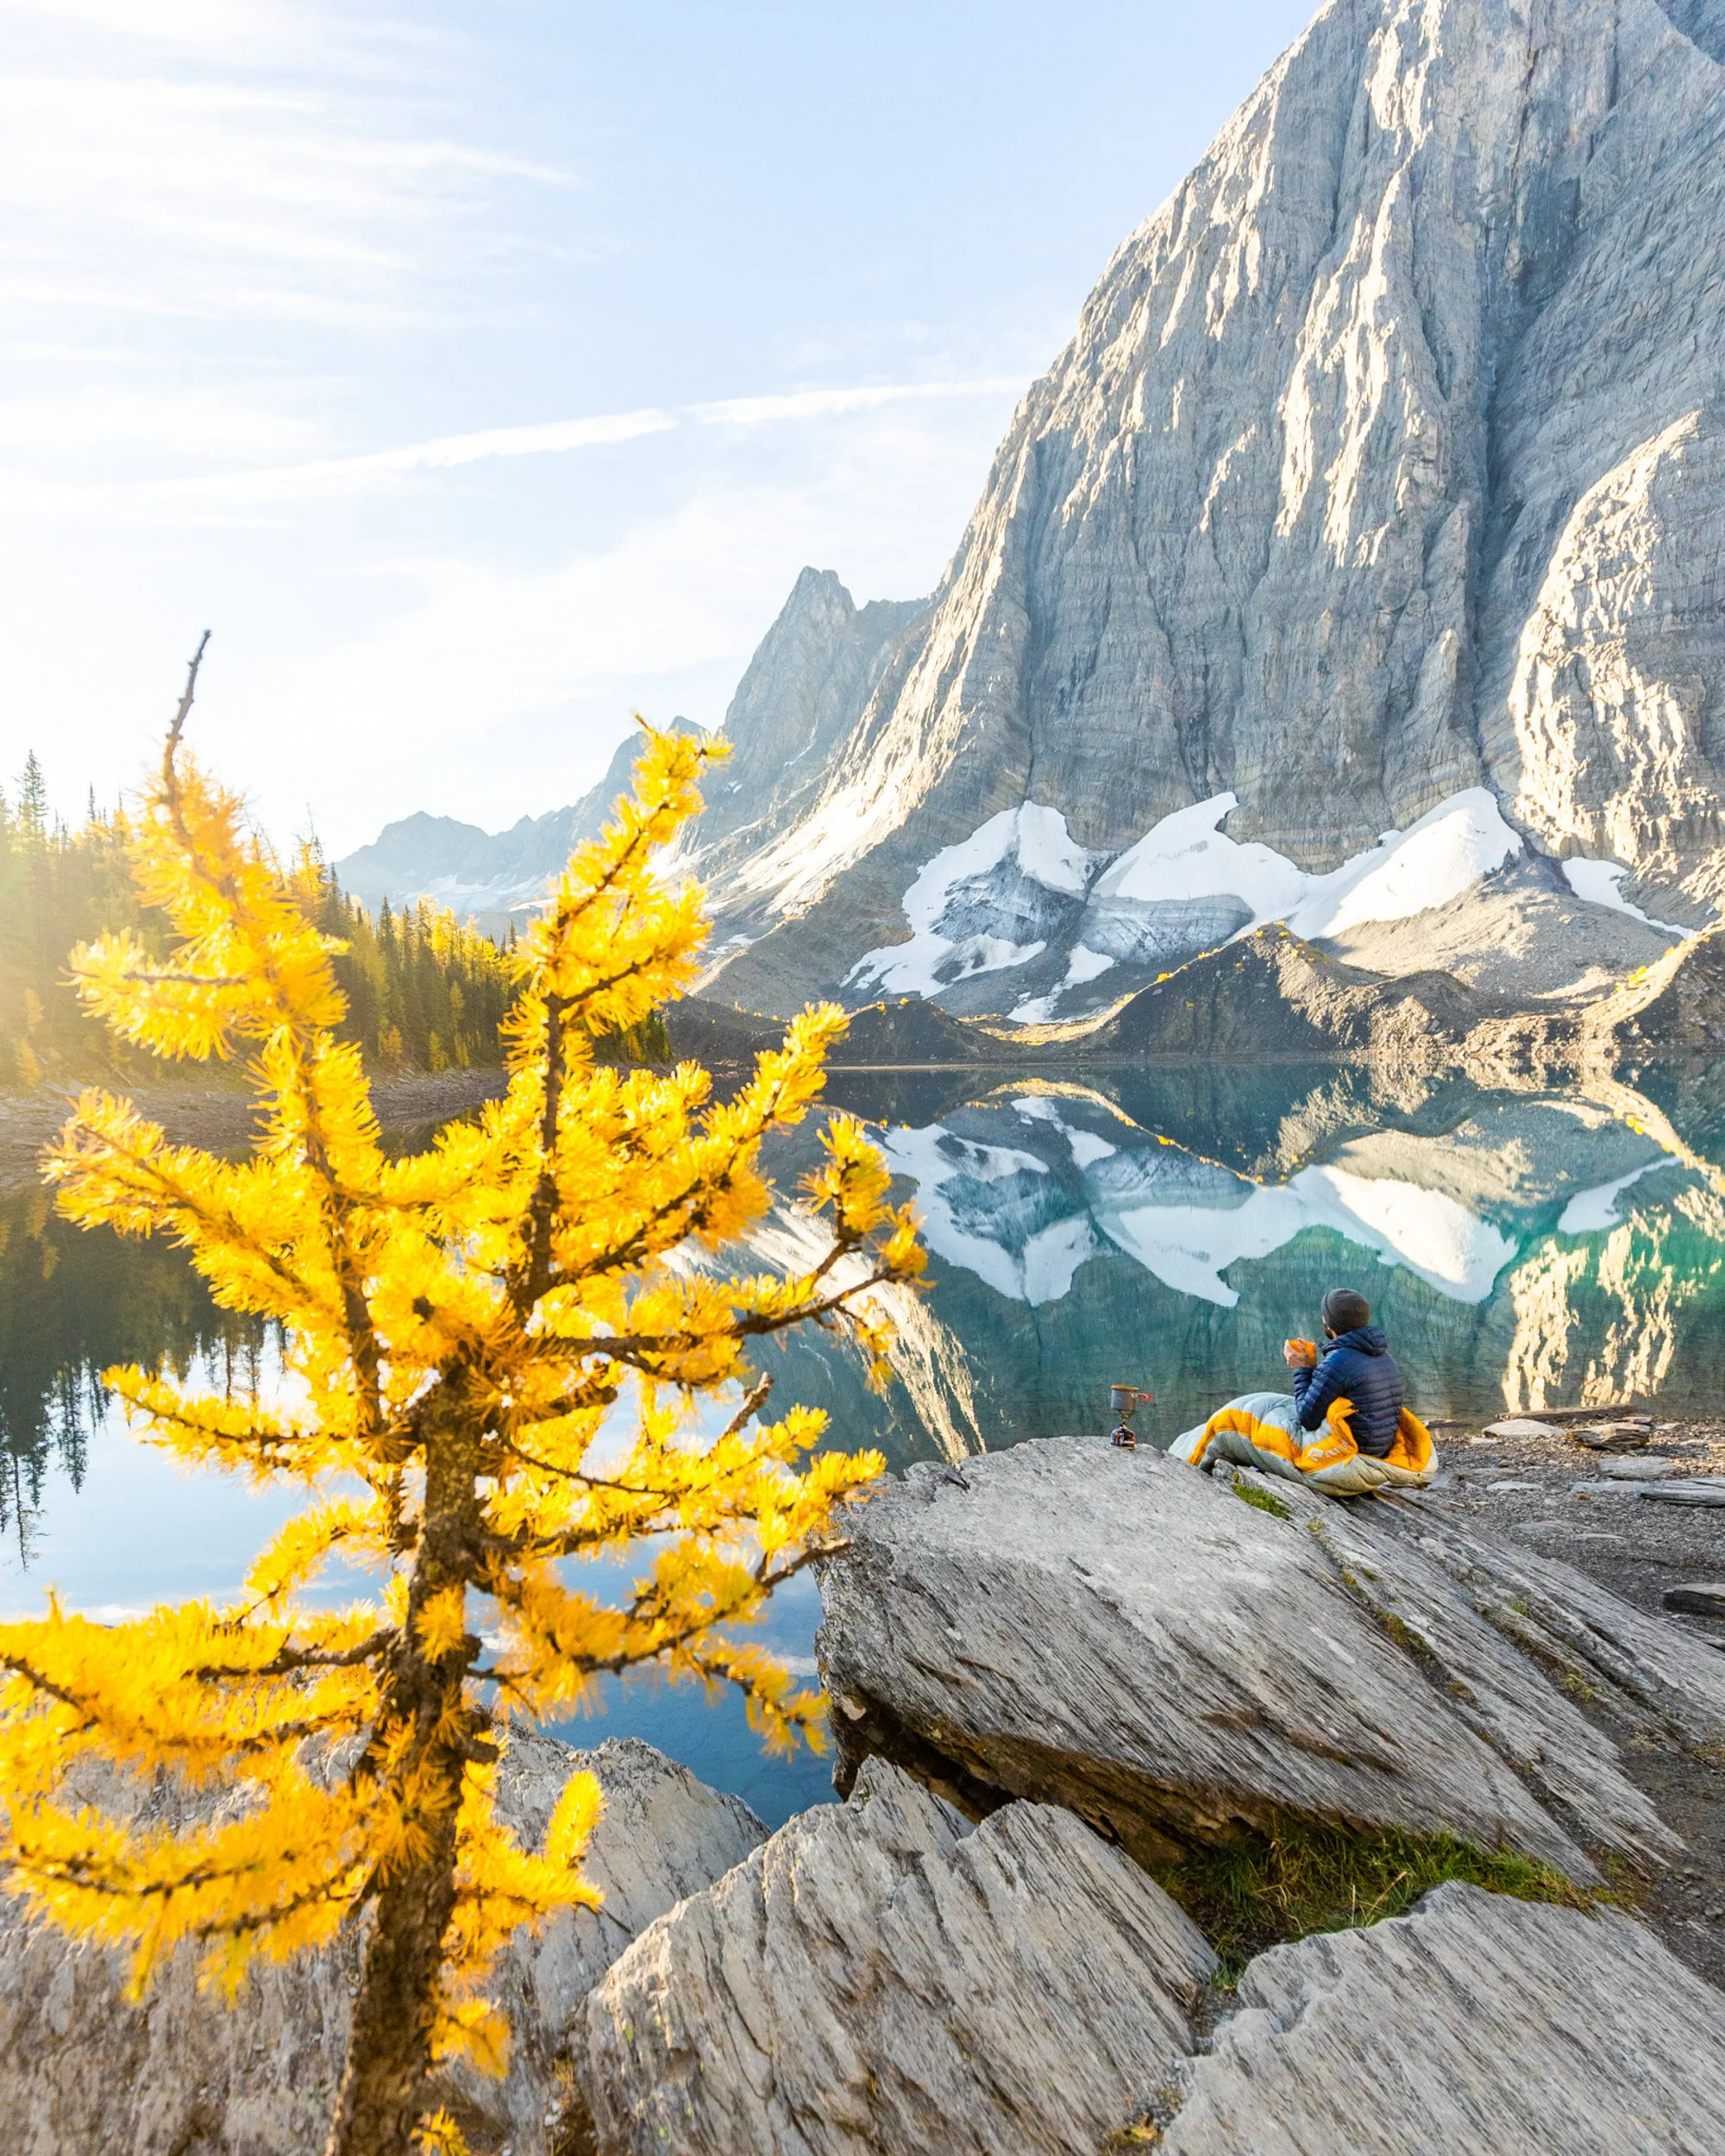
Enjoying breakfast lakeside at Floe Lake
My Direction Recommendations
Single Day
If you plan on doing this trail in a single day I would highly recommend starting at the Floe Lake Trailhead and ending the trail on an easier shaded forest trail with a more steady decline with an option to cut it short if needs be. Your legs will thank you for it!
Multi-Day
If you’re planning to do this over several days I do think starting at the Paint Pots and having ever improving views as you end at Floe Lake would be great…
However given how unpredictable mountain weather can be I’d still recommend starting at Floe Lake. This way you can get the highlights out the way early and if the weather turns, cut the trail short and make a beeline back to the main road! This is particularly relevant if hiking later in the season.
Either way round you can make an overnight stop at Floe Lake work which, in my opinion, is a must. Just factor in either a shorter first or last day depending on your route direction.
How To Get From One Trailhead to the Other?
There is no official shuttle from Floe Lake Trailhead to the Paint Pots Trailhead so it’s either a case of leaving a car at each trailhead, leaving a bike at one end and riding back to your car, swapping keys with someone else hiking the opposite direction or hitchhiking.
The trail heads are about 12.6 km apart. In the past I’ve always managed to hitchhike relatively easily from one trailhead to the other, not waiting more than about 15 minutes but if you do this you’ll want to make sure you finish the trail in good time!
Booking Campgrounds on The Rockwall Trail
Campsites can be booked on the Parks Reservation Website. In 2026 bookings opened on January 26th, and these campsites sell out super fast so you need to be on the ball and be a little flexible on dates and campgrounds if you can!
You can keep a note of future reservation launch dates here.
Missed Out? Schnerp Those Cancellations!
If you’ve missed out on that dream campsite or hike due to not being quick enough on booking day websites like Schnerp let you set up requests to be notified the second a cancellation pops up and snag that last minute spot.
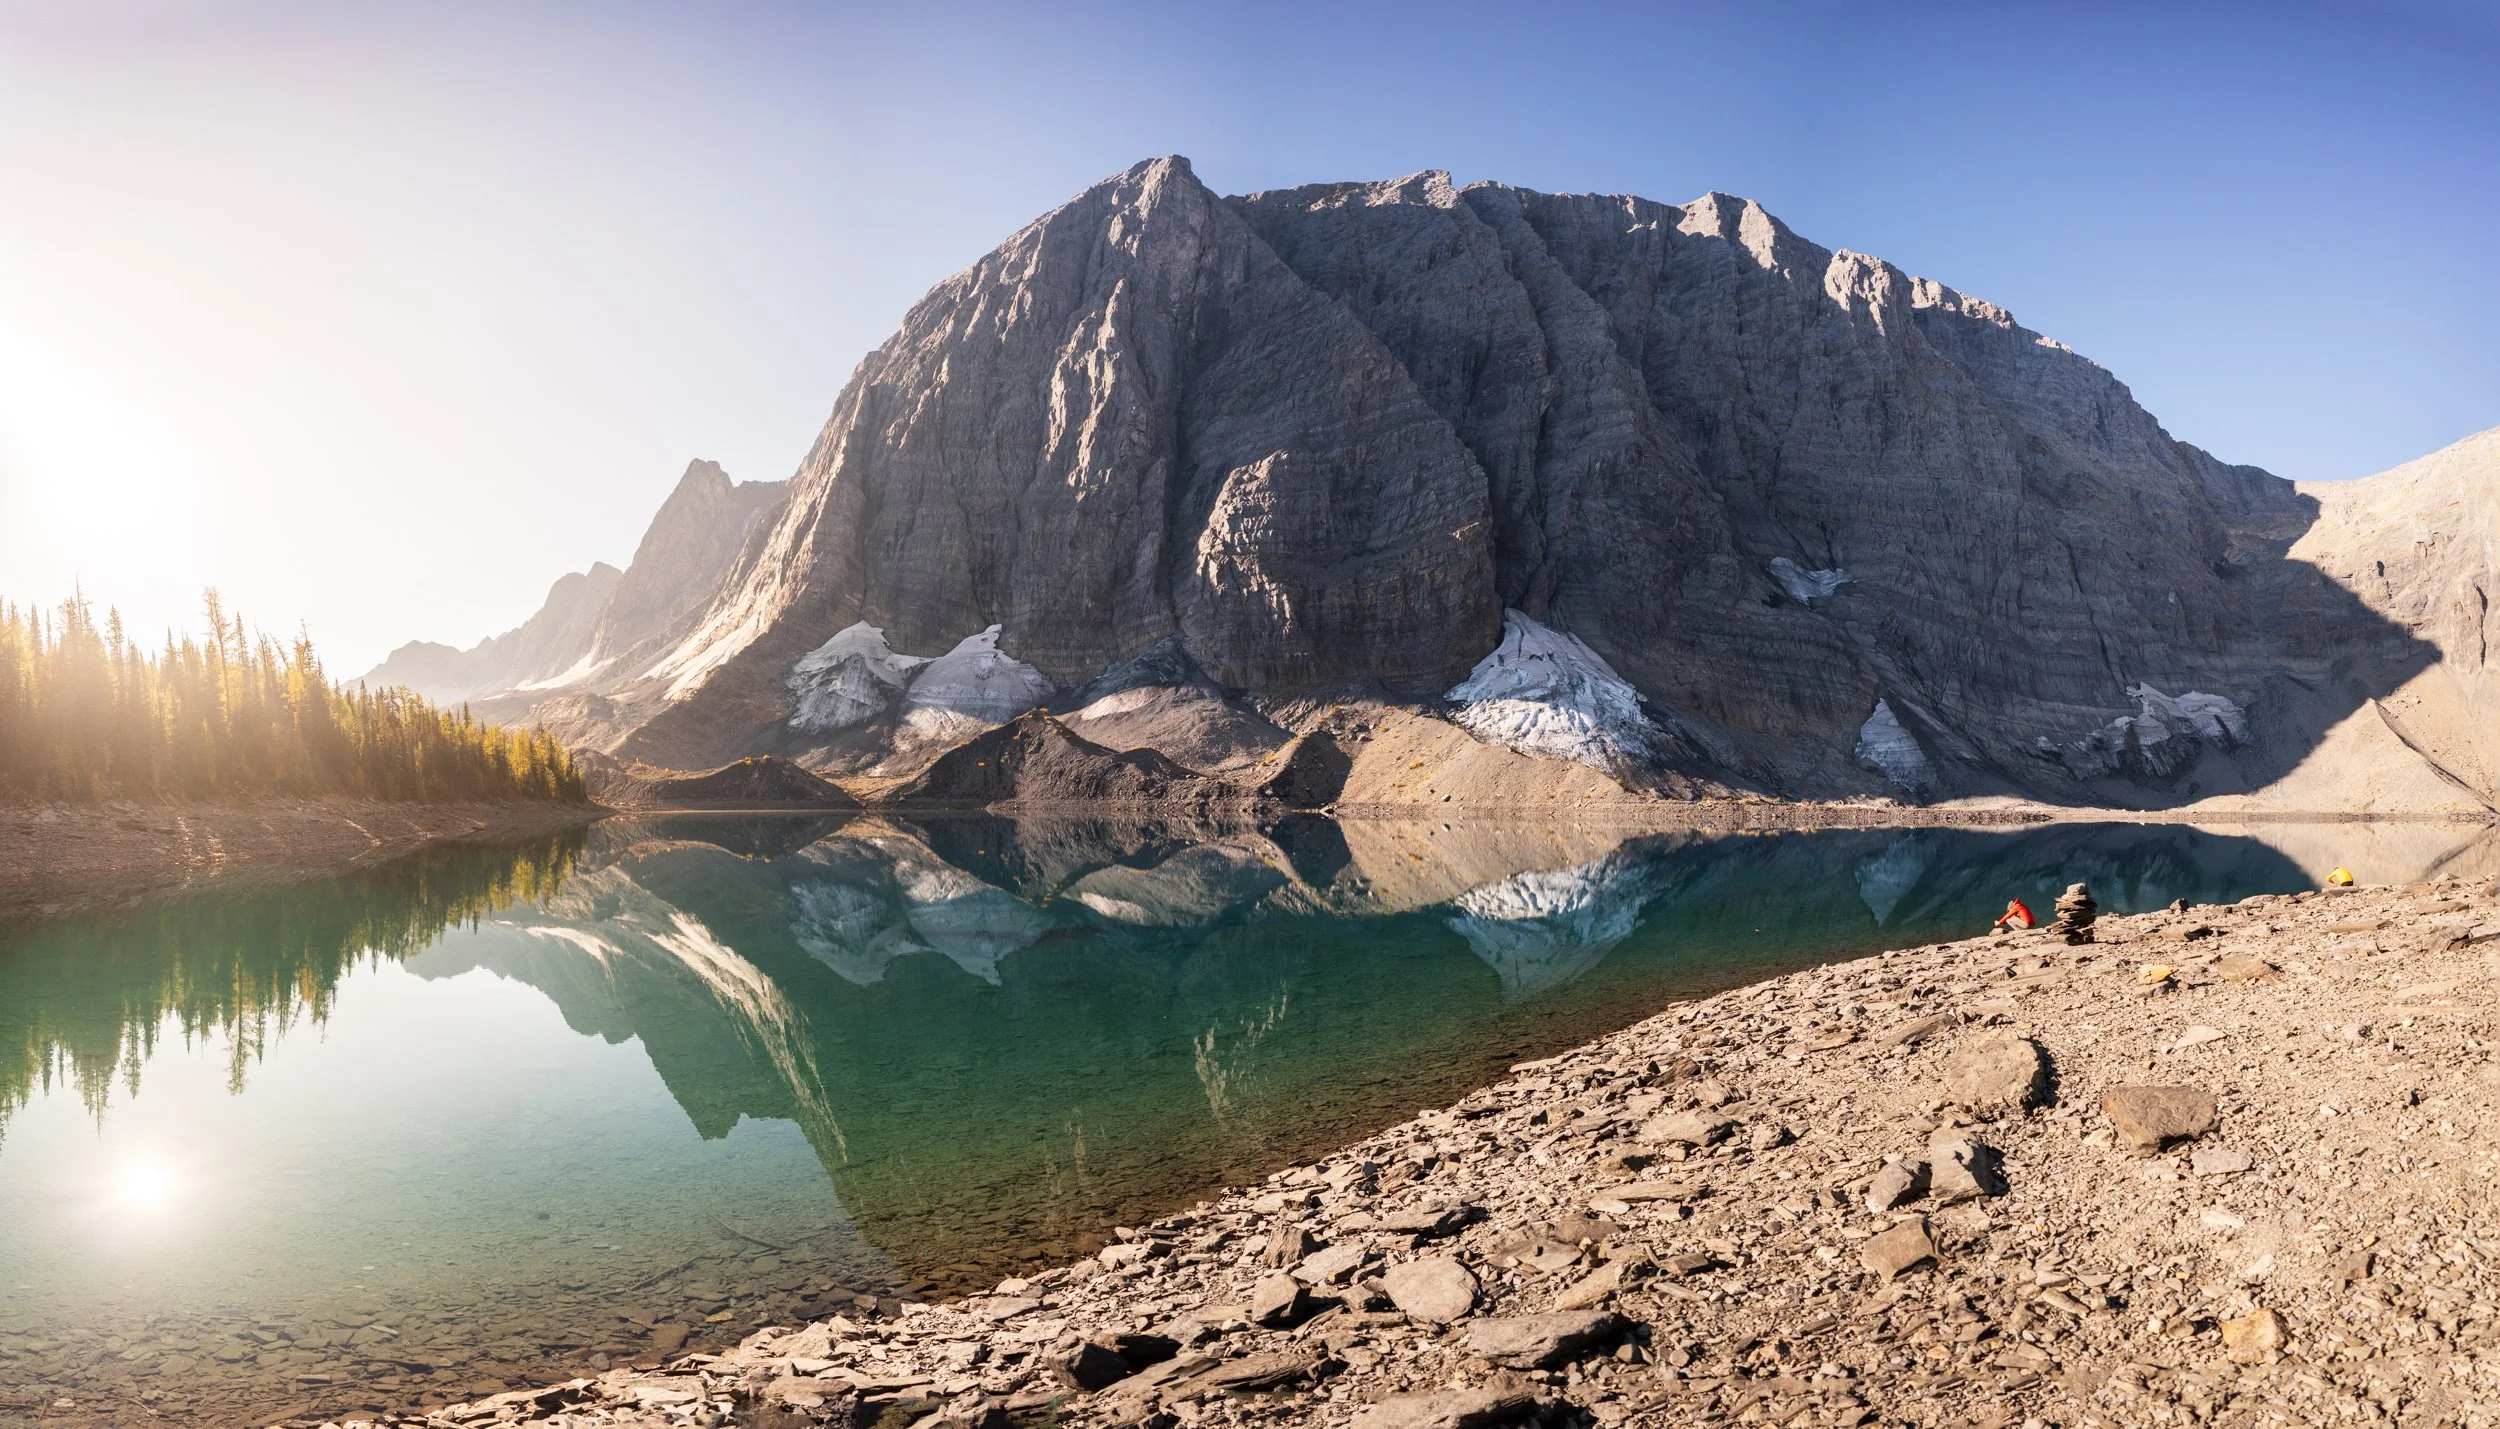
Looking back at Floe Lake headwall
The Advantage Of Doing The Rock Wall TRail In A Day
One of the main reasons I started trail running was because of how difficult it has become to book campsites in the Canadian Rockies. You need to be ready to pull the trigger on campsite bookings in January even if you don’t plan to camp until 9 or 10 months later.
This problem exasperates when trying to book several campsites in order on one of the most iconic multi-day trails in the Rockies! And all this whilst having no idea what the weather will do when the time comes!
If you’re able to finish a trail of this length in a single day all of those issues go away. You can be spontaneous and choose the best weather window that lines up with any free day!
The full 55 km is of course a huge distance to cover but there are a couple of other routes that will take in the best of the trail and be a more manageable length that a lot of hikers could complete in one long day.
Shorter Alternative Routes For The Rockwall Trail
The full Rockwall Trail is about 55 km and 2600 m of elevation gain. A big day even for the fittest of hikers!
However starting from Floe Lake Trailhead there are two alternative options to cut the hike short whilst still getting the best views.
Floe Lake Trailhead to Numa Creek Trailhead
Distance: 27 km
Elevation Gain: 1300 m
Time Estimation: 9 - 11 hours (Fast hiking Pace)
At around the 20 km mark you’ll come to Numa Creek campground. At this point detour right on to the Numa Creek Trail and a 7 km trail will take you to the Numa Creek Waterfall car parking area.
On this trail you get to see Floe Lake, the views from Numa Pass and hike through some impressive valleys. You do however miss out on some epic trail along side the main Rockwall.
Still a great alternative if you’re unable to book the campgrounds you need.
Floe Lake To Paint Pots Via Tumbling Creek
Distance: 38 km
Elevation Gain: 2050 m
Time Estimation: 14 - 17 hours (Fast hiking Pace)
For this alternative ending around at the 27 km hook a right at the Tumbling Creek campground and take a shorter route back down to the Paint Pots car park.
Not only will you get to see Floe Lake and Numa pass but you’ll also get to run past some great headwall sections.
Which ever route you choose I’d highly recommend downloading offline maps so you don’t miss your turning! AllTrailsis always my recommendation and comes with lots of fantastic custom mapping options.
The Stats For The Full Rockwall Trail
Time: 8 - 12 hours - if moving fast with lightweight gear, this is a trail running pace!
Distance: 55 km
Elevation Gain: 2650 m
The Hike Breakdown
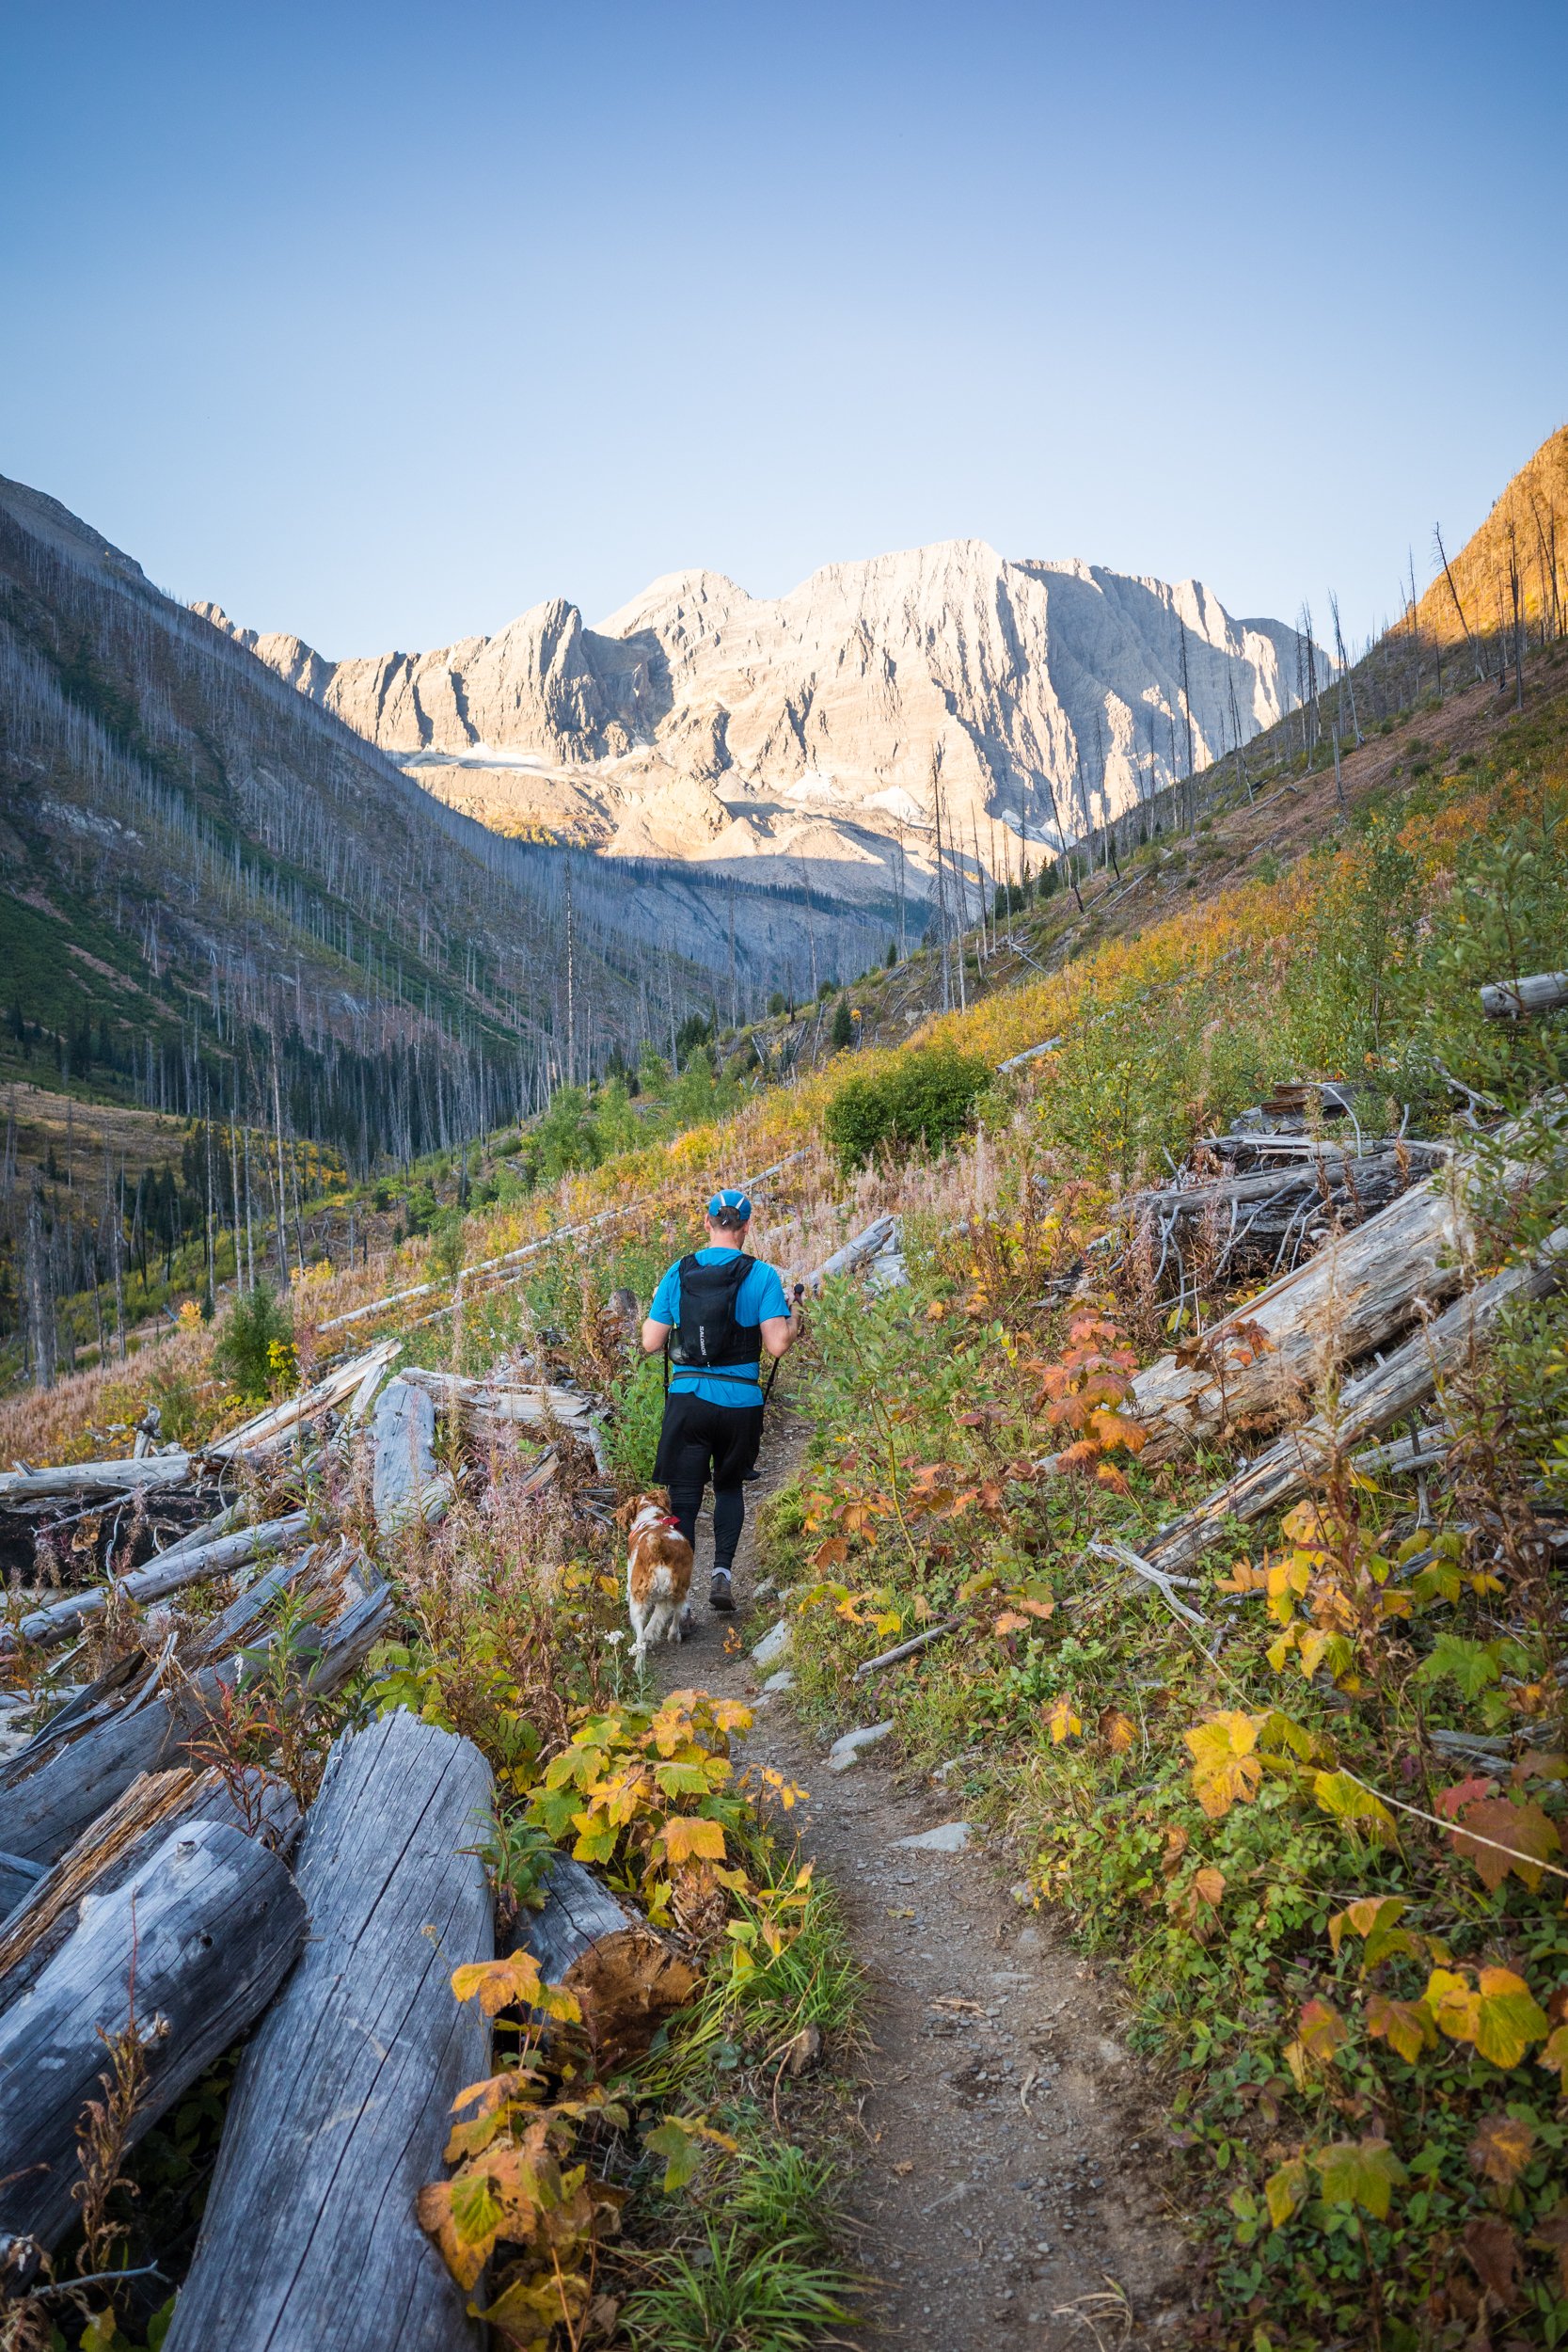
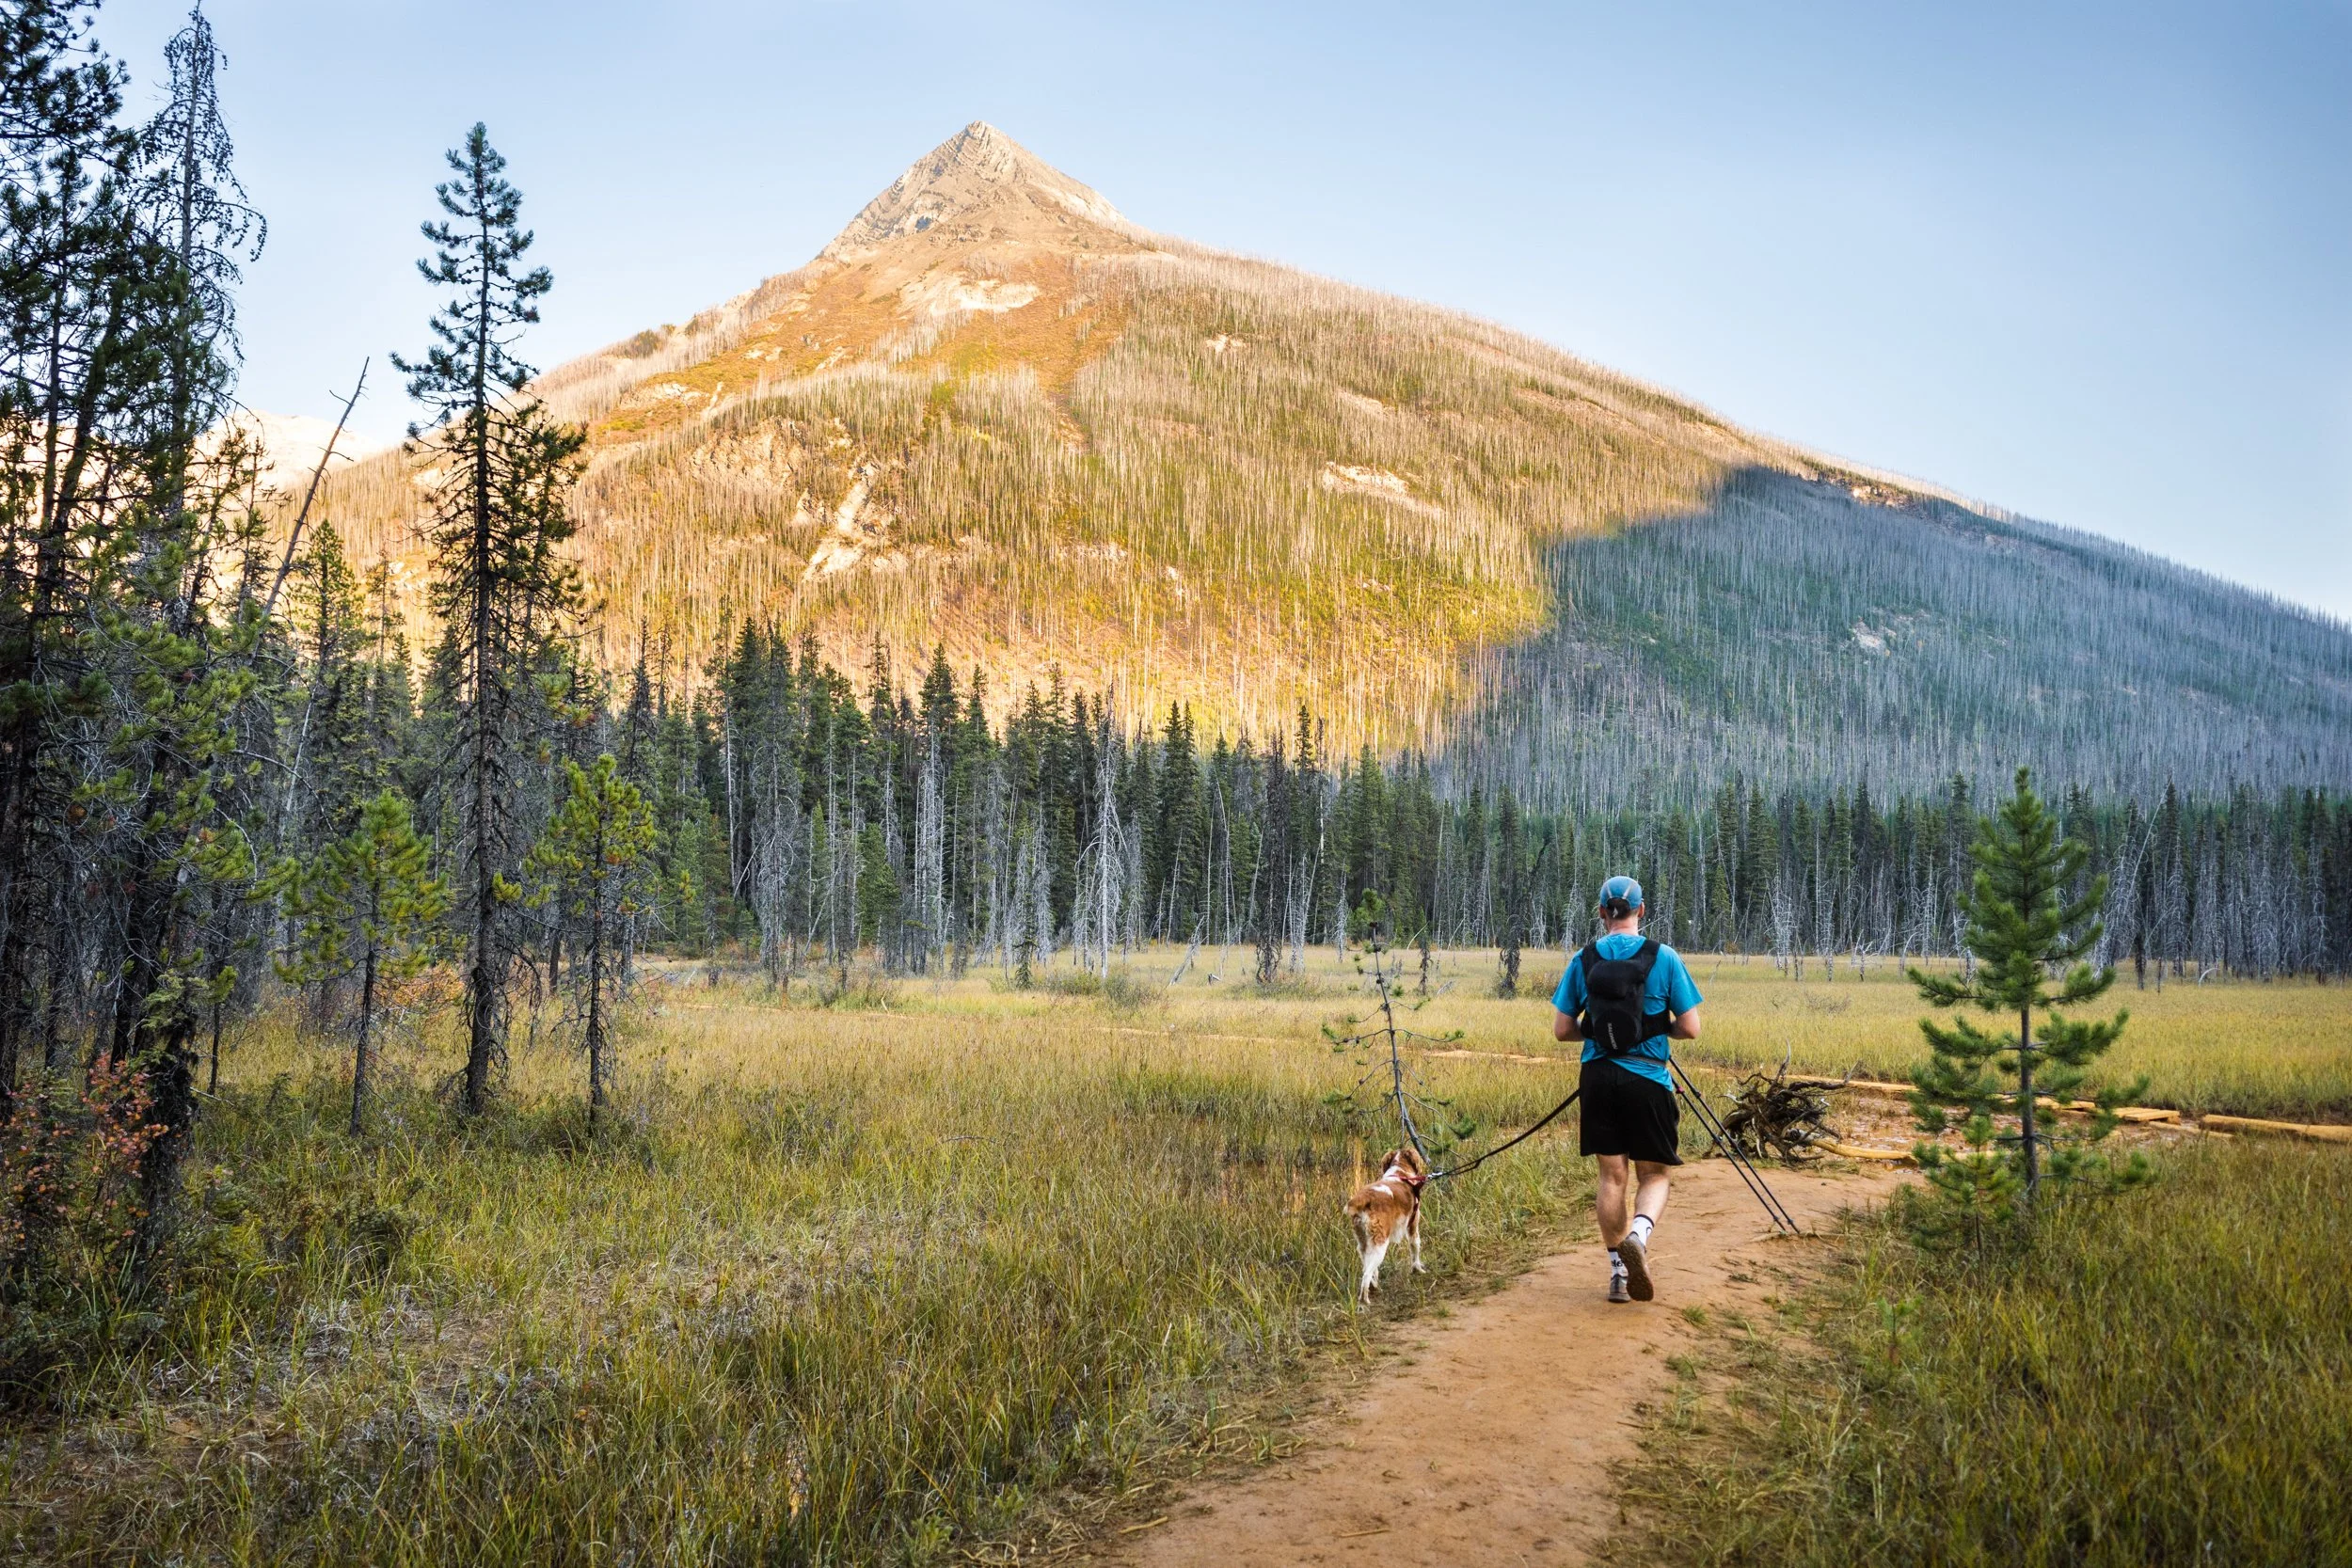
We started the trail nice and early just before the sun came up. It meant for a chilly start but gave us the most amount of day light to play with and made the first initial ascent to Floe Lake easier to manage with the minimal shade.
Floe LAke Trail Head To Floe Lake - 10 km
The first section of trail up to the lake passes through a scarce landscape created by wild fires from years gone by. There is little shade on this section of trail so it’s best completed earlier in the day.
It’s 10 km up to Floe Lake with the majority of the 700 m of elevation gain coming in the last 3 km. This last section of trail before the lake is definitely a slog but the grind is absolutely worth it!
For some hikers this might be the end of your first day or the view for your last night depending on route direction. Topping off the days hike with sunset and sunrise at Floe Lake is pretty hard to beat!
Pushing through in a single day means you’ll get to the lake in just 2 or 3 hours, a perfect pit stop for a morning snack. We spent a little time enjoying the lake before heading on and up to Numa Pass.
Floe Lake first thing in the morning
Floe Lake To Numa Creek - 9.5 km
The elevation gain doesn’t stop as you climb 200 meters higher up on to Numa pass before descending the 800 m all the way back down to Numa Creek. Before the descent however remember to look back and appreciate the views you worked so hard for back towards the Floe headwall.
The ever improving views as you climb make each step more and more worth it, almost enough to forget you have at least another 1500 m of climbing to come!
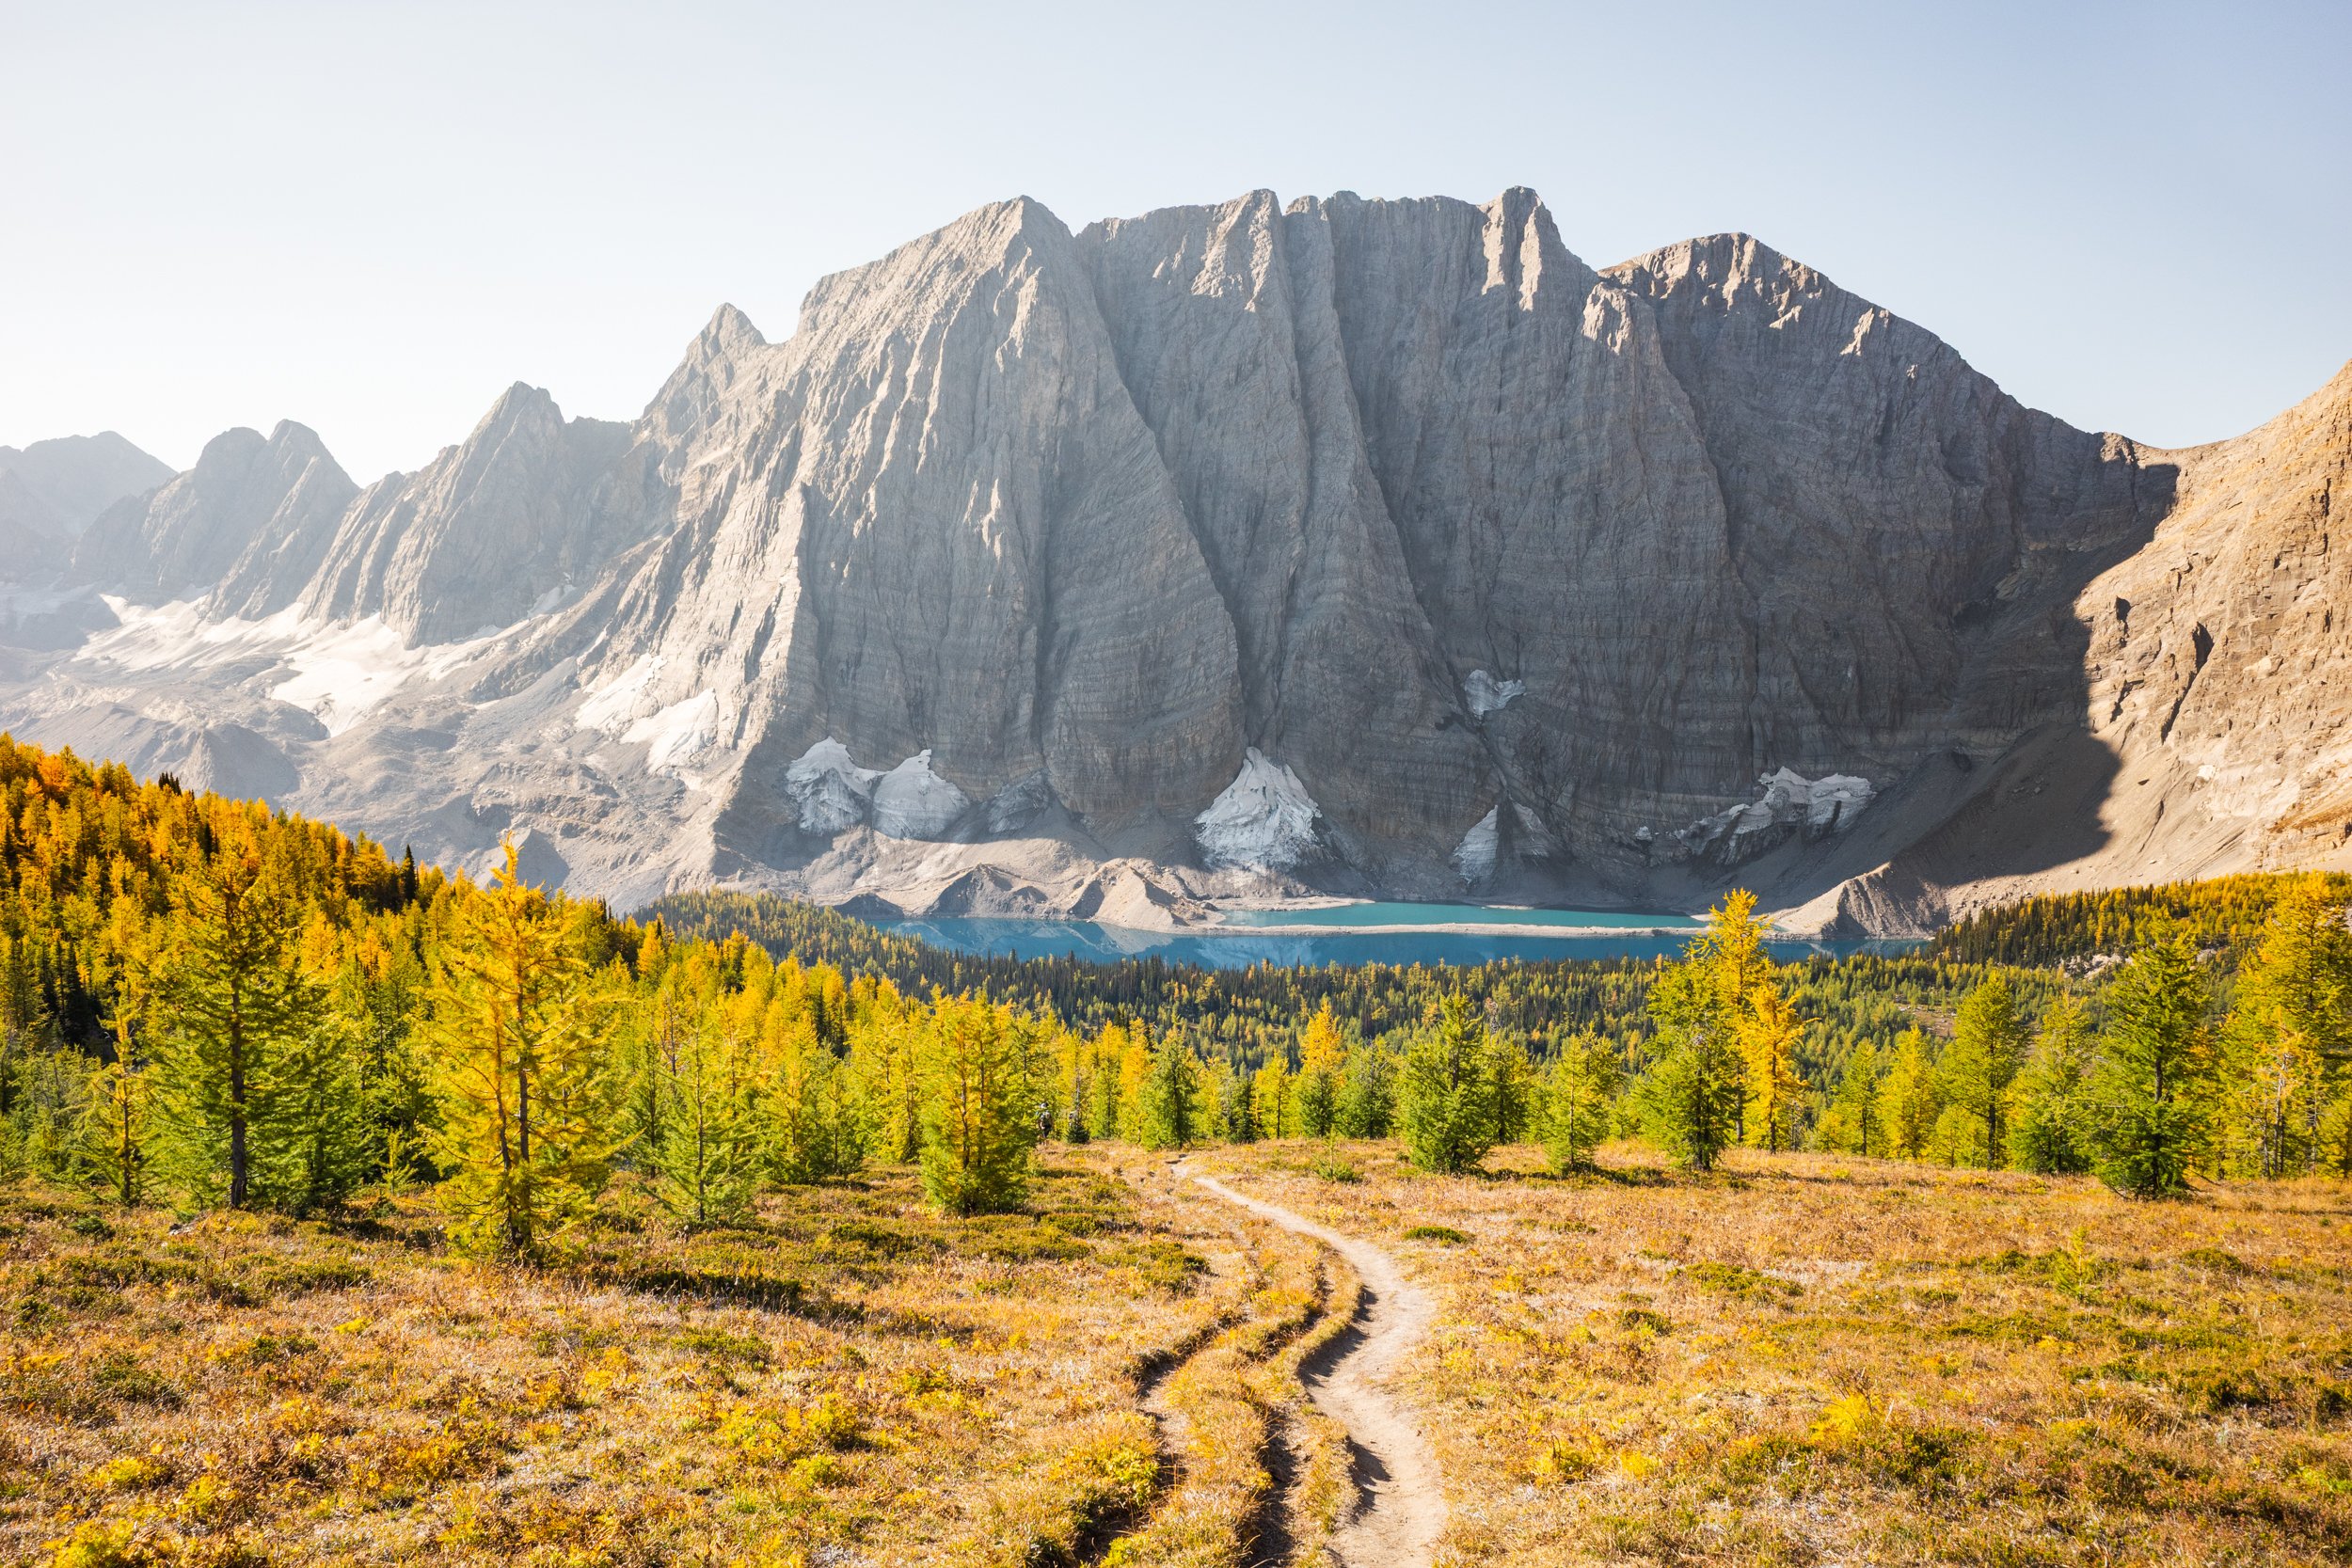
Floe Lake and the headwall from Numa Pass.
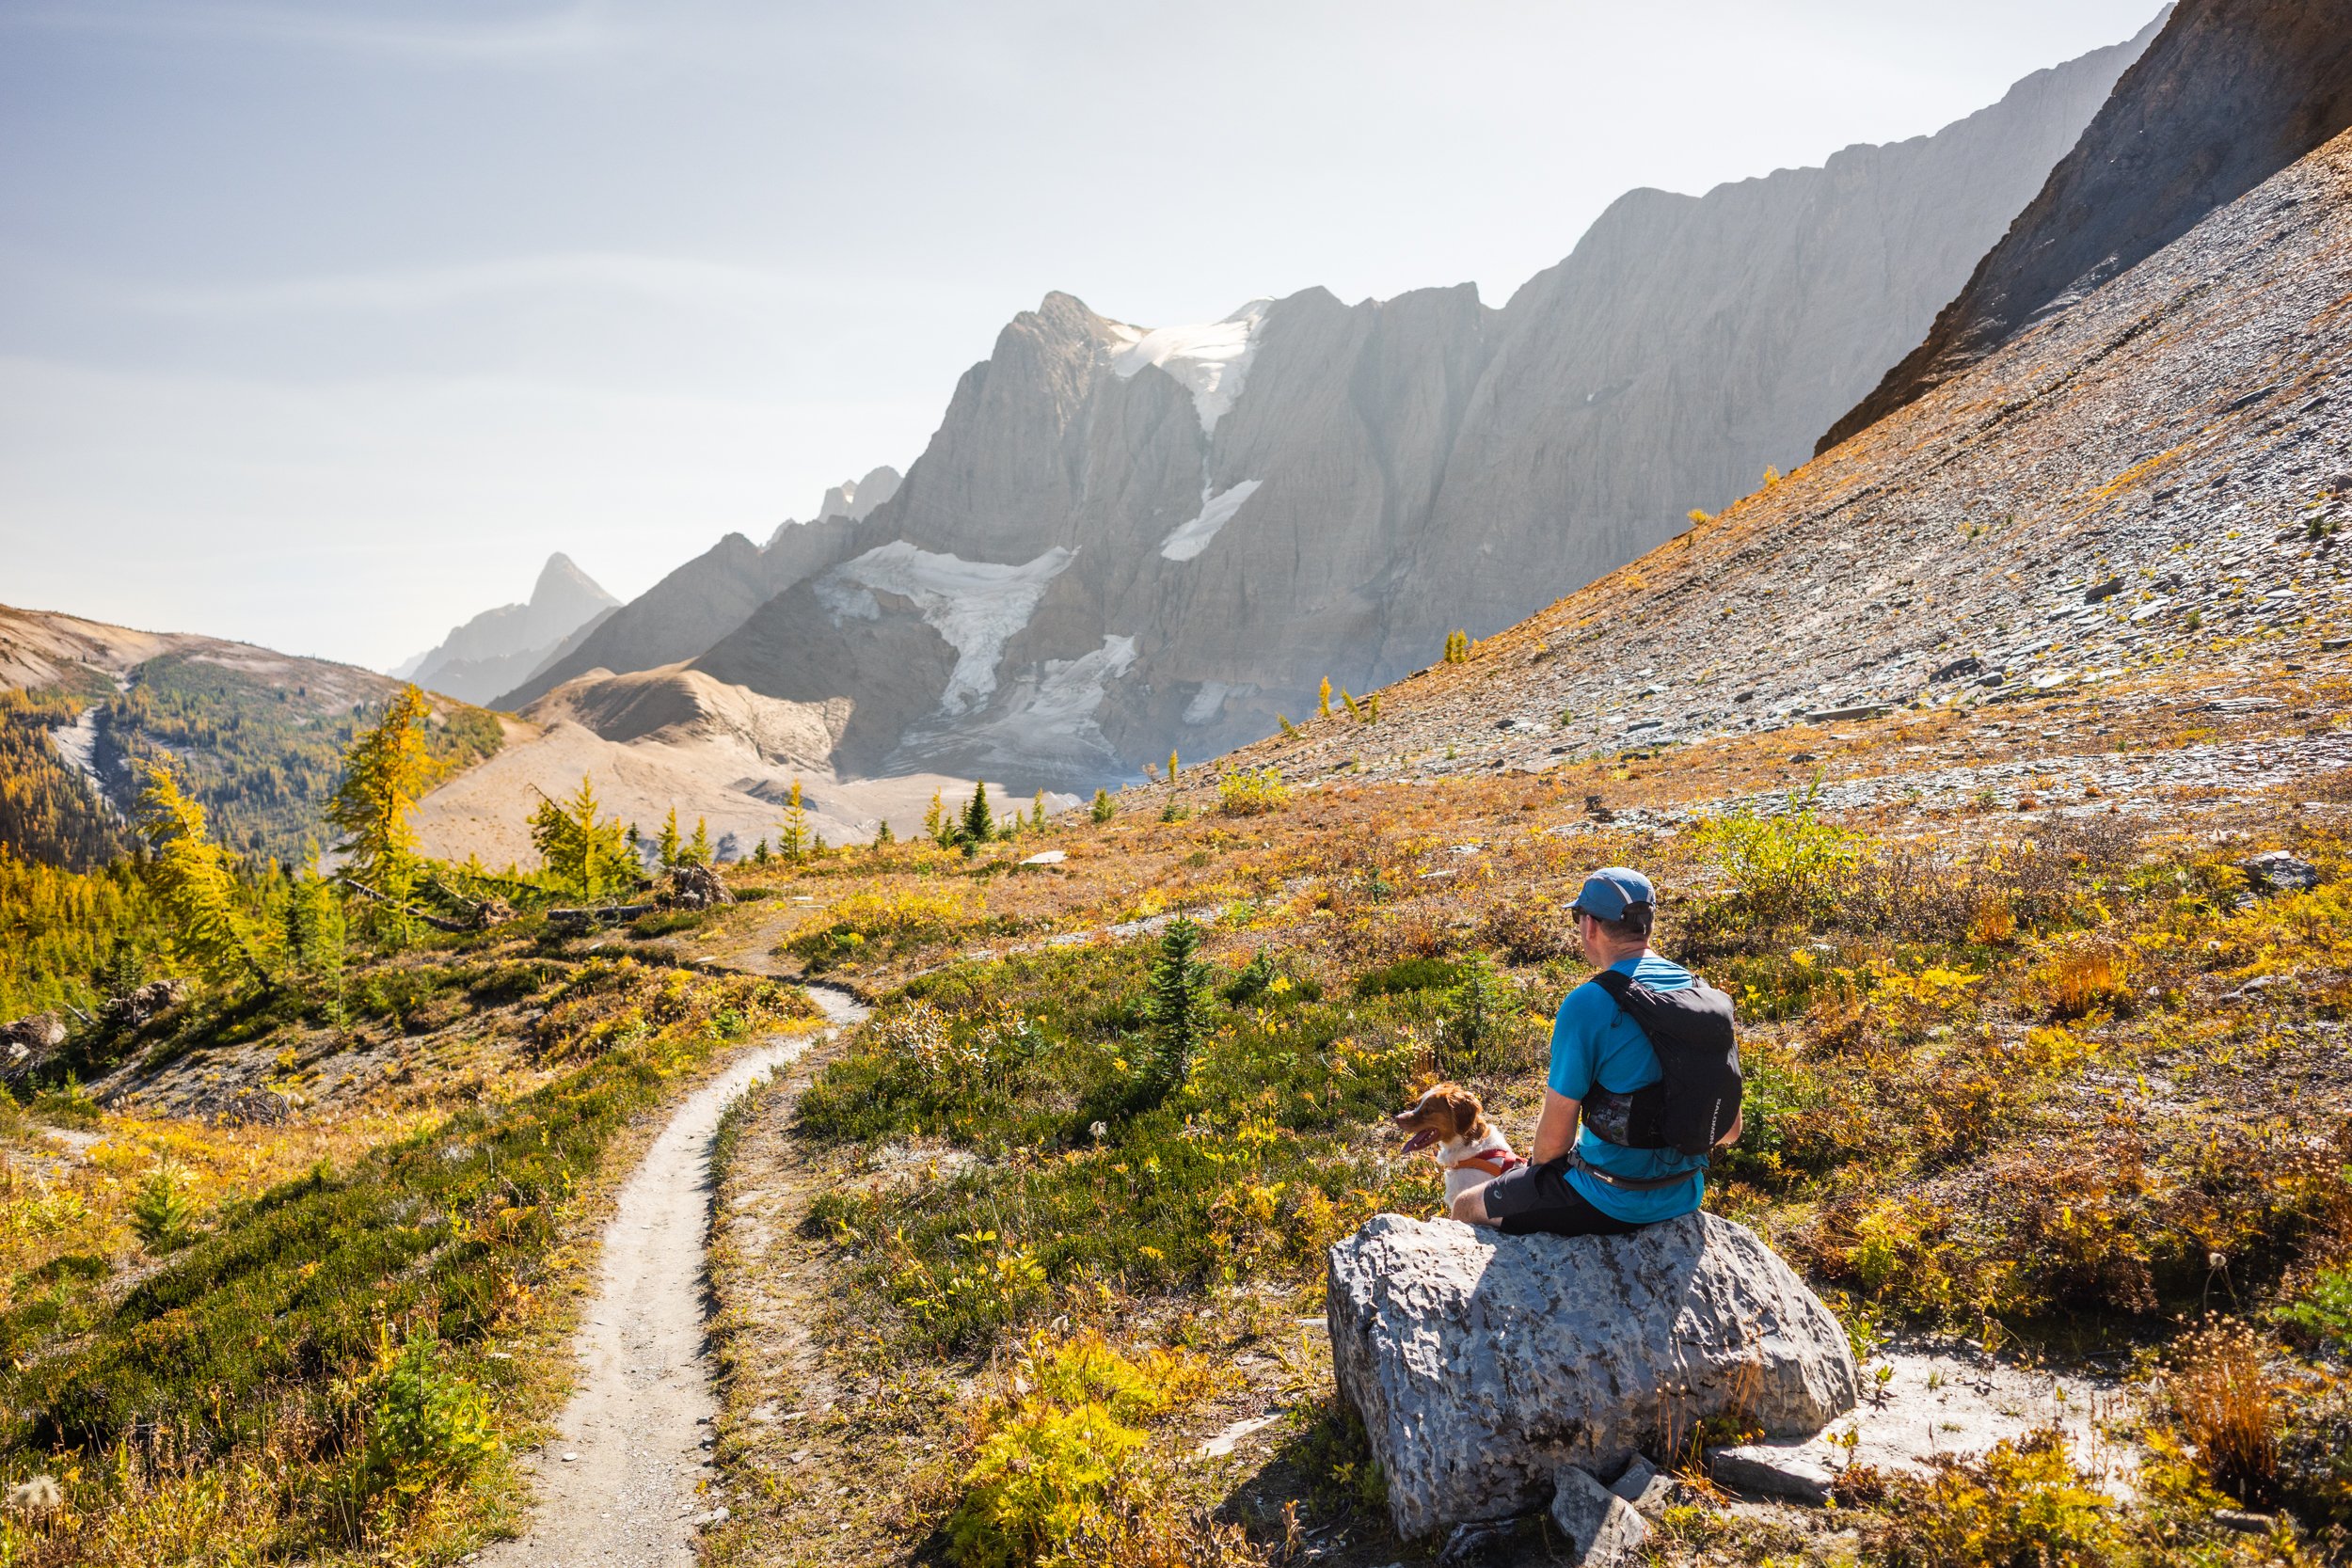
The Rockwall Trail is essentially a series of passes with some concentrated elevation gain. You conquered one up to Floe Lake and Numa pass and now you’re back down at the valley floor about to do it all over again!
It’s at this point at Numa Creek where you can take that right hand fork and shorten your trail to 27 km, a pretty manageable day for most experience hikers.
Numa Creek To Tumbling Creek - 8 km
A short but steep section of trail with again another 700 m of elevation gain followed by a little rest bite before descending approximately 300 m back to Tumbling Creek campground.
On this ascent we definitely started feeling it in the legs, as our uphill pace slowed considerably. Starting at Floe Lake you finish the majority of the elevation gain in the first two-thirds of the trail. It’s a lot of elevation gain to complete in one day and I won’t pretend it was super easy!
Once at Tumbling Creek campground this is your last opportunity to cut the trail short!
Tumbling Creek to Helmet Falls Campground - 12.3 km
At this point we were hoping for a runnable, steady downhill descent but believe it or not this section of trail also starts with a big push of elevation gain! Although this time it’s only a few hundred meters, we’d have to wait a little longer for the easier trail!
It’s during this later section that you will run or hike past one of the most impressive headwalls on the trail. Although it isn’t maybe as impressive as that of Floe Lake or the views of Numa Pass it’s still pretty incredible!

To see more of the trail be sure to watch that video below!
Helmet Falls Campground to Paint Pots - 14.2 km
The last section of this trail is finally the relaxed, steady down hill back to the road. This makes for either an easier end to a big day or a more chilled last day of a multi-day adventure.
The trail mainly winds through the forest and over wooden bridges on soft dirt trail which is easy on the feet. Although we couldn’t move as quickly as we’d have liked by this point it was a welcome relief after the more technical terrain!
Coming out of the forest and on to the Paint Pots.
Where to Stay Before and After Your Hike
Castle Junction
The closest accommodation options are at castle junction about a 25 minute drive away. Castle Mountain Chalets offers great rooms in cute log cabins or the Hi Castle Junction Hostel is great for a more budget option!
Lake Louise and Banff
Banff and Lake Louise are your closest towns with the best variety of accommodation options. Banff is a about a 45 minute drive from the trailhead whilst Lake Louise is a little closer at just under 40.
Canmore
Just over an hour away from the trailhead lies the town of Canmore. A pre or post night in a mountain town is the perfect way to start or cap off your backcountry adventure!
There are lots of great options all over Canmore that fit a range of different budgets from luxury hotels to budget hostels. The town itself is a fantastic place to explore whilst walking the main street and taking in galleries and coffee shops.
Looking for other Multi Day Hikes in The Rockies?
The Tamarack Trail is a hidden gem in Waterton.
Lake O’Hara is a must do camping location!
The Berg Lake Trail is one of the best for photography.
Northover Ridge offers a more adventurous overnight trip.
Things to know Before You Go
Parks and Conservation Passes: Whether you’re hiking in a national park in Canada or certain provincial parks you’ll most likely need some kind of conservation pass. A Discovery Passwill cover you for the year for all national parks in Canada whilst the Kananaskis Conservation Passcovers the provincial and wildland parks in the Kananaskis region.
Check Trail Conditions Before You Go: Trail conditions in the Rockies can change month to month and year to year. Trails close for wildlife, weather and avalanche hazards. Be sure to double check trail conditions before heading out to avoid any disappointment. You can do so here!
Leave No Trace: When hiking anywhere in the world it’s important that you practice a leave no trace philosophy. This means whatever you hike in to a trail or campground you have to be able to hike out too. There won’t be trash cans or waste disposal in the backcountry and you should never throw trash in any out houses or pit toilets. In recent years, as trails and parks become busier, litter is becoming more of a problem. Don’t add to that problem!
Bears and Wildlife! Wild life is everywhere in the Canadian Rockies, even on trails that are close to town. People and animals have been attacked by bears and other wild life on popular trails in the past so don’t take it for granted.
Most wildlife is looking to avoid human contact so no matter what type of wildlife you see be sure to keep your distance. 30 metres is the minimum recommendation for most species but under any circumstance don’t approach wildlife. Even the cuddliest of critters can be dangerous!
So as always be bear aware, make noise, hike in groups, carry bear spray and, if they’re allowed on trail, keep your dog on a leash!
Offline maps knowing where you’re going is super important as to not get lost. I recommend All Trails Plus for finding routes and offline mapping allowing you to safely find your way home.
Interested in other multi-day hikes in the Canadian Rockies or maybe day hikes?
Gear Recommendations
After 10 years living in the Canadian Rockies, years working in retail and years reviewing outdoor gear I’ve dialled in my backcountry kit! And on all day hikes there are definitely a few things I always take with me to make my trip safer, easier and more enjoyable.
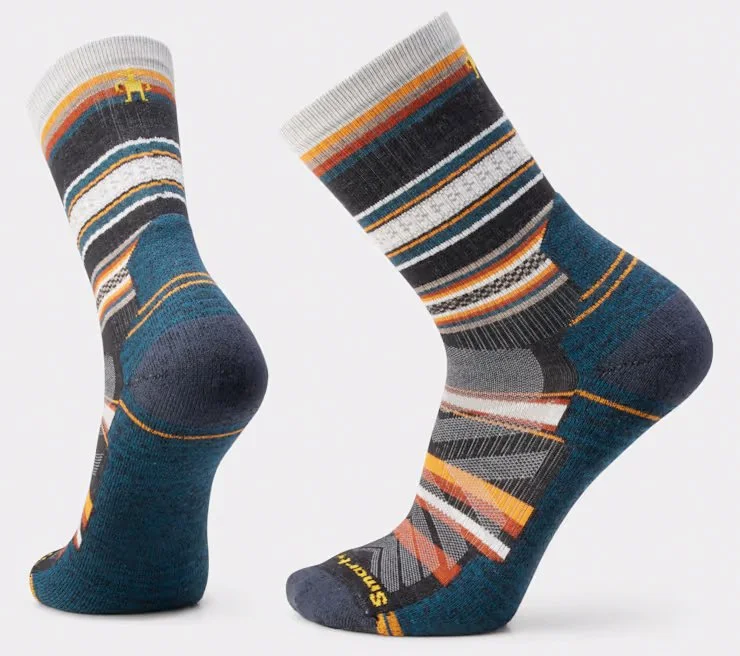
Merino Socks
Merino socks are a must for any hike. They keep you dryer, warmer and smelling better!
Once you go merino you never go back!
My socks are now 100% Smartwool!
Get them at Smartwool.com
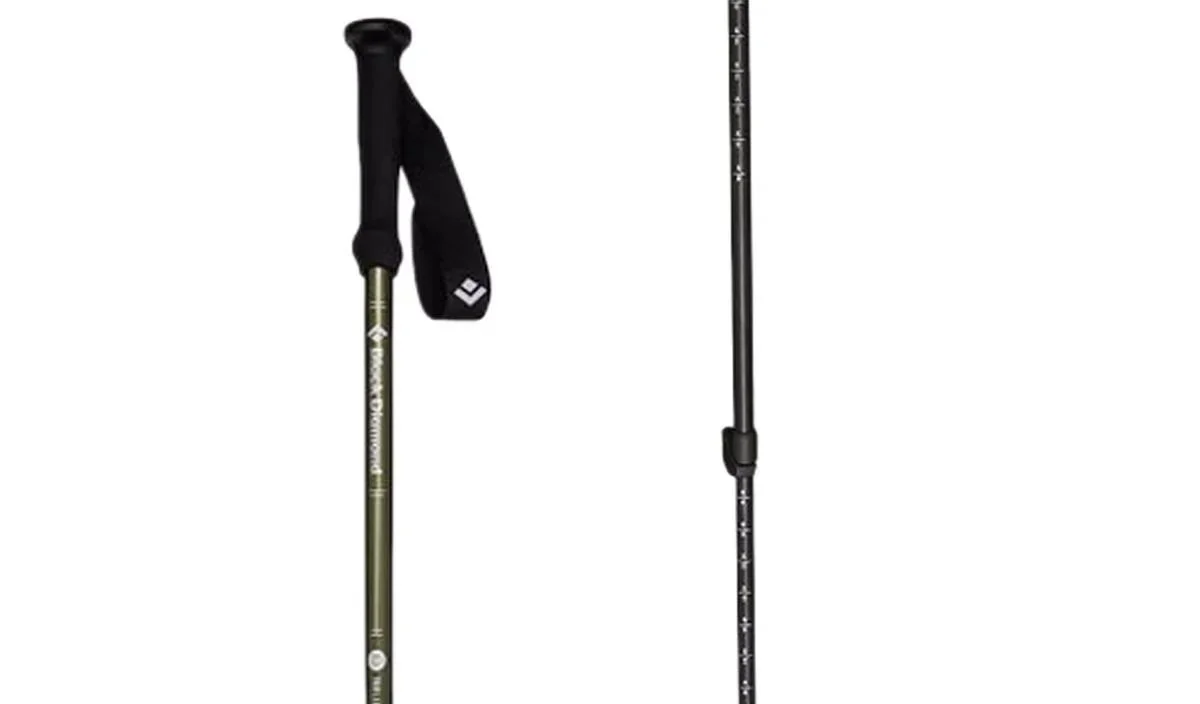
Hiking Poles
Poles are often overlooked by new hikers and seen as unnecessary. However once you use them you’ll never go back! They make you more efficient and take the weight of your knees!
Get it on Backcountry.com

Down Jacket
No matter what the weather I carry a lightweight down jacket. The Arcteryx Cerium is light and very warm! Perfect for keeping you toasty when you take a break or if you were injured and awaiting help.
Get it on REI.com
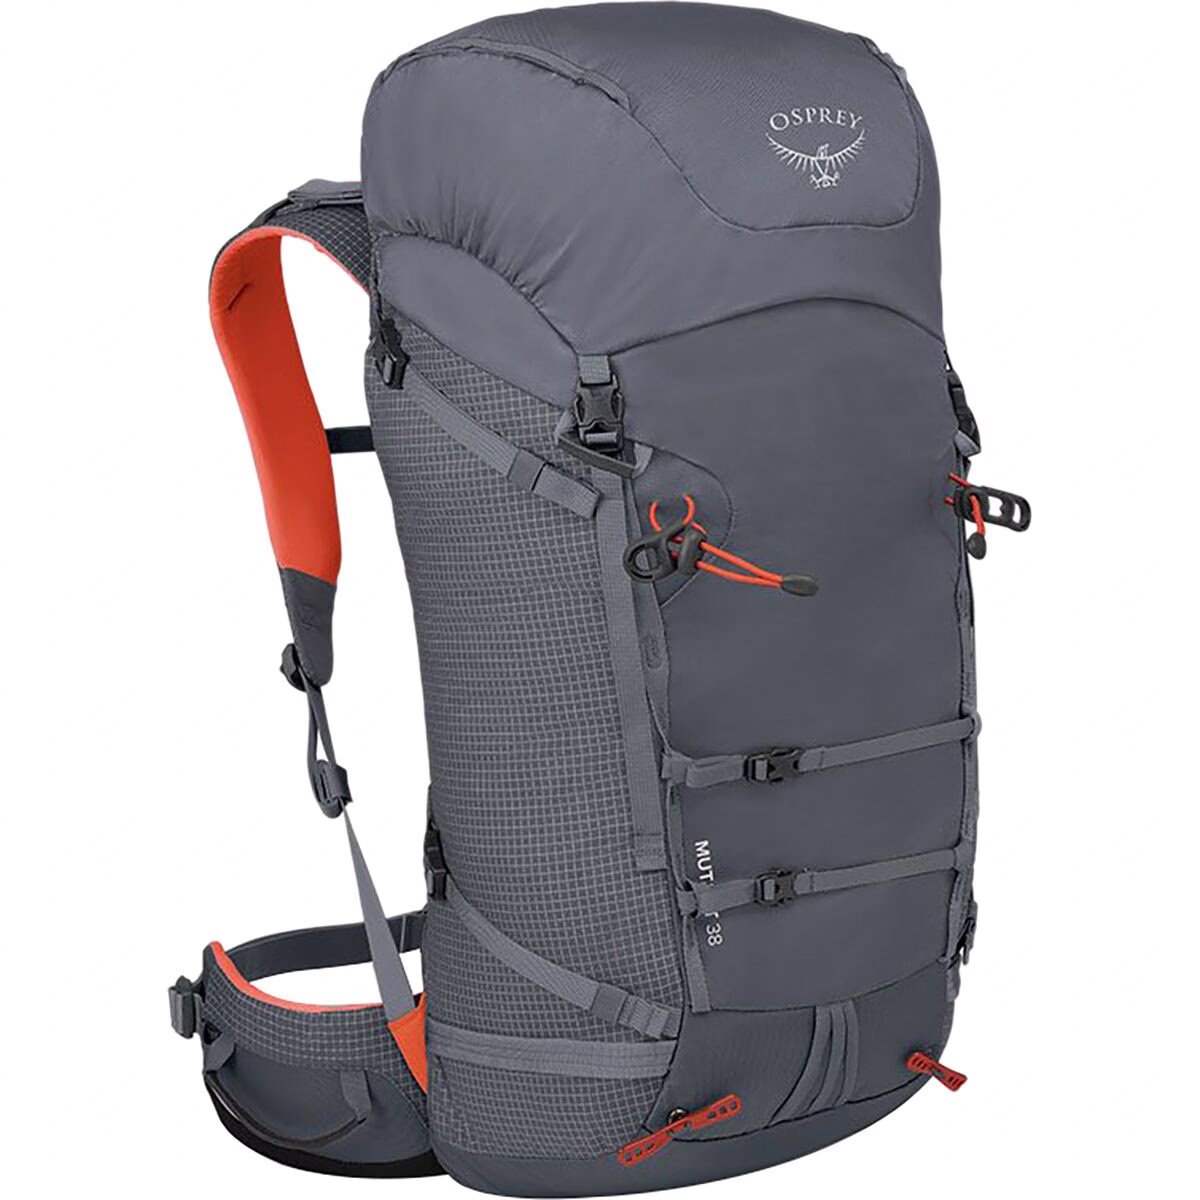
Comfortable Day Pack
The Osprey Mutant is my favourite day bag. Even though it’s designed more for scrambling or mountaineering this bag is one of the most comfortable bags I own and has enough space for everything I need.
Get it on Backcountry.com
Water Filter
A Katadyn BeFree has to be the easiest filtration system to use. When out on the backcountry you want to be able to filter and refill your water along the way.
This filter packs down small and filters fast. It’s in my bag on every hike!
Get it on Backcountry.com

Capture Clip
Another item that comes on every hike with me and a must own for every photographer.
Keeps your camera close at hand making capturing moments much faster!
Get it on Peakdesign.com